Wooden Mallet Build – Make a Wooden Mallet with Power Tools
Wooden Mallet Build
Mallets of all sorts are a staple in pretty much any woodworking shop. At some point in every project a joint or other assembly operation need a little persuasion. Having a nice solid mallet on hand to give a few taps…or sometimes a hulk smash…is very handy. You can buy a variety of mallets but I had watched a number of videos of folks making their own so I decided to give it a shot. The design for this wooden mallet build is very basic because at this point I don’t have any woodworking hand tools (hand planes, spokeshave, chisels, etc to shape or finesse anything to fancy. Let’s get started.
Breaking Down Off Cuts
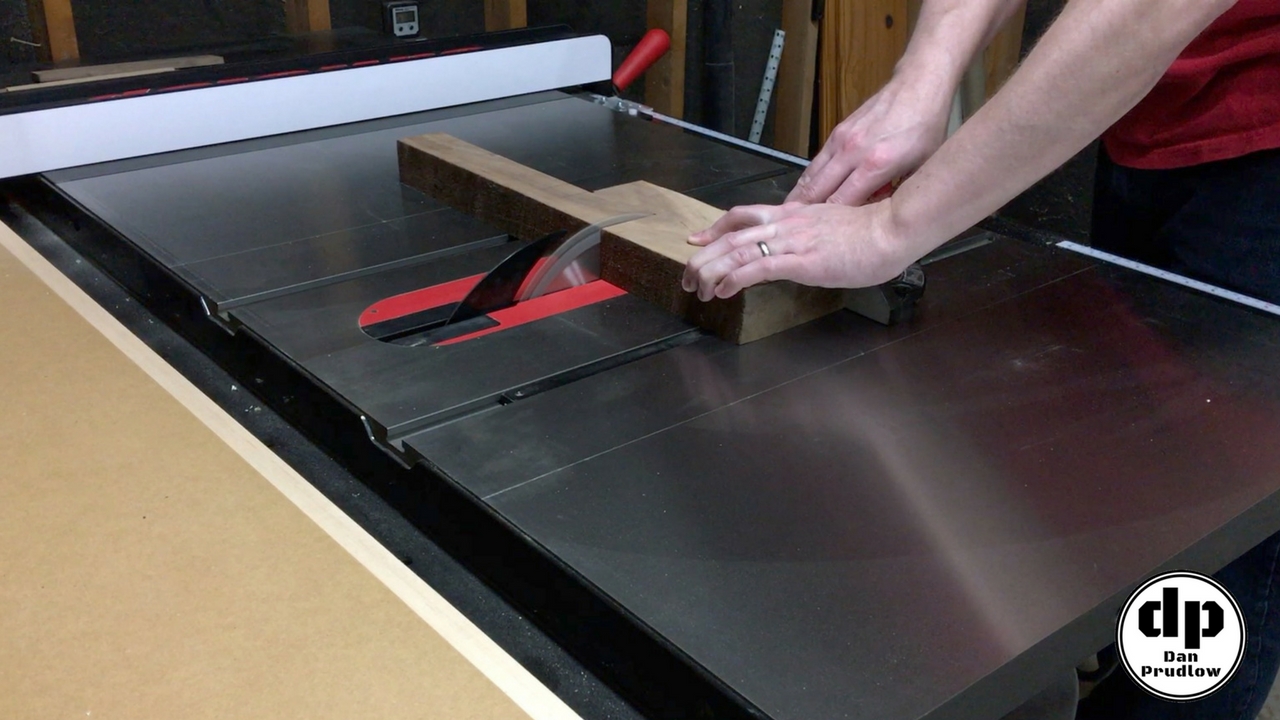
I had previously picked up a few different off cuts from my local hardwood dealer and for this wooden mallet build project I grabbed the remaining walnut and a piece of maple…at least I think it’s maple. I started at the table saw cutting the walnut into the two pieces that would form the handle and the sides of the head.
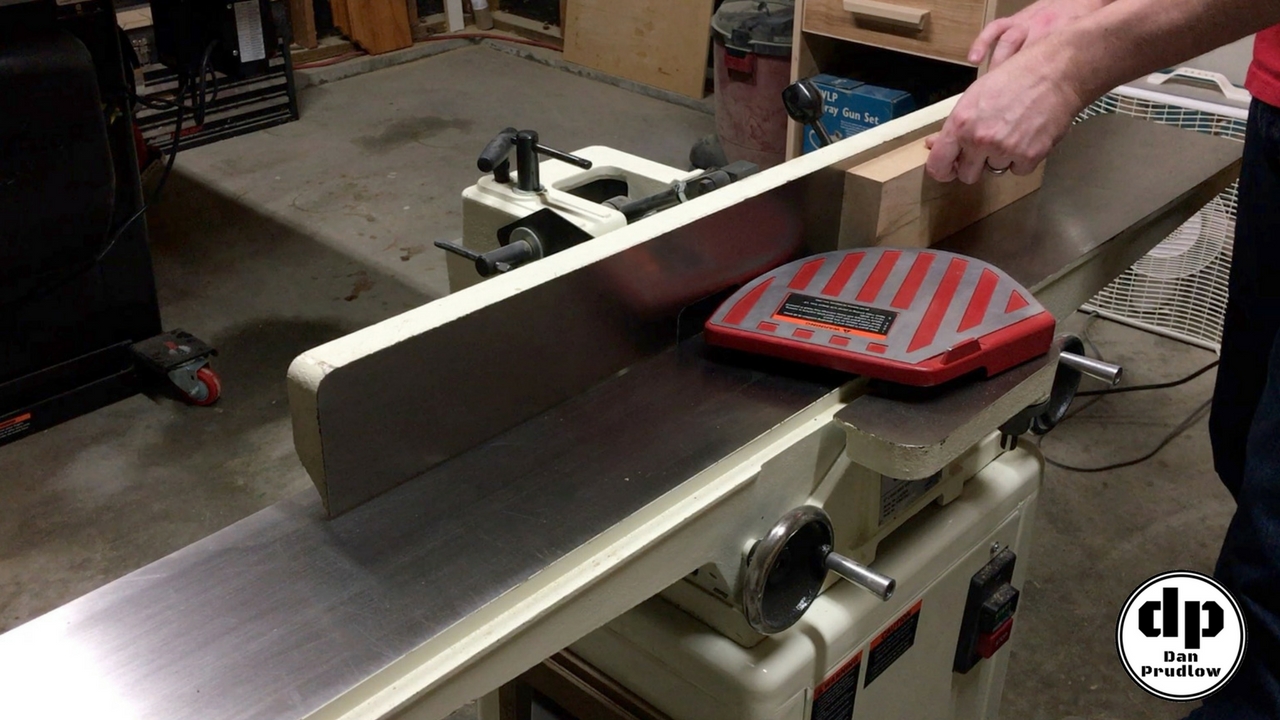
Next I moved over to the jointer to get two flat surfaces that were nice and square. Some of the pieces were a little small but they went over the jointer without any issues.
Re-sawing at the Table Saw
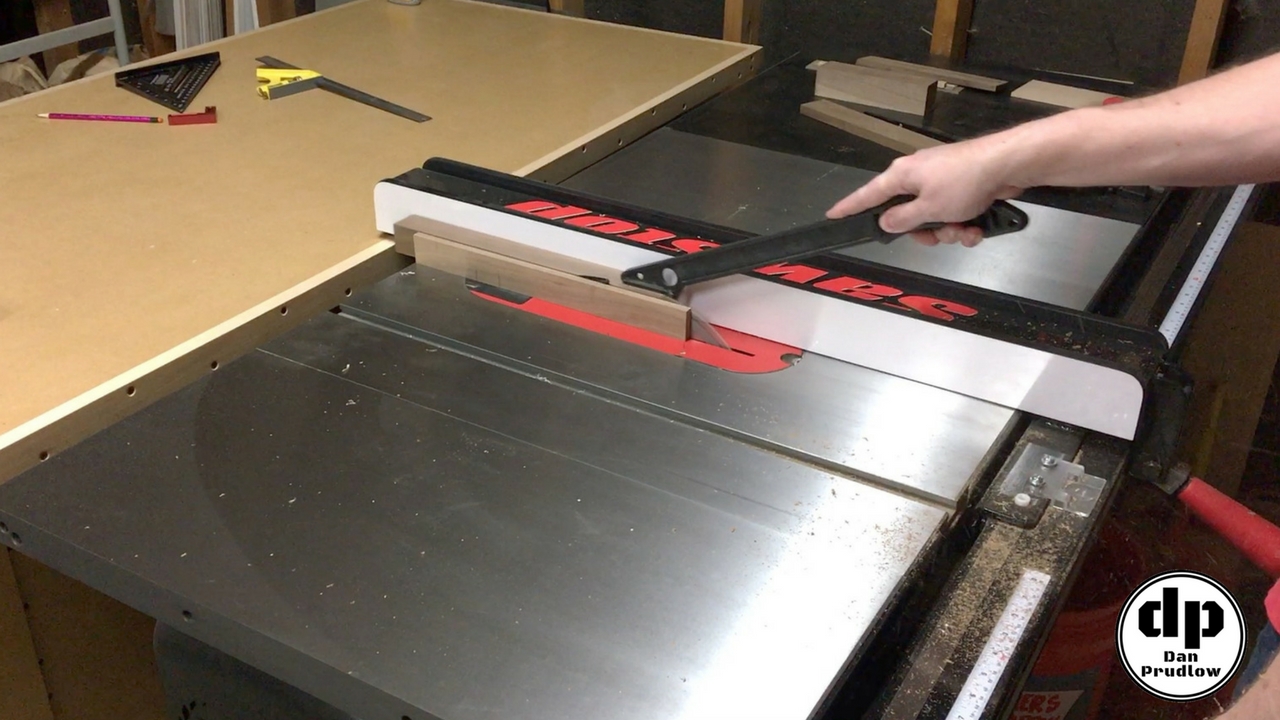
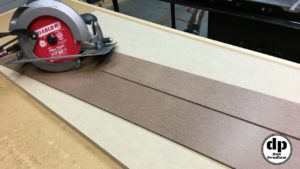
Now it’s back to the table saw to break the stock down into the various parts. I took about 3/8 inch off the thickness of the maple by making two passes on the table saw, flipping the board end for end. I don’t have a bandsaw to do this sort of re-sawing so I have to use what I’ve got. Obviously there is more waste with the 1/8 inch blade kerf but these were small offcuts to begin with so I wasn’t too worried about it. I also trimmed the handle dow to about 1 1/4 inch square.
Next, I split the walnut piece in half. The two halves will make up the outside faces of the mallet.
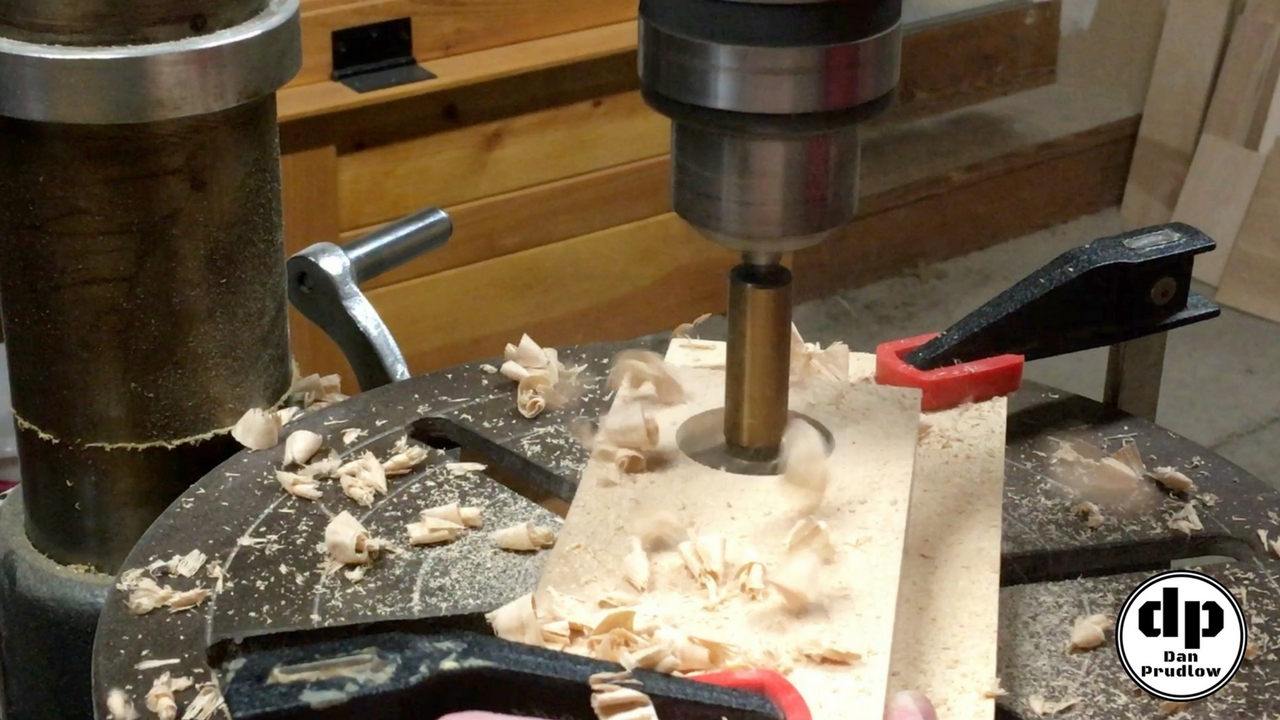
Holes to Add Weight
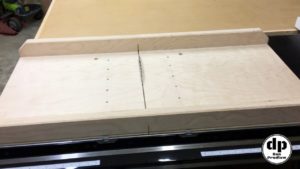
Now that I have the parts for the wooden mallet build cut to rough dimension I took the maple over to the drill press and bored holes with at 1 1/2 inch forstner bit. Be sure to put a scrap below the stock so that you don’t drill into your drill press table. The faces of the center pieces will never be seen once the mallet is assembled so don’t worry if you get a little blowout on the holes.
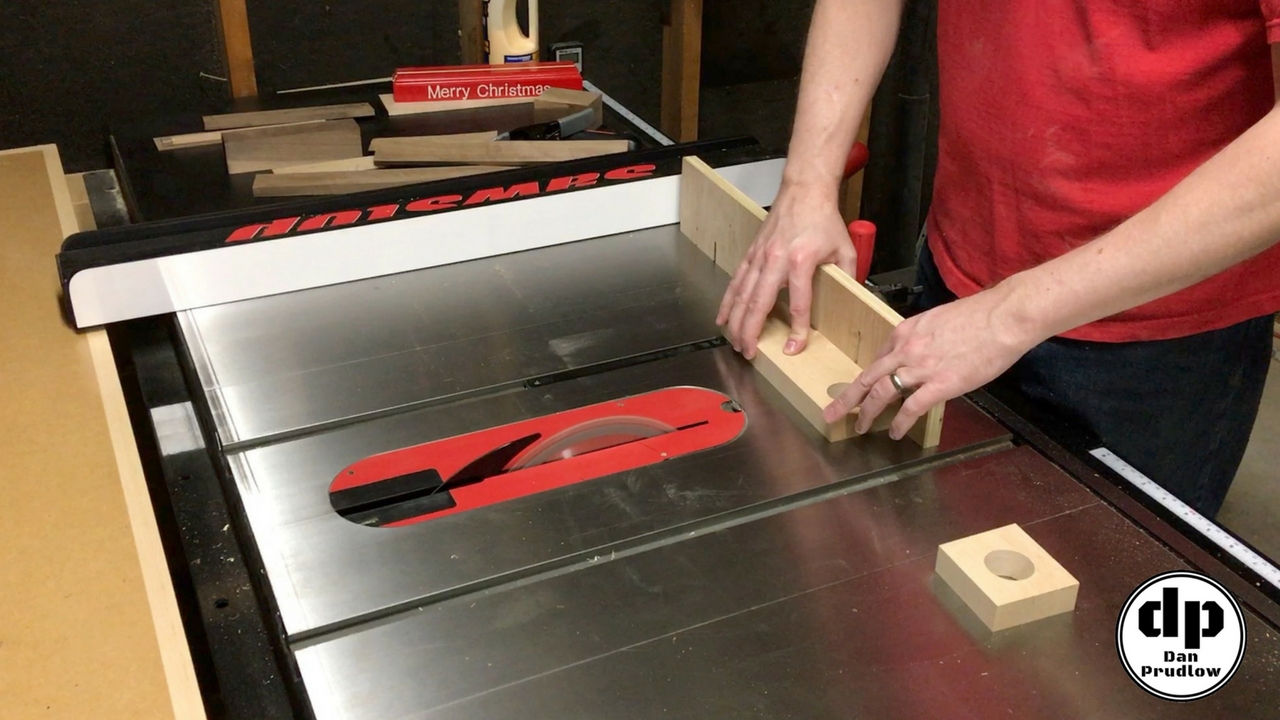
Cutting the Center Sections
Once I had the holes done I took the piece back to the table saw and set my miter gauge to 2 degrees and cut each of the sections with the holes free. Don’t worry about trying to cut them to perfect length. Leave them a little long and we’ll trim them later. The reason for the 2 degree bevel is to create an angled mortise when we glue this parts together. We’ll then be able to wedge the handle tenon into the angled mortise.
We now have all the main components cut for the wooden mallet build. We still have a little more work to do on the handle but we can start assembling the mallet head now.
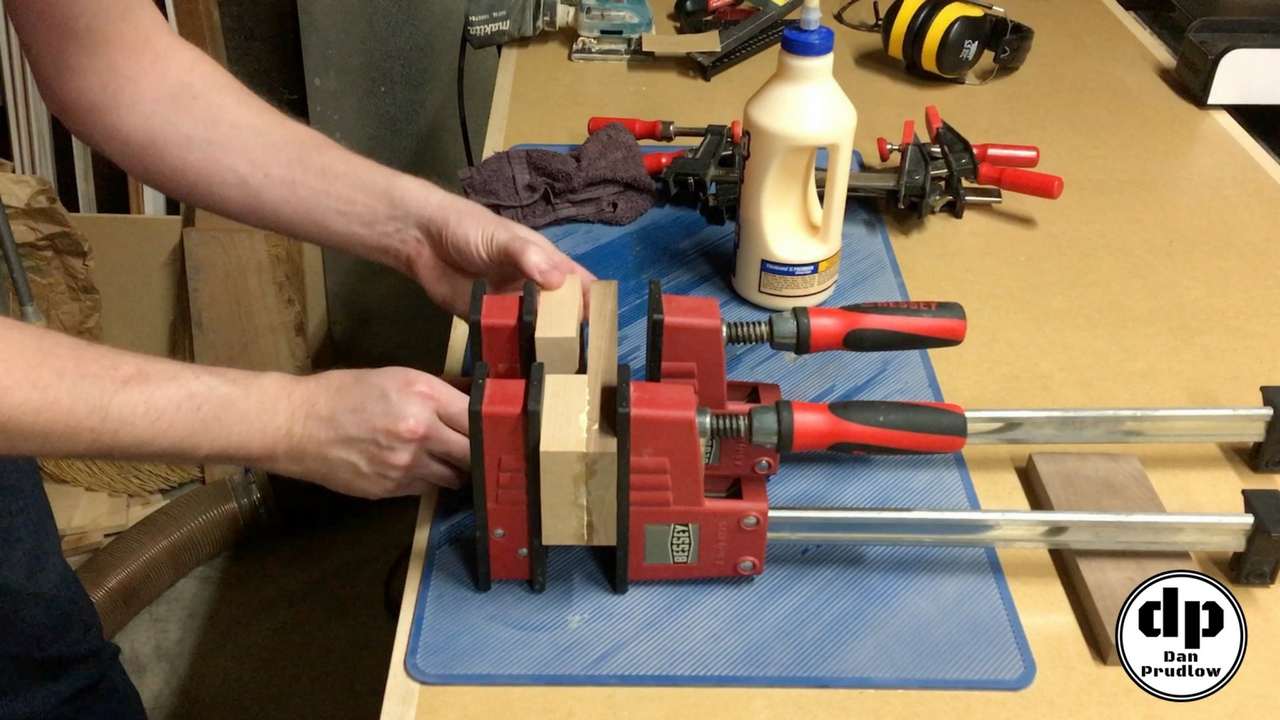
Starting Assembly of the Head
I started by glueing the two center pieces to one of the walnut sides. Make sure to pay attention to the angles on the maple parts. Make sure both angles are facing in and are going in the right direction to create the wedge shaped mortise.
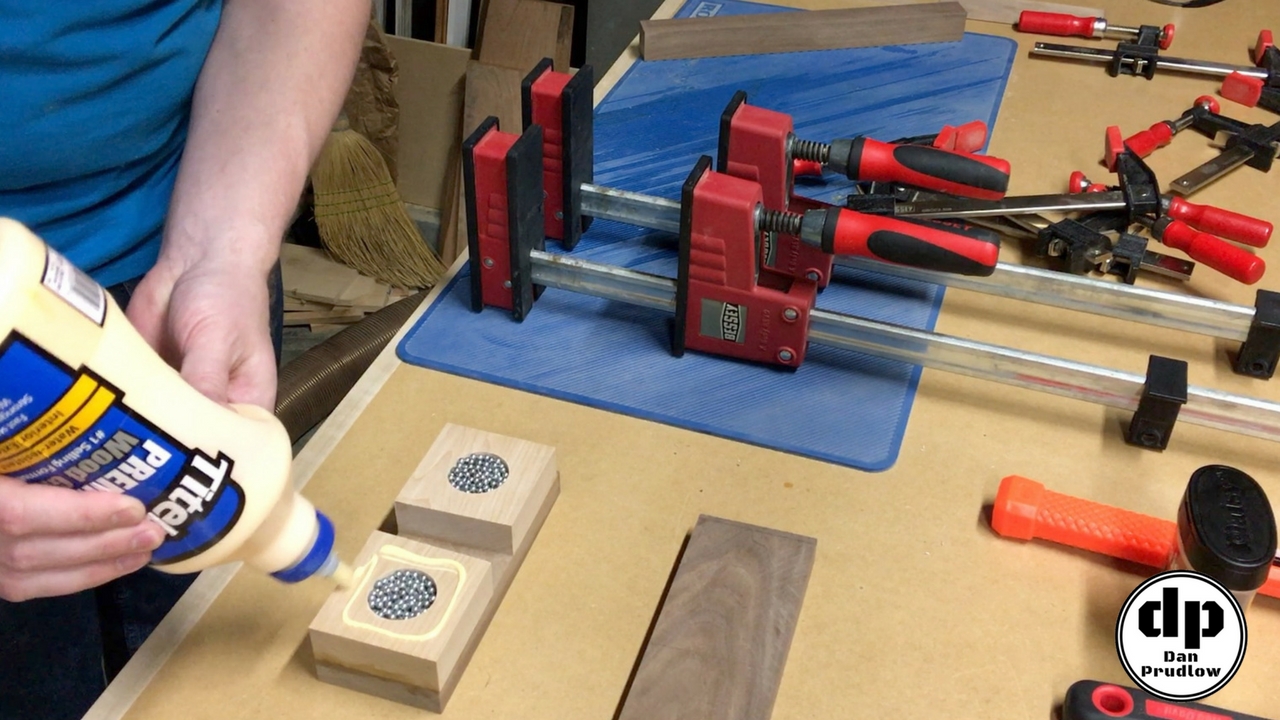
After the glue has dried take the block out of the clamps so that we can add the BBs. The BBs will add a decent amount of weight to the mallet which will help when we need to persuade things into place. If you want more of a dead blow mallet then don’t fill the holes all the way up. I was just going for a nice heavy mallet for this wooden mallet build so I filled the holes all the way up and then glued the other side on. You have to be careful here that you don’t accidentally spill all the bbs out when adding clamps.
Creating the Handle Tenon
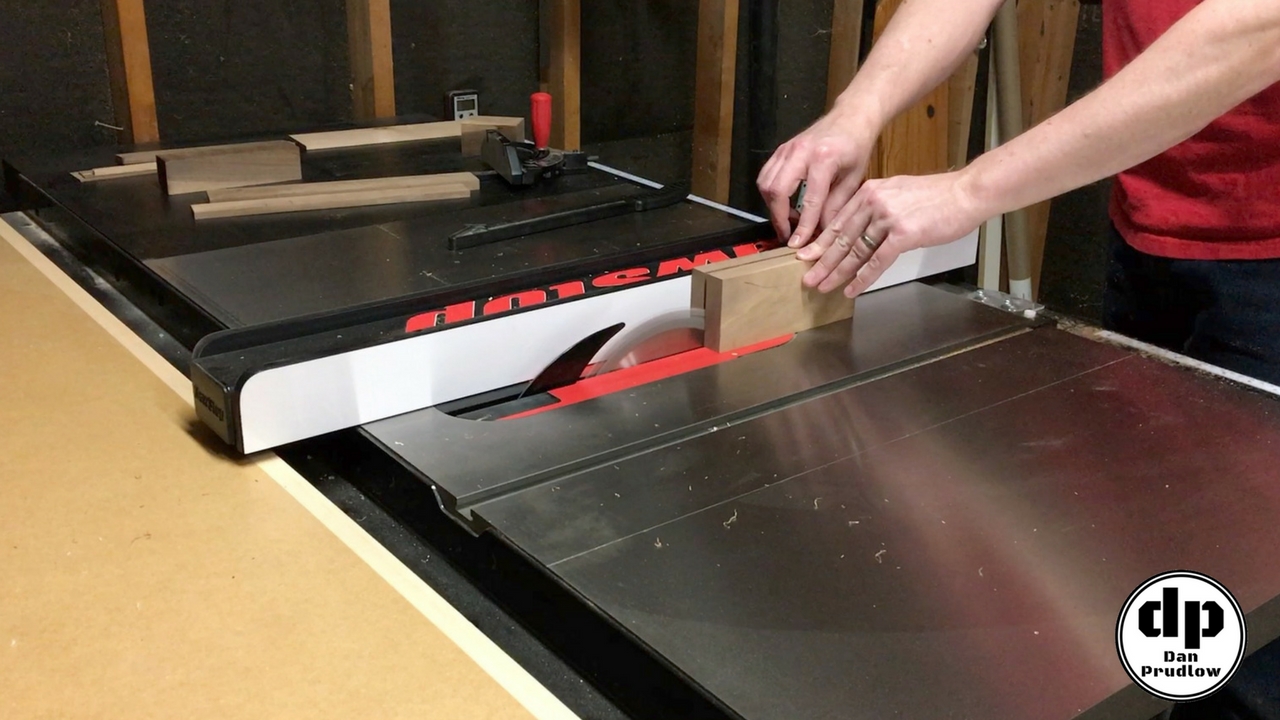
While the glue dried on the mallet head I turned my attention to the handle. I checked the final size of smaller side of the wedge mortise in the head and then took the handle over to the table saw and slowly worked my way around each side of the handle to create the tenon. I snuck up on the perfect size using only the very end of the handle and then completed the rest once I had the blade height dialed in. A bandsaw would have made this operation a lot faster but as I stated previously I didn’t have one at the time I made this.
Trimming the Mallet Head
The mallet head was now dry so I took it over to the table saw to trim the top and bottom to remove an glue squeeze out and then trimmed each end at 2 degrees. This is optional but it can help the mallet face make more direct contact with a chisel or other tool when using it in that manner. The key to this step is to make sure your mortise remains centered in the block when you trim the ends.
More Handle Prep Work
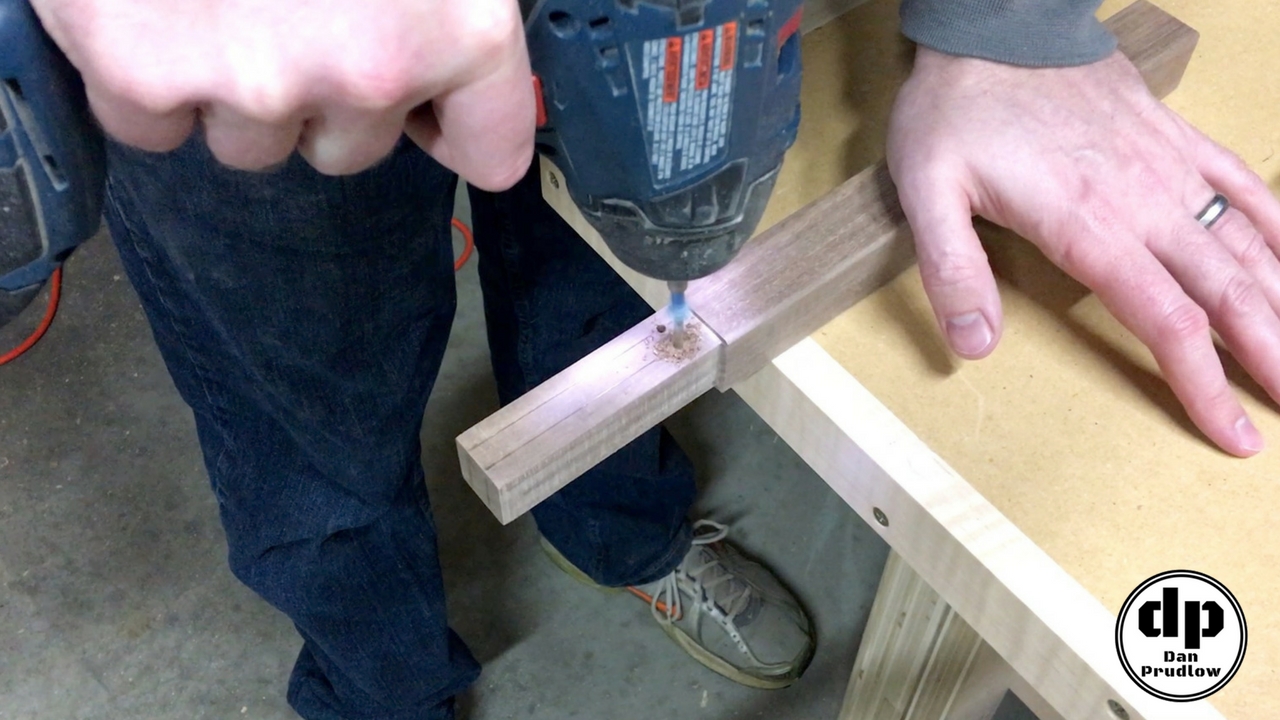
The head is now ready for sanding so I turned my attention back to the handle. I first determined where I was going to cut the tenon to create a place for the wedges to be inserted. I then drilled a hole at the base of each cut line and then made the cuts. These round holes at the end will help to prevent the handle from splitting when I drive the wedges in later.
I used the router table to round over each corner of the handle to create a fairly comfortable and smooth handle. A bandsaw and some hand tool work could definitely make a prettier handle but this will due for my needs. I can always make a fancier one later!
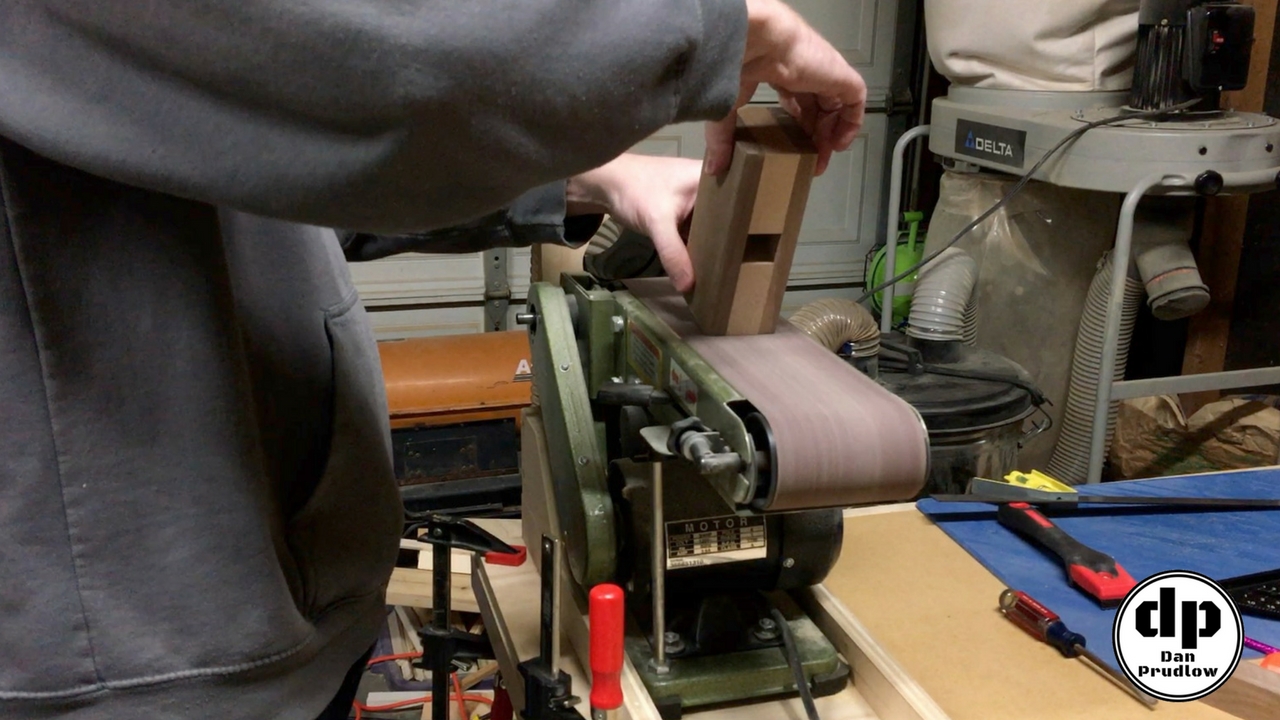
Time to Sand…Sand…Sand
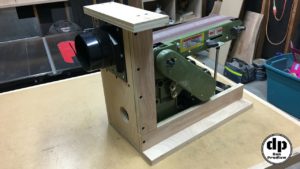
I gave everything a good sanding and rounded over all the edges of the mallet head in the process. The belt sander makes quick work of this operation.
Final Assembly
Now it’s time for assembly. I applied a lot of glue to the handle tenon and some inside the mortise and then slid the handle in. Next, I added glue to the wedges and inserted them into the handle and drove them in with mallet. Alternating back and forth between the two wedges or hitting them both at the same time will help ensure they are seated as equally as possible. You don’t want one wedge to drive all the way in and not allow the second wedge room to slide in. I just kept tapping and checking to make sure the handle was fully seated against the bottom of the head and I drove the wedges in as far as they would go and then set it aside to cure.
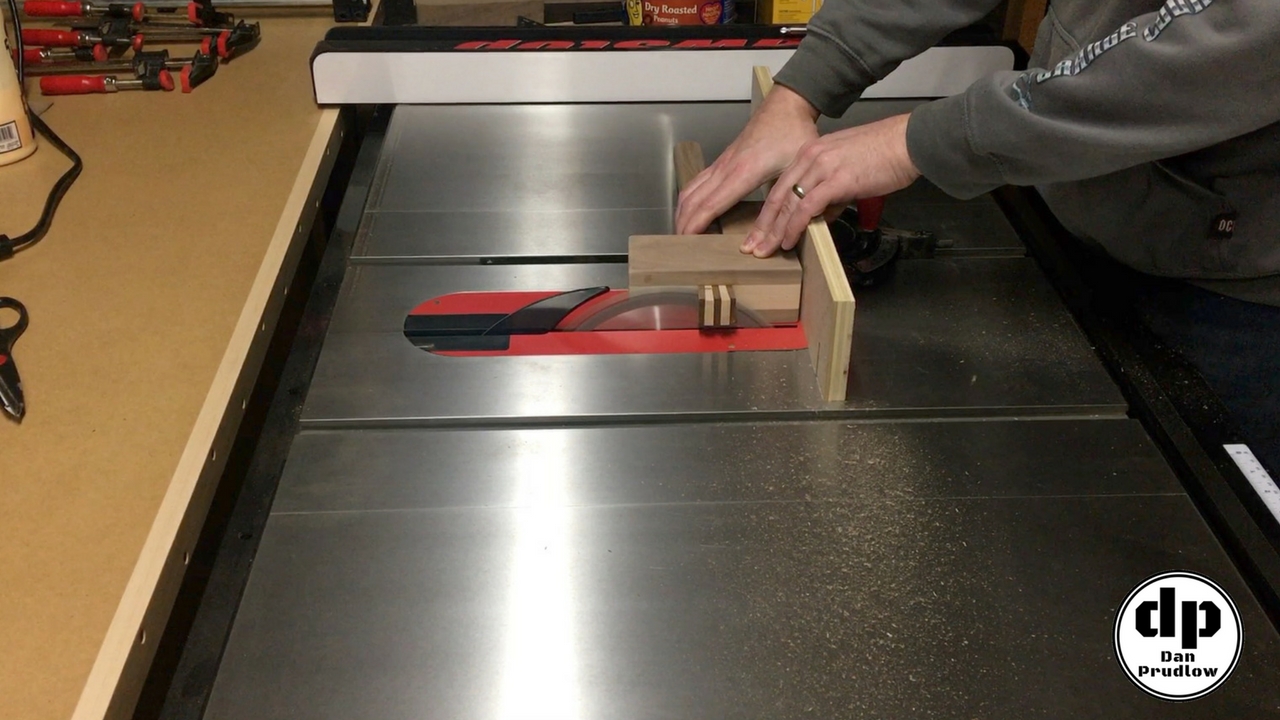
Trimming the Tenon
Once the glue had set I took the mallet over to the table saw and trimmed off the excess material. Depending on the look you want you could leave a portion of the tenon proud but I wanted my flat on the top so I just trimmed mostly off and then used the belt sander to bring it down flush with the rest of the head. I really love that wedged tenon look!
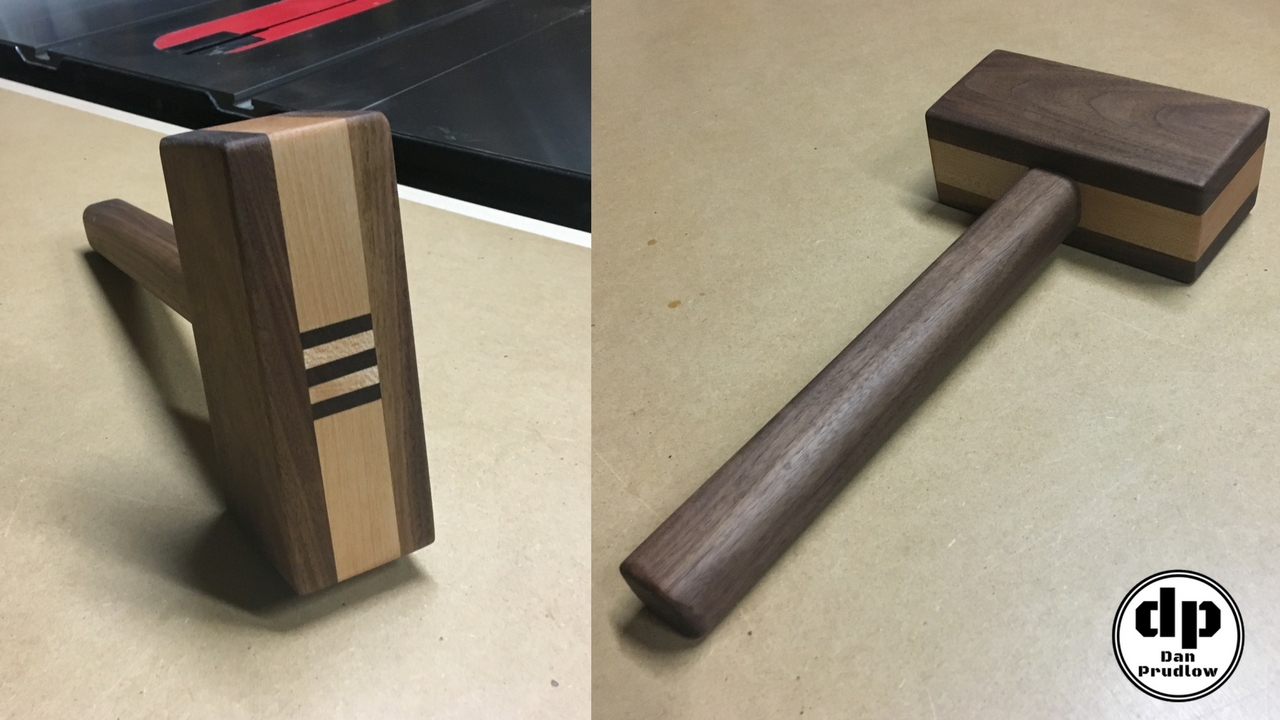
Finishing Time
A couple coats of danish oil and that’s a wrap on this wooden mallet build project. I really like the way this mallet turned out. It’s not perfect but for my first attempt I’m not complaining.
If you have any questions or comments leave them in the comments section below. You can also find me on Twitter and Instagram or you can send me a message via the contact page. Also, please be sure to get subscribed to my YouTube channel so you don’t miss any future builds!
You can find links to many of the tools, accessories, and finish products I use in my shop over on my Tools & Resourcespage.