Drill Press Stand – How to Build a Mobile Drill Press Cabinet
Why Did I Build This?
Like most shop projects, this one started with a need. I needed a drill press stand and it needed to be mobile. This serves two purposes for me working out of a garage as a shop and making videos. First, it allows me to move the drill press stand around so that I can position it for better lighting and cameral angles. Secondly, it allows me to rearrange the shop as needed to either create a better workflow or just cram everything over to one side so I can park one car in when there is severe weather. I live in the St. Louis, Missouri area and the weather can go from sunny to tornado really quickly so having things mobile at least affords me the chance to save one car from the weather.
How to Build a Mobile Drill Press Stand
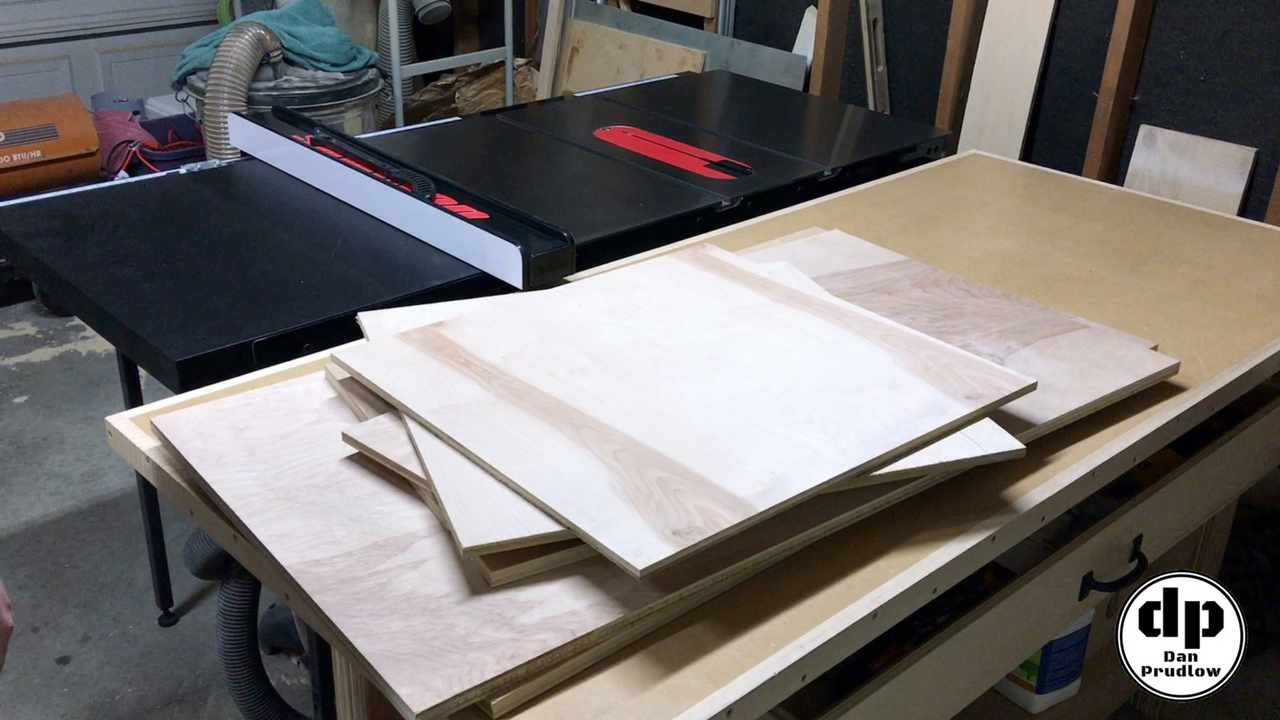
I built this cart/cabinet using left over plywood from my storage drawers build and another planer cabinet that I built but didn’t make a video on. Let’s get started.
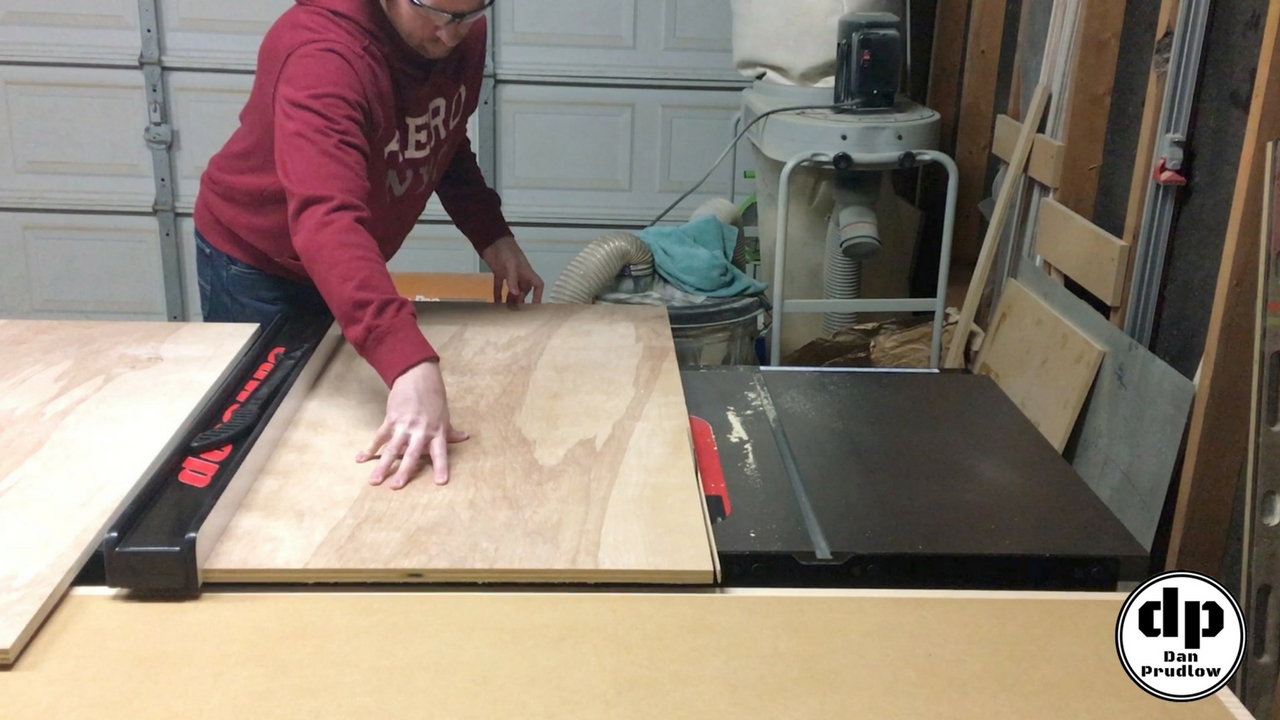
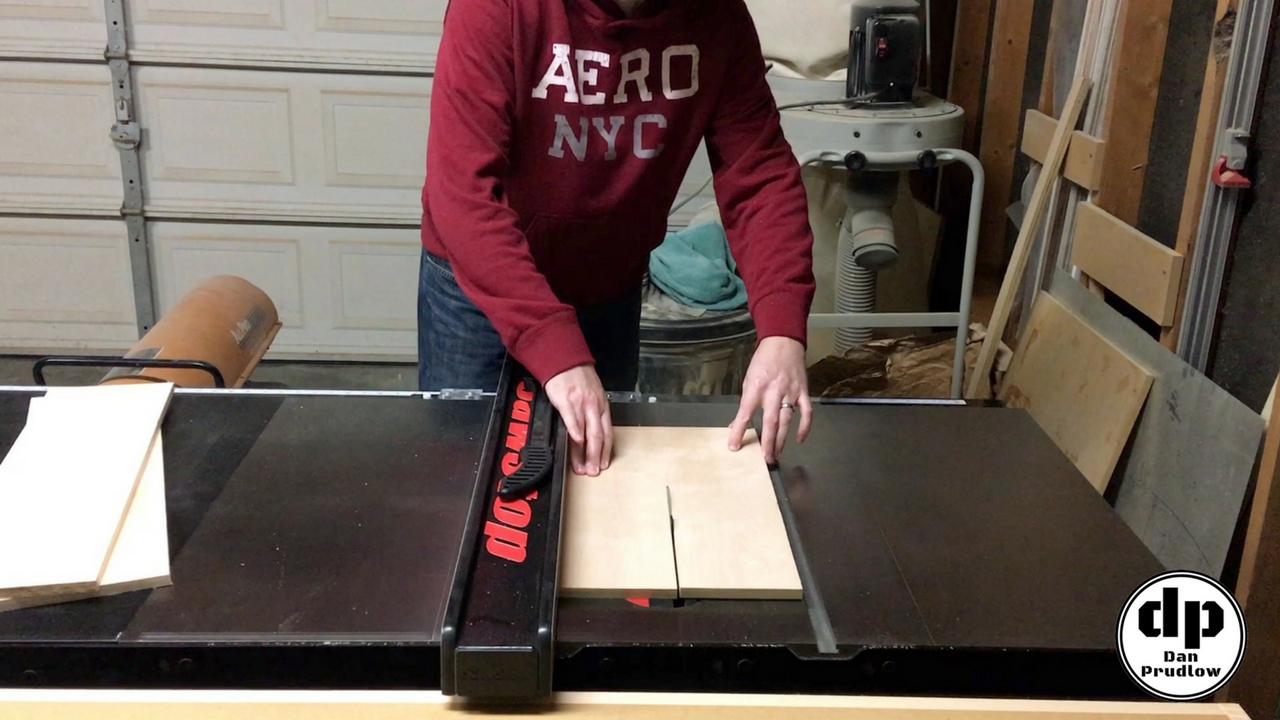
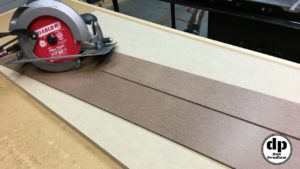
I began by trimming any rough edges at the table saw and getting the pieces down to final width. Because I had originally had the home center rip the plywood sheets for the other project in half there were still edges with significant chip out showing. I trimmed the dimensions of the drill press stand just slightly so that I could cut all all of the bad edges.
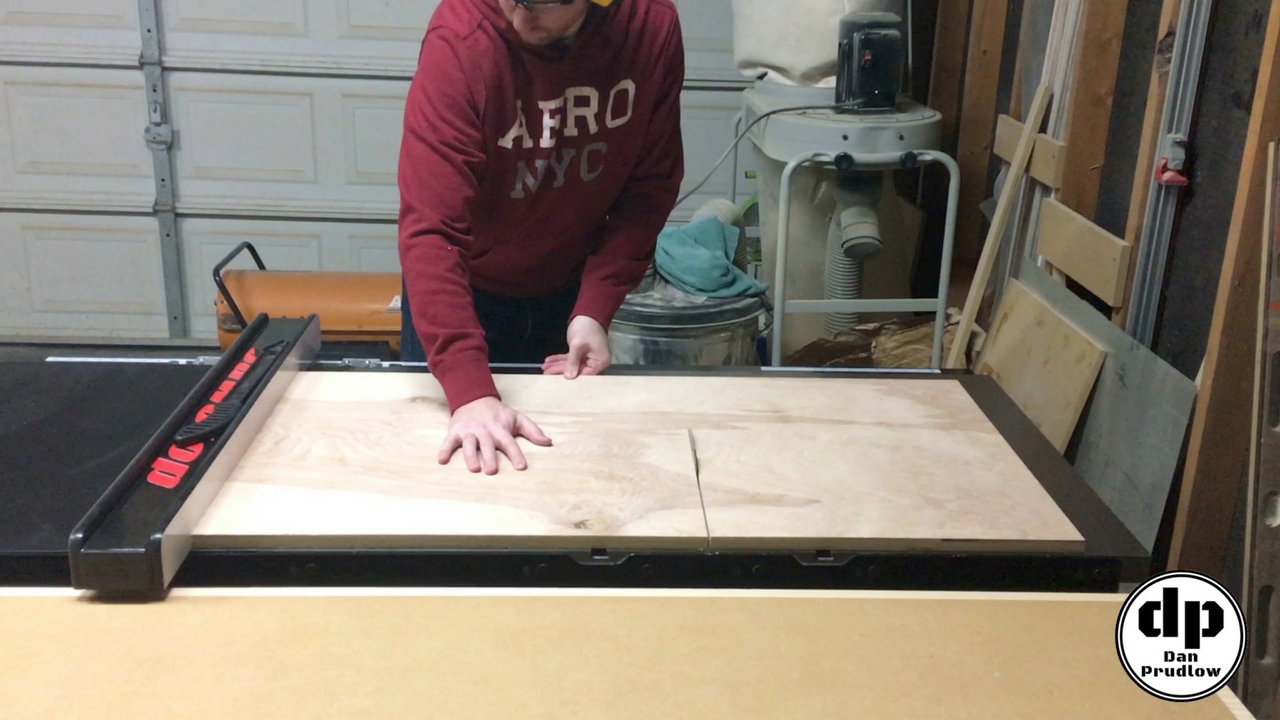
Next I moved on to cross cutting the large panels down. Each large panel was enough material for one side and one of the top/bottom pieces. I used another piece to cut the second top piece that will create the 1 1/2 inch thick top by laminating the two board together.
Rabbets with the Router
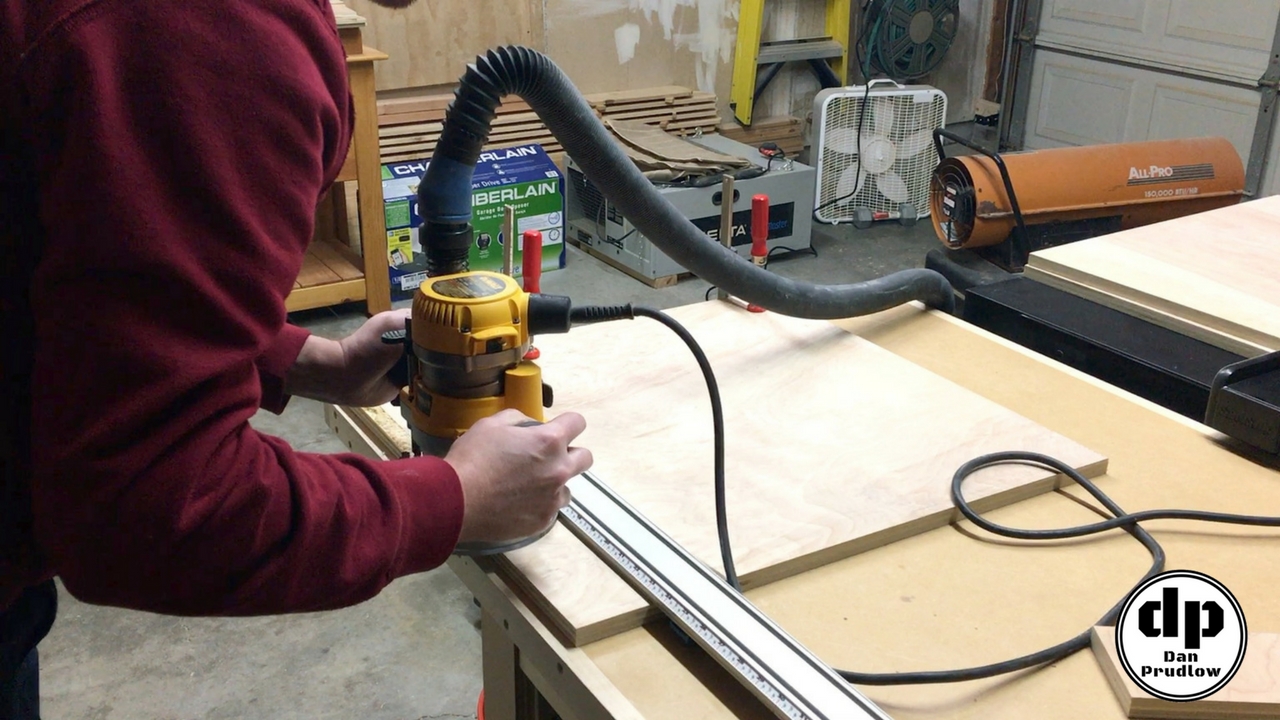
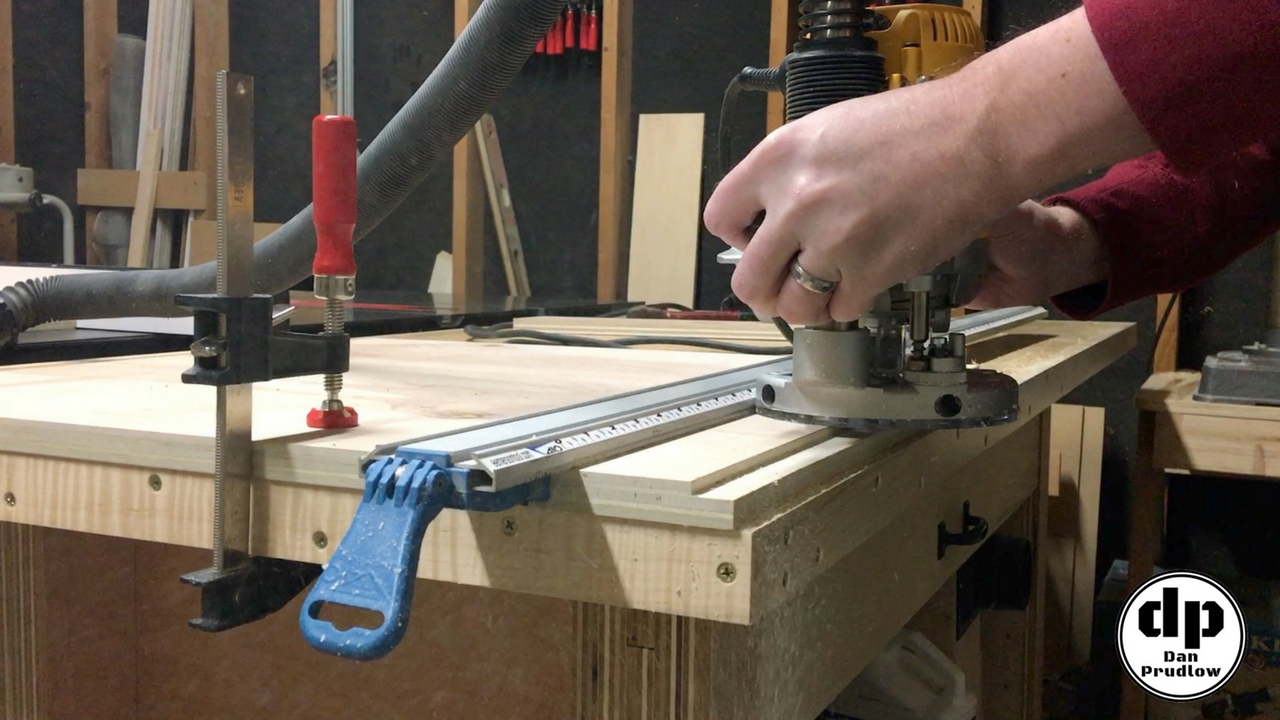
For the joinery on this drill press stand I went with simple rabbets using a strait bit in the router and an edge guide. If you are doing rabbets/dados for plywood with a router bit be sure to pick up the bits that are slightly undersized specifically for plywood. A true 3/4 inch bit will leave a rabbet or dado that is just a little too large for the plywood and creates a lot of headache when trying to assemble things.
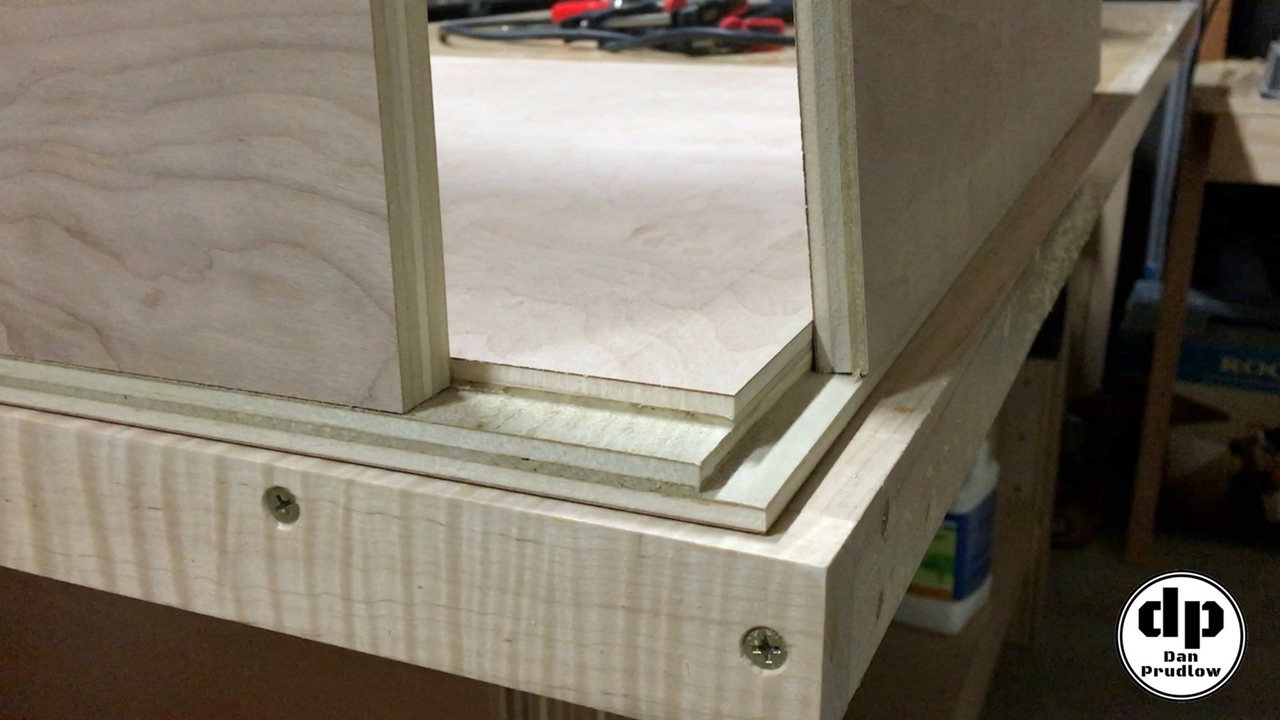
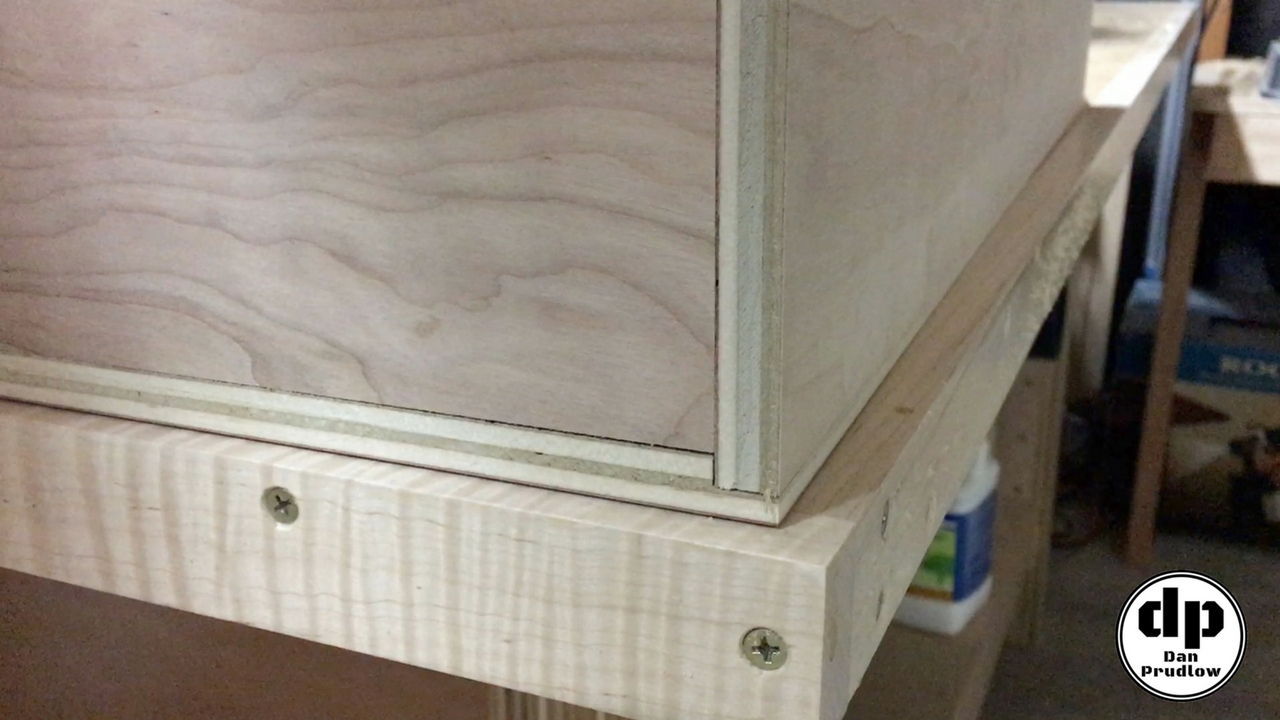
I cut the rabbets into the top and bottom edges of the two side panels about 1/4 inch deep. I then cut another rabbet along the back of each side panel. about 1/2 inch deep. You can see in the next two pictures how the parts come together. The large side panel is laying on the workbench. The panel on the right that is in the deeper rabbet is the eventual back panel while the left side in the shallower rabbet represents the top/bottom panels.
Assembling the Cabinet Carcass
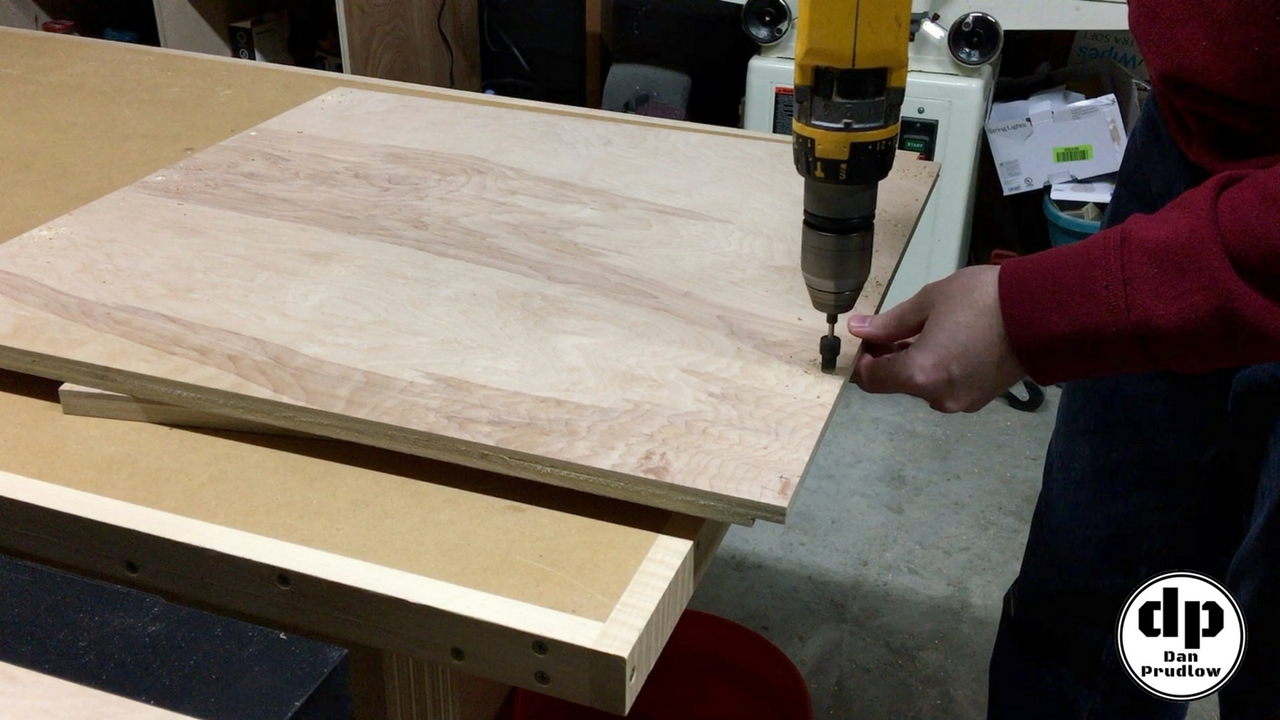
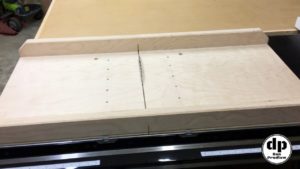
The next step is to assemble the main carcass of the drill press stand. I started by pre-drilling the countersunk holes in the two large side panels at the top and bottom.
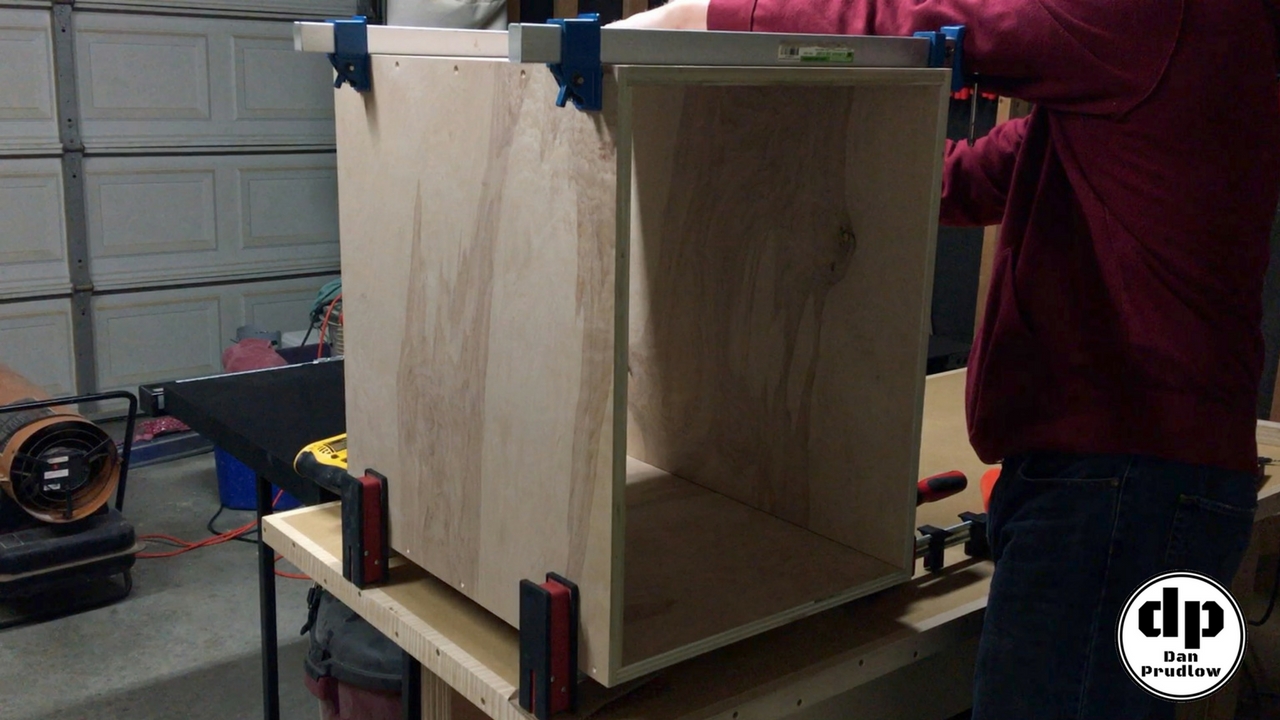
Next I then set the bottom panel on two parallel clamps and set the clamps so there was just enough room to slip the side panels in place and clamp them with light pressure…just enough that they wouldn’t move around too much. I then added glue in the rabbet for the top panel and slipped it in place. Before applying full clamping pressure I made sure all of my parts were lined up properly. The next step is to pre-drill and drive 1 1/4 inch screws in to hold everything in place.
Cutting Drawer Parts
While the glue was drying on the cabinet I went to work cutting the parts for the drawer. The drawer is made of 1/2 inch plywood for all 4 sides and the bottom. There will be a drawer front made from 3/4 inch plywood so I made sure to include that in my measurements when cutting the depth of the drawer sides. Also remember to take into account the spacing for the drawer glides.
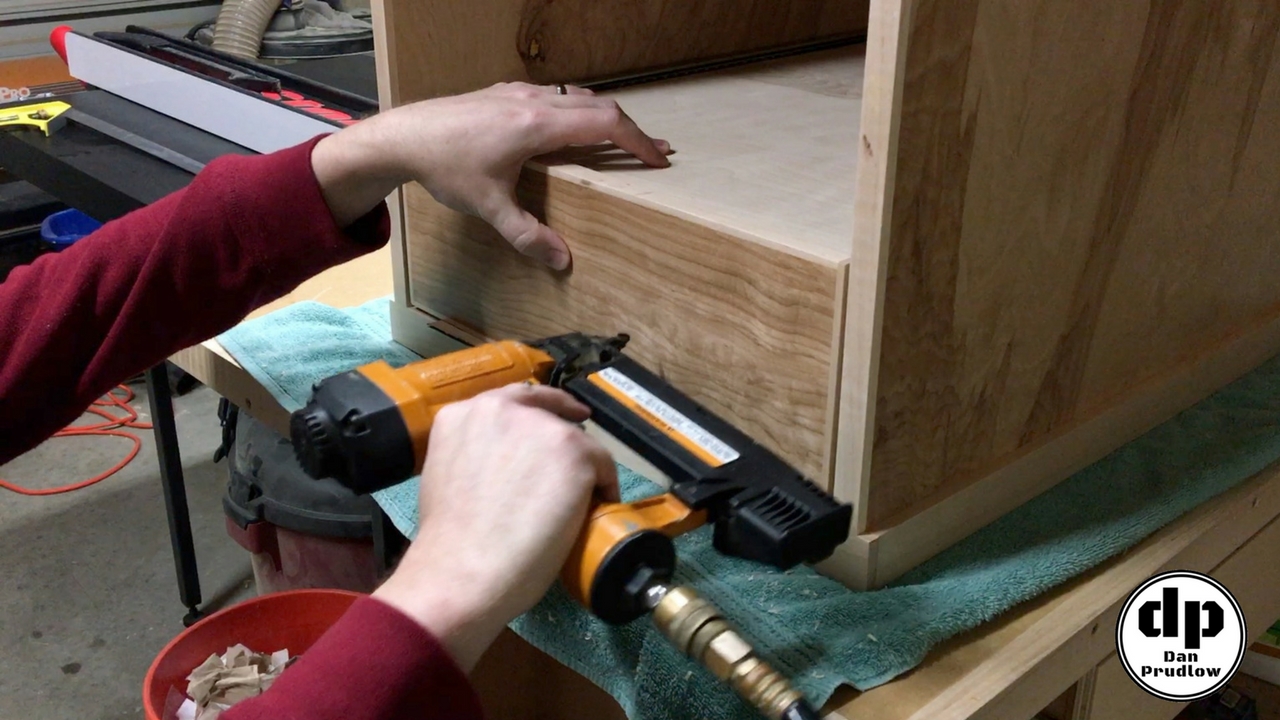
Drawer Assembly
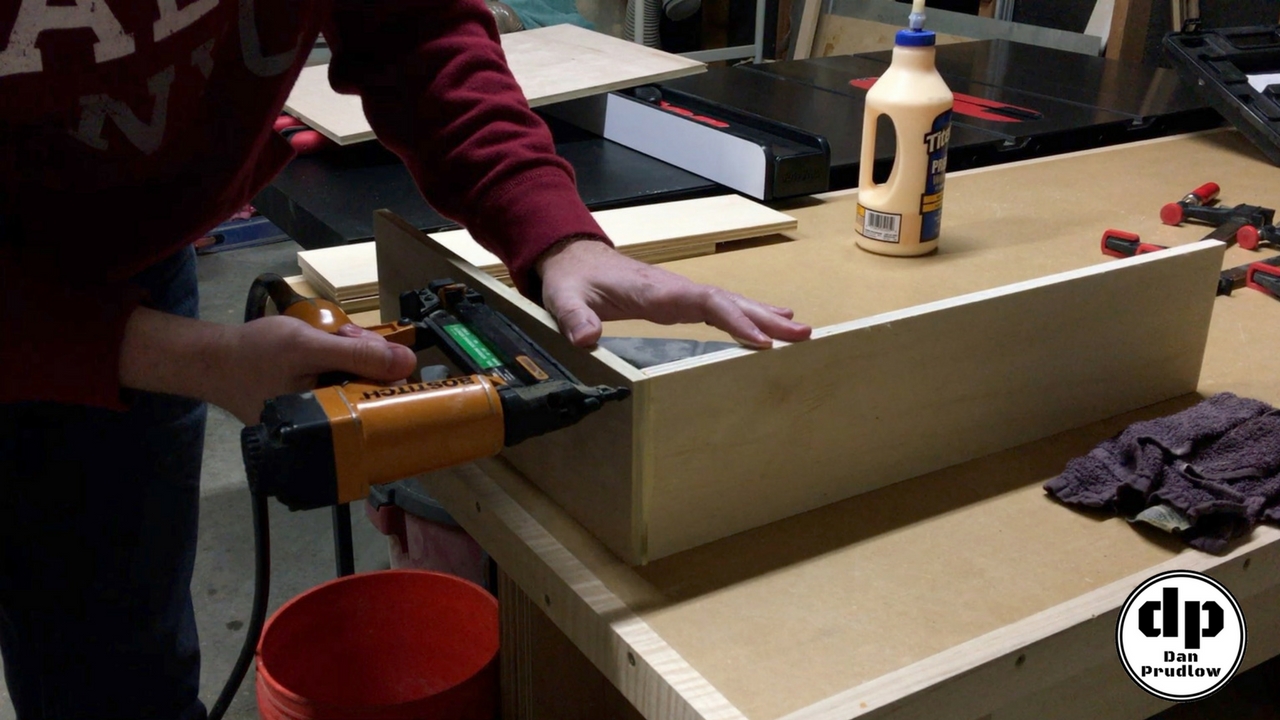
Assembly of the drawer is very basic, just glue and brads. I used a couple of old weights to help hold the pieces vertical while I shot in the brads. Keep those fingers clear of the surfaces around where the nail will go in just in case it comes out the top or side.
For the drawer bottom I just cut the piece slightly oversized and attached it with glue and brads. A couple of old weights work great for holding it in place while nailing it it on. I came back later with a flush trim bit on the router to remove the excess overhang from the drawer bottom.
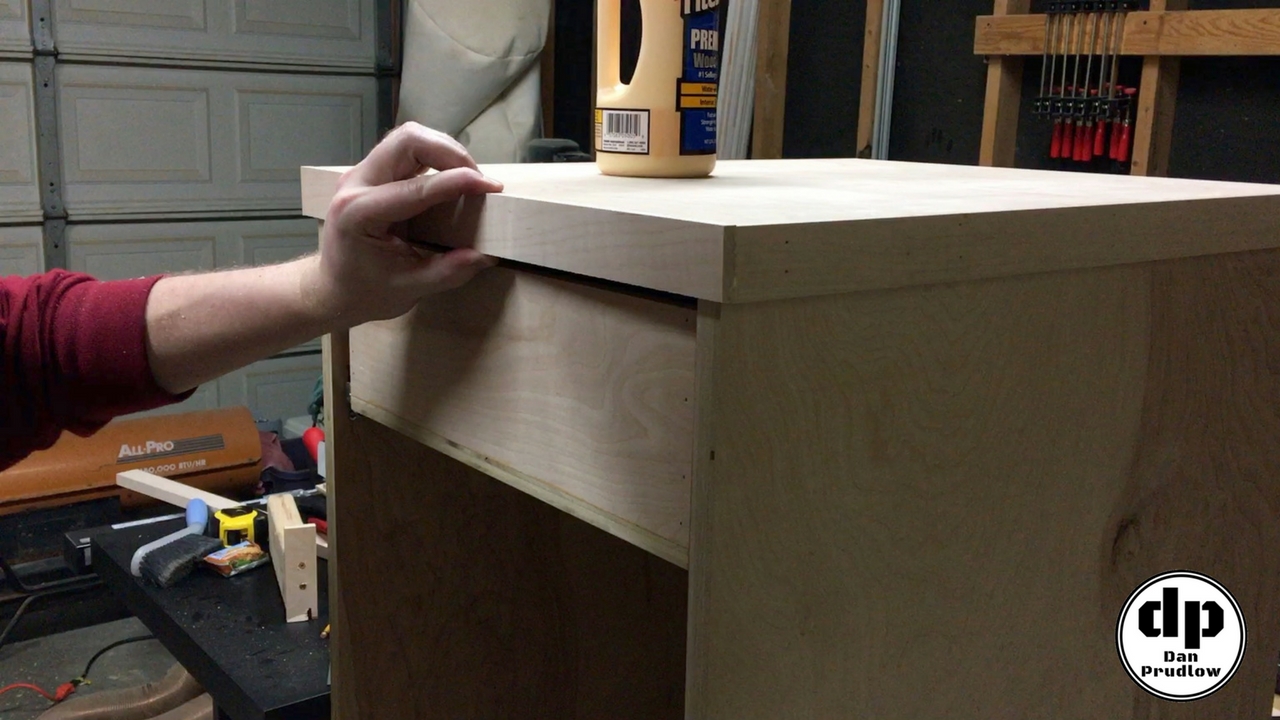
Double Up the Top
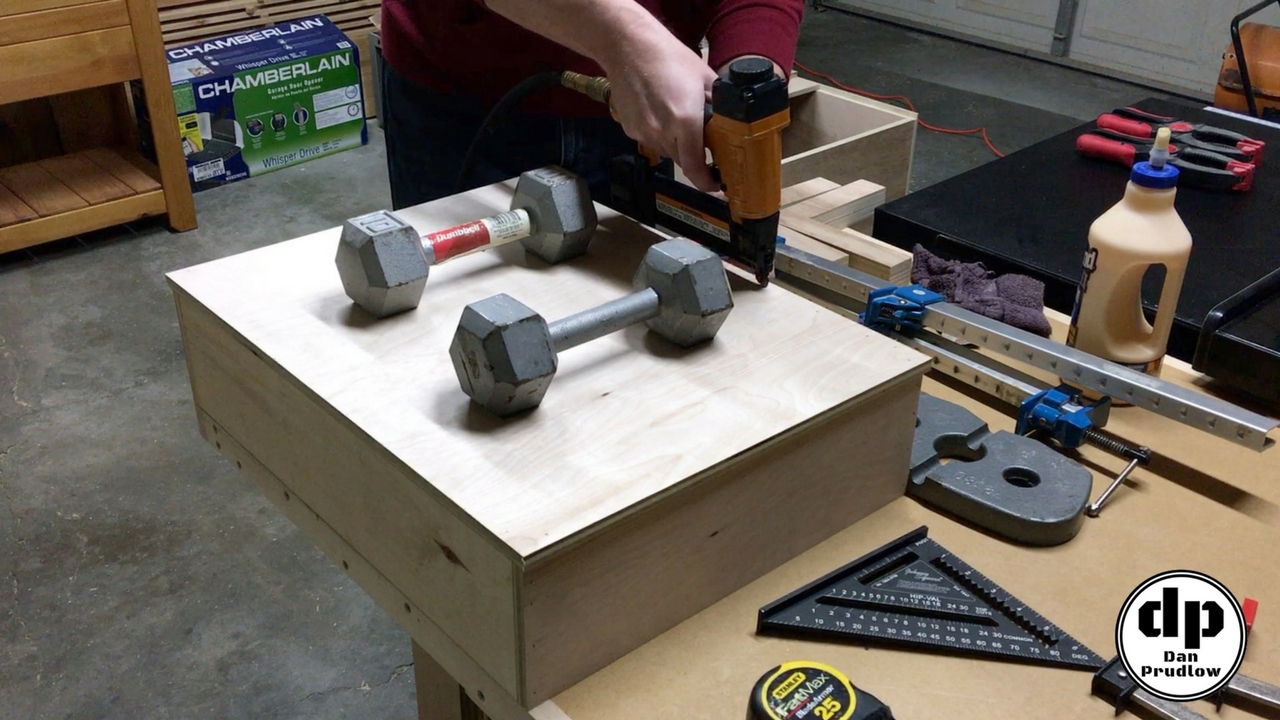
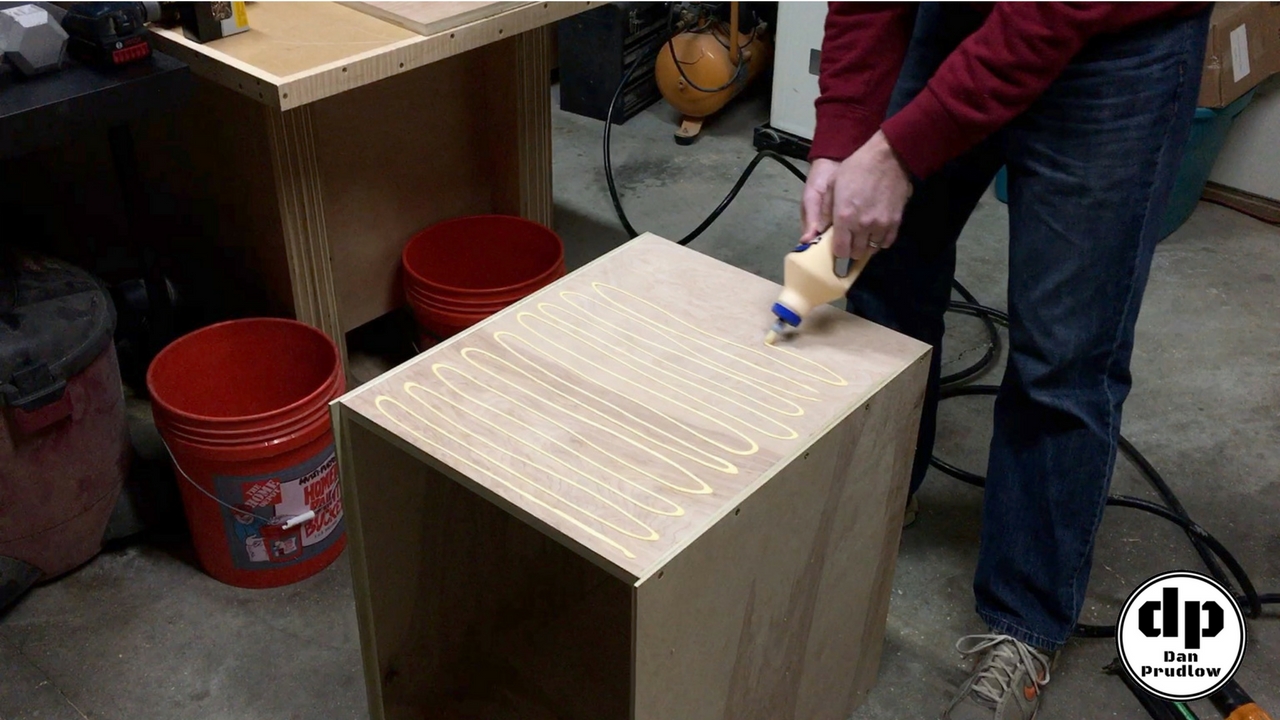
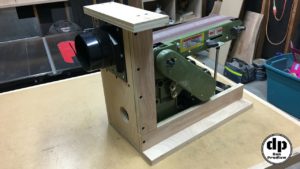
I now moved back to the main carcass and added the second layer of 3/4 inch plywood to the top of the drill press stand. The reason for doubling the thickness is to add support for the weight of the drill press that will sit here. I don’t want the top to sag and bind up the drawer front or anything like that. This extra layer makes the top 1 1/2 inches thick and super solid.
All we need to do here is add a decent amount of glue, set the top on, and fire a couple of brads from underneath to keep the top from moving around. I then flipped the cabinet over and added a bunch of screws. I’ve had a few comments about the number of screws I used and I know I went overboard. In this case they were the clamps so I wanted to make sure it was pulled down nice and tight to the other piece and not have to worry about using any actual clamps.
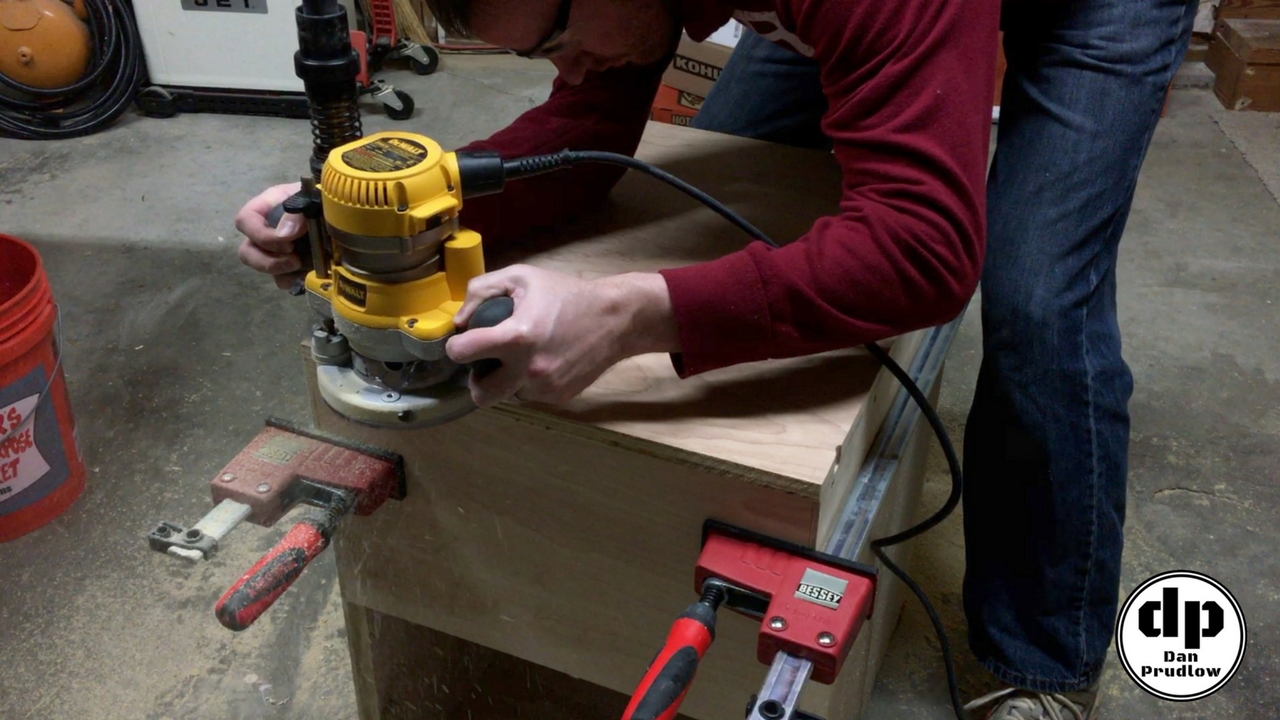
Flushing the Top Panel
I used a router with a flush trim bit to bring the second top piece down to the same size as the rest of the cabinet. If you watch the video you will see I had a slight malfunction with the guide bearing on the bit. It came off and I ended up making a pretty big gouge in the top. Not a big deal since it’s for the shop but definitely a lesson learned. A little dab of thread lock would have prevented the screw from coming loose in the first place.
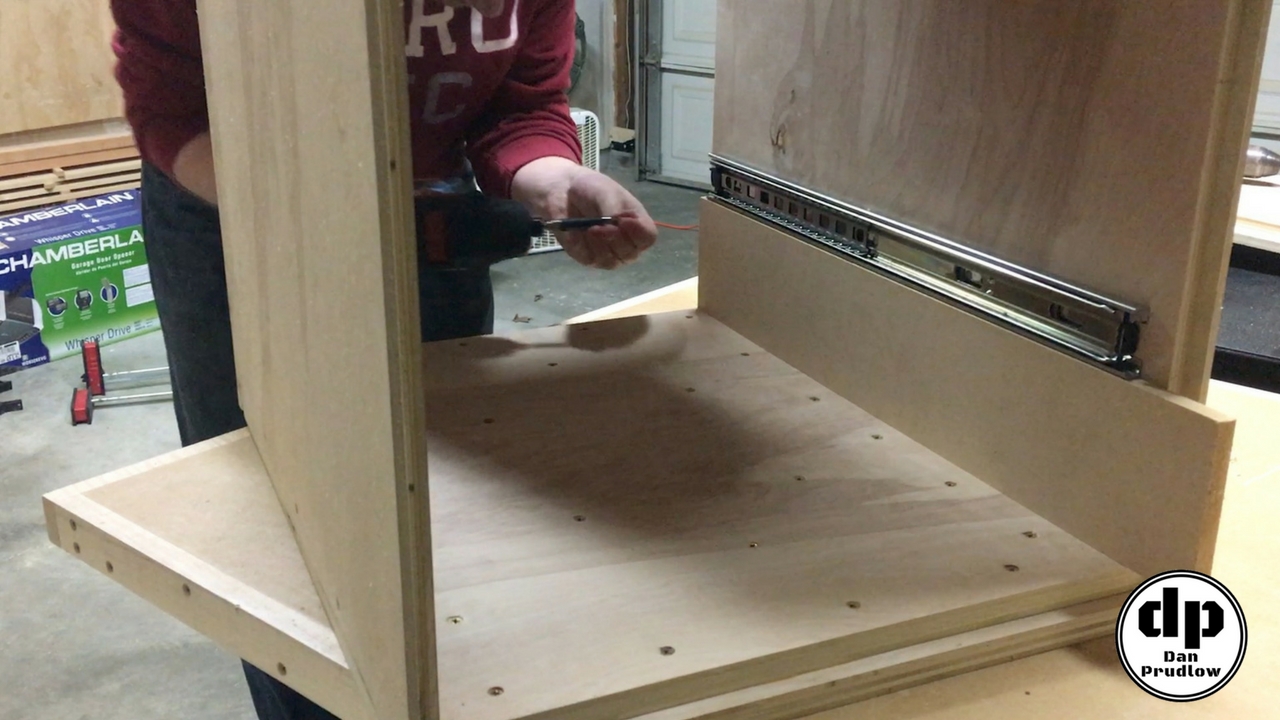
Installing Drawer Slides
To install the drawer slides in the drill press stand I cut a scrap piece of MDF to the proper size such that the drawer slide could sit on top of it and be in the exact position I needed it to be. All I had to do was drive in the screws.
For the portion of the drawer slides that attaches to the drawer itself I aligned it with the front face of the drawer and along the bottom edge of the drawer. This made the alignment very easy.
Covering the Exposed Plywood Edges
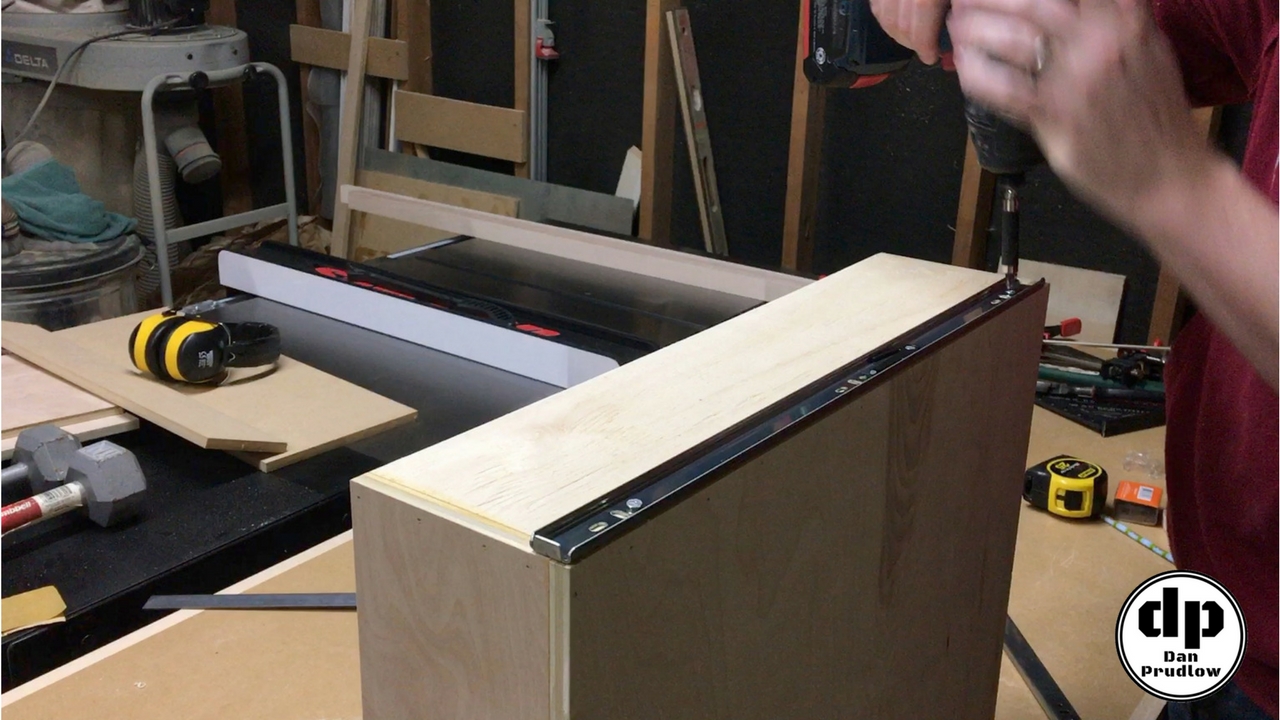
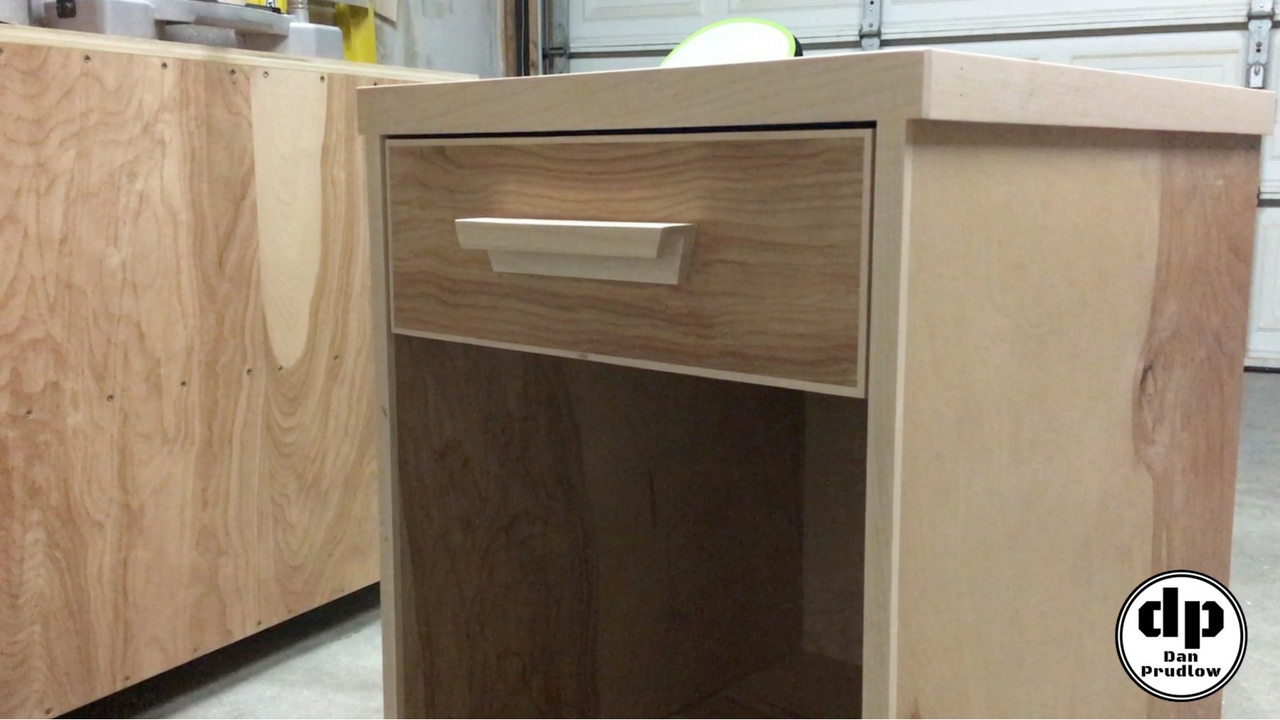
With the drawer installed I moved on to adding a little bit of trim to cover the exposed plywood on the face as well as on the sides of the cabinet. I didn’t do anything to cover the exposed edges on the back since that won’t be seen most of the time. I cut strips of maple about 1/4 inch thick and attached them with glue and brads.
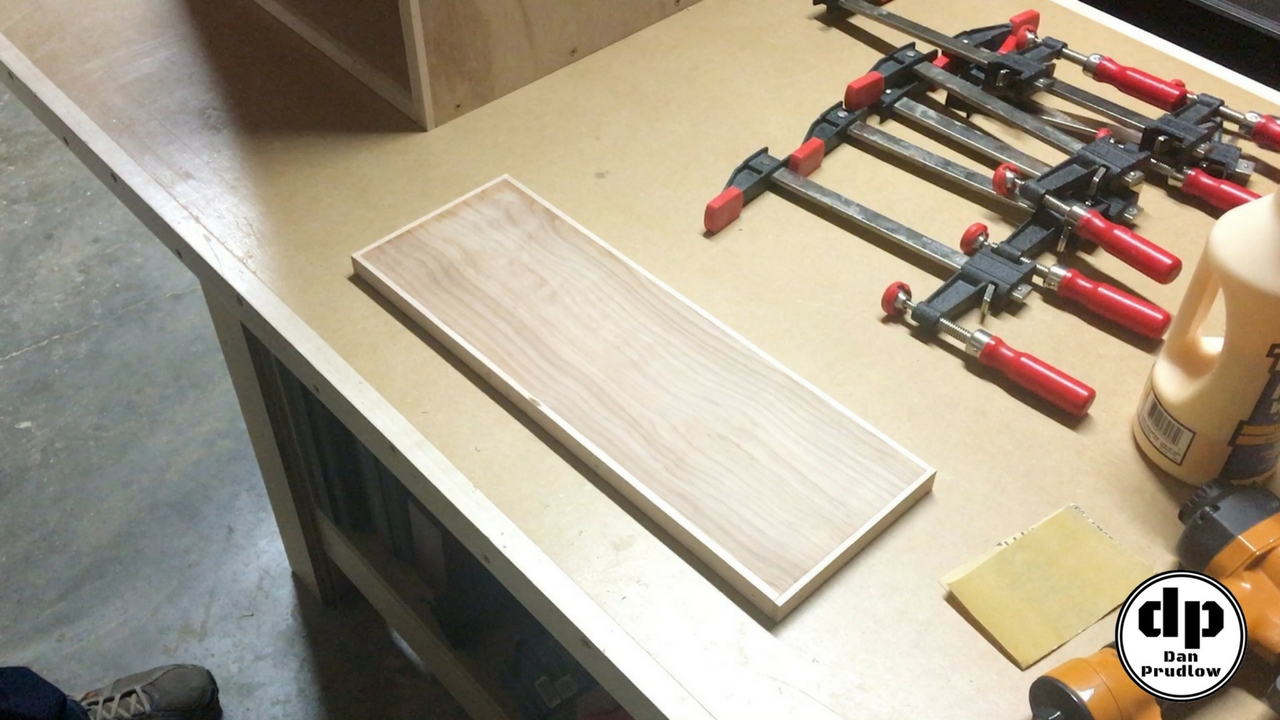
That basically completed the cabinet. All that was left was the drawer front and drawer pull. For the drawer front I cut down a piece of 3/4 inch plywood and wrapped all for sides with the same maple trim.
To install the drawer front I flipped the cabinet over and used a strip of cardboard as a spacer to create an even reveal around the drawer front. I added a couple of brads to hold it in place and then added screws from inside the drawer.
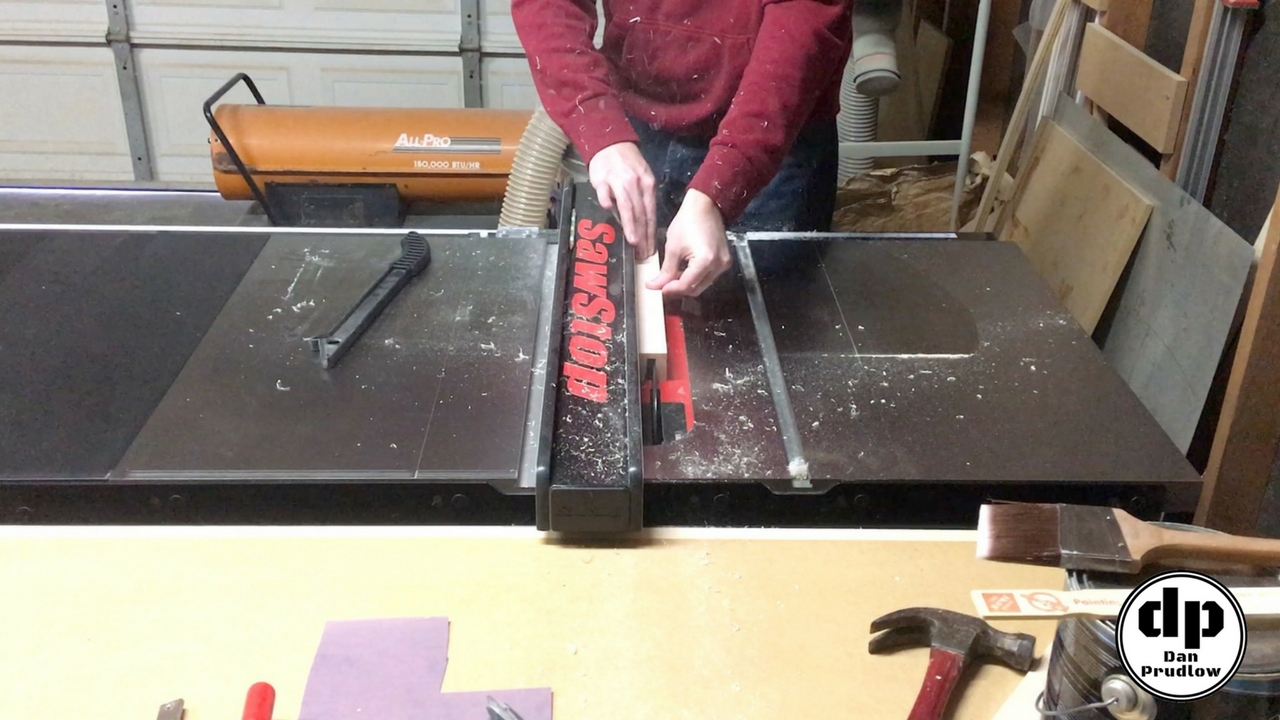
Shop Made Drawer Pull
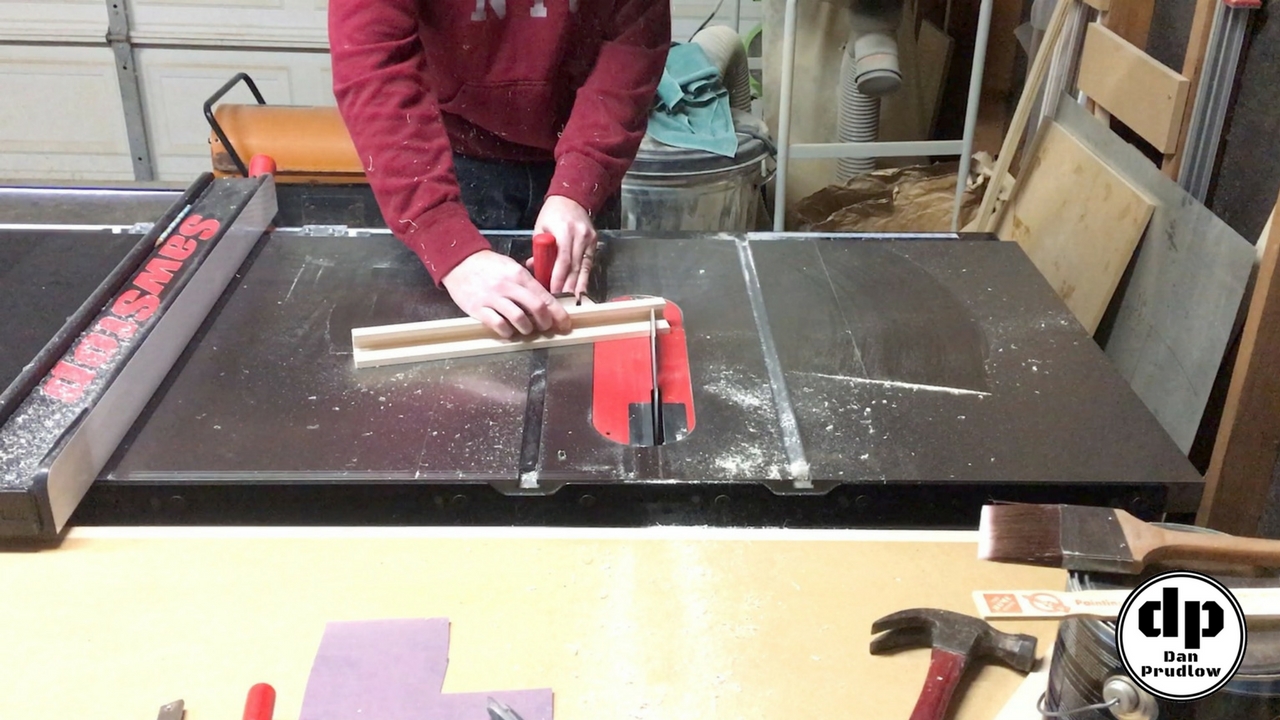
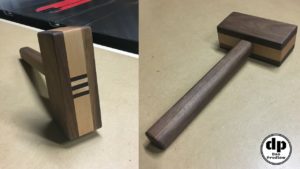
The last thing we need is a drawer pull. Now you could very easily pick up a cheap handle at the home center but a few weeks prior to making this cabinet I saw a video by John Heisz on making drawer and cabinet pulls so I wanted to give it a try. I glued up a couple pieces of maple, milled them down to size and then proceeded to make the cuts needed to form the drawer pull. It turned out much better than I expected for being my first attempt.
I installed the drawer pull by pre-drilling holes from inside the cabinet and then driving in some short screws. It worked perfectly and the pull not only looks good but it’s rock solid.
Project Wrap Up
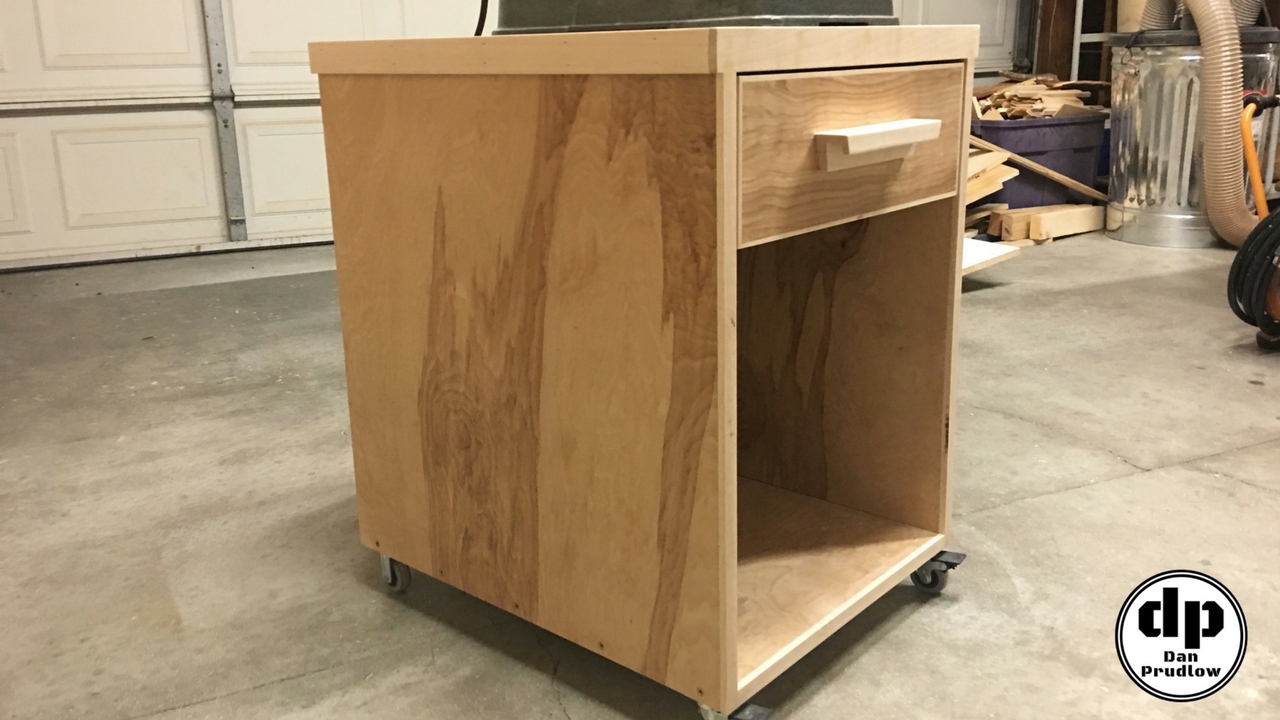
To finish this one off I added a couple coats of water based polyurethane. And with that the drill press stand is done! This cart has been really nice to have in the shop. I can keep drill related items in the drawer and move it around as needed.
If you have any questions or comments leave them in the comments section below. You can also find me on Twitter and Instagram or you can send me a message via the contact page. Also, please be sure to get subscribed to my YouTube channel so you don’t miss any future builds!
You can find links to many of the tools, accessories, and finish products I use in my shop over on my Tools & Resourcespage.