If you have ever used a sander of any kind you know they kick up a lot of dust unless you have a really good belt sander dust collection setup. This stationary belt sander from Harbor Freight works really well and has seen a lot of use in my shop, I’d highly recommend getting one…for the price you can’t really complain too much. The sander does come with an attachment to use with a shop-vac but dust from a sander is really fine and clogs up the filter of a shop-vac really quick. I have a larger dust collector so I wanted to figure something out where I could utilize it with this sander and I came up with this stationary belt sander dust collection solution.
If you are familiar with this sander you will notice right away that the small 6 inch disc sander has been removed. I rarely used it and it was impossible to contain the dust so I just took a few minutes and removed the disc and plastic shroud. Removing this disc sander allowed me to close in the area right around the end of the belt without having to worry about clearance for the disc sander parts.
Using Up Those Scraps that You Just Can’t Throw Away
If you are anything like me you have a hard time throwing away many of the small off cuts and you have an ever growing pile somewhere in your shop. This belt sander dust collection project was made completely with small scraps of 3/4 inch plywood which is why it is somewhat of a hodgepodge of pieces. Shop projects like this are a great way to use up those scraps that you just can’t bring yourself to throw away.
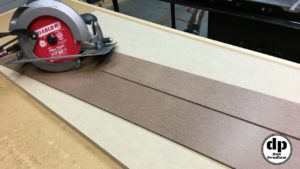
I started by breaking things down at the table saw. This was a “design on the fly” type of project with no real plan to work from. I jotted down some basic dimensions for some of the larger pieces and then went from there.
No Plans No Problem
After breaking down the larger piece of plywood to make the base and the two larger vertical pieces I set the sander on the base and laid out a few of the other pieces to get an idea of how things would come together. Next, I made a few measurements and then marked where the 4 inch port for the belt sander dust collection would be mounted.
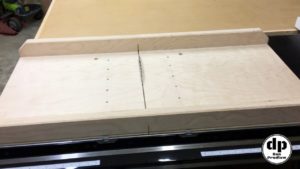
I notched out the side support so that I would have full access to the entire sanding surface. You will notice in the picture below that I have the blade on the saw raised all the way up. Of course this is not typically how you would set the blade but for this particular cut I wanted the least amount of undercut from the blade. Raising the blade as high as possible makes the cut near the table almost vertical. Obviously a band saw would be the better way to make this cut but at the time of this project I did not have a band saw.
Making a Big Hole from Smaller Holes
To create the hole for the dust port I used a forstner bit to remove the majority of the material. Additionally, I made the smaller hole for access to the on/off switch while I was already at the drill press. Next, I used a router with a flush trim bit to clean up the dust port opening by first attaching the dust port to the piece and then running the guide bearing along the inside of the dust port to create the final shape of the opening.
Piecing Things Together
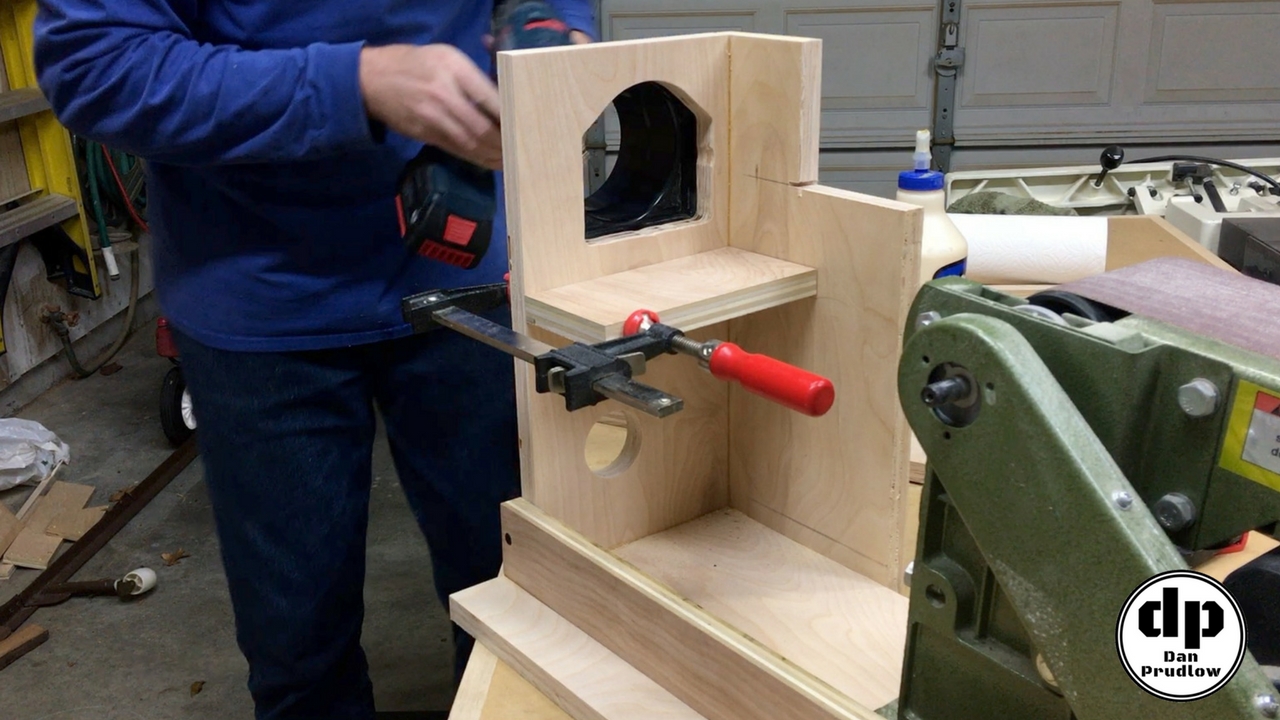
With all the main parts cut I started assembly of my belt sander dust collection solution. I used glue and a lot of screws…nothing fancy here. Yes I know there are an abundance of screws but when it comes to shop projects I don’t really like to wait around for glue to dry. For this reason I use the screws as clamps to speed up the assembly process.
The horizontal piece that I placed below the dust port will keep dust from falling down into the space where to power switch is located. As a result, it will keep as much dust as possible going into the port.
Vertical Sanding
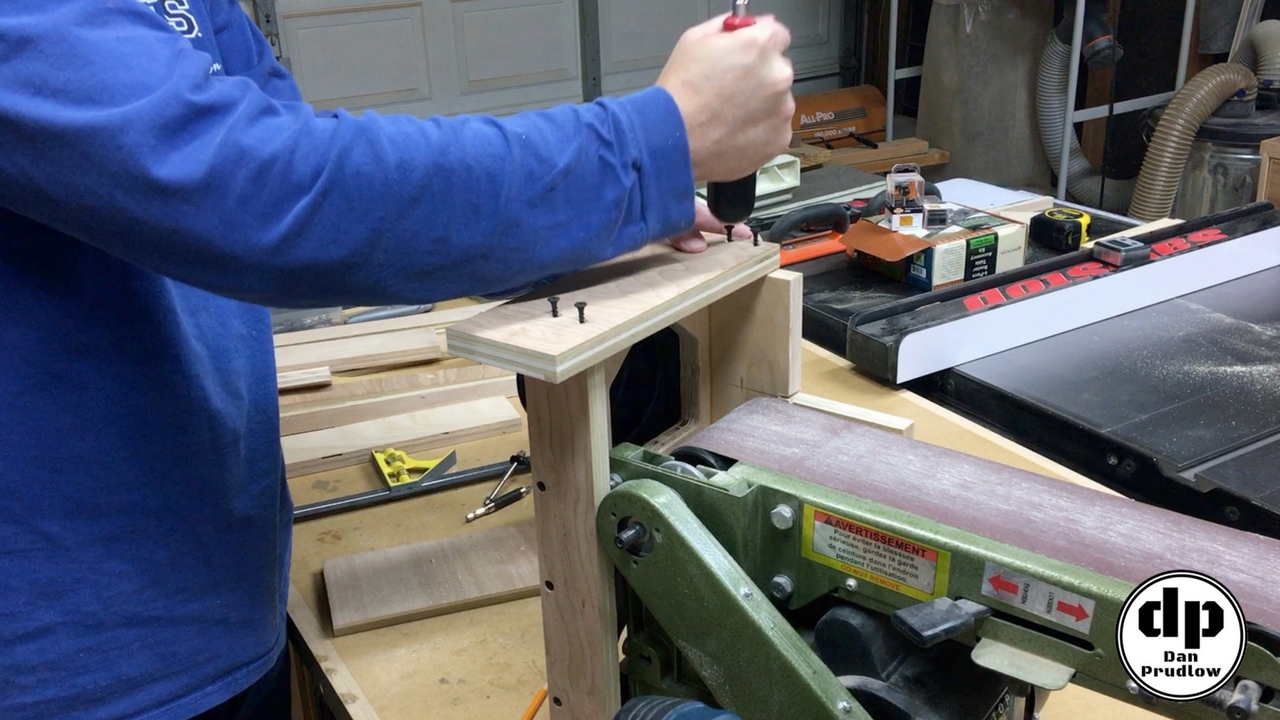
From time to time you may want to use the sander in the vertical position. To make better use of the sander in the vertical position I added a small support piece. Even though it’s rare I would use the sander this way I can now rest a small workpiece on this surface to round off corners or other such procedures. I pre-drilled four holes and then put the screws in just enough that the tips were sticking out the other side. I lined the piece up where I wanted it and then used my screwdriver to give each one a tap. This marked the lower supports so I knew where to drill my pilot holes. After drilling the holes I attached the piece.
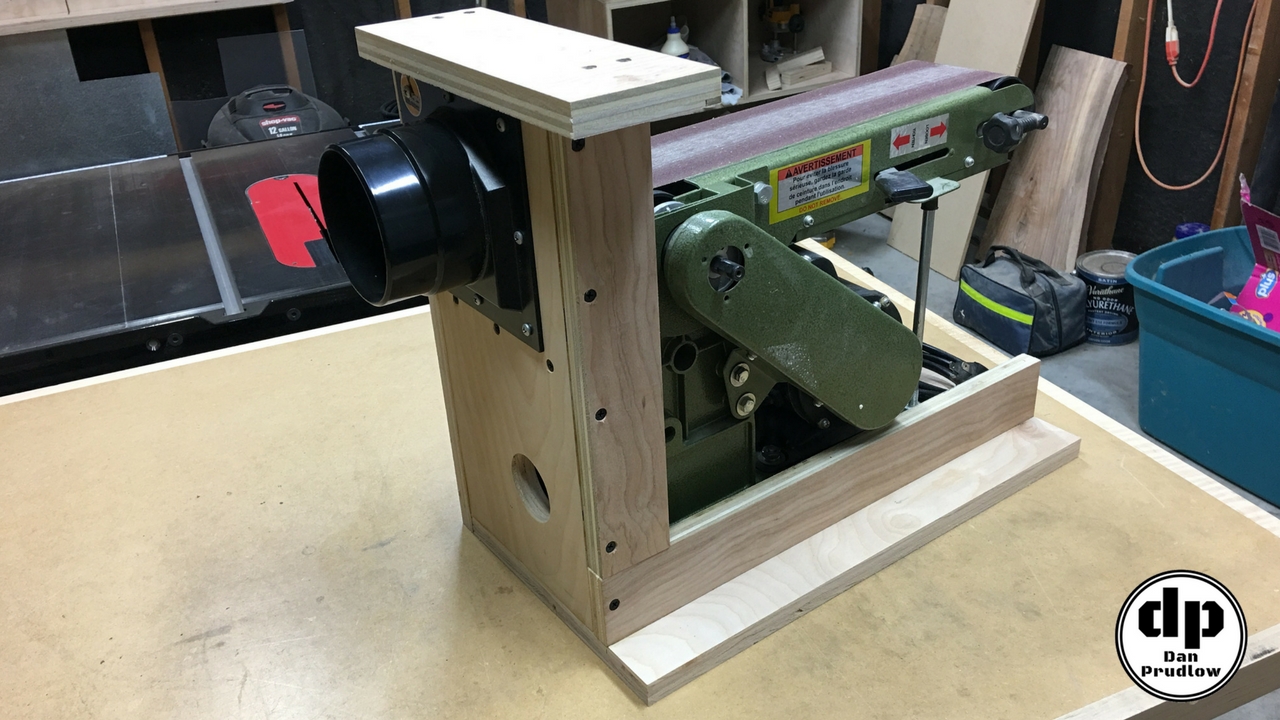
That’s it! I’m now able to utilize my 4 inch dust collection hose on the sander using one of Rockler’s DustRight connectors. My shop is my garage and everything is mobile so I just move the dust collection hose around to each tool as needed.
The small support table for sanding in the vertical position works great too. Here is an picture of the test piece I used and rounded off the corners of a piece of 1/2 inch plywood with ease.
Let’s Get Sanding
That’s a wrap on this one. This is a fairly simple shop project that anyone can do with just a few tools. It works well and is a great addition to the never ending war on dust in the shop. Fine dust from sanding is the worst for your lungs so it’s definitely worth the effort to collect as much as possible.
If you have any questions or comments leave them in the comments section below. You can also find me on Twitter and Instagram or you can send me a message via the contact page. Also, please be sure to get subscribed to my YouTube channel so you don’t miss any future builds!
You can find links to many of the tools, accessories, and finish products I use in my shop over on my Tools & Resourcespage.