Painted Tile Display – Build a Walnut Tile Display
Painted Tile Display
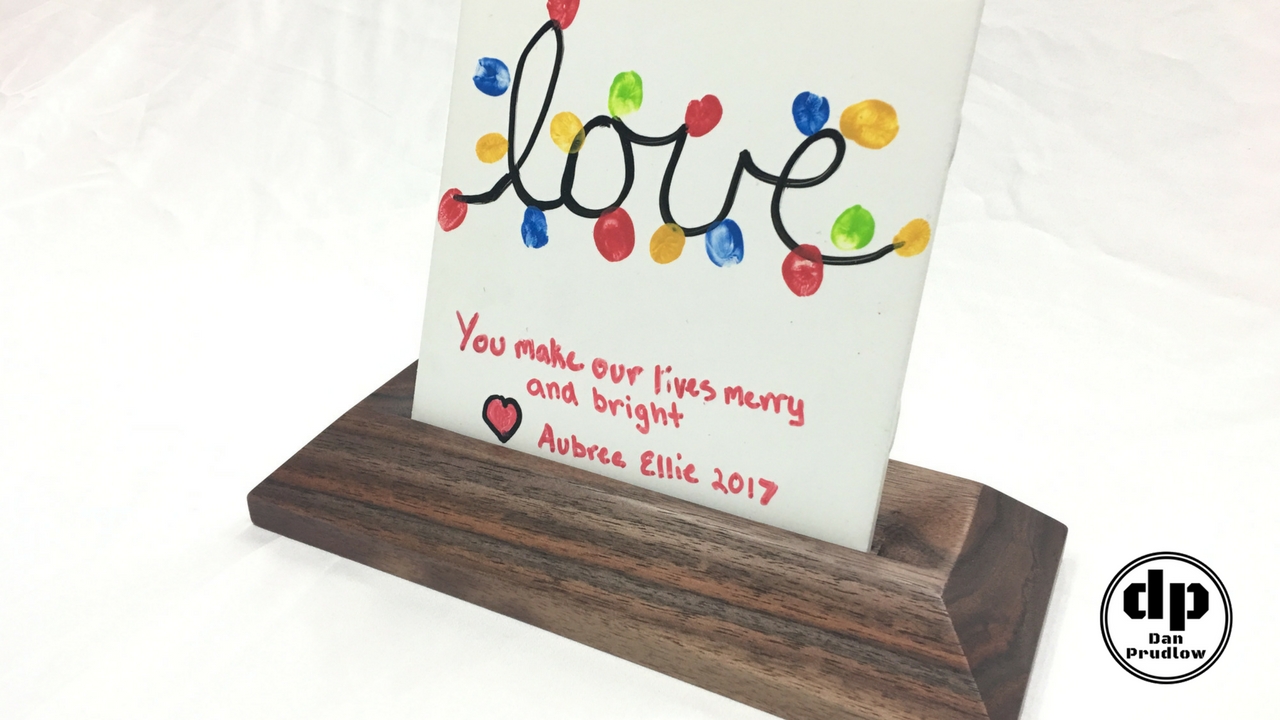
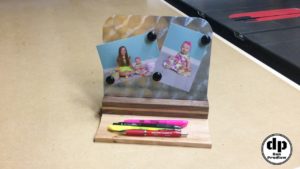
My daughters painted a 6×6 inch tile for me as a Christmas gift. You can buy little stands to display things like this and other collectible plates and such but I thought it would be much better to make a painted tile display on my own…after all I am a woodworker!
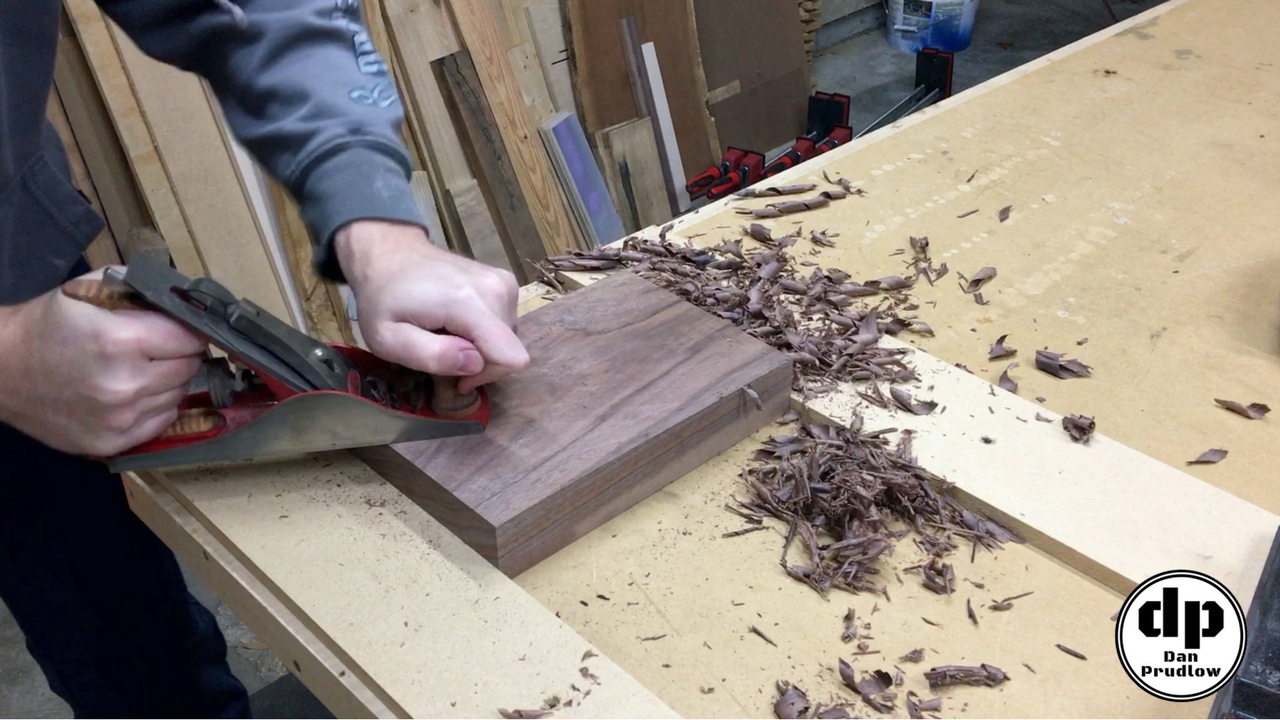
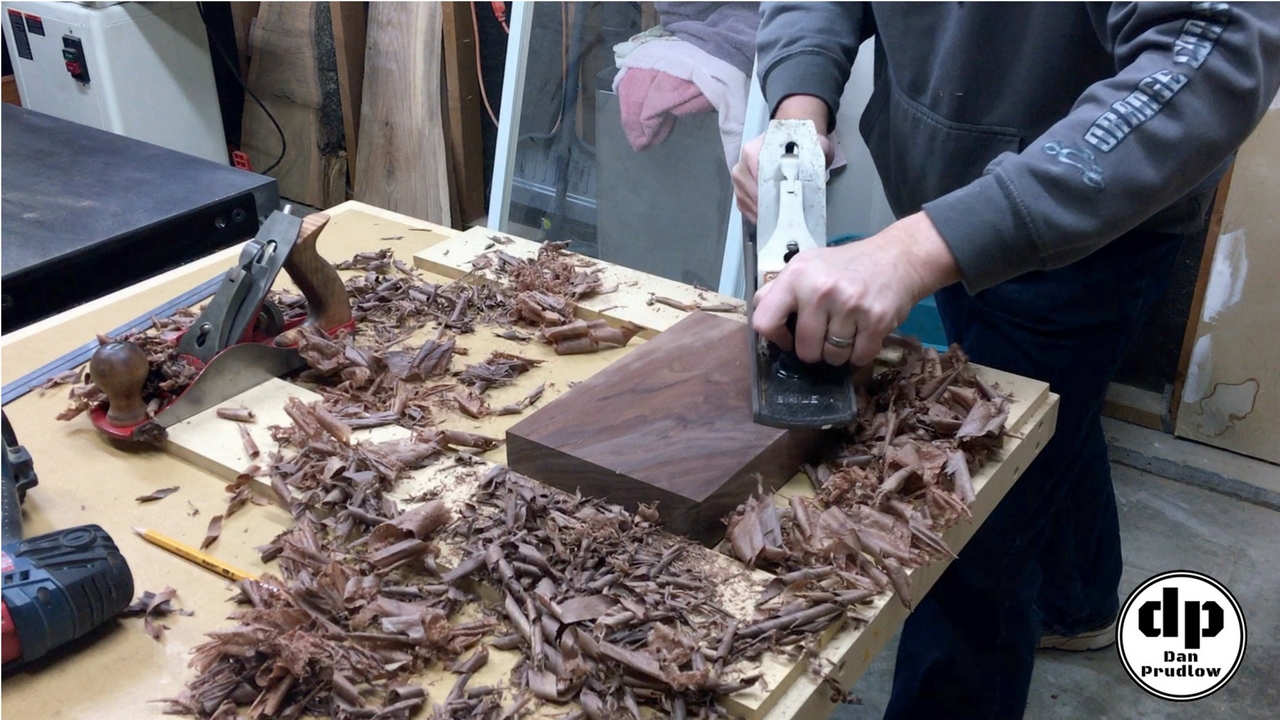
This is not a complex build by any means but it did take some effort. The small piece of walnut that I had was too short to feel comfortable on the jointer or planer so I grabbed the trusty hand planes and got to work. I started with the smaller #3 Dunlap to knock down the high spots and then moved up to the big #7 Stanley to get the piece nice and flat on both sides.
Planing for Days
I don’t have a vice at this point so I had to improvise by attaching a couple strips of 1/2 inch MDF to my workbench and wedge the workpiece between them. This worked quite well and is a great alternative to using an end vice and bench dogs. It still surprises me just how many shavings are made when flattening a a board. This pieces was not that big and I had walnut shavings everywhere!
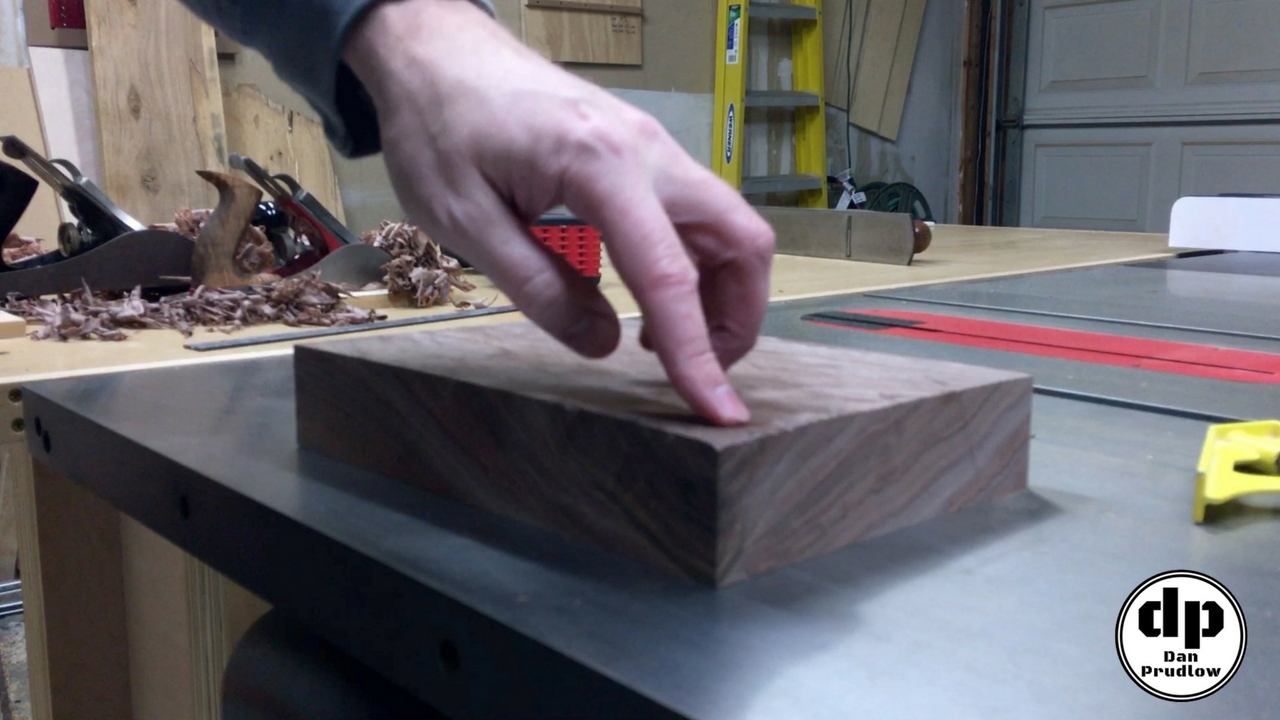
Checking for Flatness
My workbench to is not dead flat (that’s a project for another day) so I used the known flat surface of my table saw wing to check the piece and kept working the planes until it was perfectly flat.
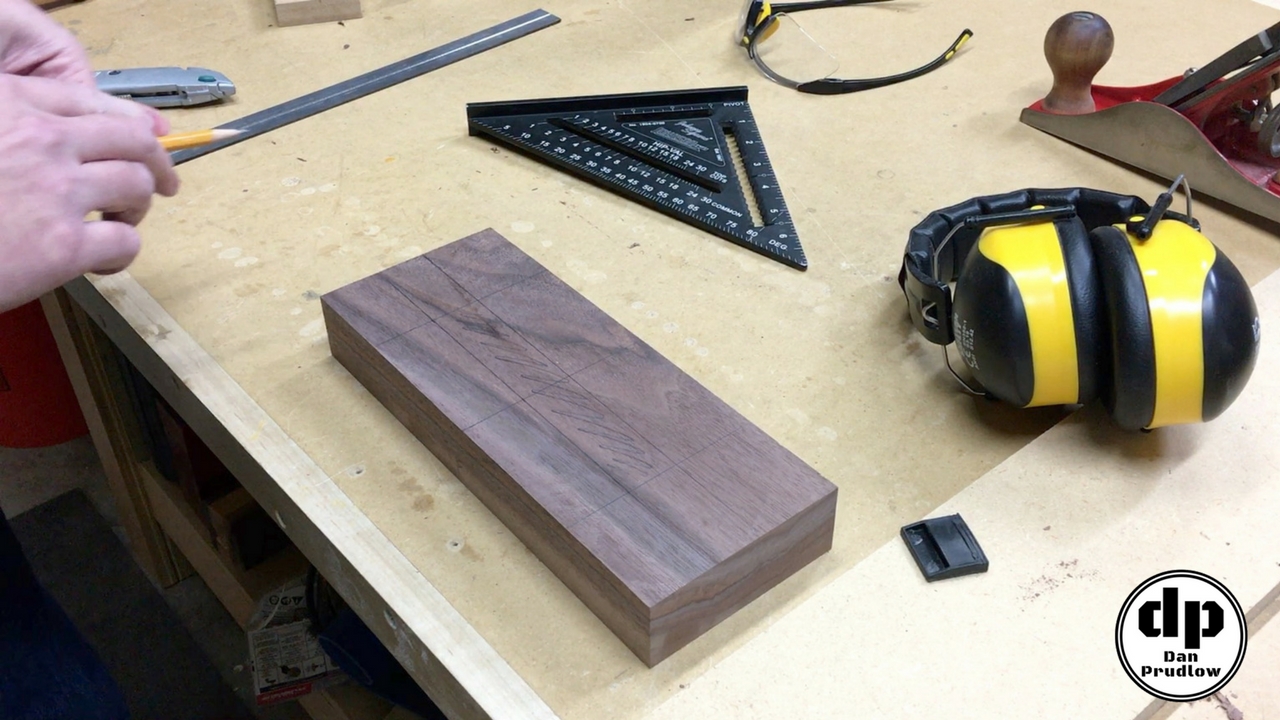
Marking for a Groove
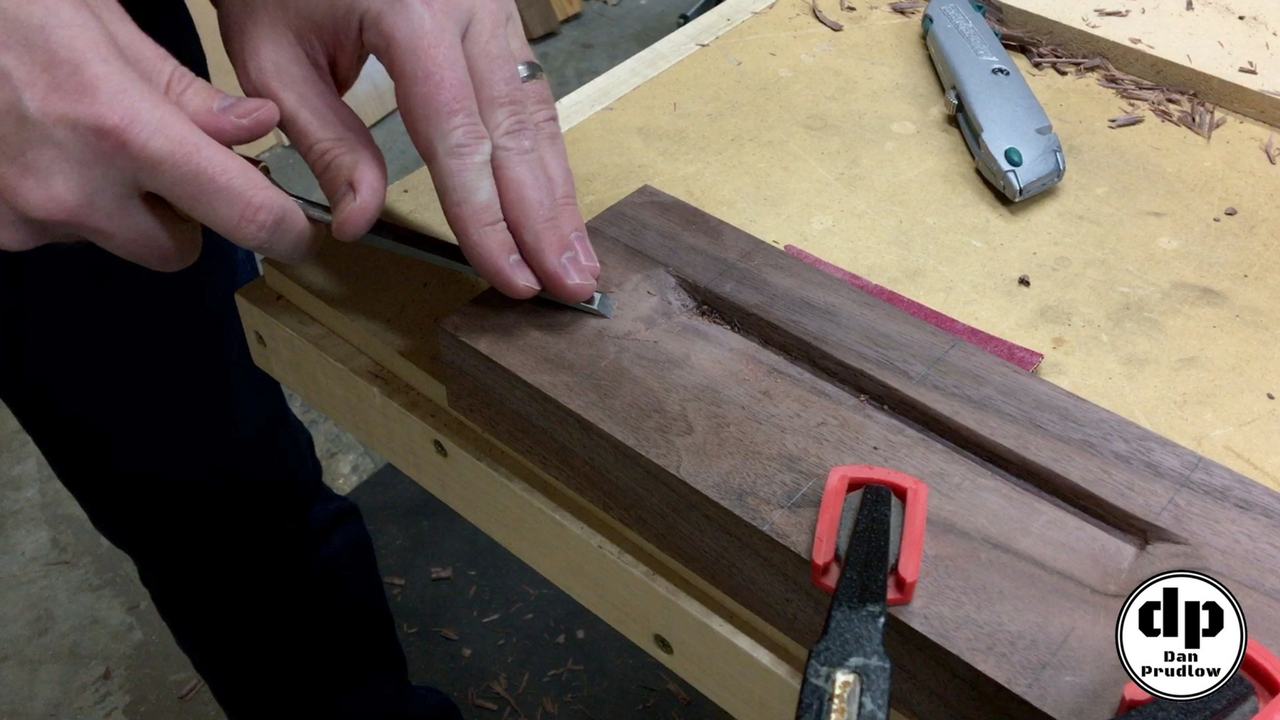
Once I had the board flat I ran it through the table saw to take it down to final width for the painted tile display. Next it was time to mark the area for the groove where the tile would end up resting. I first marked a centerline and then made marks about 3 1/8 inches to each side of the center line. The tile is 6×6 inches so this would leave just a little wiggle room on each side.
Next I drew a line about 1 1/4 inches from the front edge to mark the front of the groove. I used the width of the ruler, approximately an inch, to mark the back of the groove. The back line is more of a rough guide since the groove will slope down from the back at a slight angle. The last step was to score the lines with a razor blade and then get to work with the chisel.
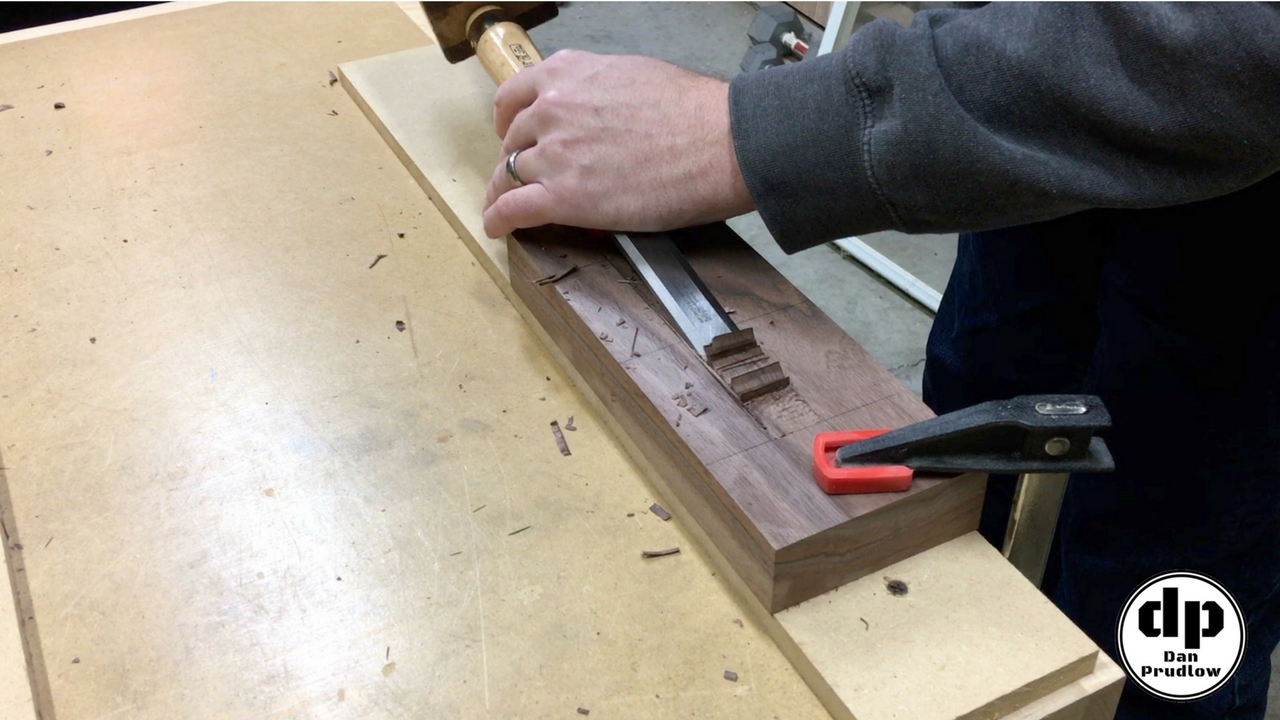
Chop Chop Chop
I started chiseling out the front edge first in order to work my way down to the depth I wanted, around 1/4 to 3/8 of an inch. I didn’t have a specific depth in mind, I just kind of eyeballed it as I went and stopped when it looked good. The painted tile display just needed enough of an edge that the tile would rest nicely but not cover any of the bottom since my daughter’s names are there.
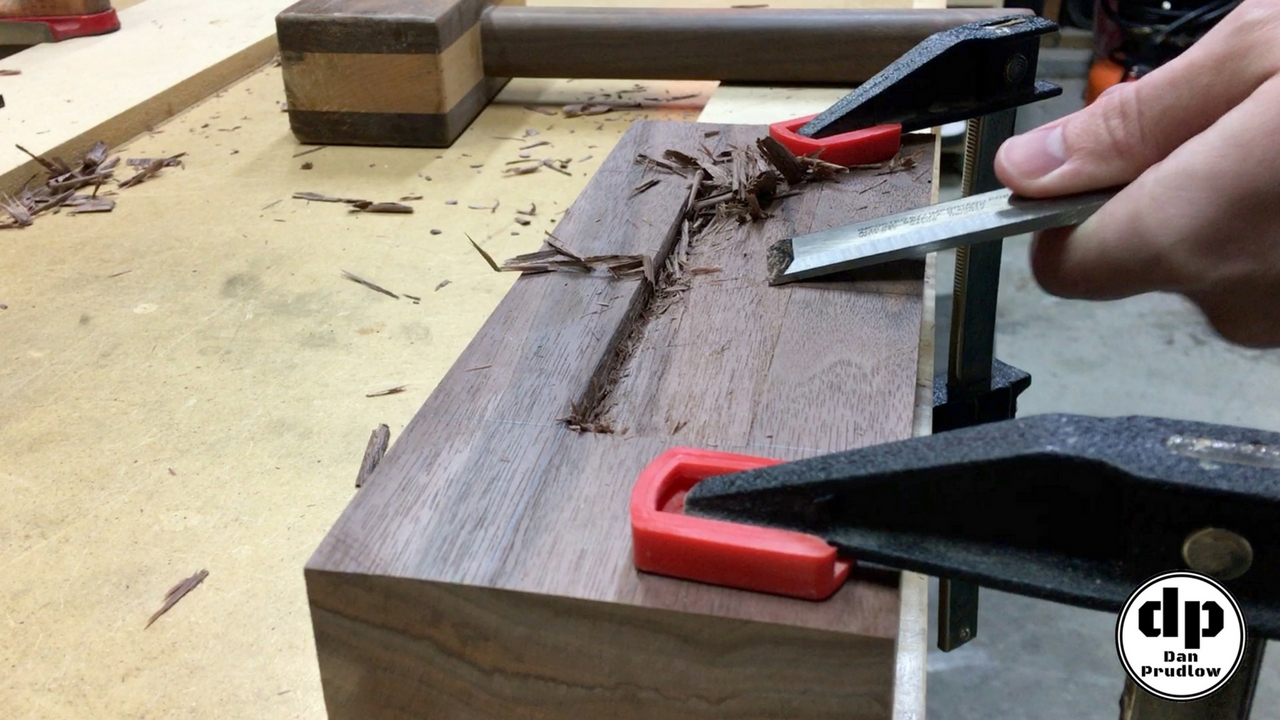
I worked the chisel at a slight angle so that the resulting area was angled such that the back of the groove blended in with the top of the board. Once I had the proper depth established I cleaned things up with light passes while following the established angle.
Blending the Sides of the Groove
Once I had the basic grove established I decided to sort of blend the sides up into the rest of the piece. I used a small chisel and 80 grit sandpaper to work the edges until there was a smooth transition. A set of carving tools would have been handy here but you’ve got to use what you’ve got sometimes.
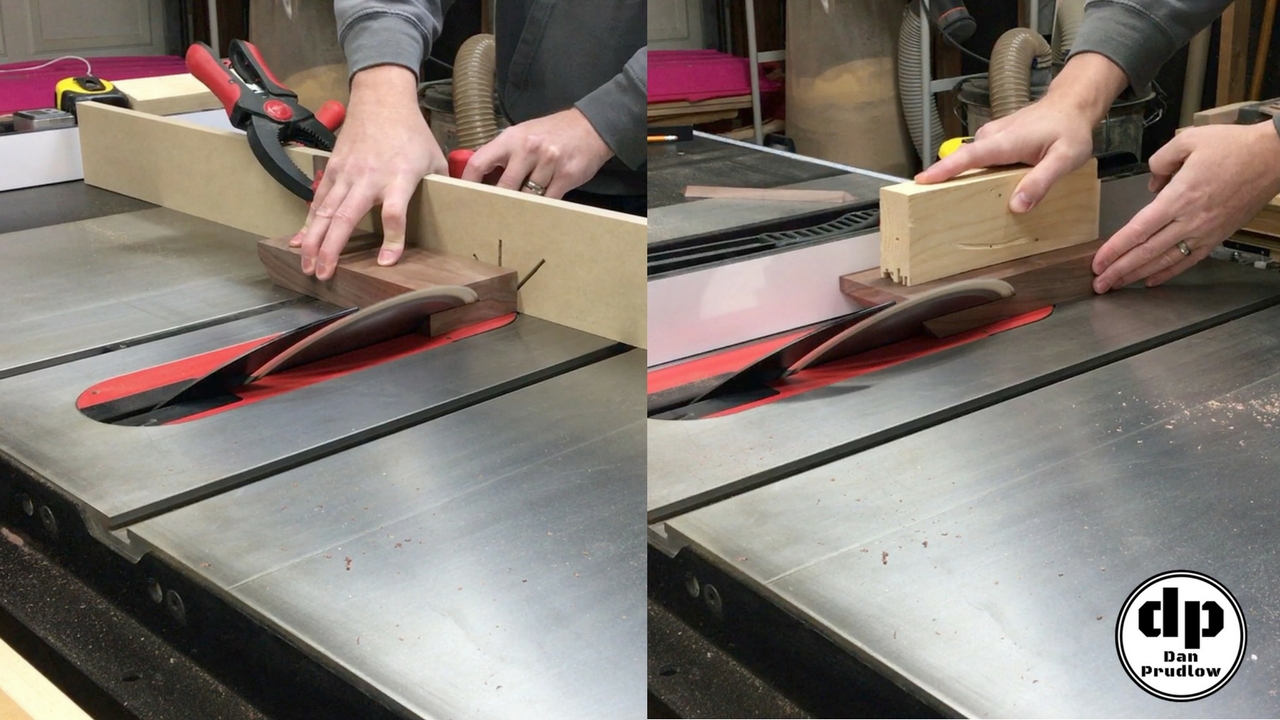
Bevels All Around
After completing all of the shaping on the sides of the groove it was on to the table saw to cut the bevels. Whether using the table saw or a router, you always want to make your end grain cuts first so if there is any blowout it will get cleaned up when you make the long grain cuts. I used the miter gauge with a sacrificial fence to make the end-grain cuts. I then made the cuts on the front and back faces. To get the corners just right I made an initial pass to take off the bulk of the bevel and then slowly crept up on the cut until the corners look perfect.
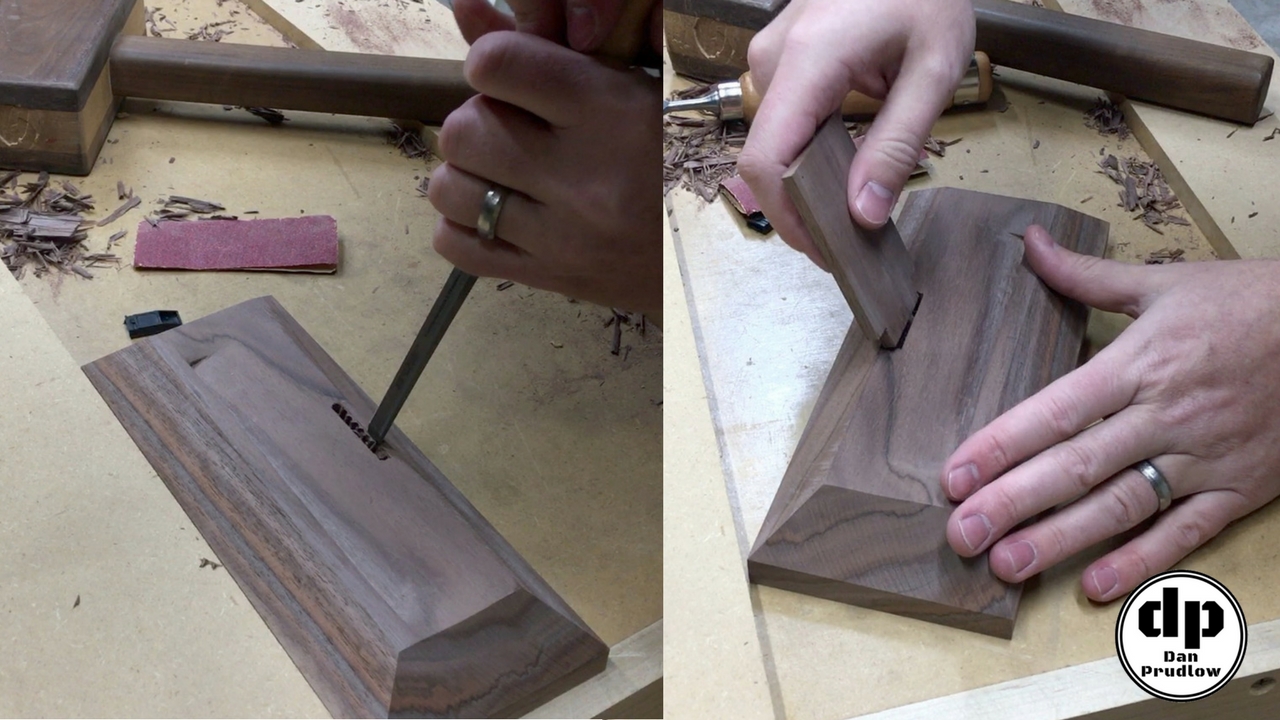
Supporting the Tile
Now that we have all of the shaping done we just need a support piece to rest the tile on when it’s in the painted tile display. I used a small scrap of walnut and notched a tenon on the end. Next, I created the corresponding mortise using a small drill bit and then cleaning it up with a chisel. After some final sanding and I glued the support piece in.
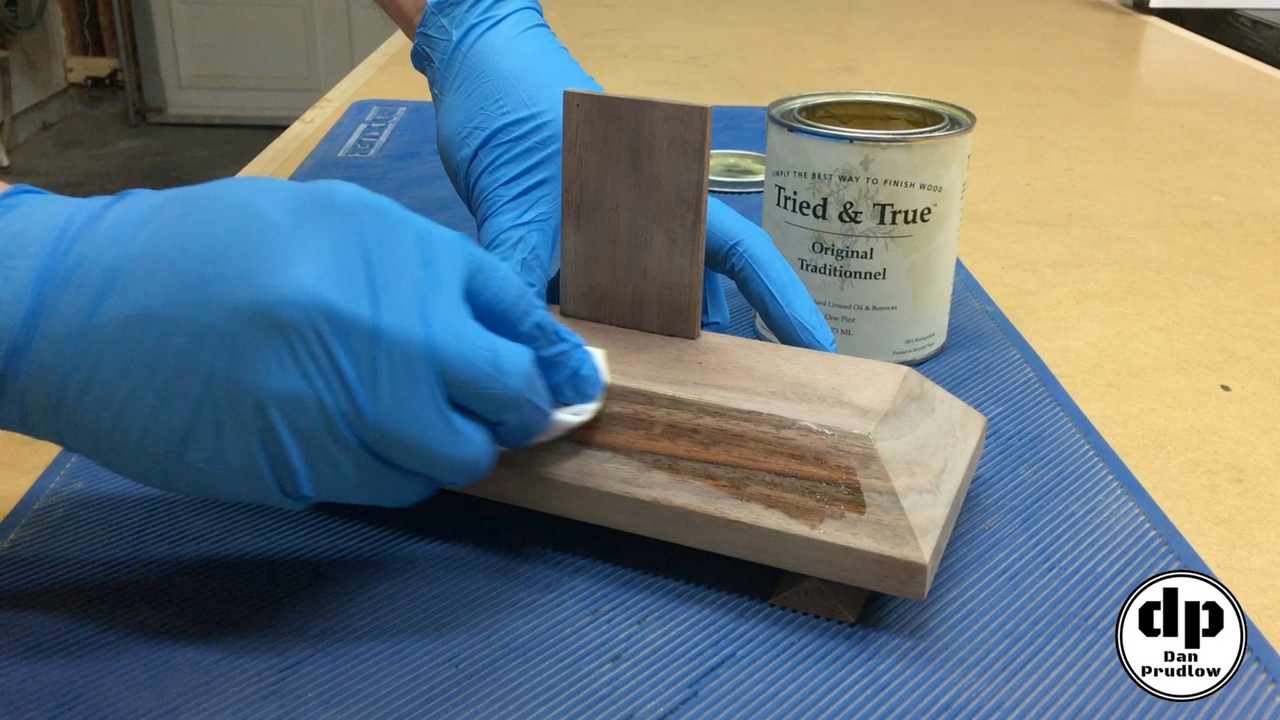
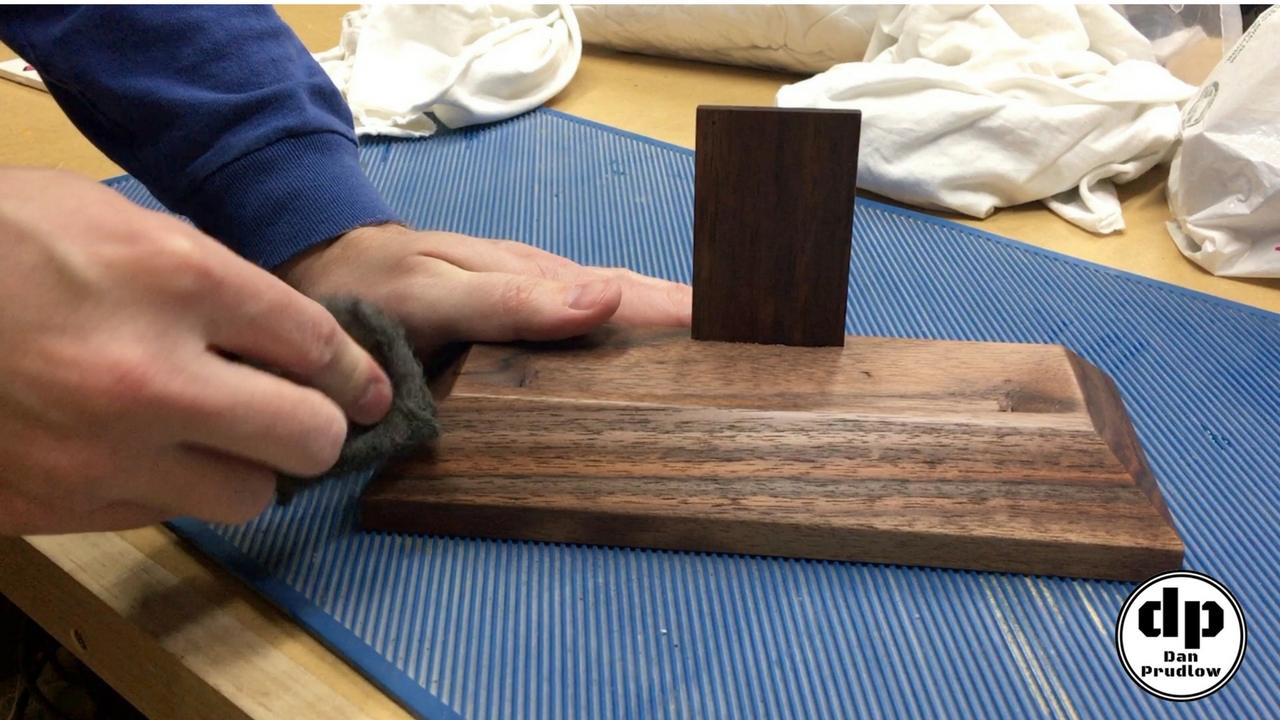
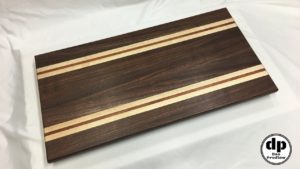
Finish to Pop the Grain
All that’s left to do is to add some finish to the painted tile display. I applied three coats of Tried & True Original Wood Finish. I really love this stuff because it doesn’t have any harsh chemicals so you don’t need to worry about breathing the fumes. If you follow the instructions and buff it out with 0000 steel wool between coats it really leaves a rich, beautiful finish. I used their products on my cutting board and waterfall table projects and I couldn’t be happier.
That’s All Folks
That wraps up this painted tile display project. This was a pretty small project and more of an arts & crafts type of build but I still had fun with it and I really like the way it turned out. It now sits on my desk at work and I get to admire both the painted tile from my girls and the colorful walnut base. It’s always nice to be able to build something yourself rather than buying something.
If you have any questions or comments leave them in the comments section below. You can also find me on Twitter and Instagram or you can send me a message via the contact page. Also, please be sure to get subscribed to my YouTube channel so you don’t miss any future builds!
You can find links to many of the tools, accessories, and finish products I use in my shop over on my Tools & Resourcespage.