Built-in Shelving – How to Build Custom Shelving – Part 1
One Project Leads to Another
We all have great plans when we start a home improvement project. Inevitably those plans change shortly after getting started. We had some water pipes freeze last winter, as a result I decided to cut open the ceiling in my basement to add spray foam insulation. I wanted to insulate between the joists where they overhang the basement foundation wall. The closet area already had some built in shelving, as a result I ended up having to completely demo the existing shelving. My father in-law had built it about 7 years prior. With the insulation done and the ceiling patched, I had to figure out what to do with the giant void left behind.
Designing the Built in Shelving
Unlike most of my prior projects I started this one off in SketchUp. I had a few obstacles to overcome and wanted a solid design before getting materials. SketchUp controls took some getting used to, however I think it was worth the time spent. Another advantage of SketchUp was the ability to layout all of my plywood parts. I was able to maximize the use of each sheet of plywood.
Material Selection
These built-in shelves are in my basement as a result they will be loaded with toys and other kids stuff. Hardwood plywood isn’t cheap, consequently I decided to use a cheaper pine plywood this time. The shelves are going to take some abuse and get a little beat up over the years. It was not worth spending another $250-$300 to get a hardwood plywood. All of the face frame material is 3/4 inch poplar. The base trim and decorative casing across the top are pre-primed pine from the home center. I have about $500 in material including the paint.
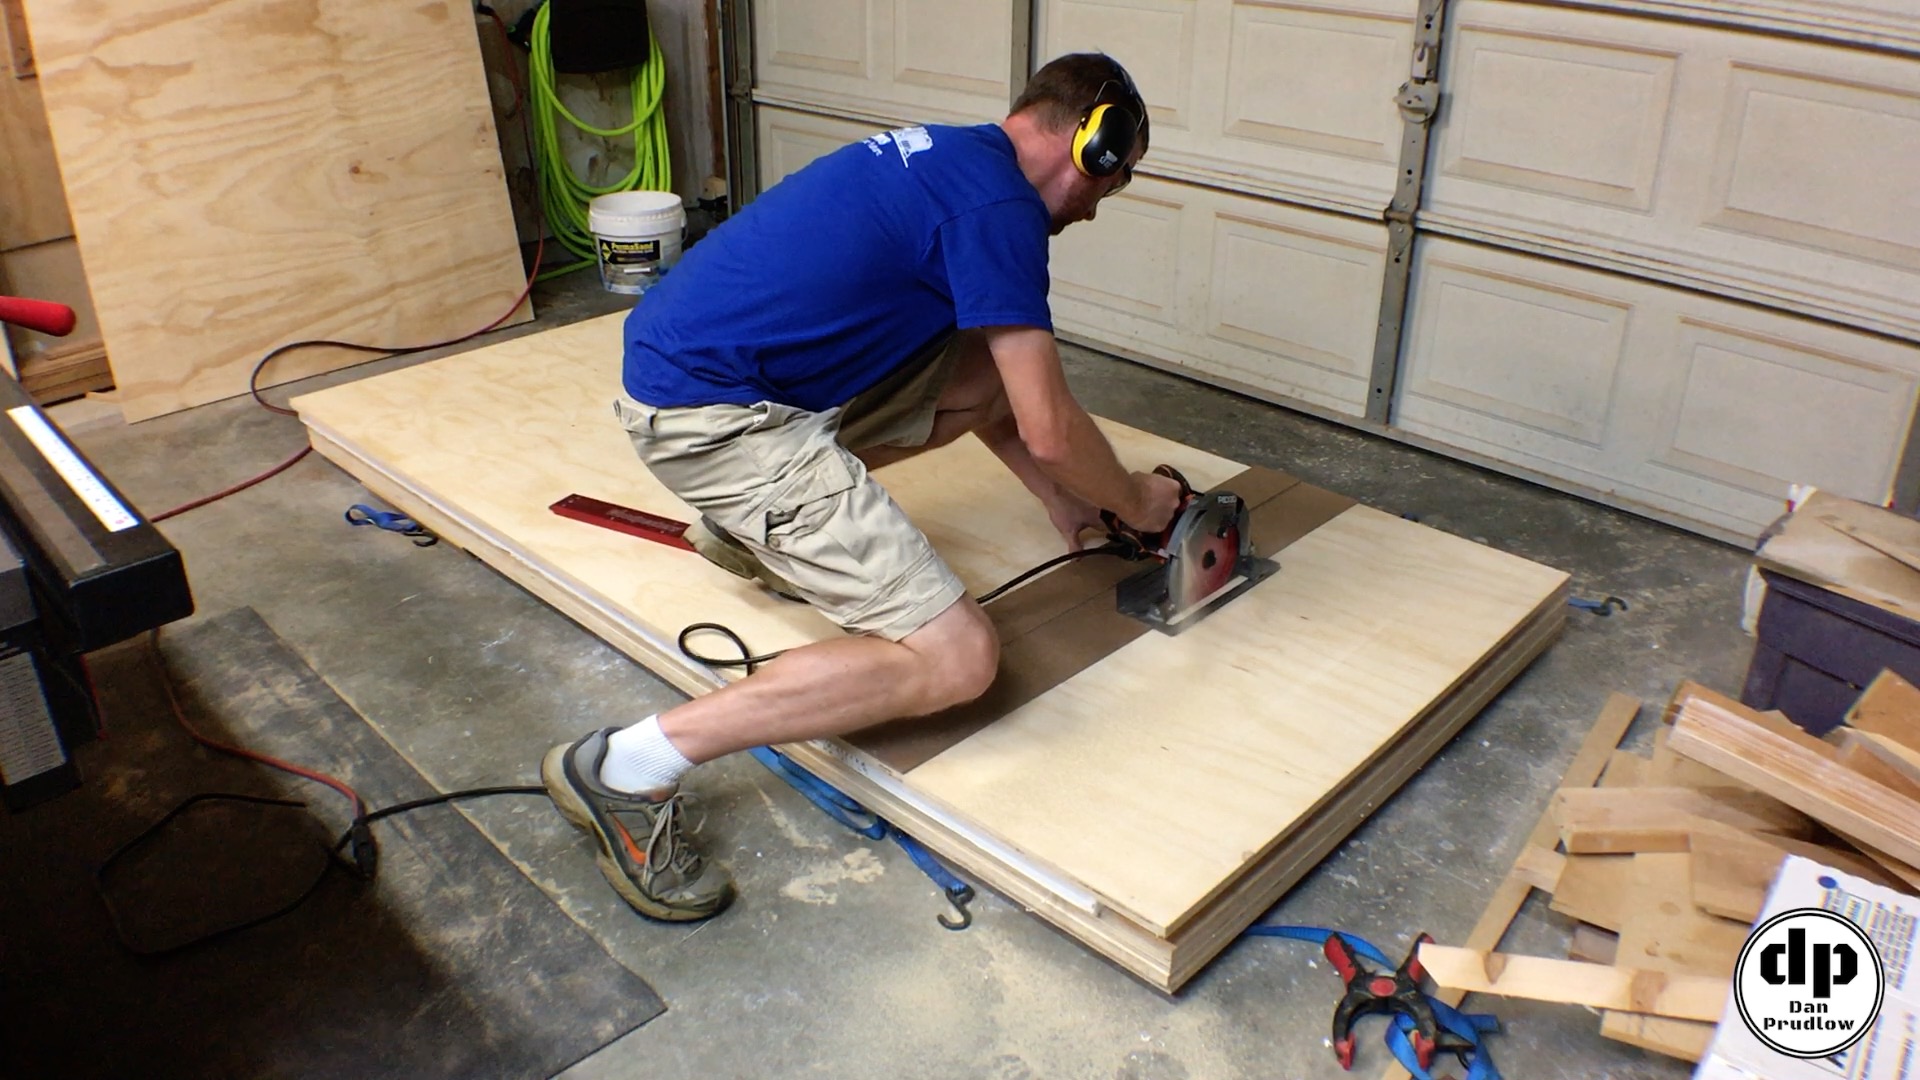
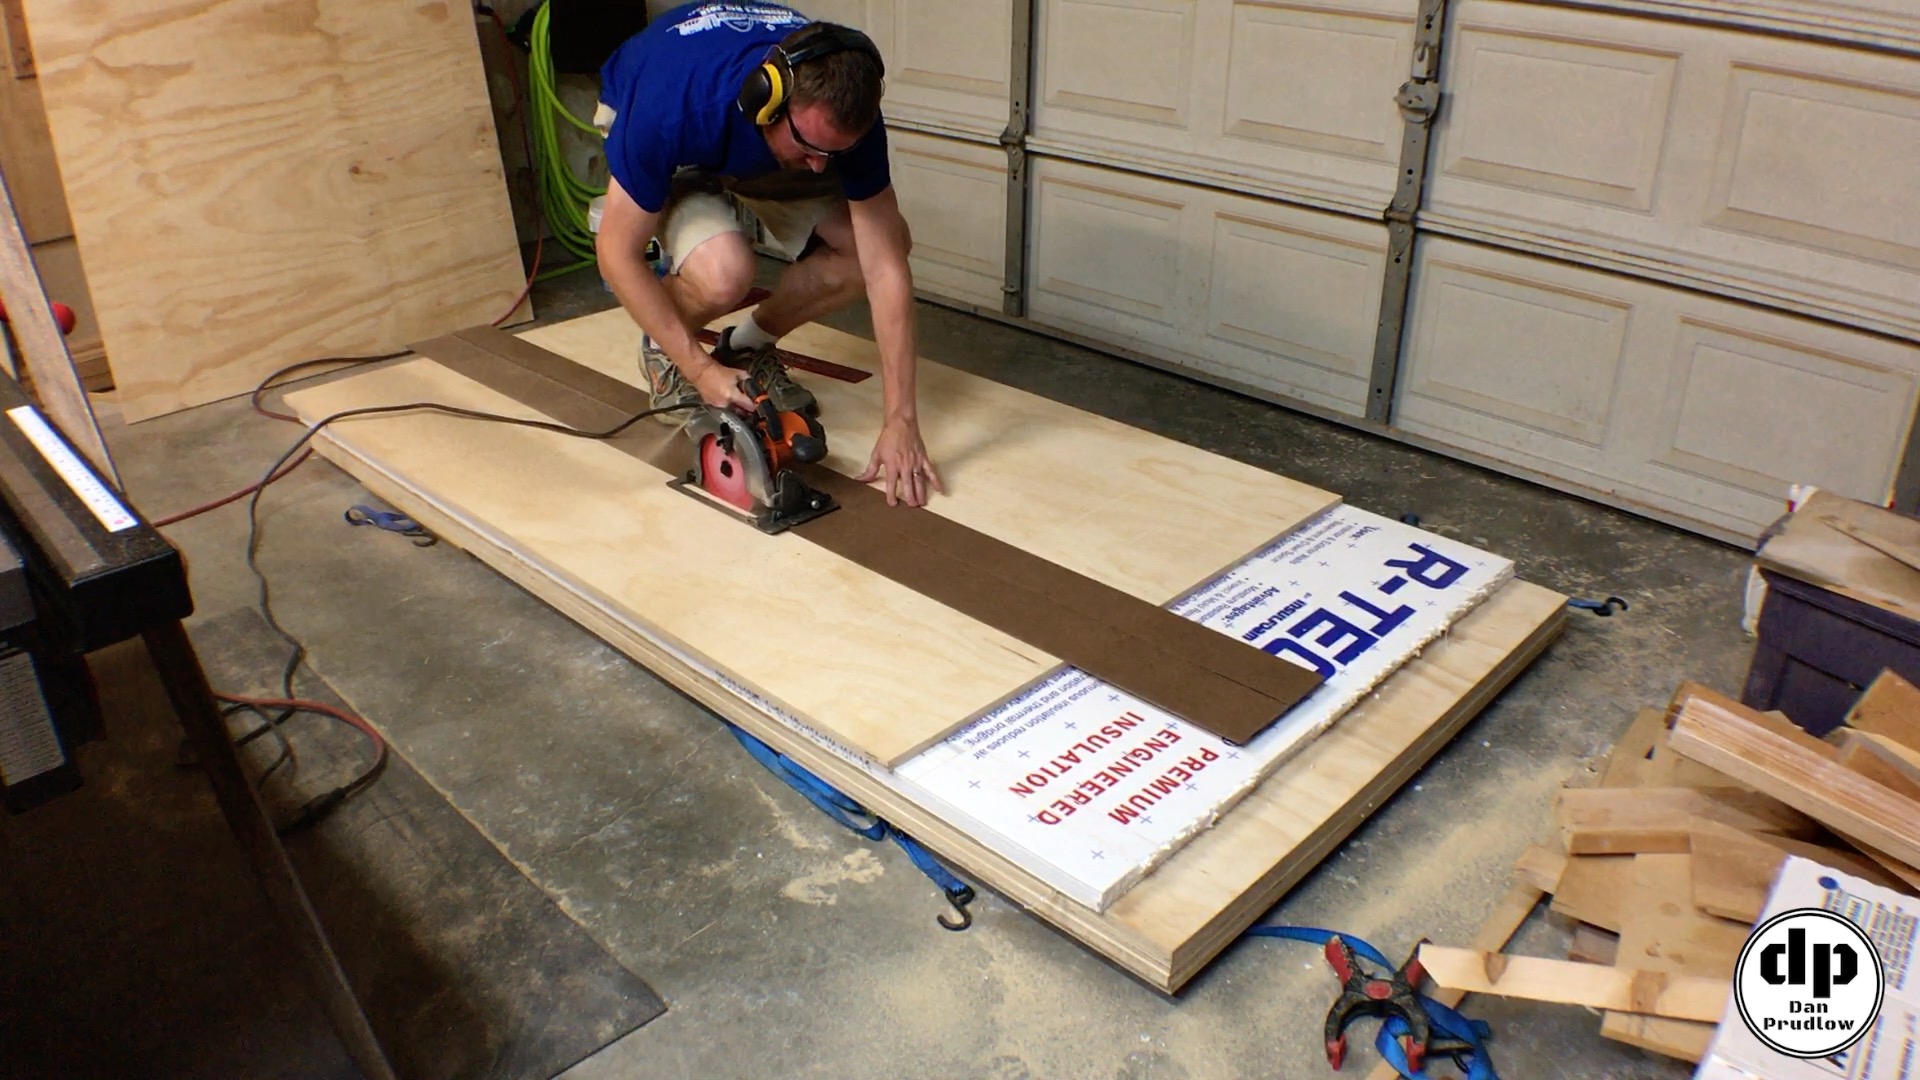
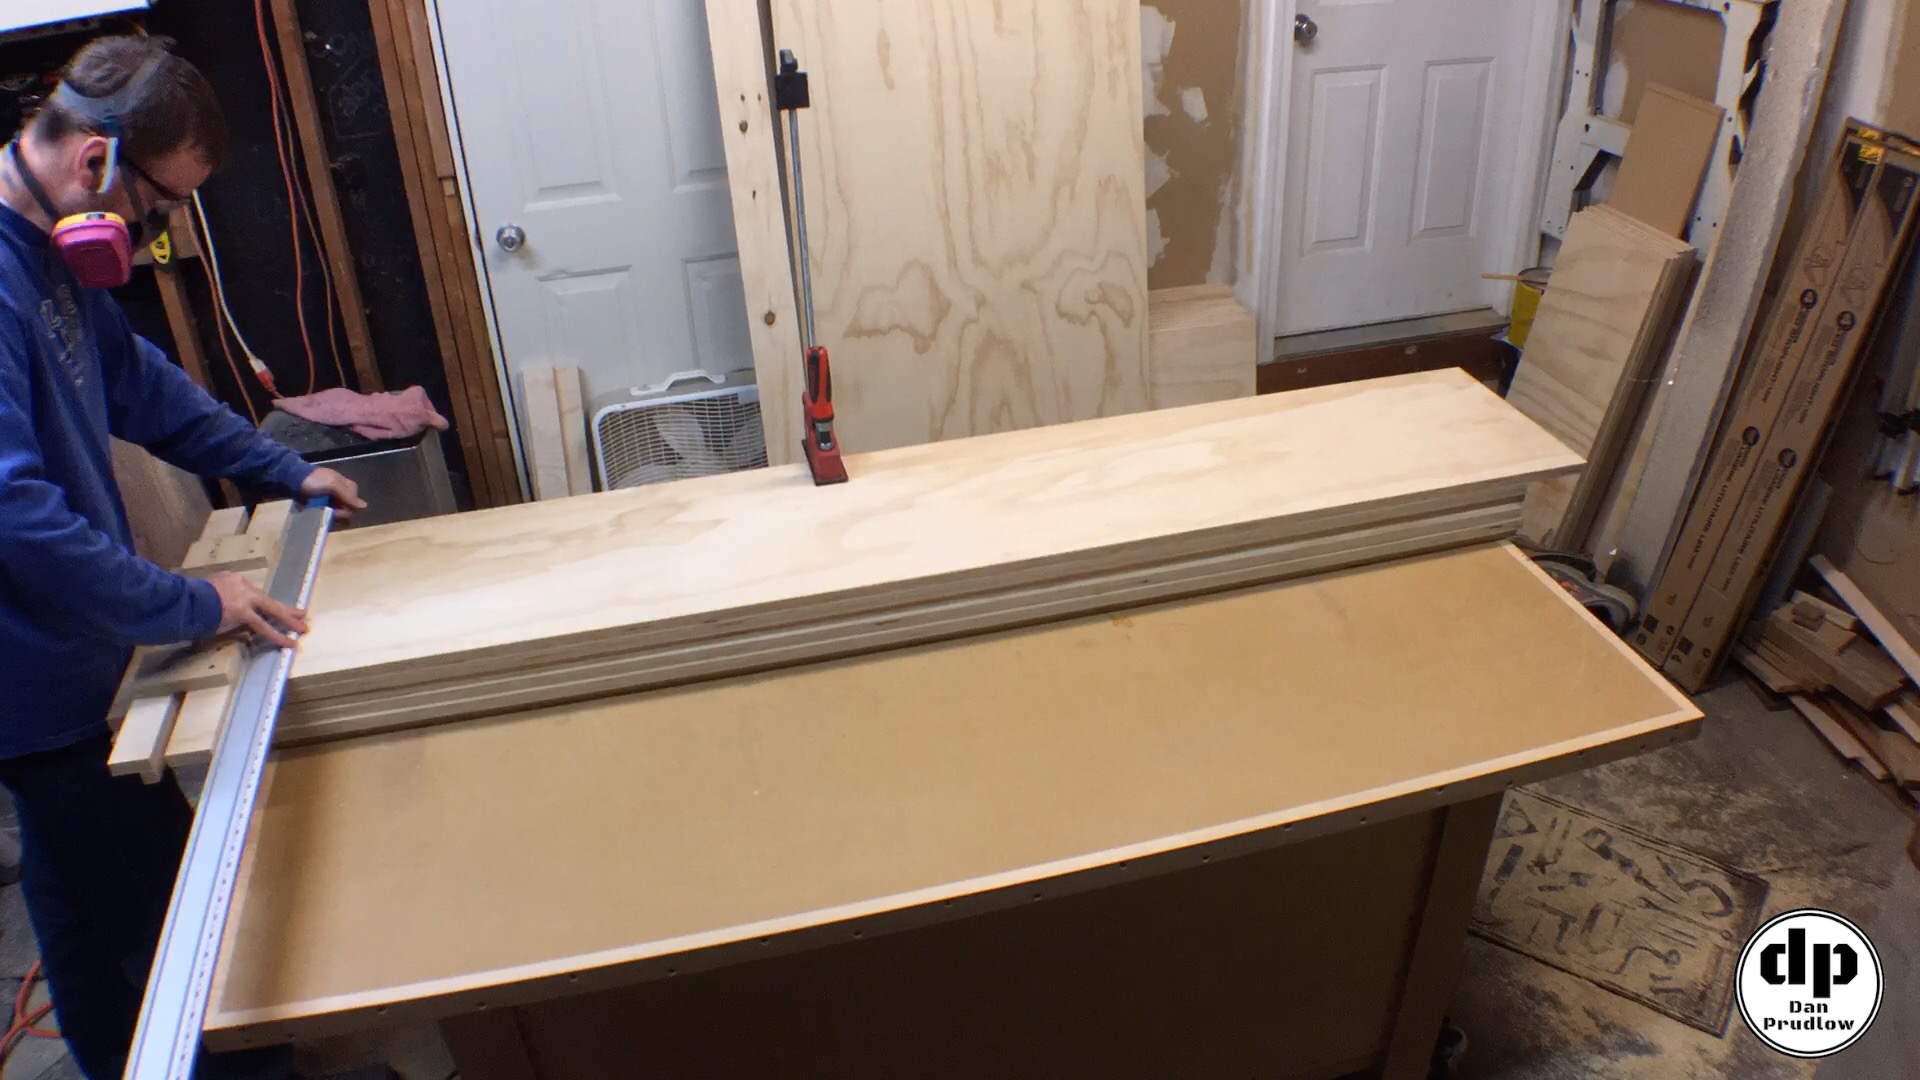
Working with Large Sheet Goods
The project started with six 4’x8′ sheets of 3/4 inch plywood. The cut diagram from SketchUp really helped to keep track of all the parts. I started breaking things down using a DIY saw guide and circular saw. My goal here was to break things down into manageable pieces for the table saw. I have another article and video on the Saw Guide here. I recommend a 60 tooth fine finish blade on the circular saw for nice clean cuts with minimal chipping. You can find the one I use listed on my Tools and Resources page.
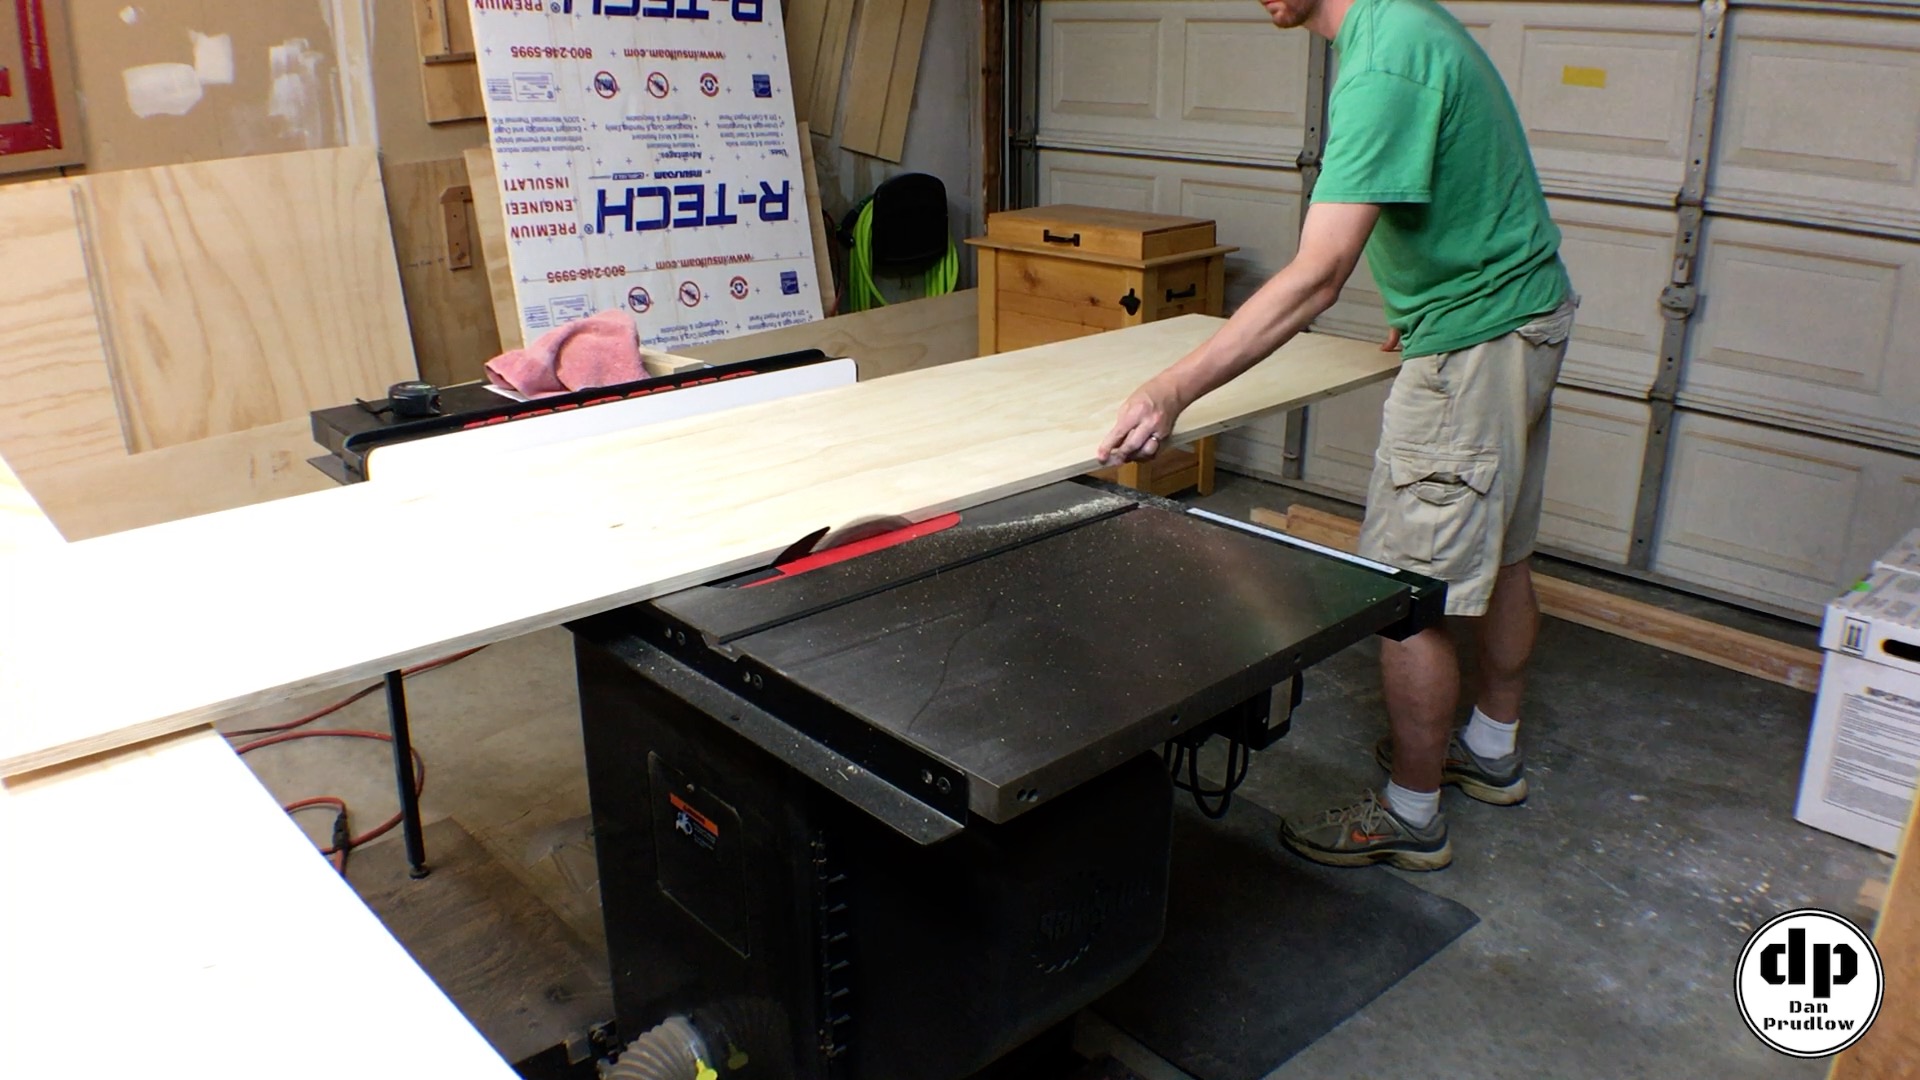
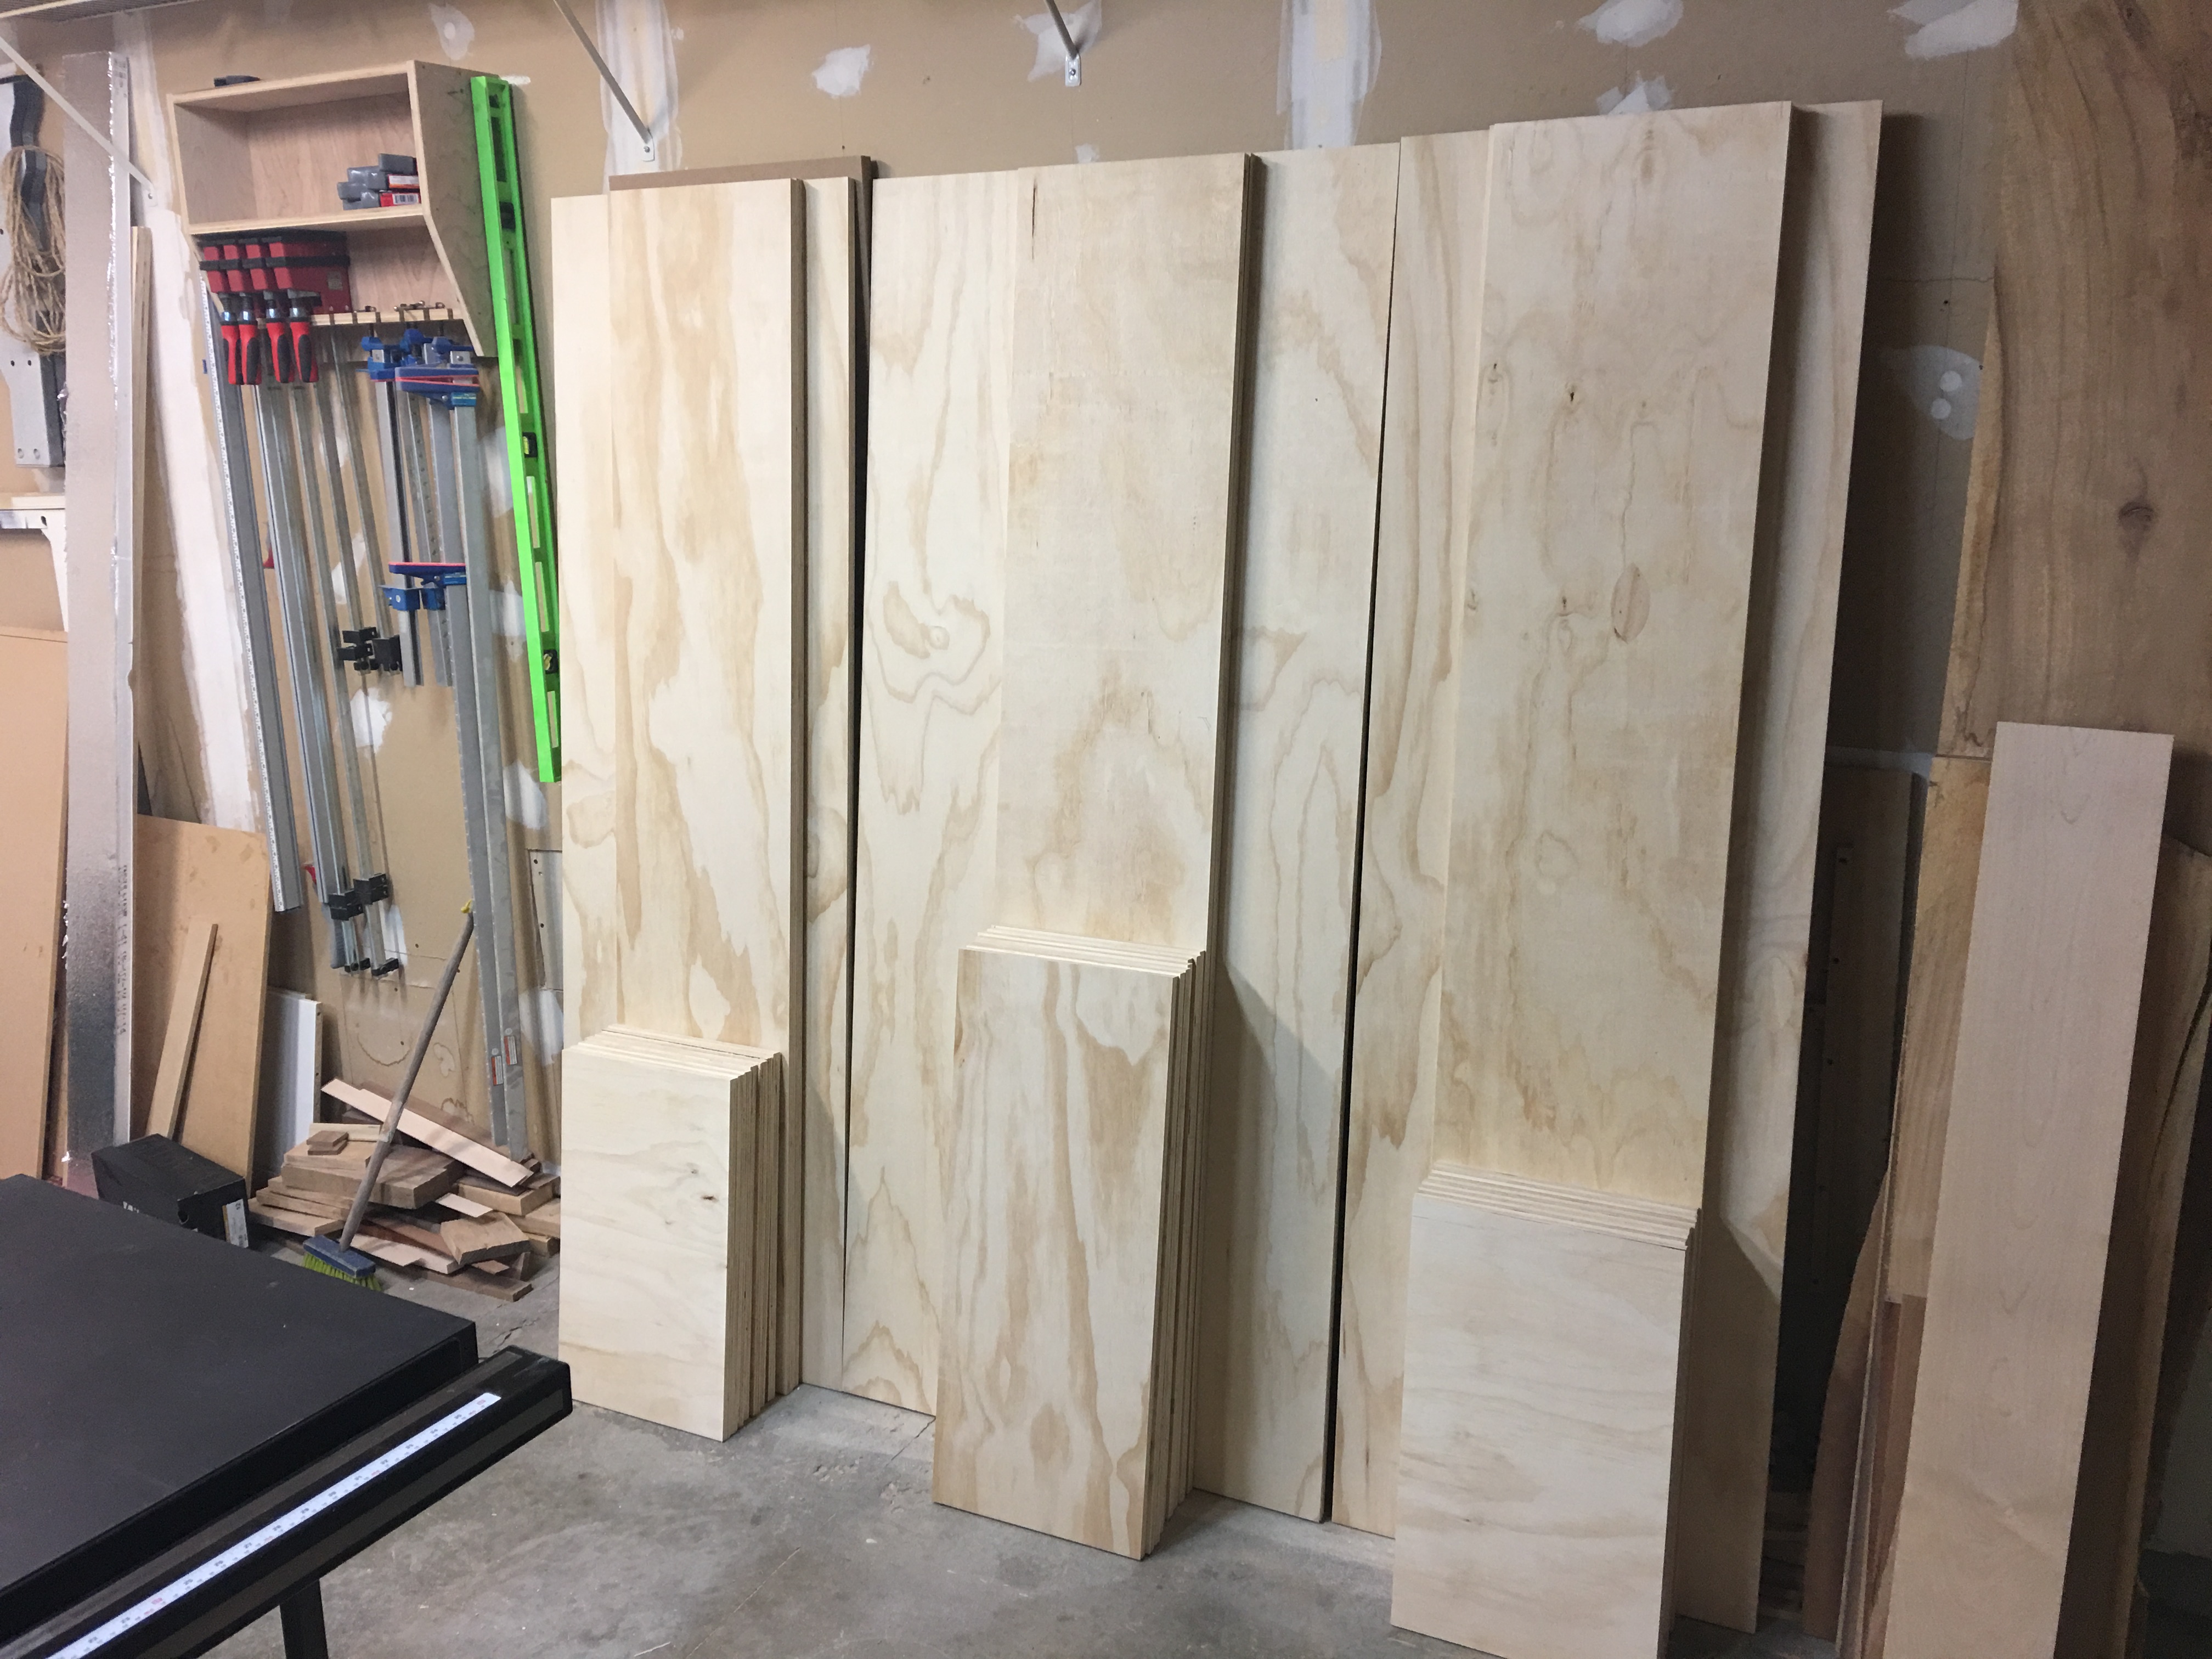
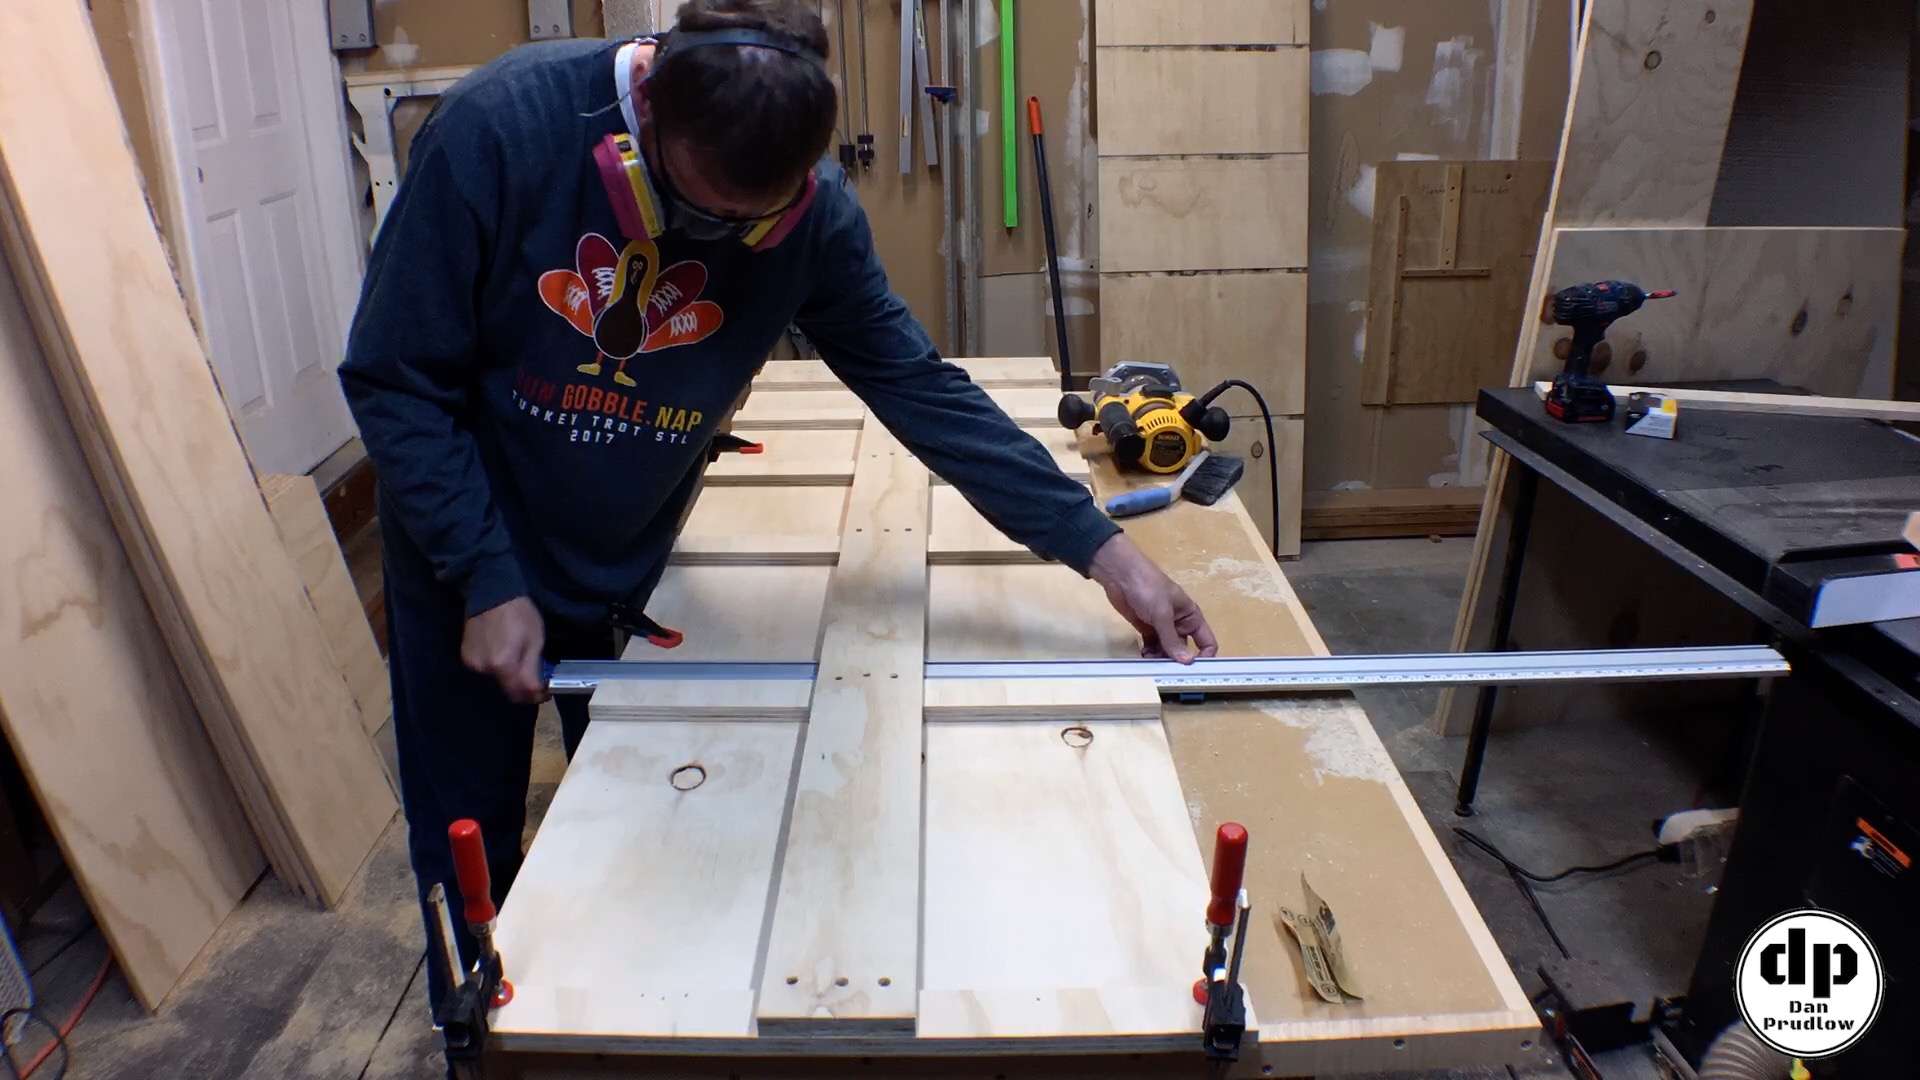
Moving to the Table Saw
With the full sheets now broken down into manageable pieces I proceeded with the rest of my cuts at the table saw. Some parts were still large so it was important to really take time and plan ahead. I continued to follow my cut diagram from SketchUp until I had all of the parts cut.
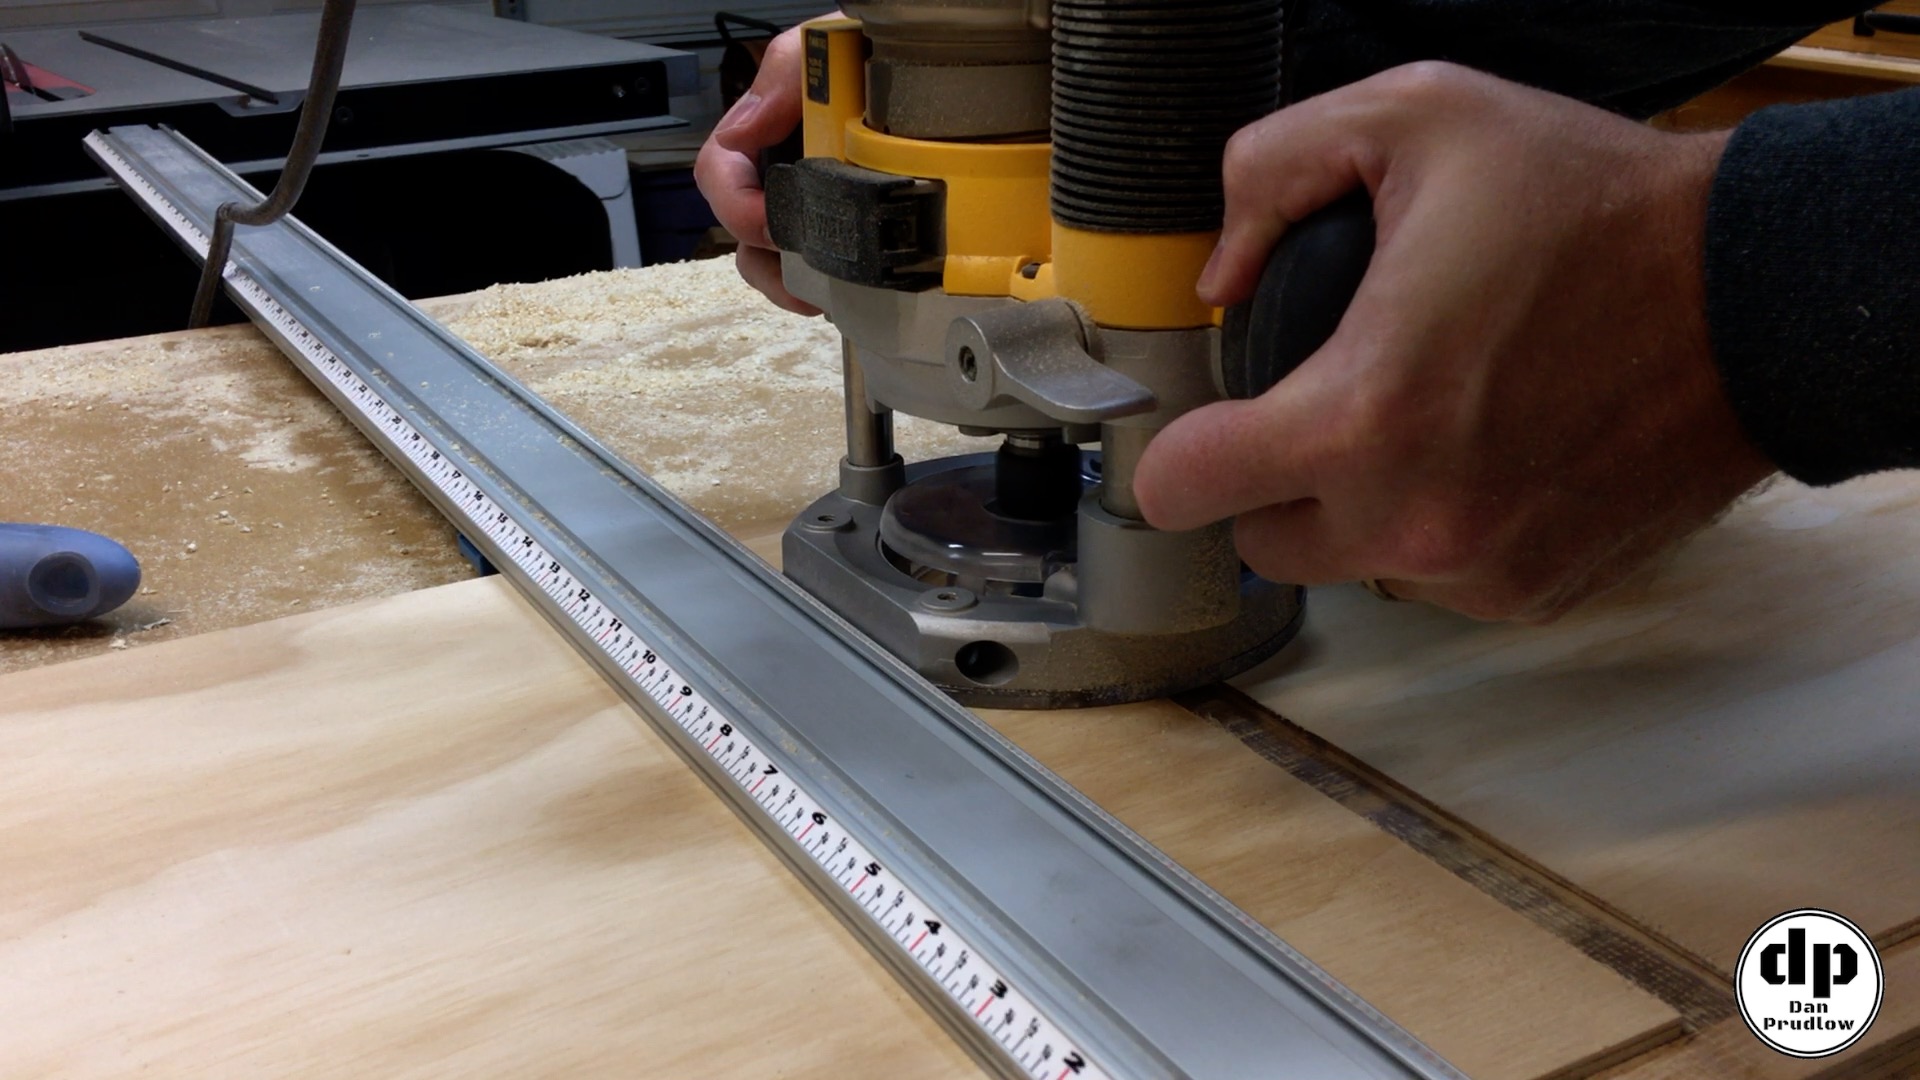
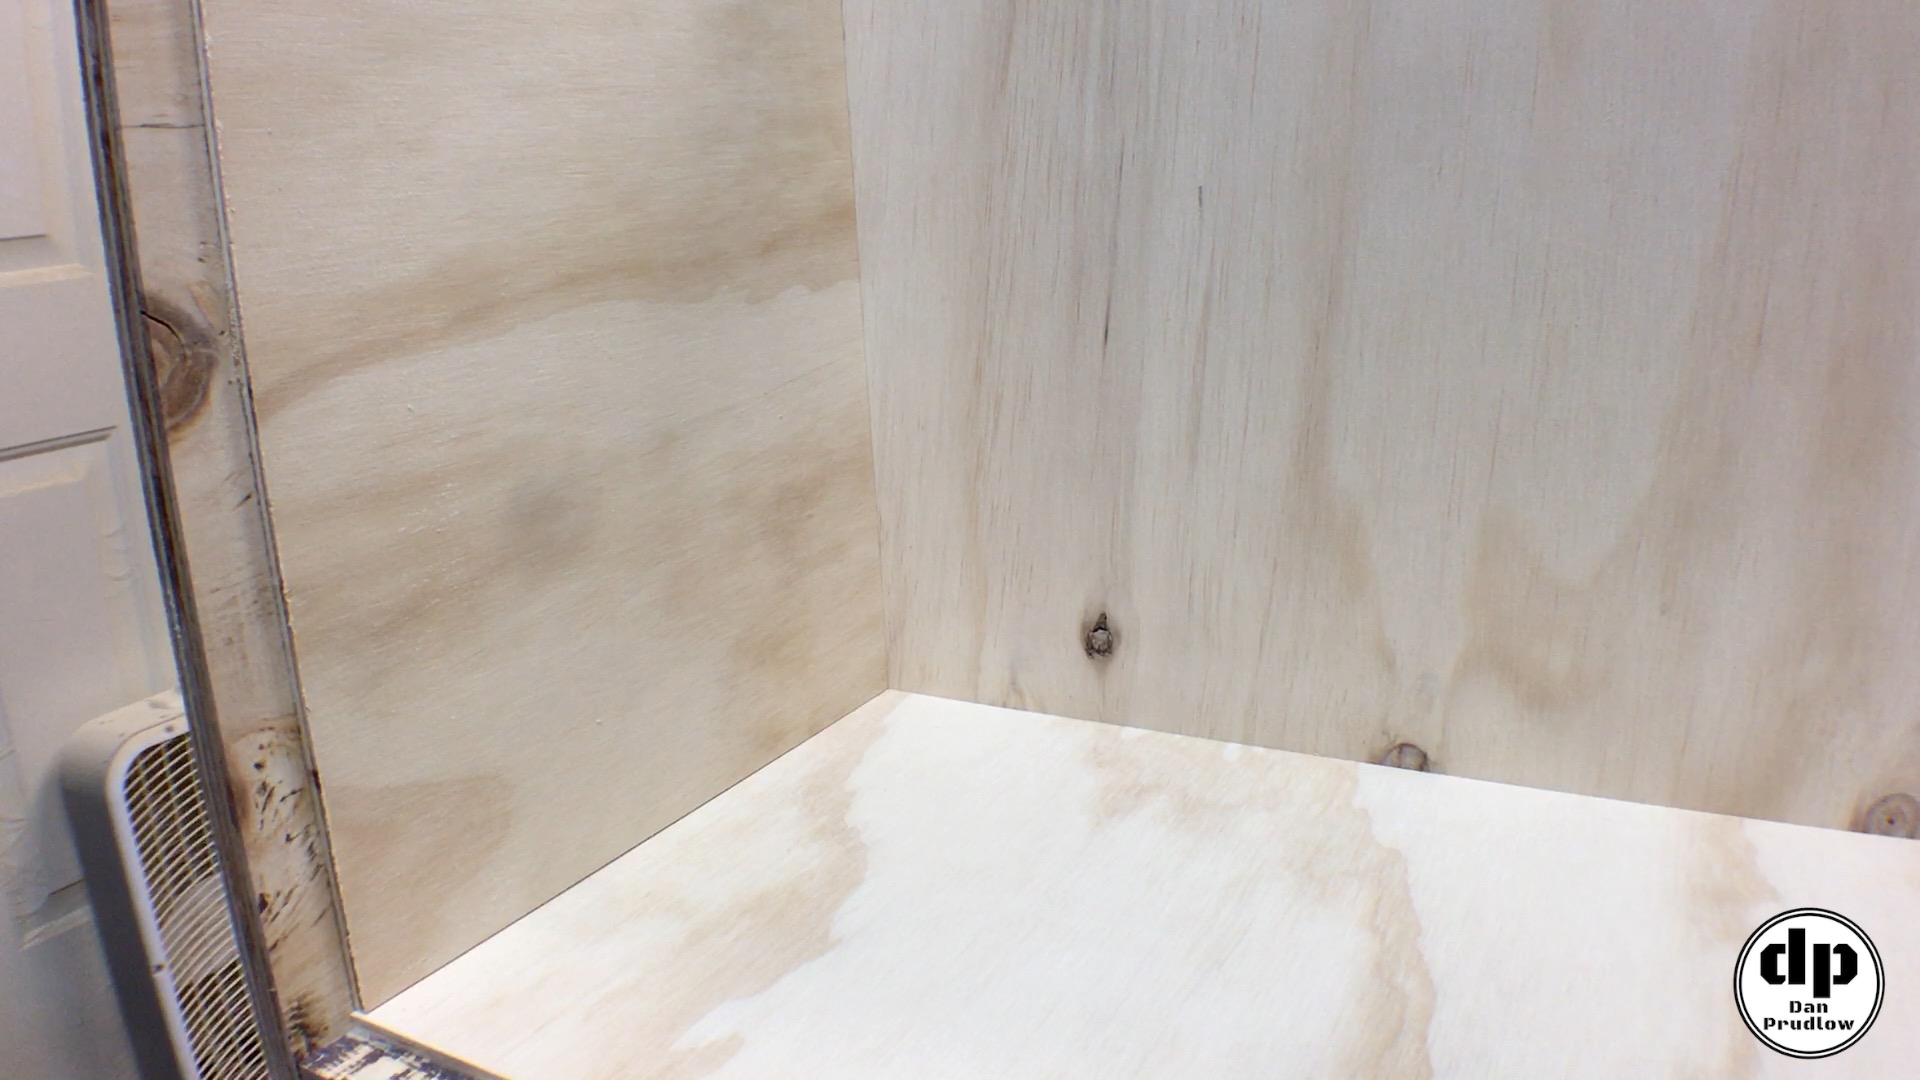
Simple Cabinet Joinery
There are many ways to approach the joinery and these built-in shelves are no exception. My goal was to keep things simple and strong. All of the joinery is 1/4 inch deep rabbets and dados. I cut all of them using a router and a 23/32 straight cut bit. When working with any plywood remember the actual thickness is less than what is on the label. If you use a 3/4 inch bit your dados will be too wide. You can pick up these slightly undersized “plywood” bits and, as a result get a nice tight joint.
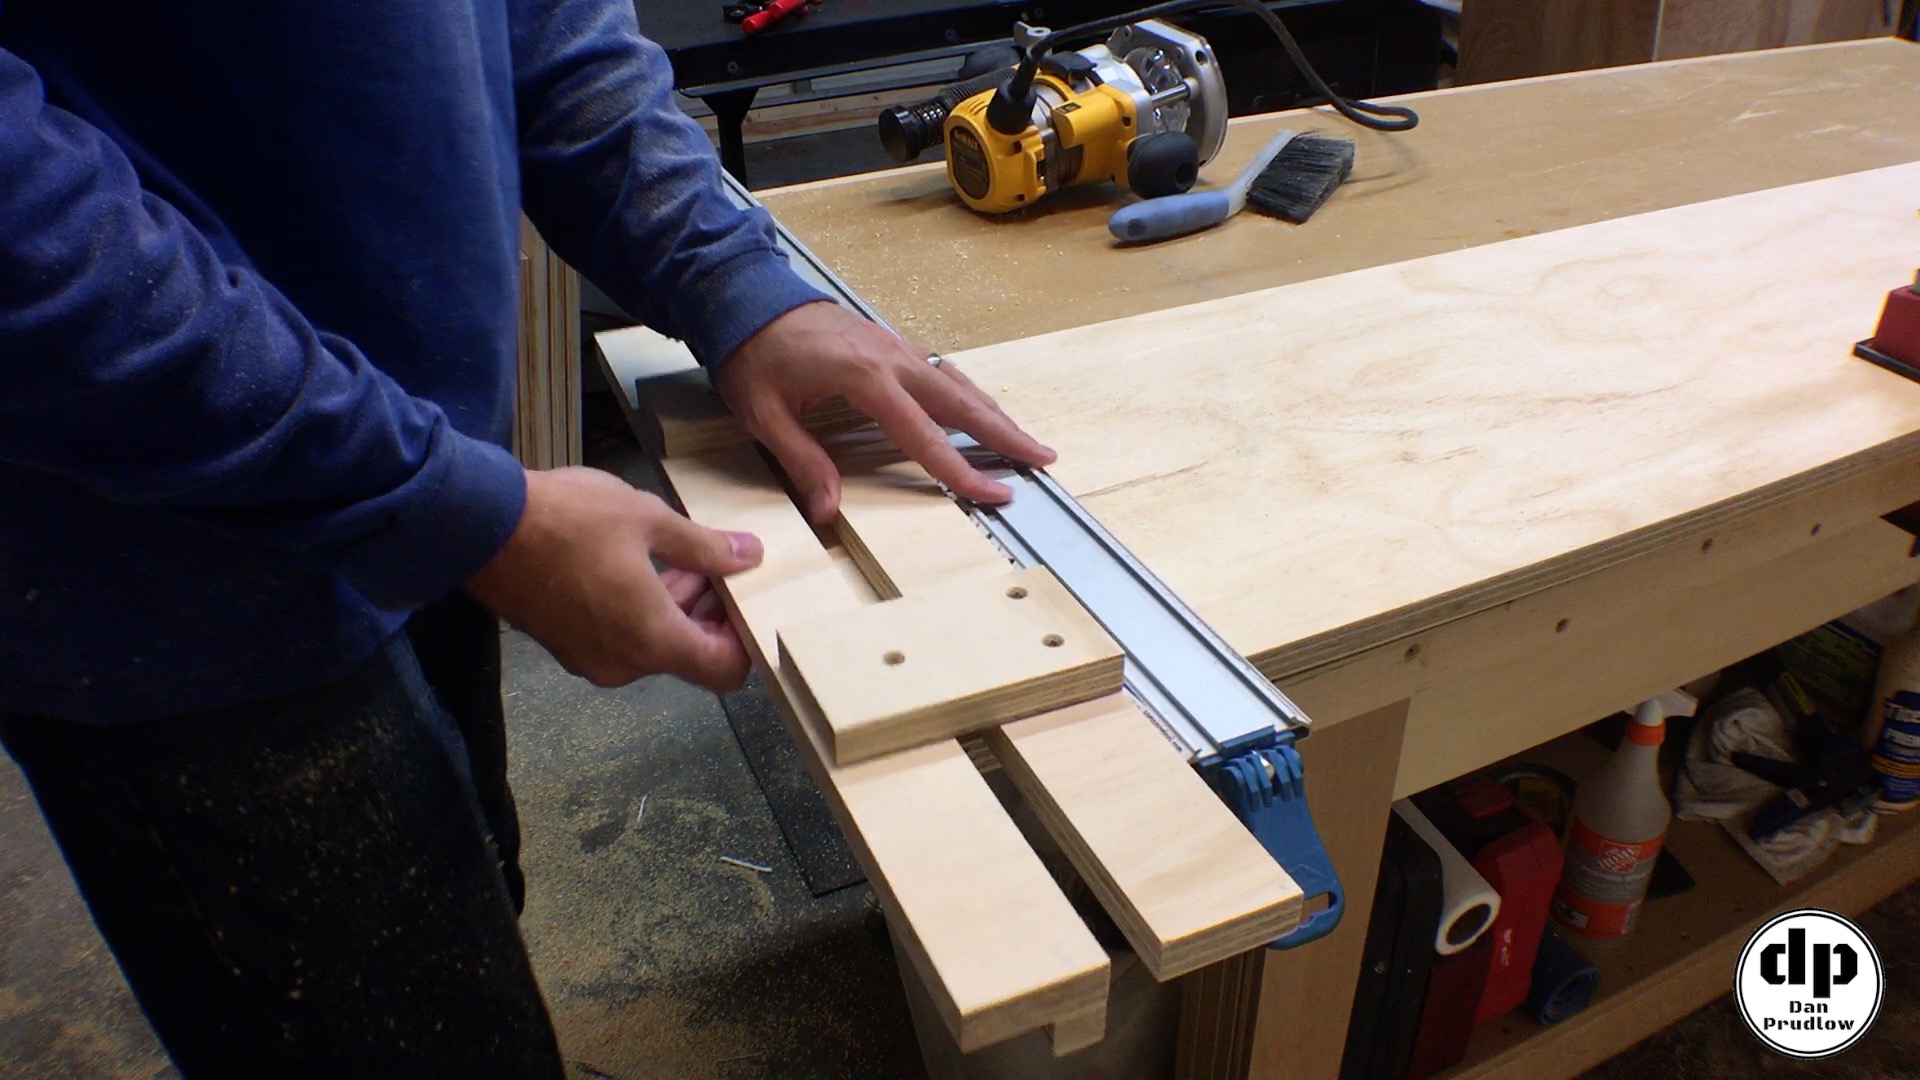
Build Jigs…Avoid Alignment Problems
I built two quick jigs to help me get the rabbets and dados aligned consistently across all of my parts. I first measured the offset from the edge of the router bit to the edge of the router base. Using this offset measurement I built the first small jig to give me the exact spacing for the rabbets. The second jig provided the exact layout for all of the dados to hold the shelves. Using these jigs I was able to avoid any slight misalignment in the cuts. Misaligned dados would have resulted in big problems at assembly time. The two jigs also made cutting all the joinery go much faster!
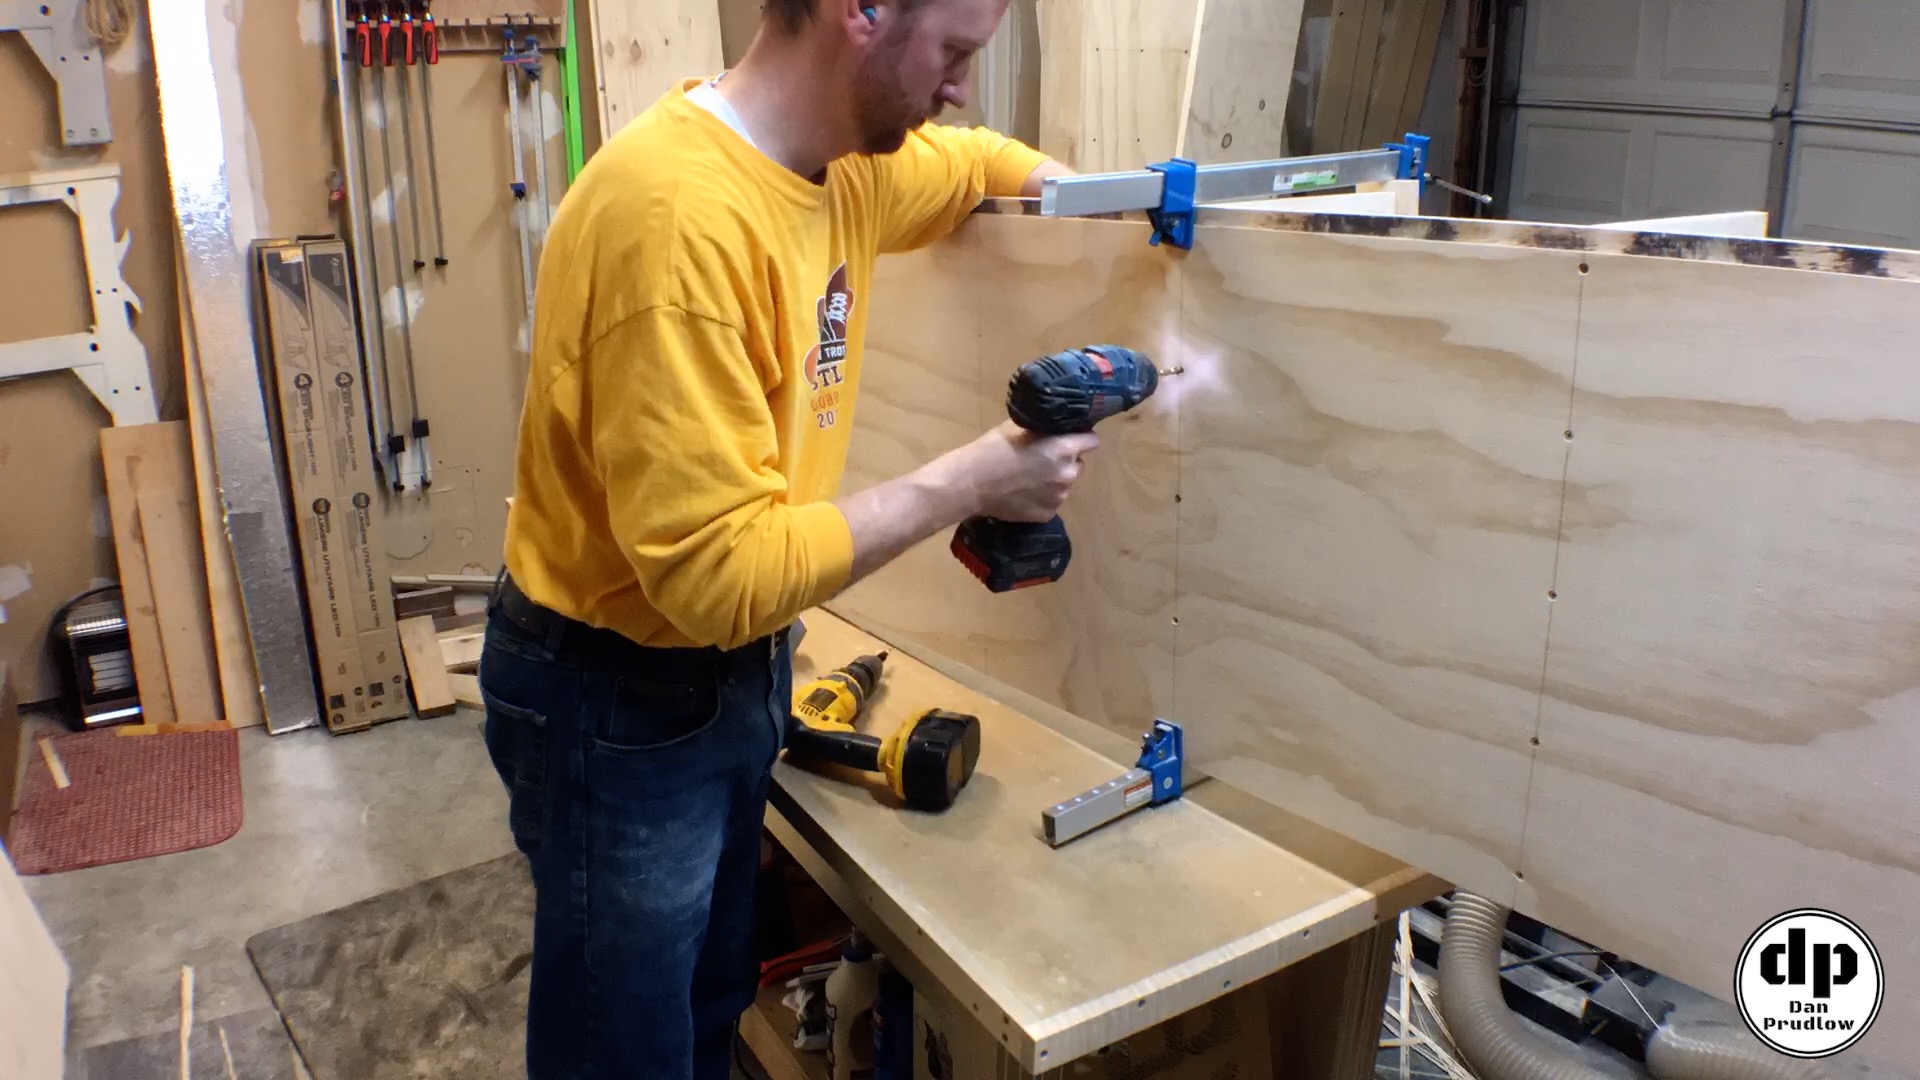
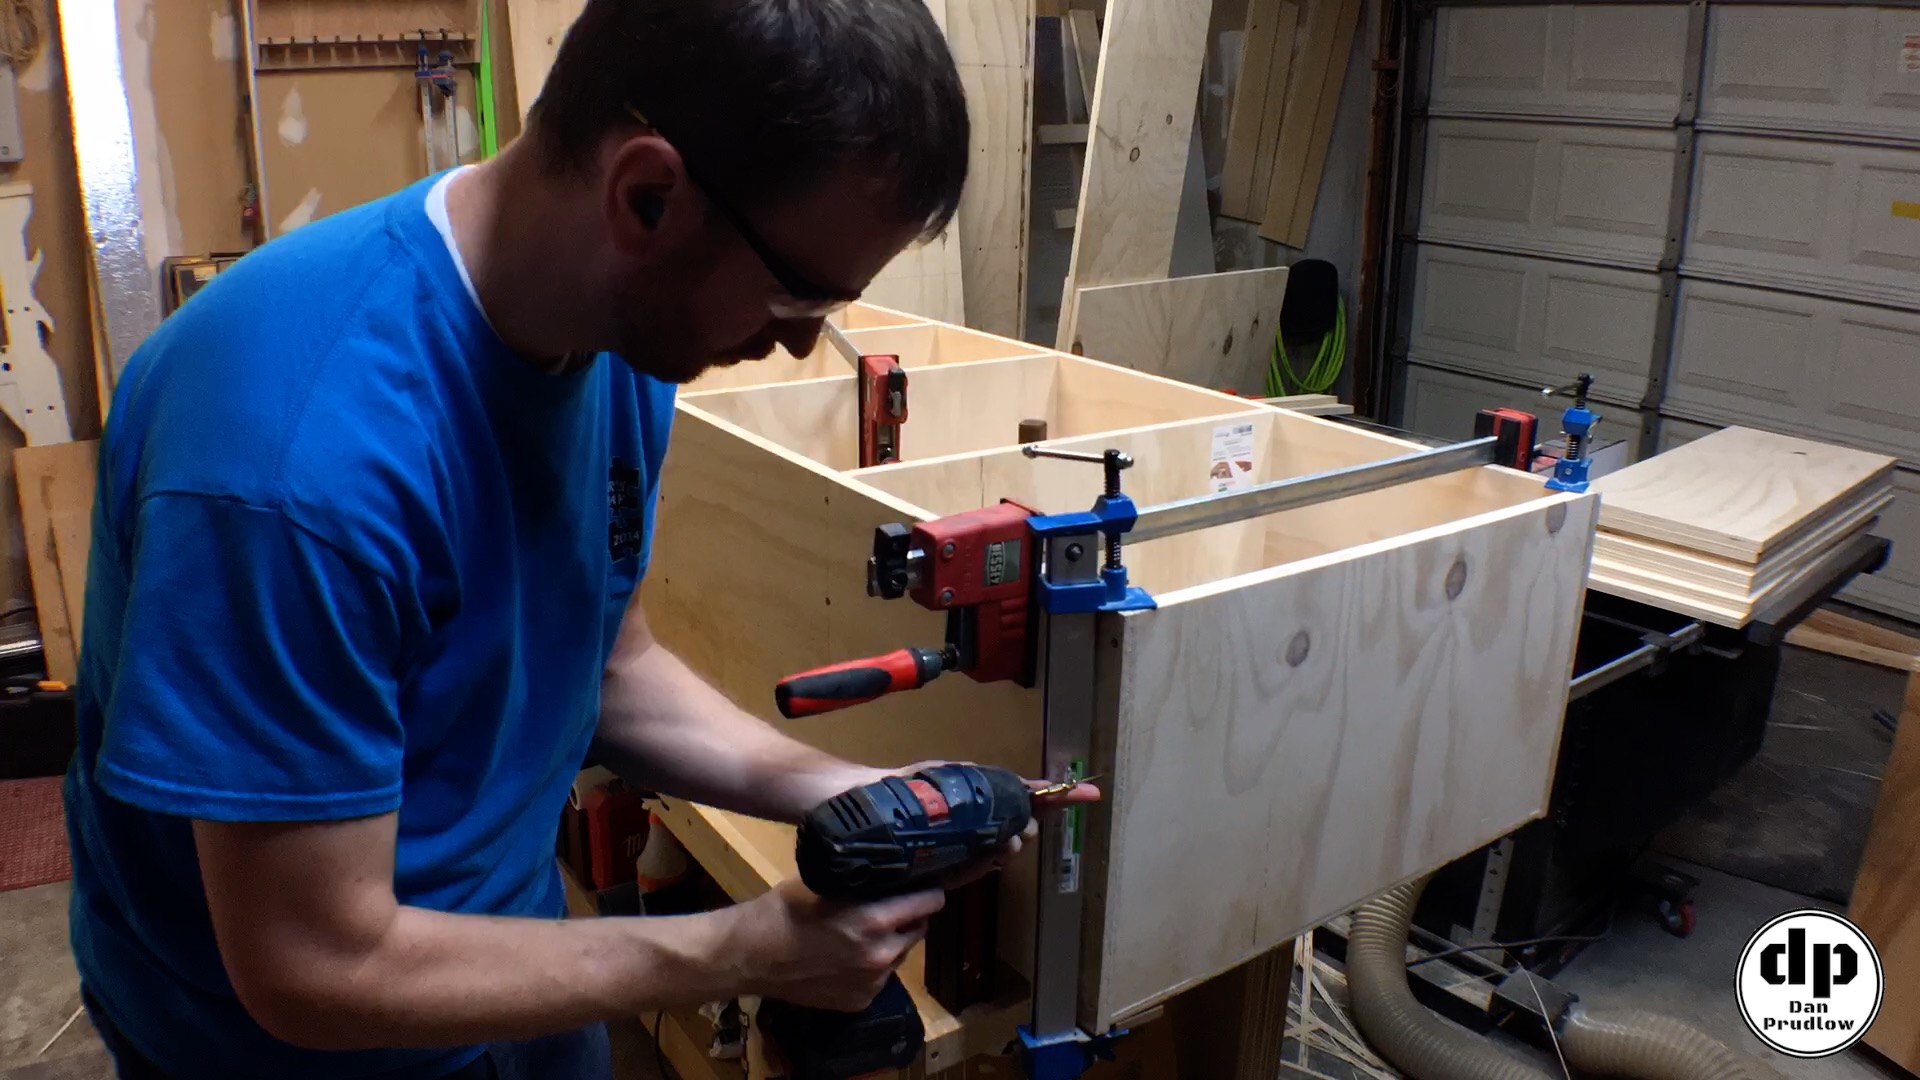
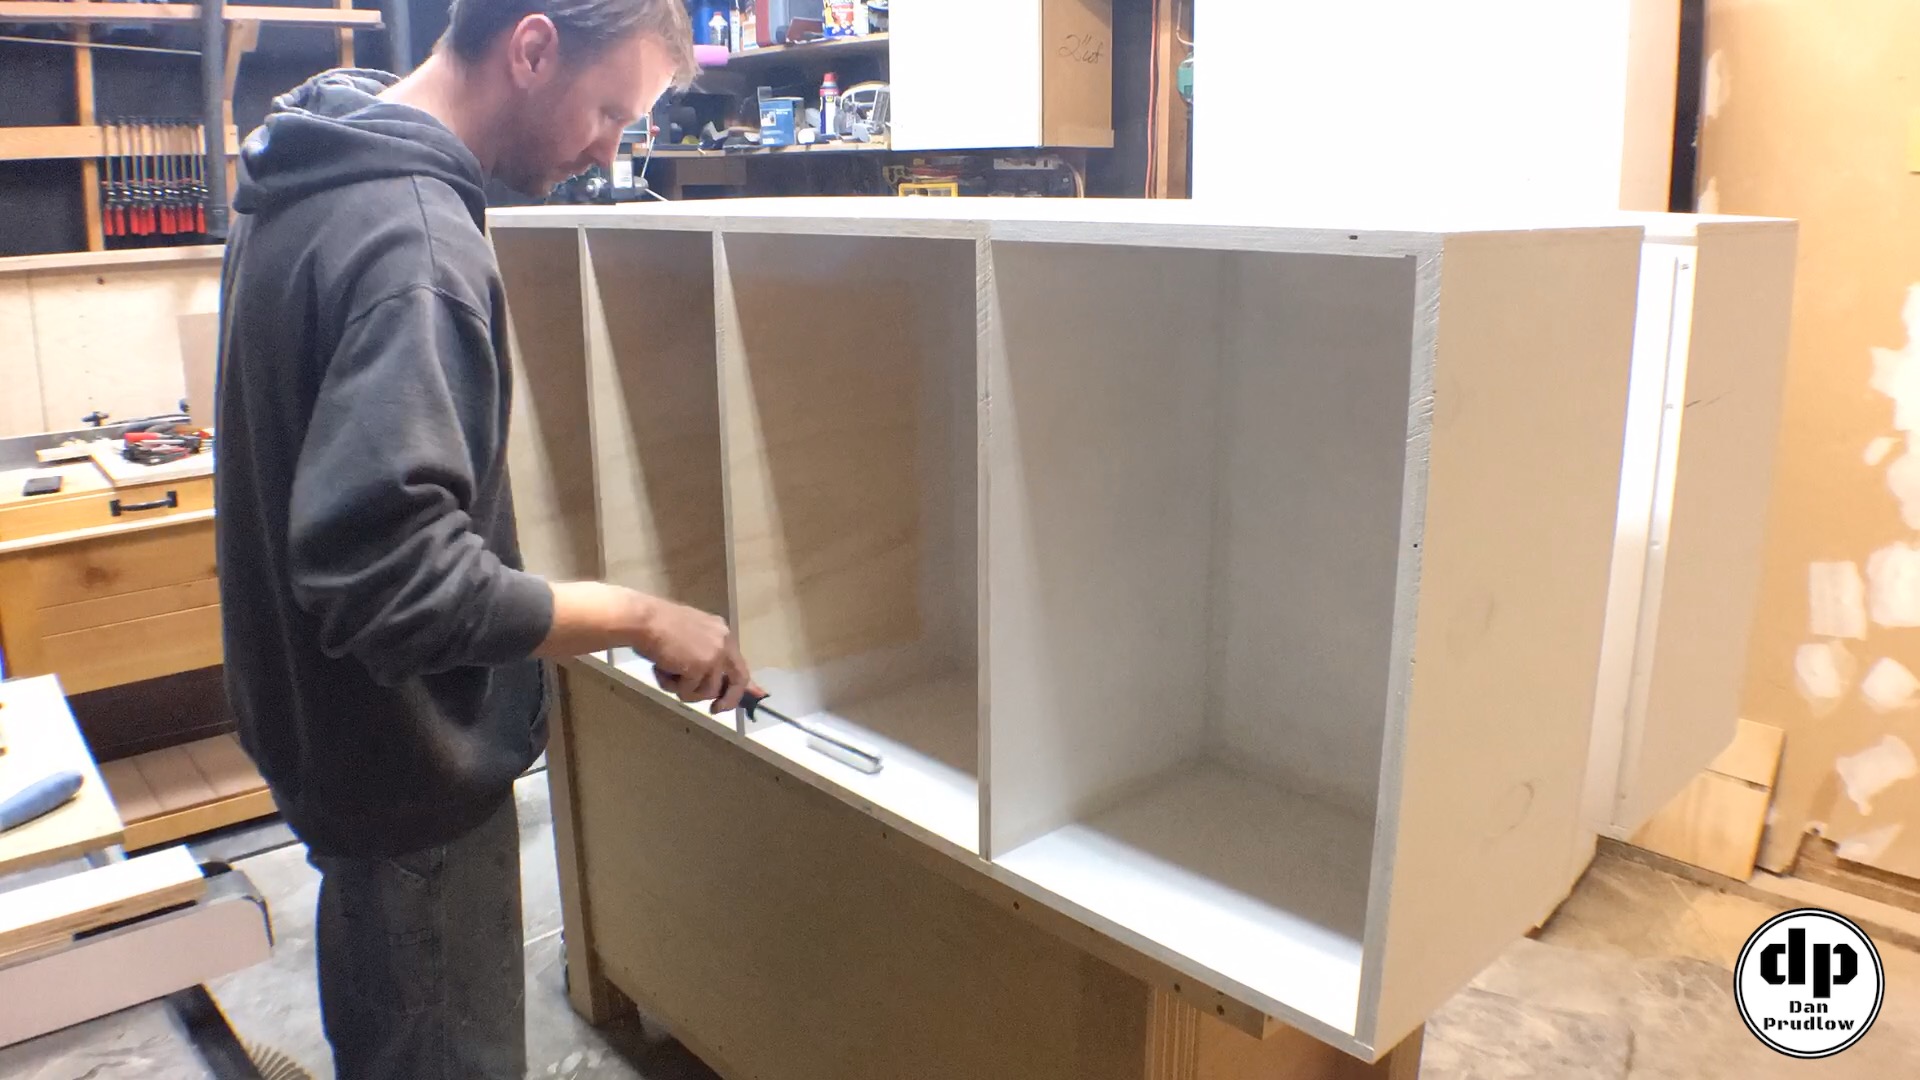
Assembling the Shelving Units
Rabbet and dado joinery makes assembly pretty straightforward. The structure is extremely strong and rigid. These units are big and I don’t have a lot of large clamps, as a result I decided to skip the glue and just drive in screws to hold things together. I started by attaching each shelve to the back panel. First I got the shelf started in the dado and then used a clamp on each side to help fully seat the piece in the joint. I then drove in screws from the back side.
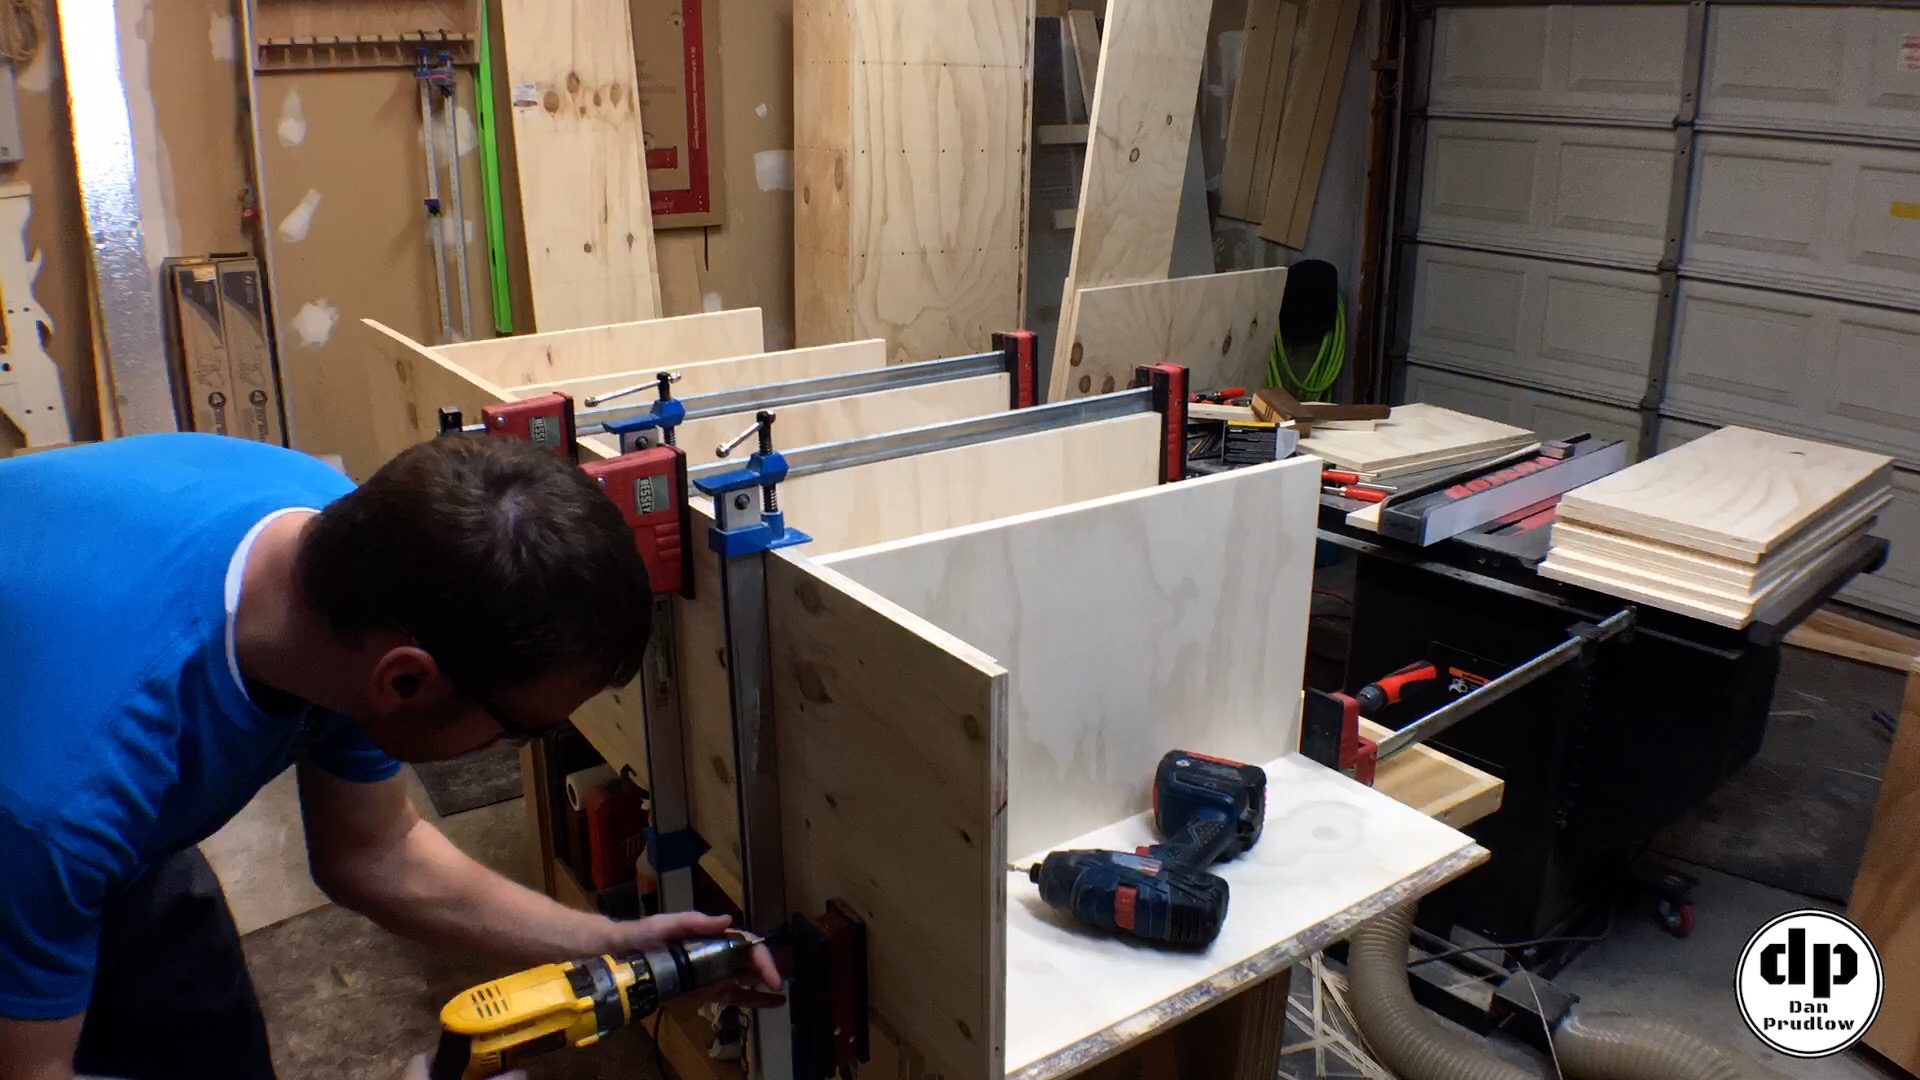
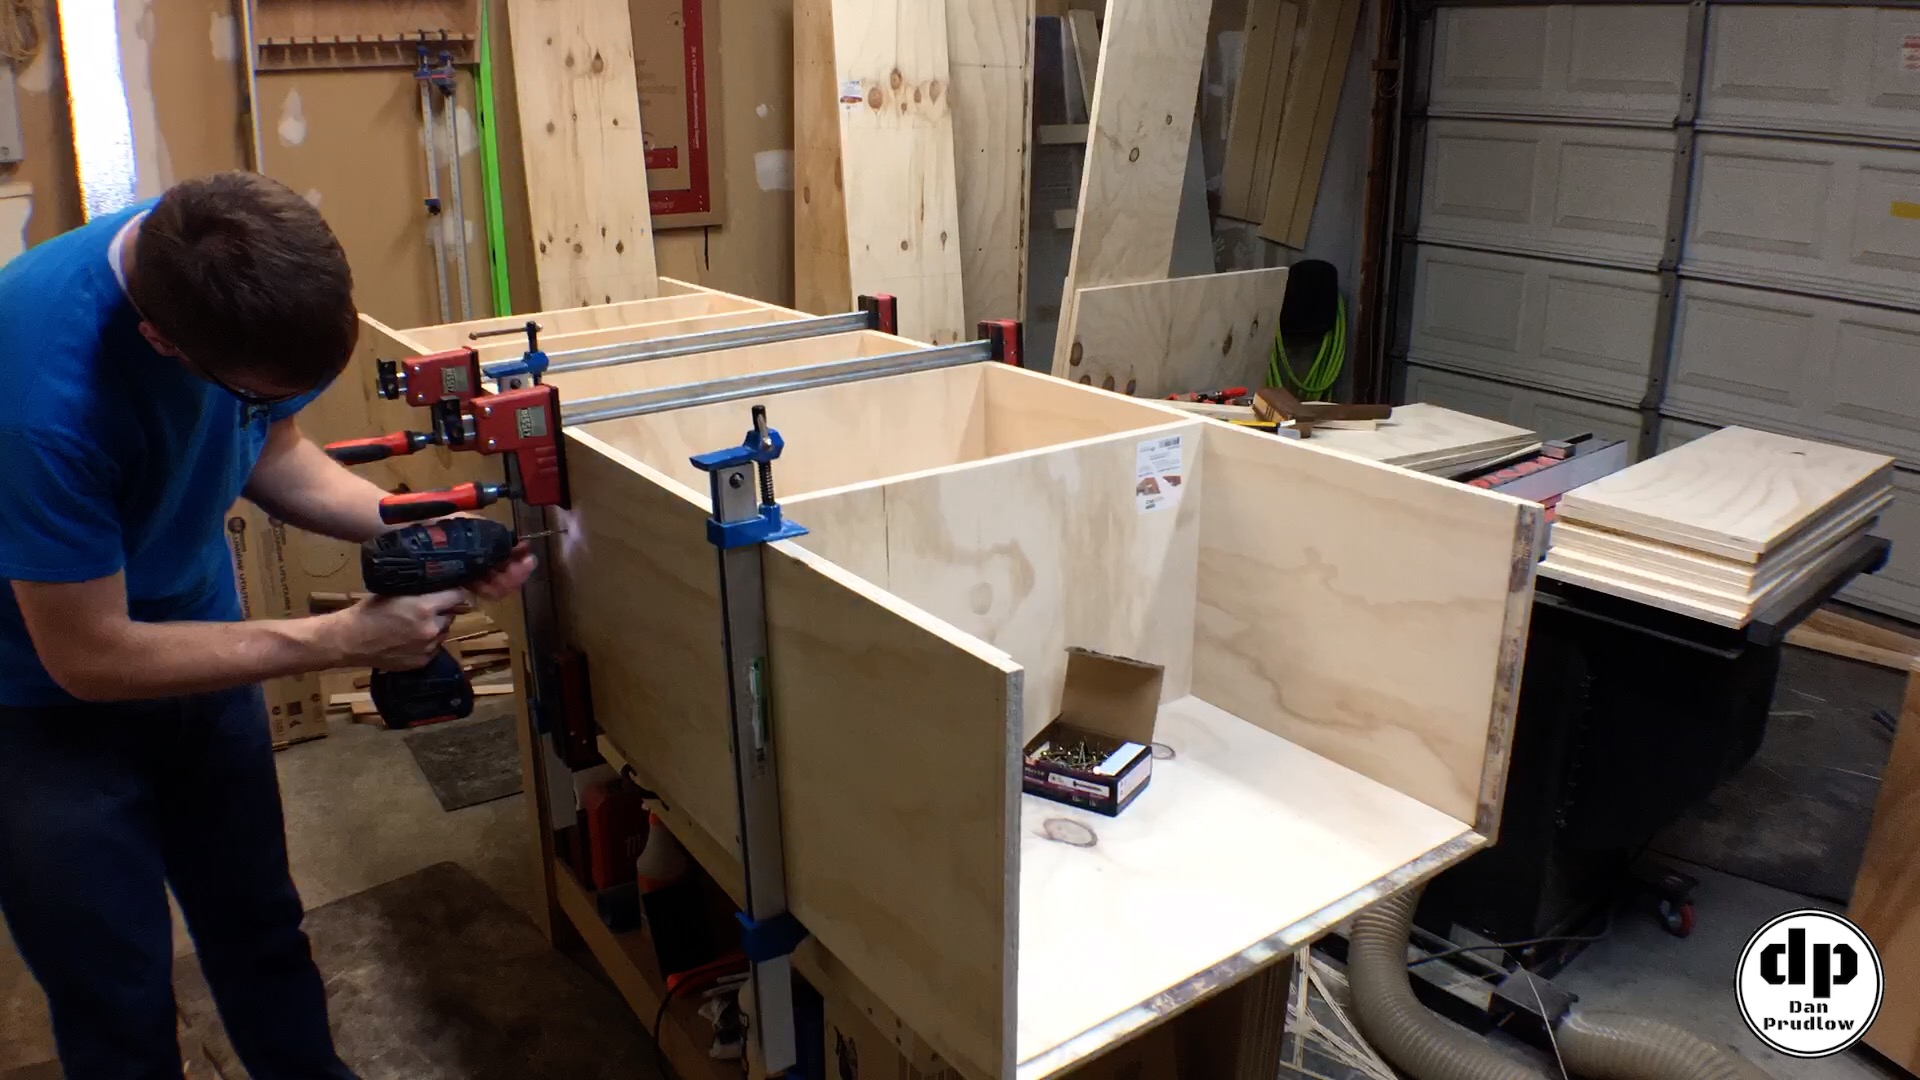
Attaching the Sides
With each of the shelves in place I attached each side one at a time. Again, I had to get creative because of the size and lack of large clamps. First I got each shelf started into the dado on the side piece so that things were mostly aligned. Next I would start at one end and use the clamps to pull the joints nice and tight on the first shelf and add screws. I continued this process until all of the joints were tight and secured with screws. This process was repeated for the other side. With the sides in place I could attach the top and bottom to complete the unit. I used the same process for all three sections.
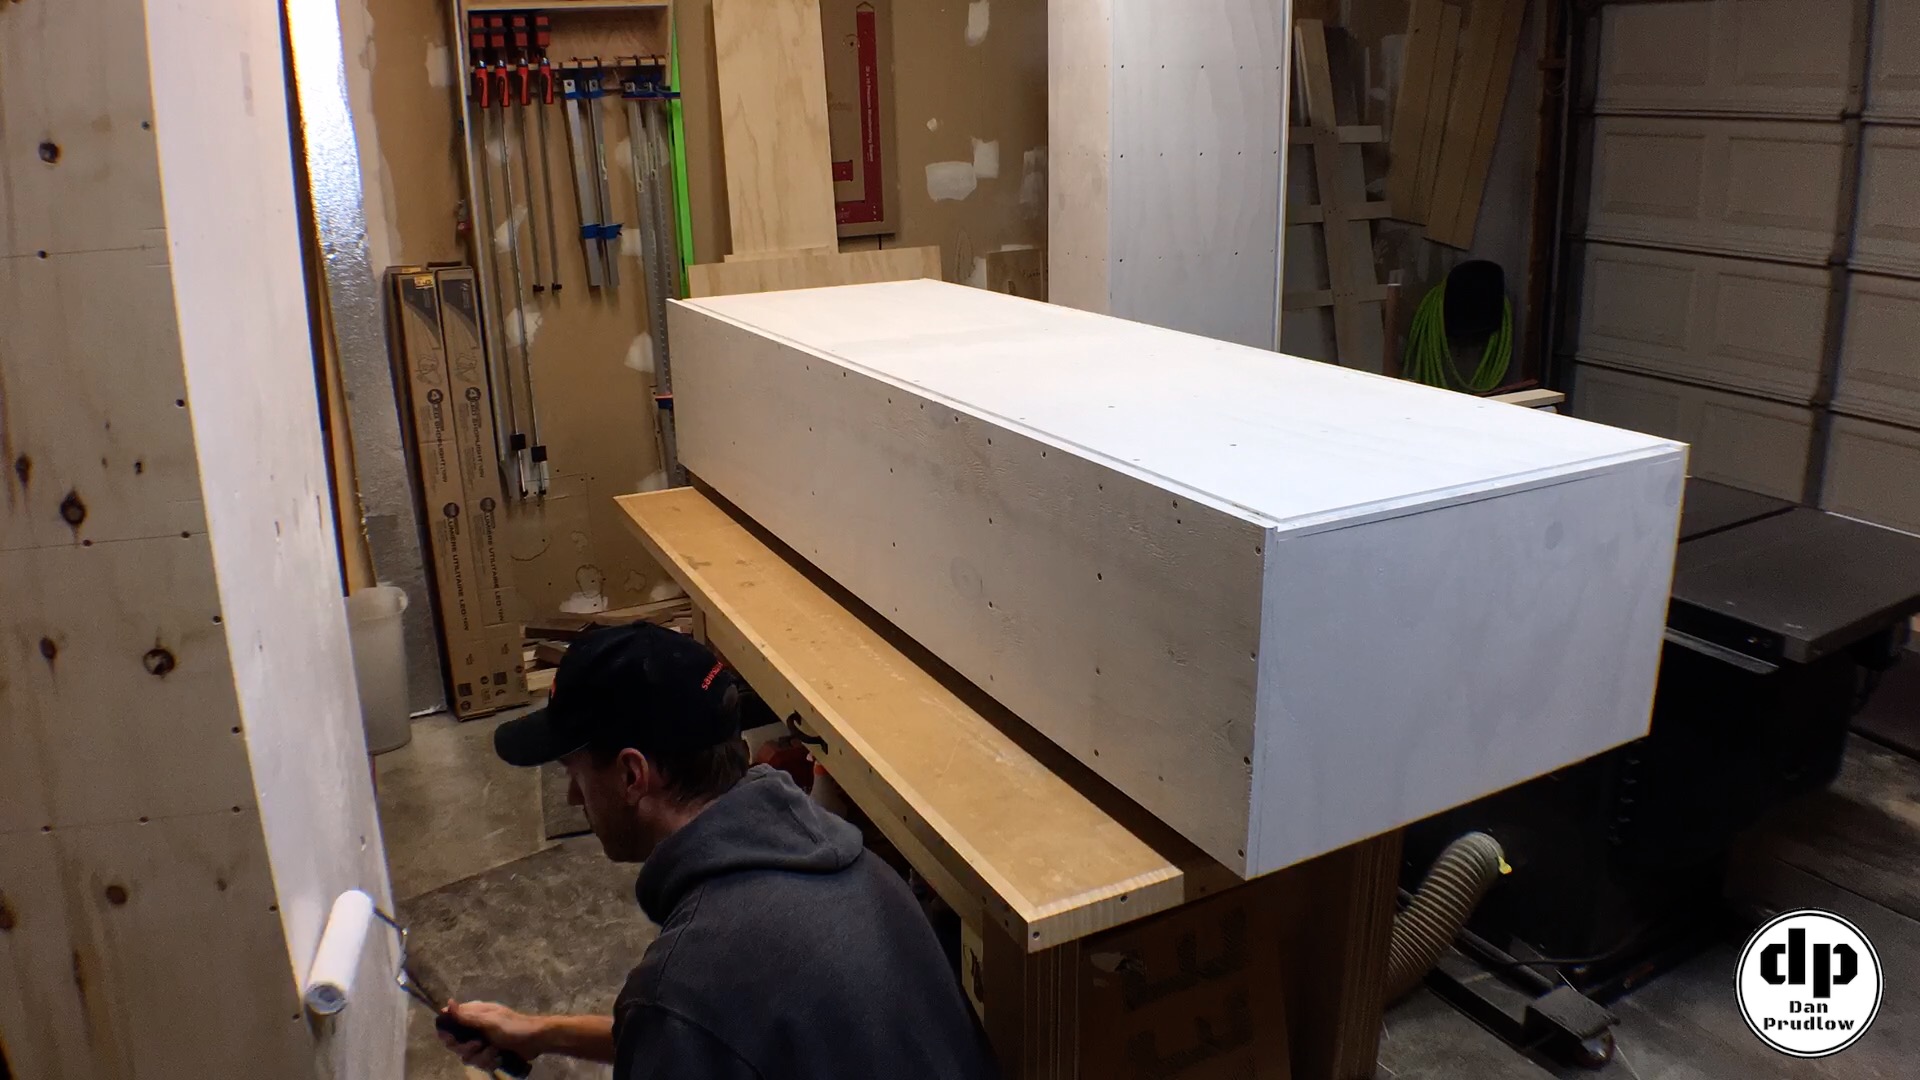
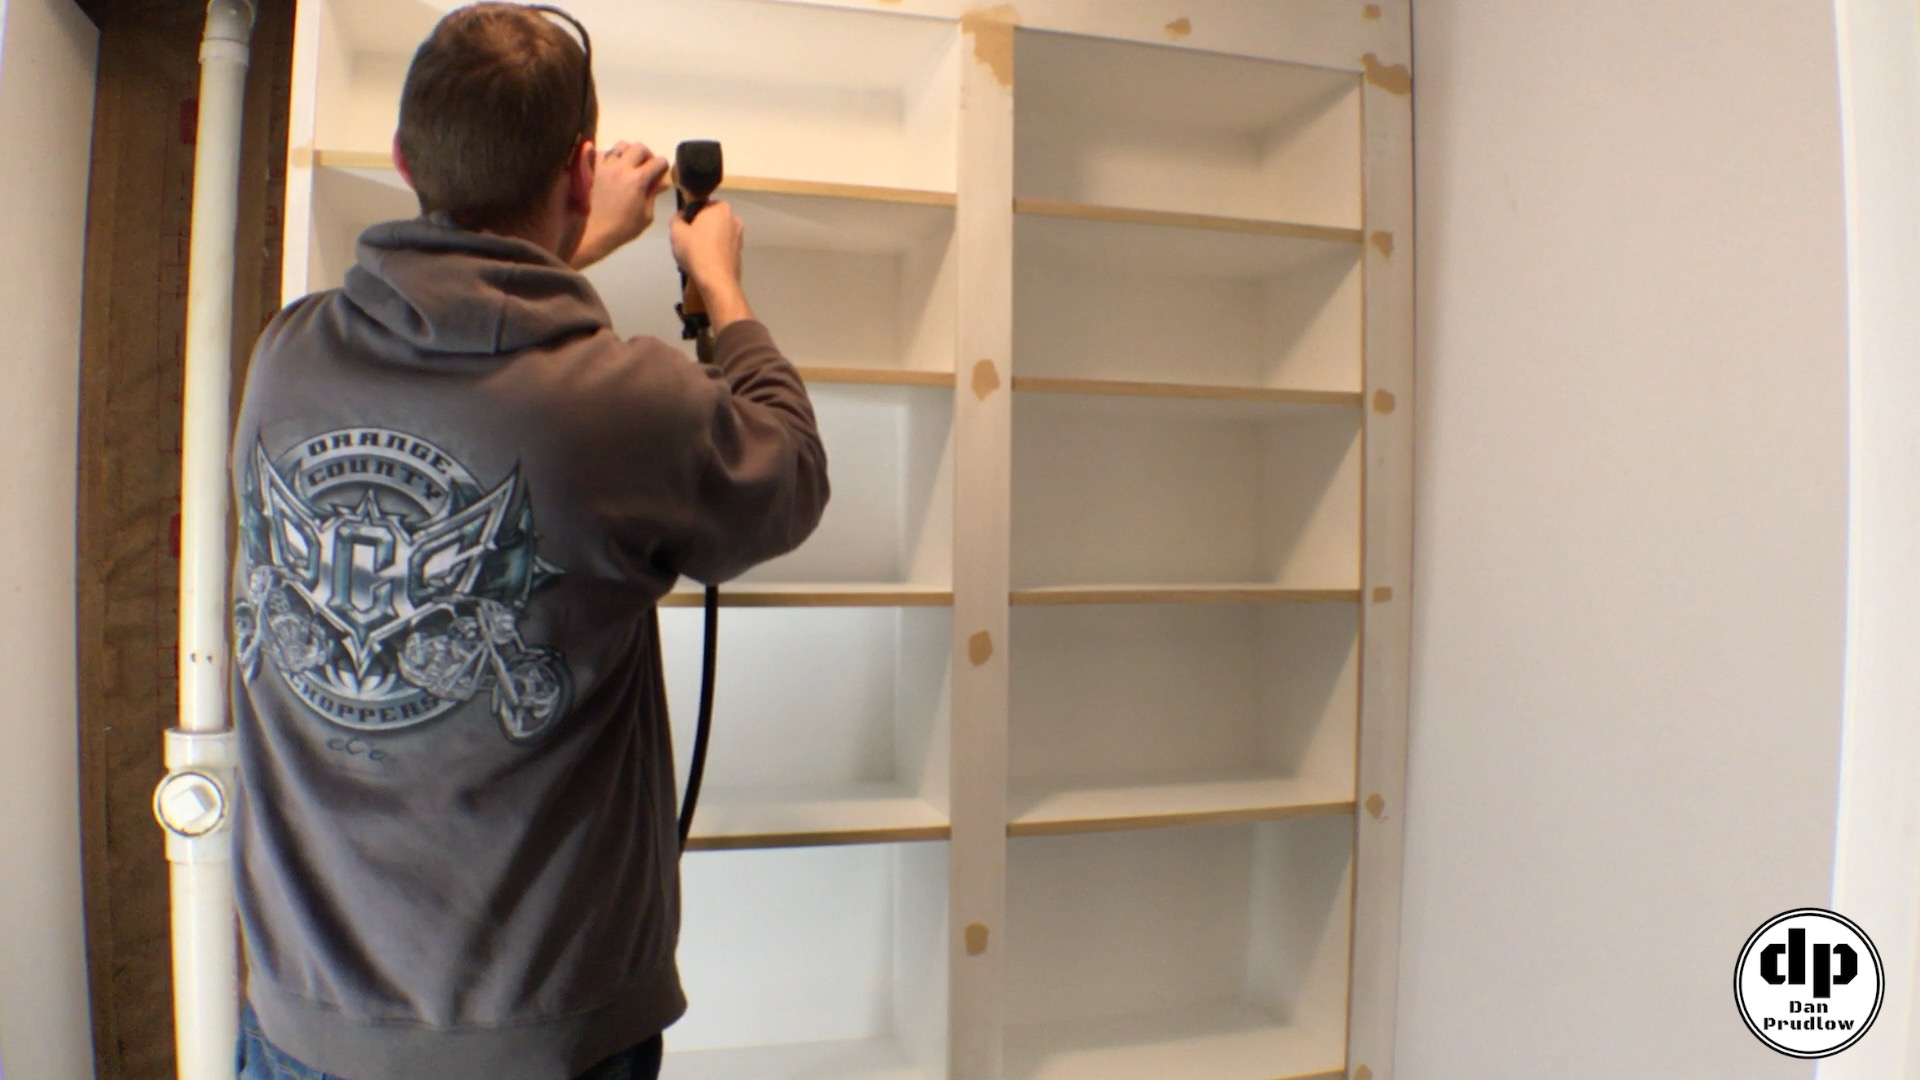
Prepping for Installation
Before installing the three built-in shelving units I took the time to put two coats of primer on both the inside and outside surfaces. It may seem silly to prime the outside that will never bee seen but it’s a good idea to have finish on both sides of the wood. This will seal the wood on both sides rather than only one side. Plywood will sometimes warp if one side is able to absorb moisture while the other side cannot. I can’t go back and add primer later, therefore it is better to do it now and avoid any potential issues, even if the chances are slim that anything would ever happen.
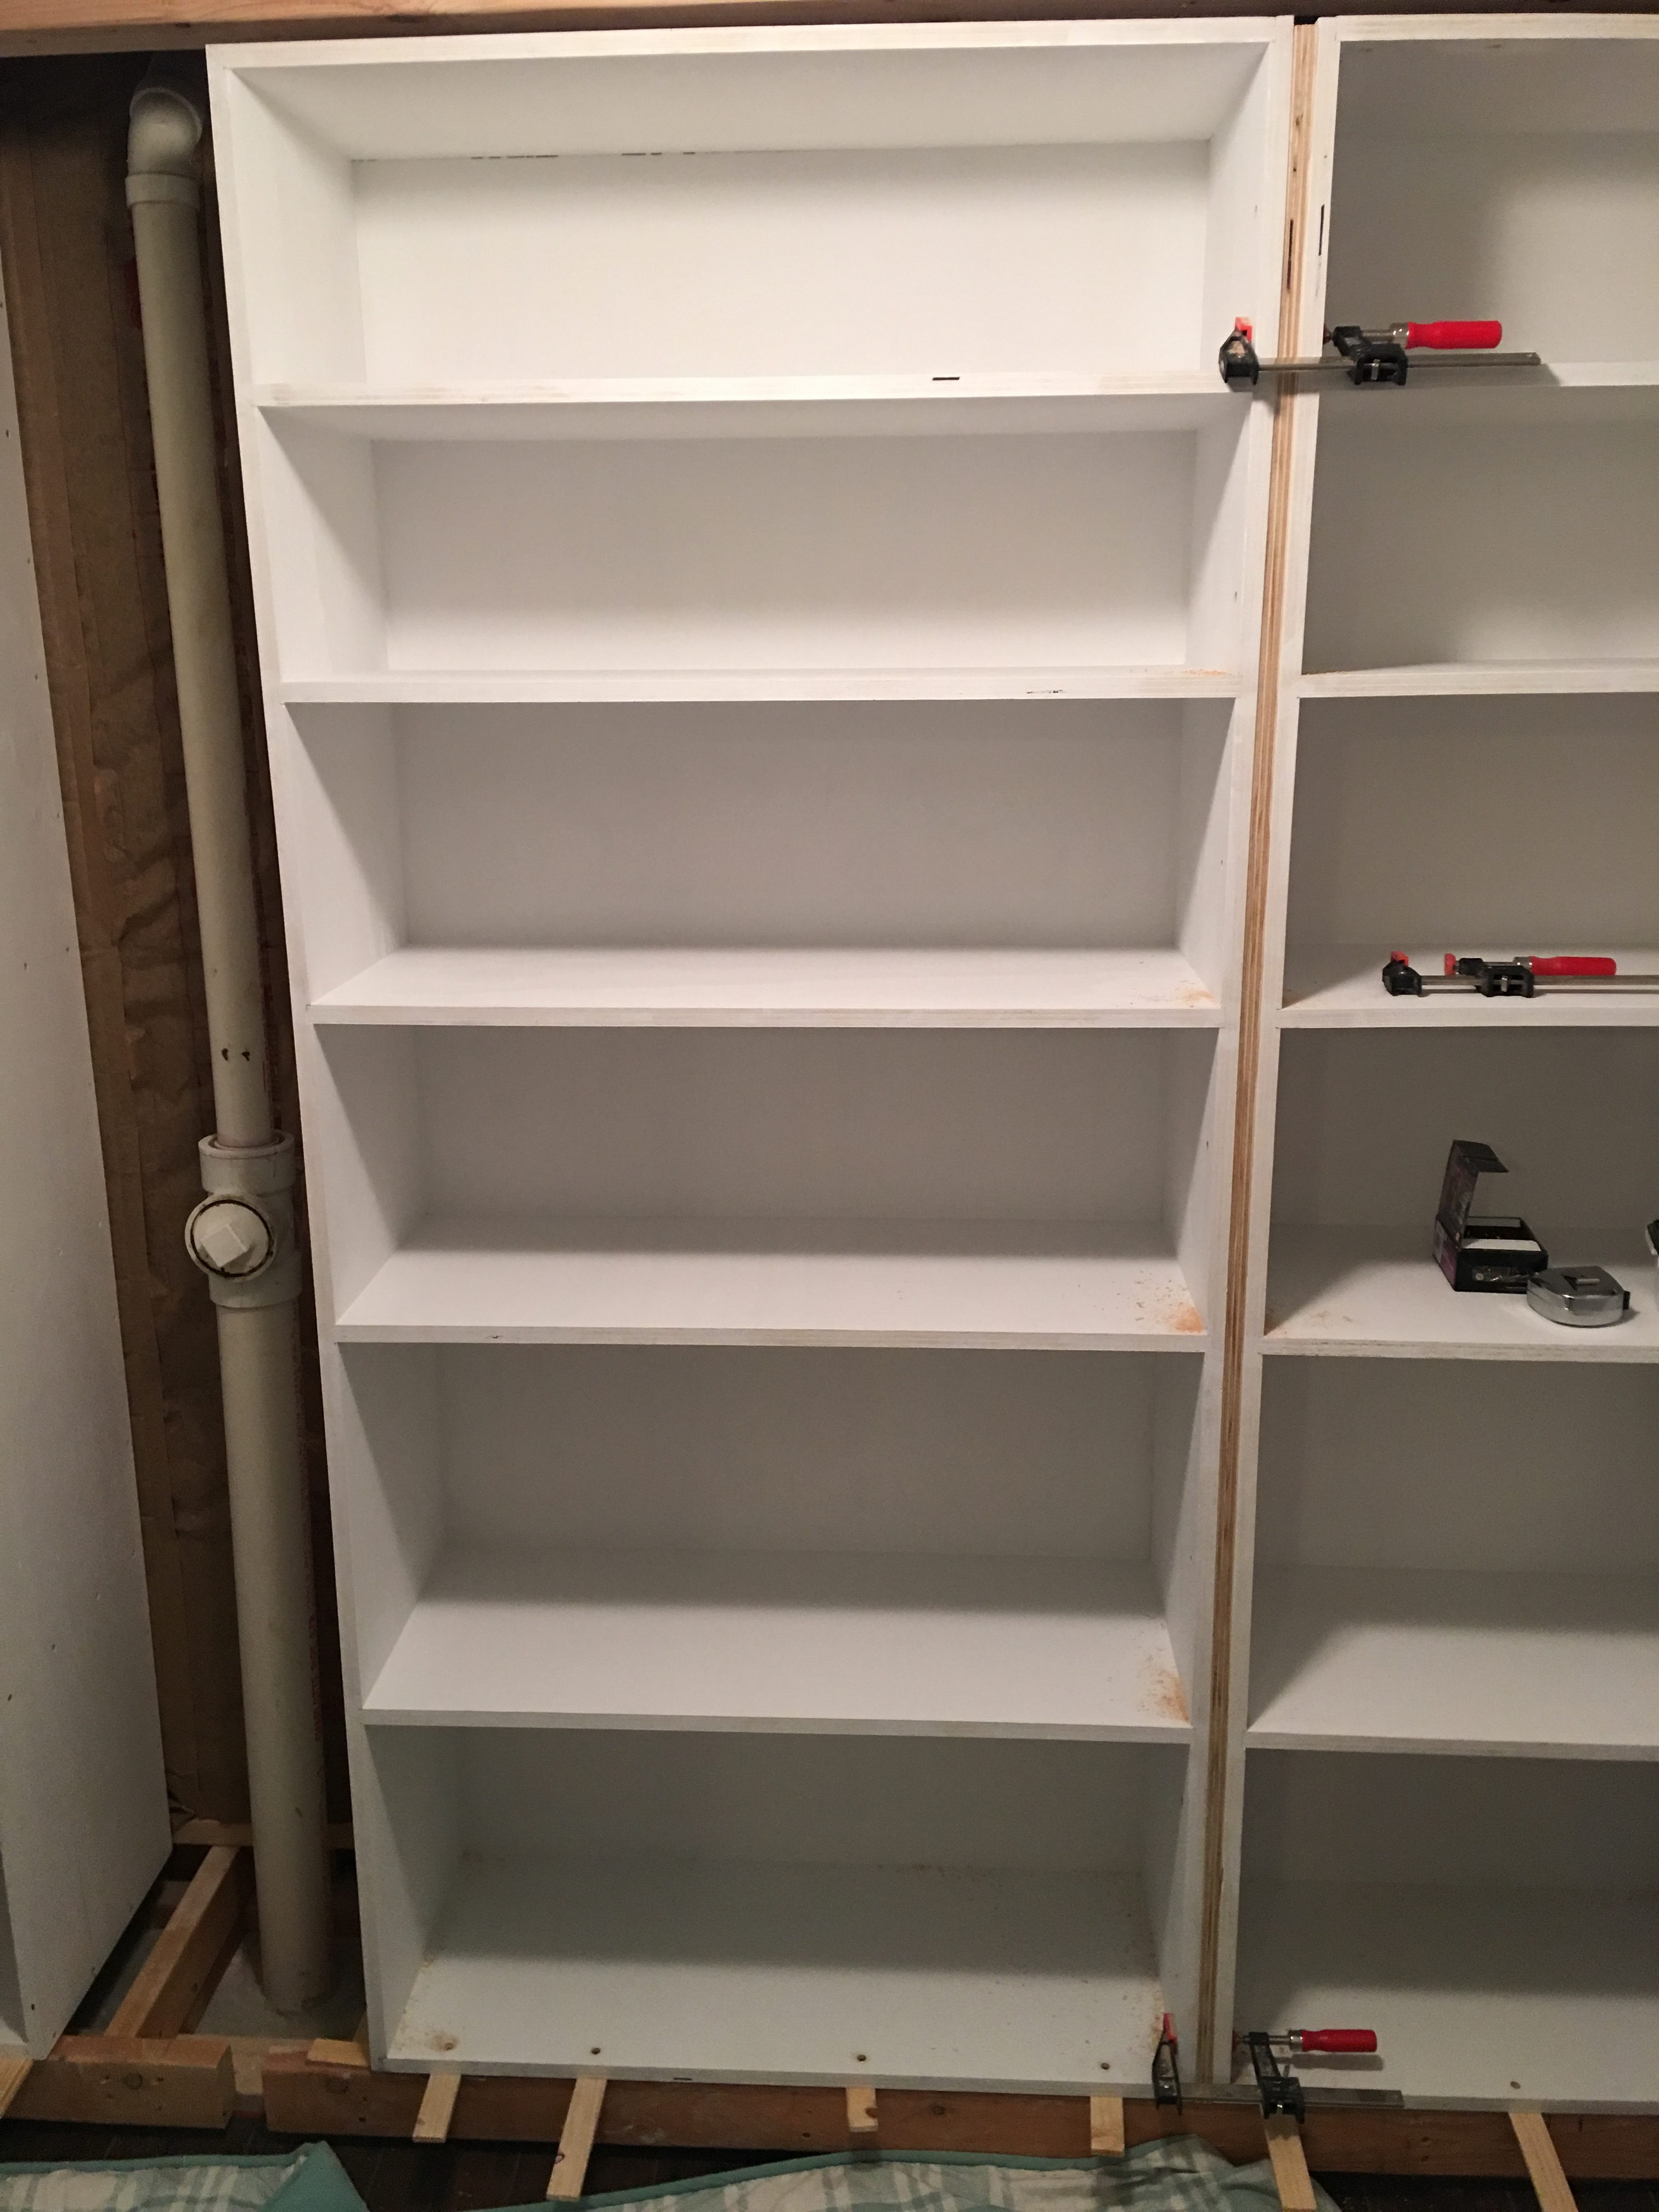
Installation Time
Installing the built-in shelves was pretty straightforward. First, I positioned each section in it’s approximate spot. Next, I used shims to level each one and attached them with 2 inch screws. This the same process you would use for installing any other type of cabinetry. Because I would be adding the face frame trim after installation it was important for the front edge of each section to align across the full width.
Face Frame Challenges
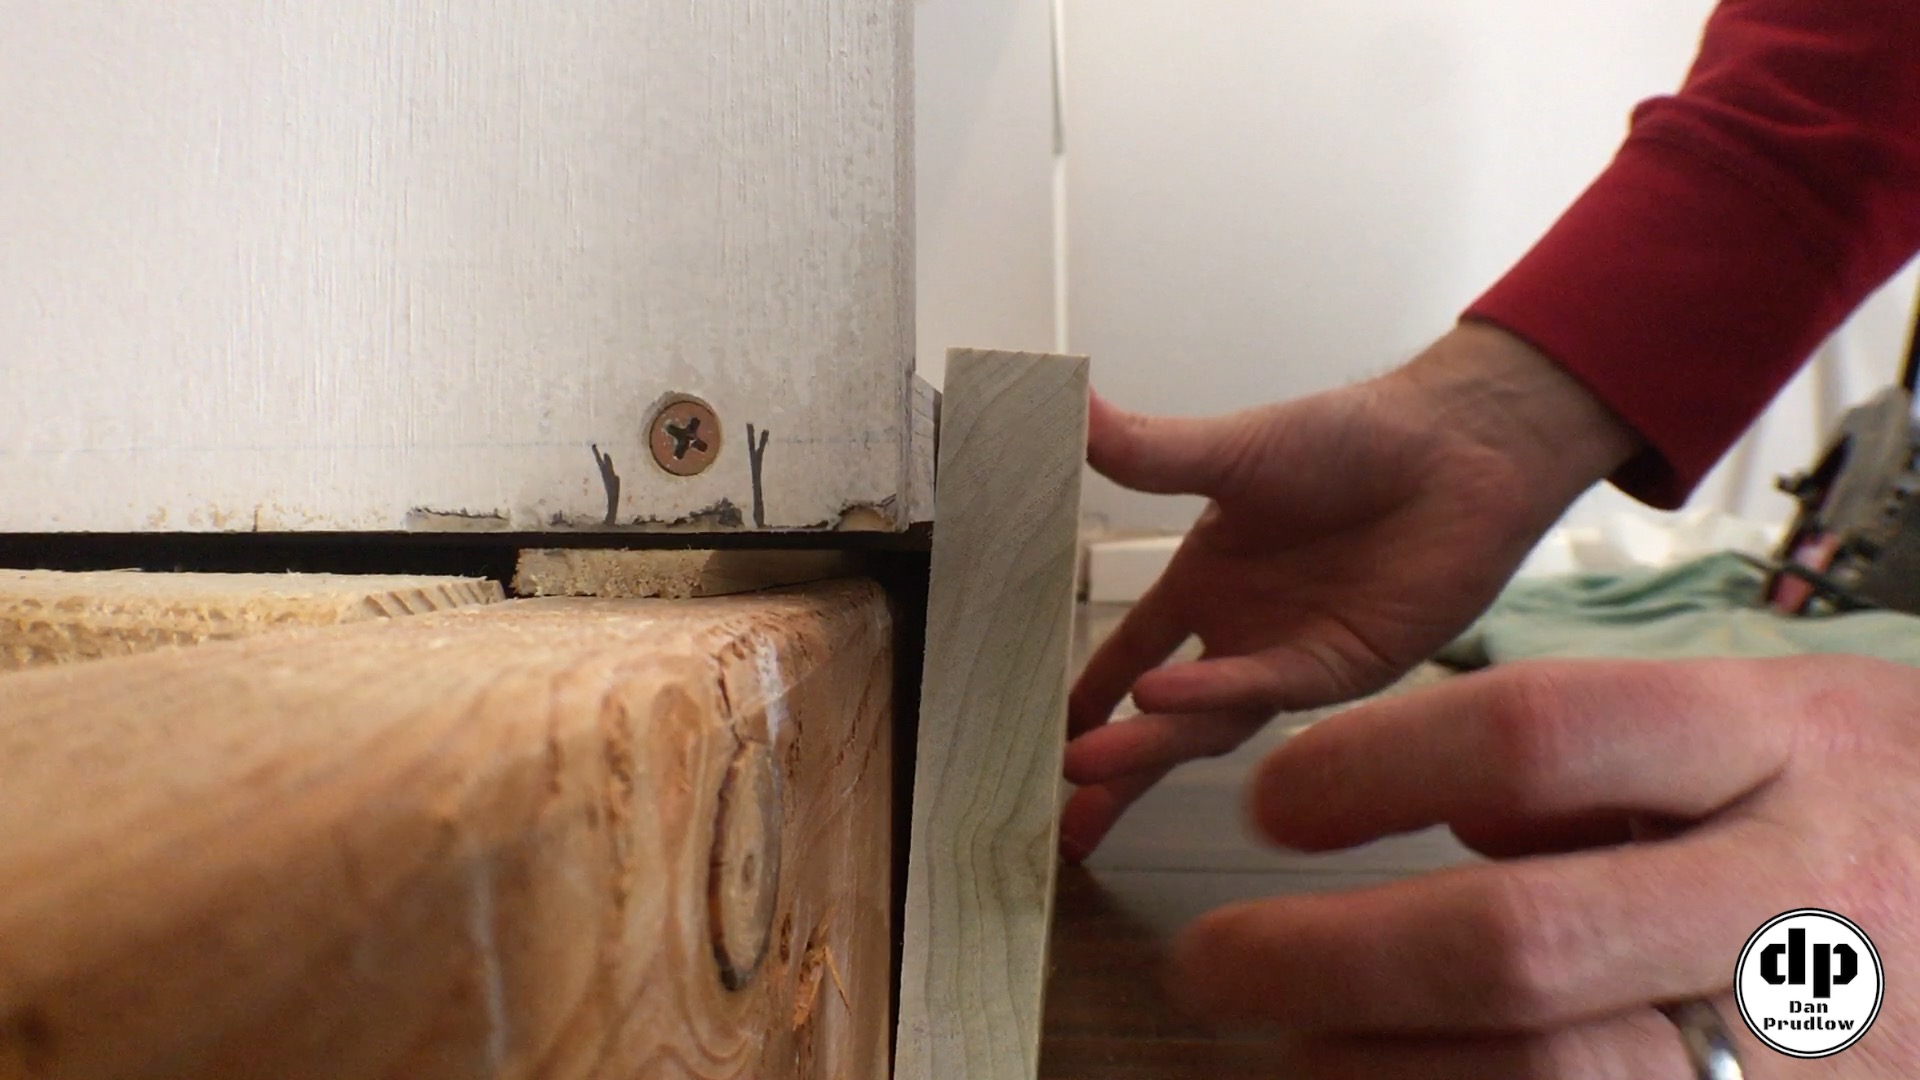
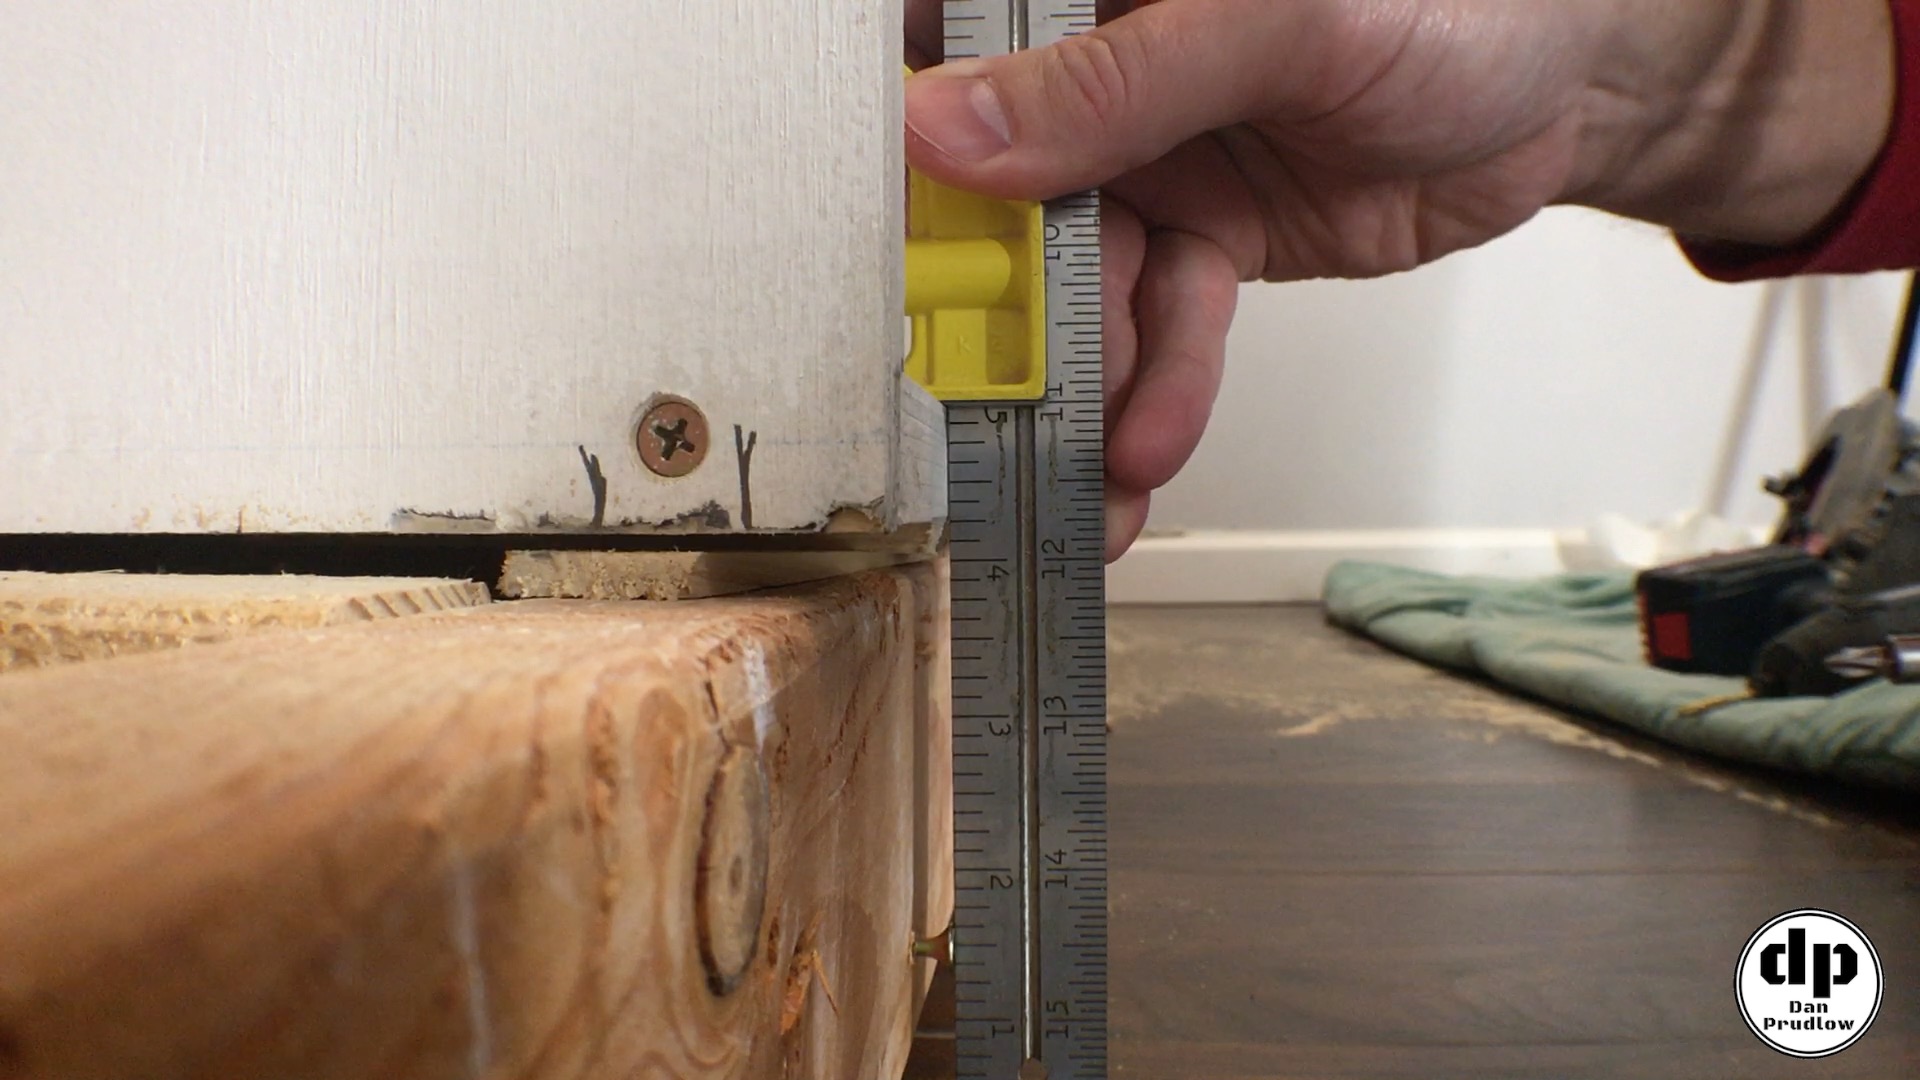
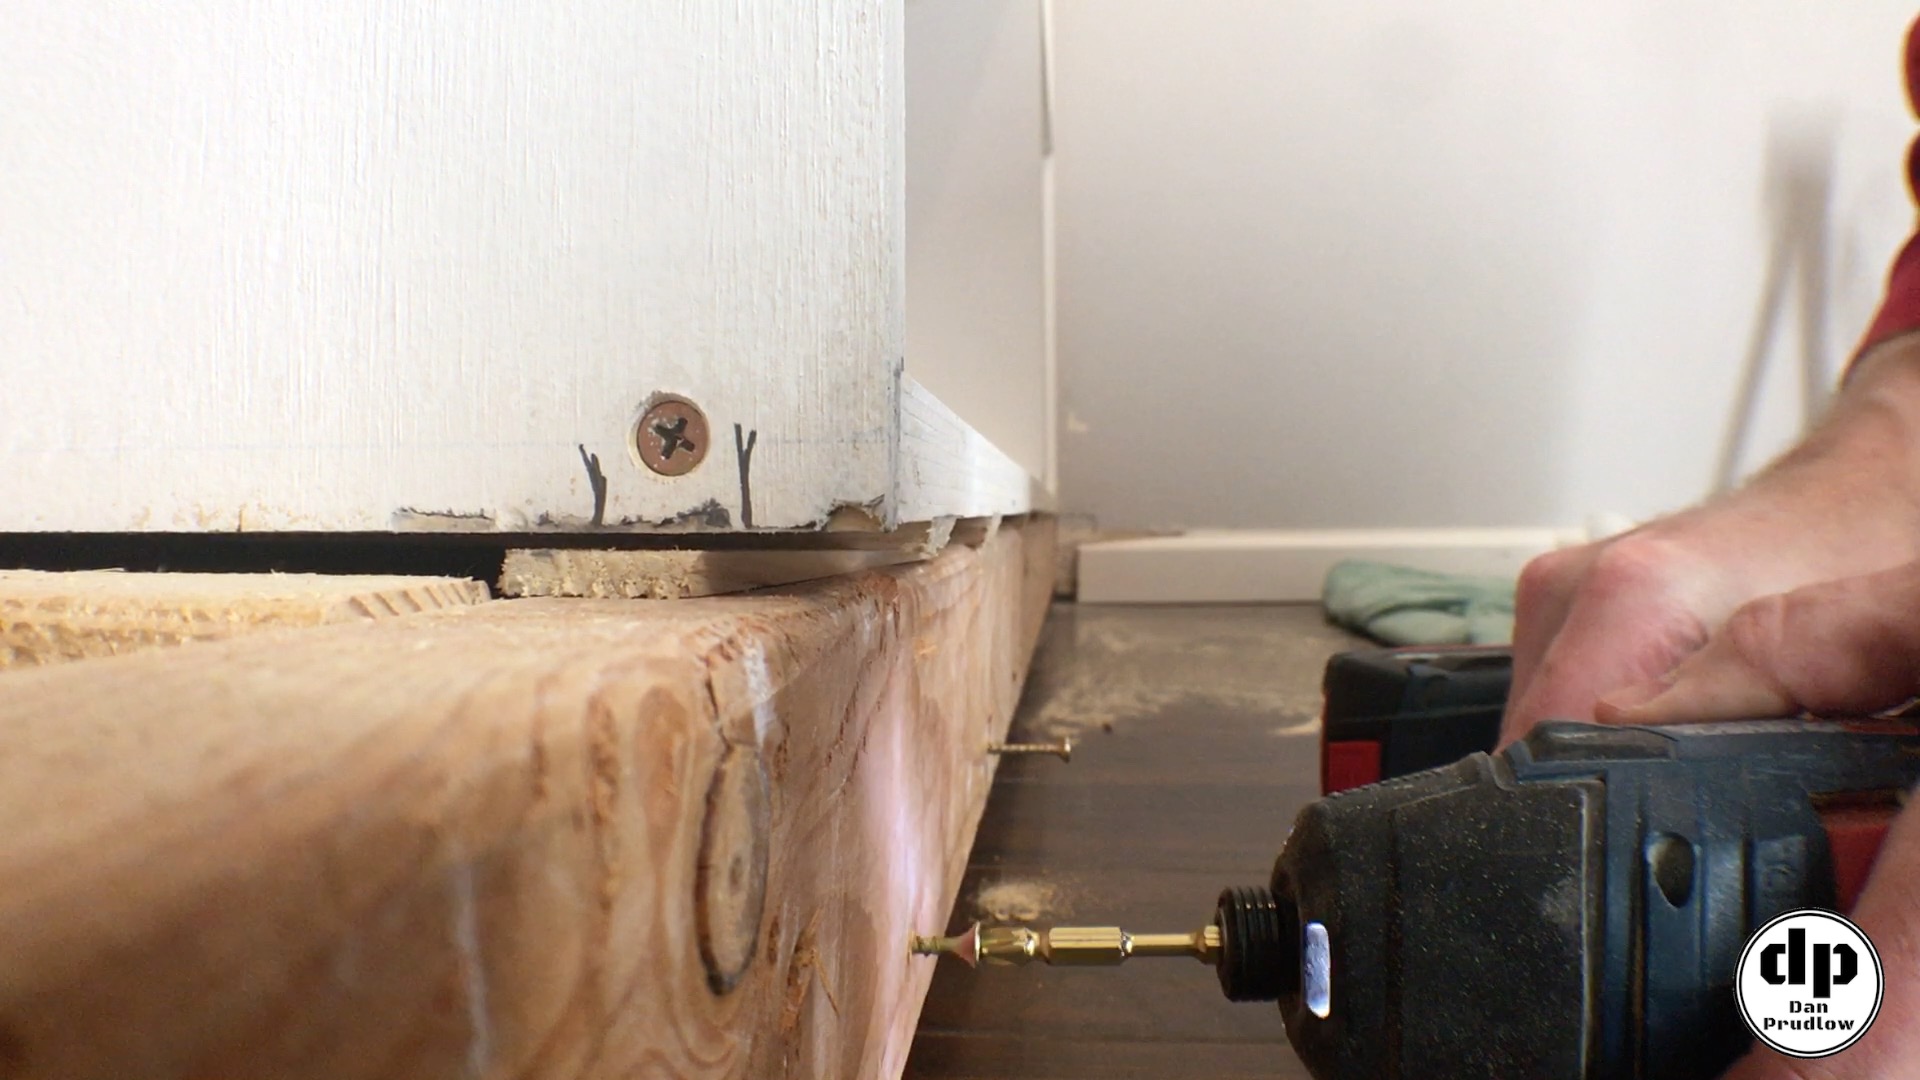
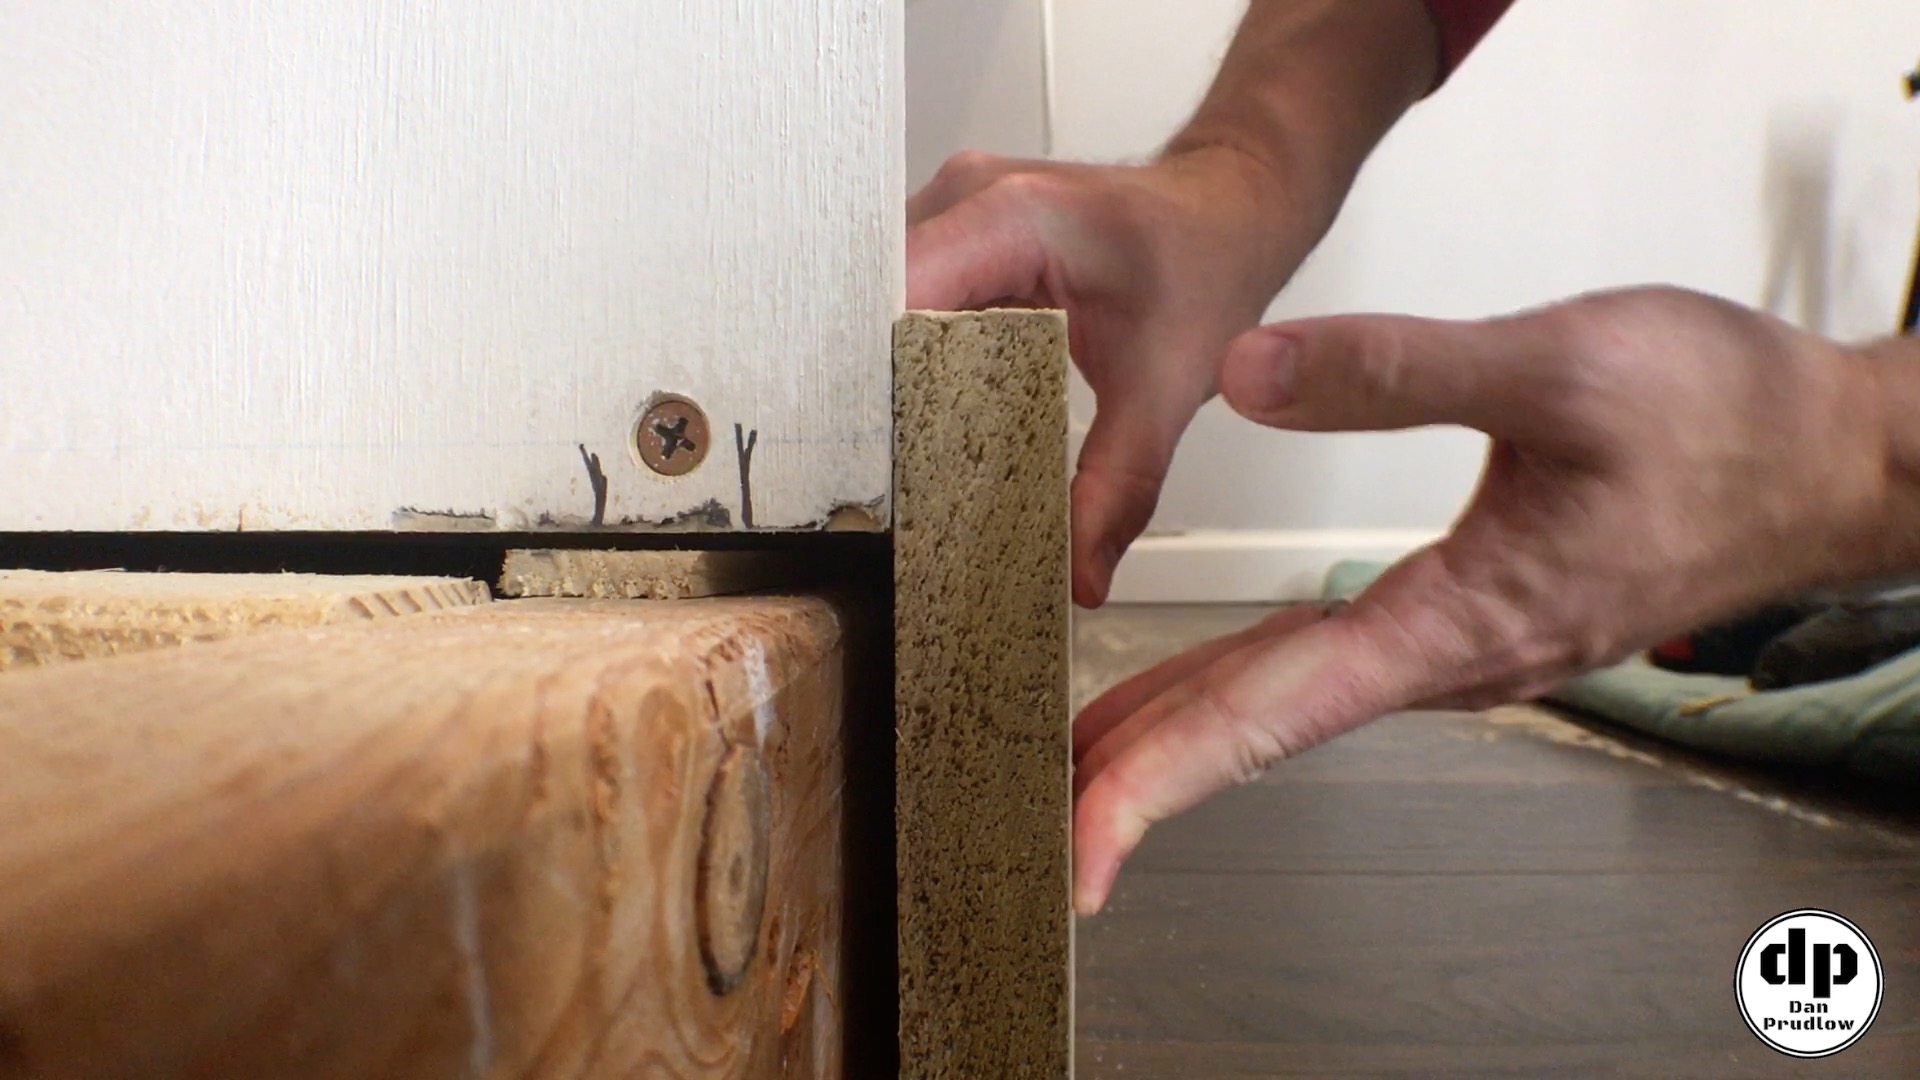
With the main construction completed and installed it was time to trim everything out to complete this phase of the build. The front edge of the shelving units sat a little proud of the framing, as a result I had to come up with a way to keep the trim boards from pushing back against the framing and leaving a gap along the shelf. The depth of the overhang varied from one side to the other, therefore cutting a filler piece would have been difficult. Instead, I decided to drive a series of screws into the lower portion of the framing and then used a combination square to adjust the depth of the screw heads so that they were in line with the front edge fo the shelf structure. This method worked out perfectly, as a result I used it on both the top and bottom and along both walls.
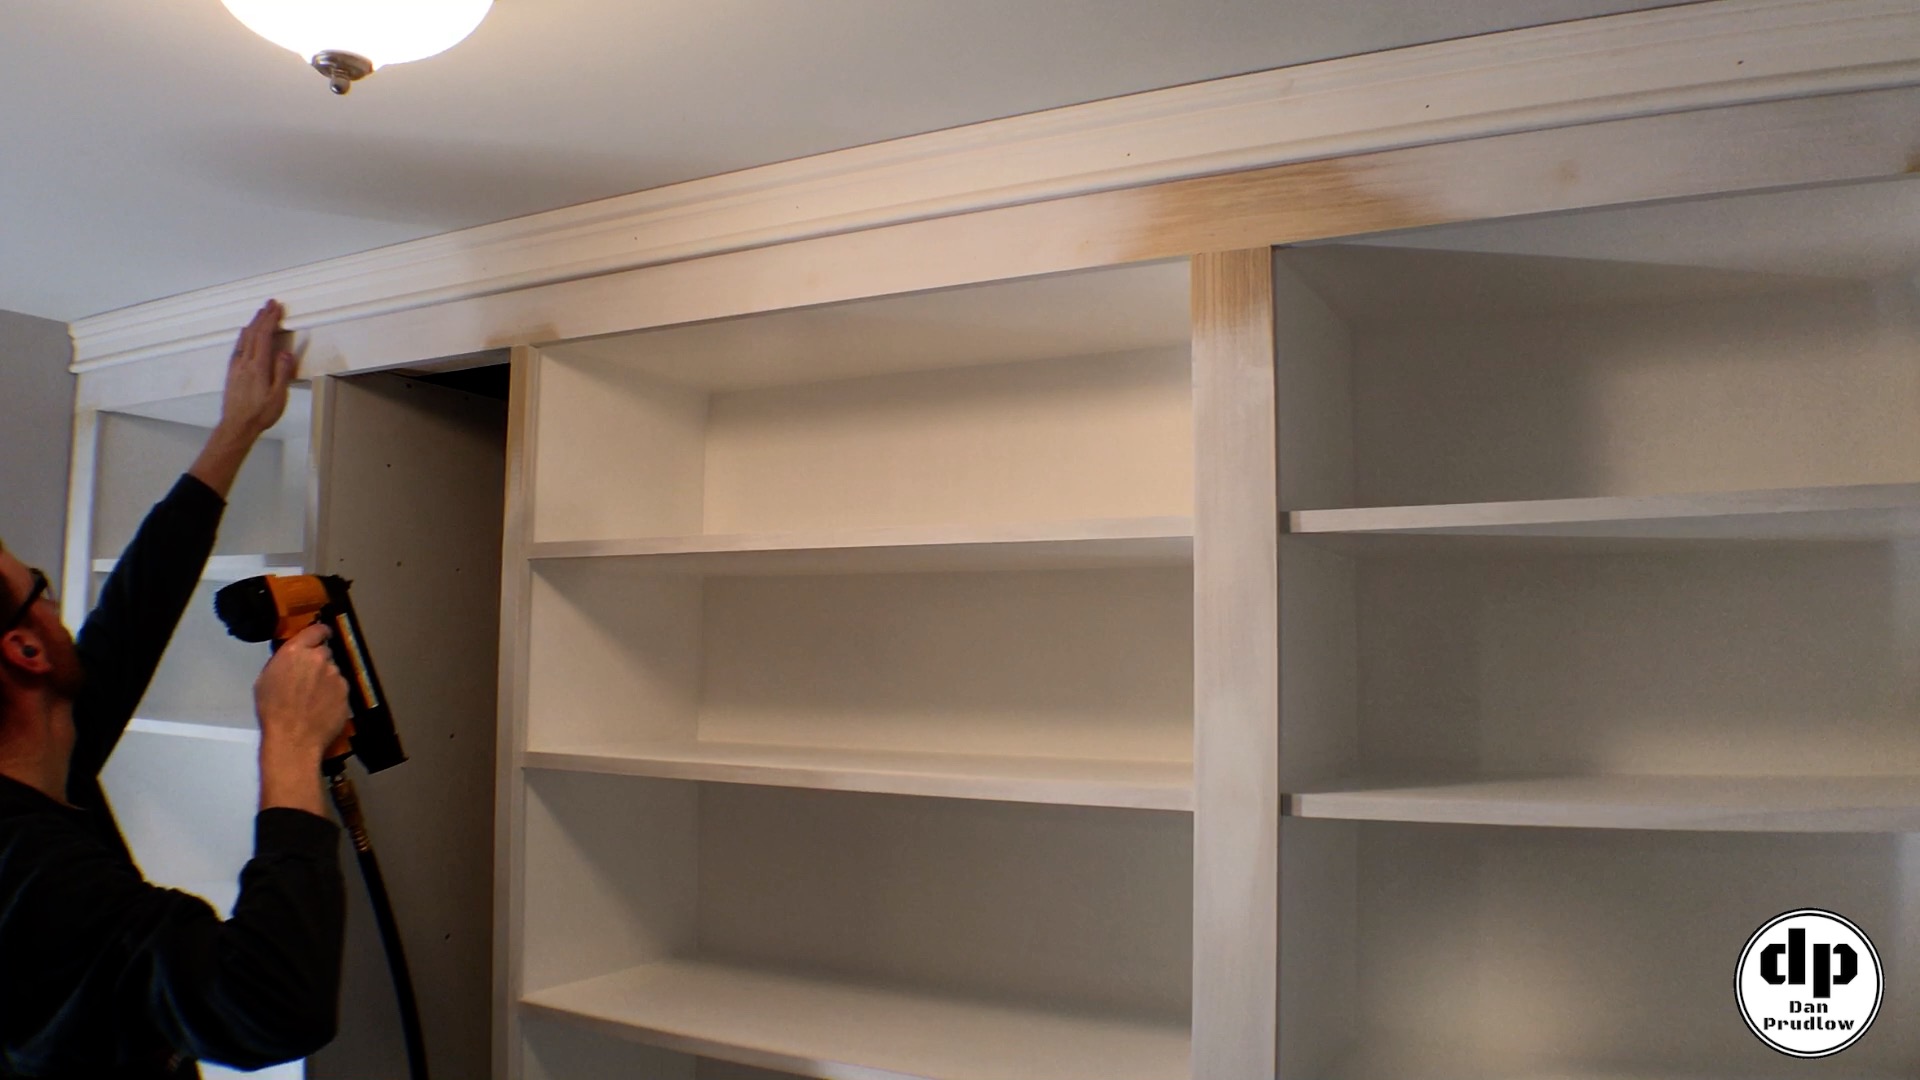
Face Frame and Final Details
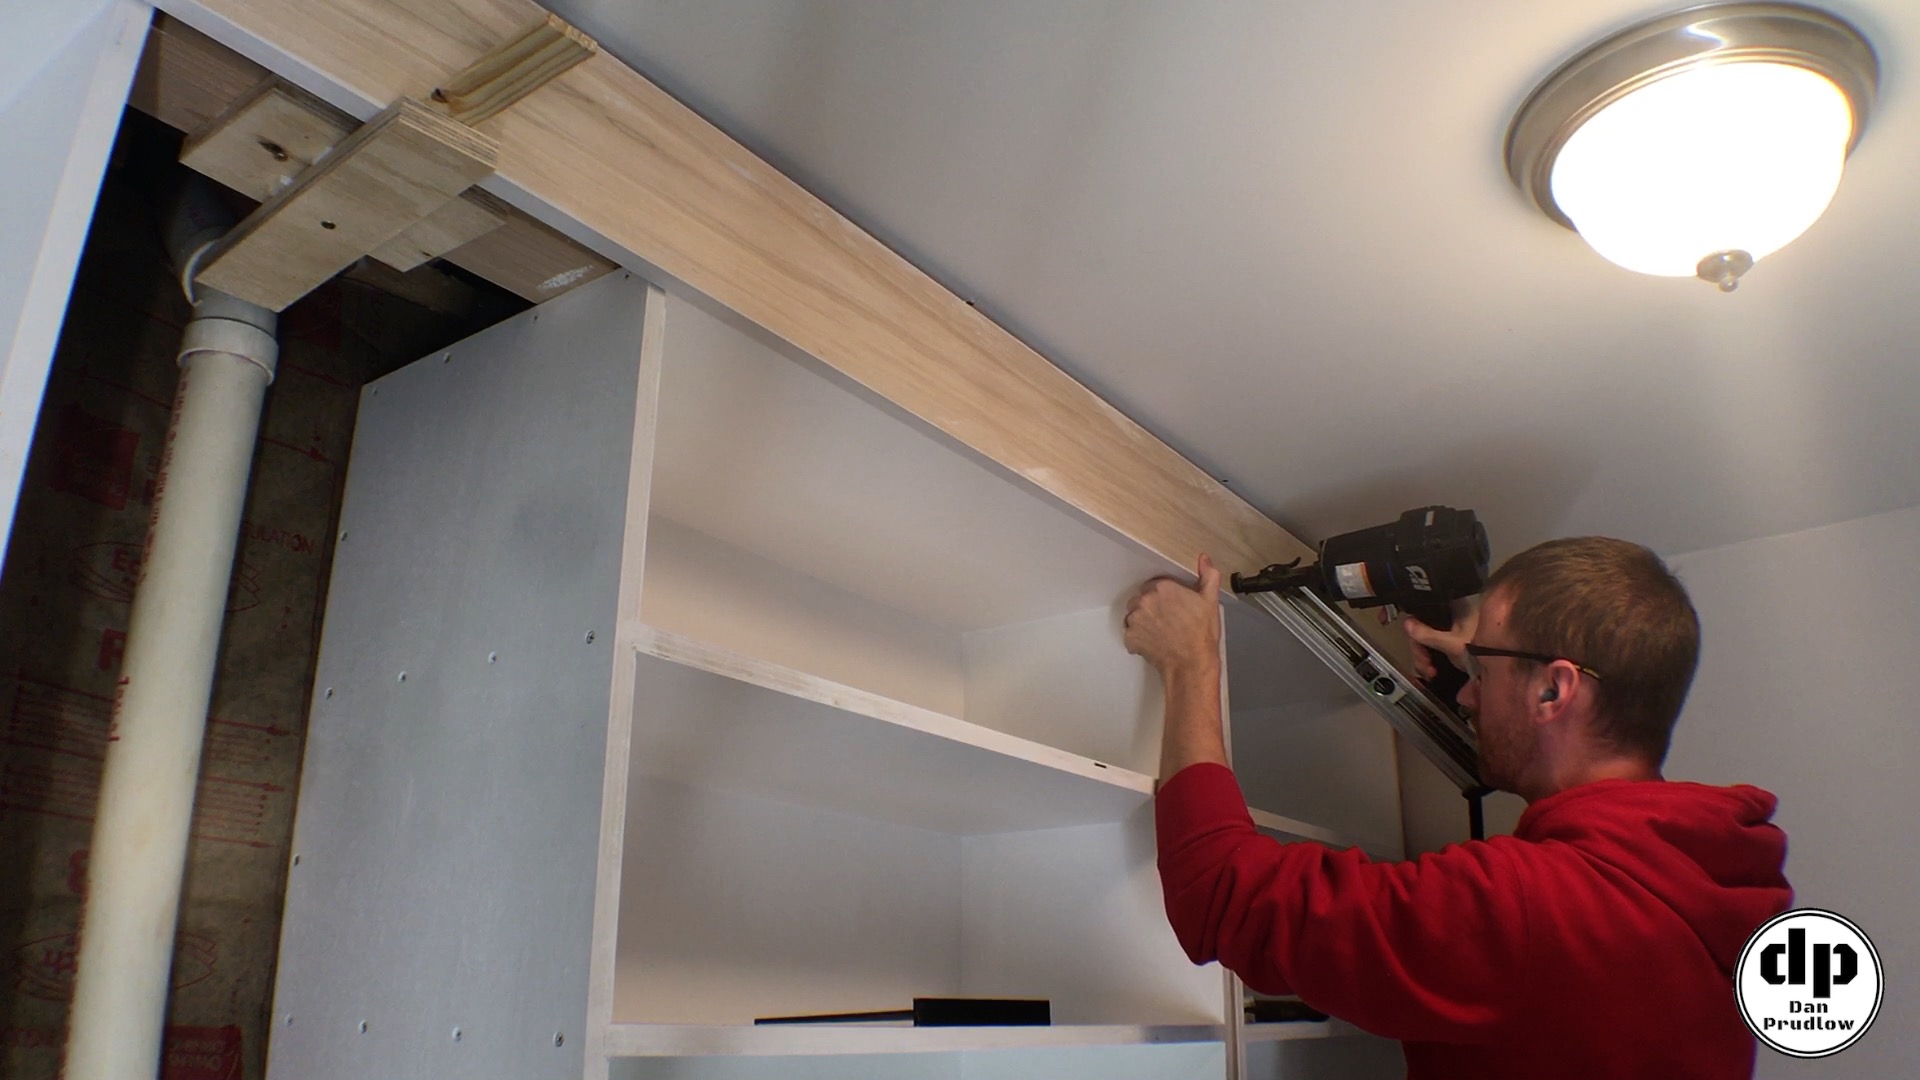
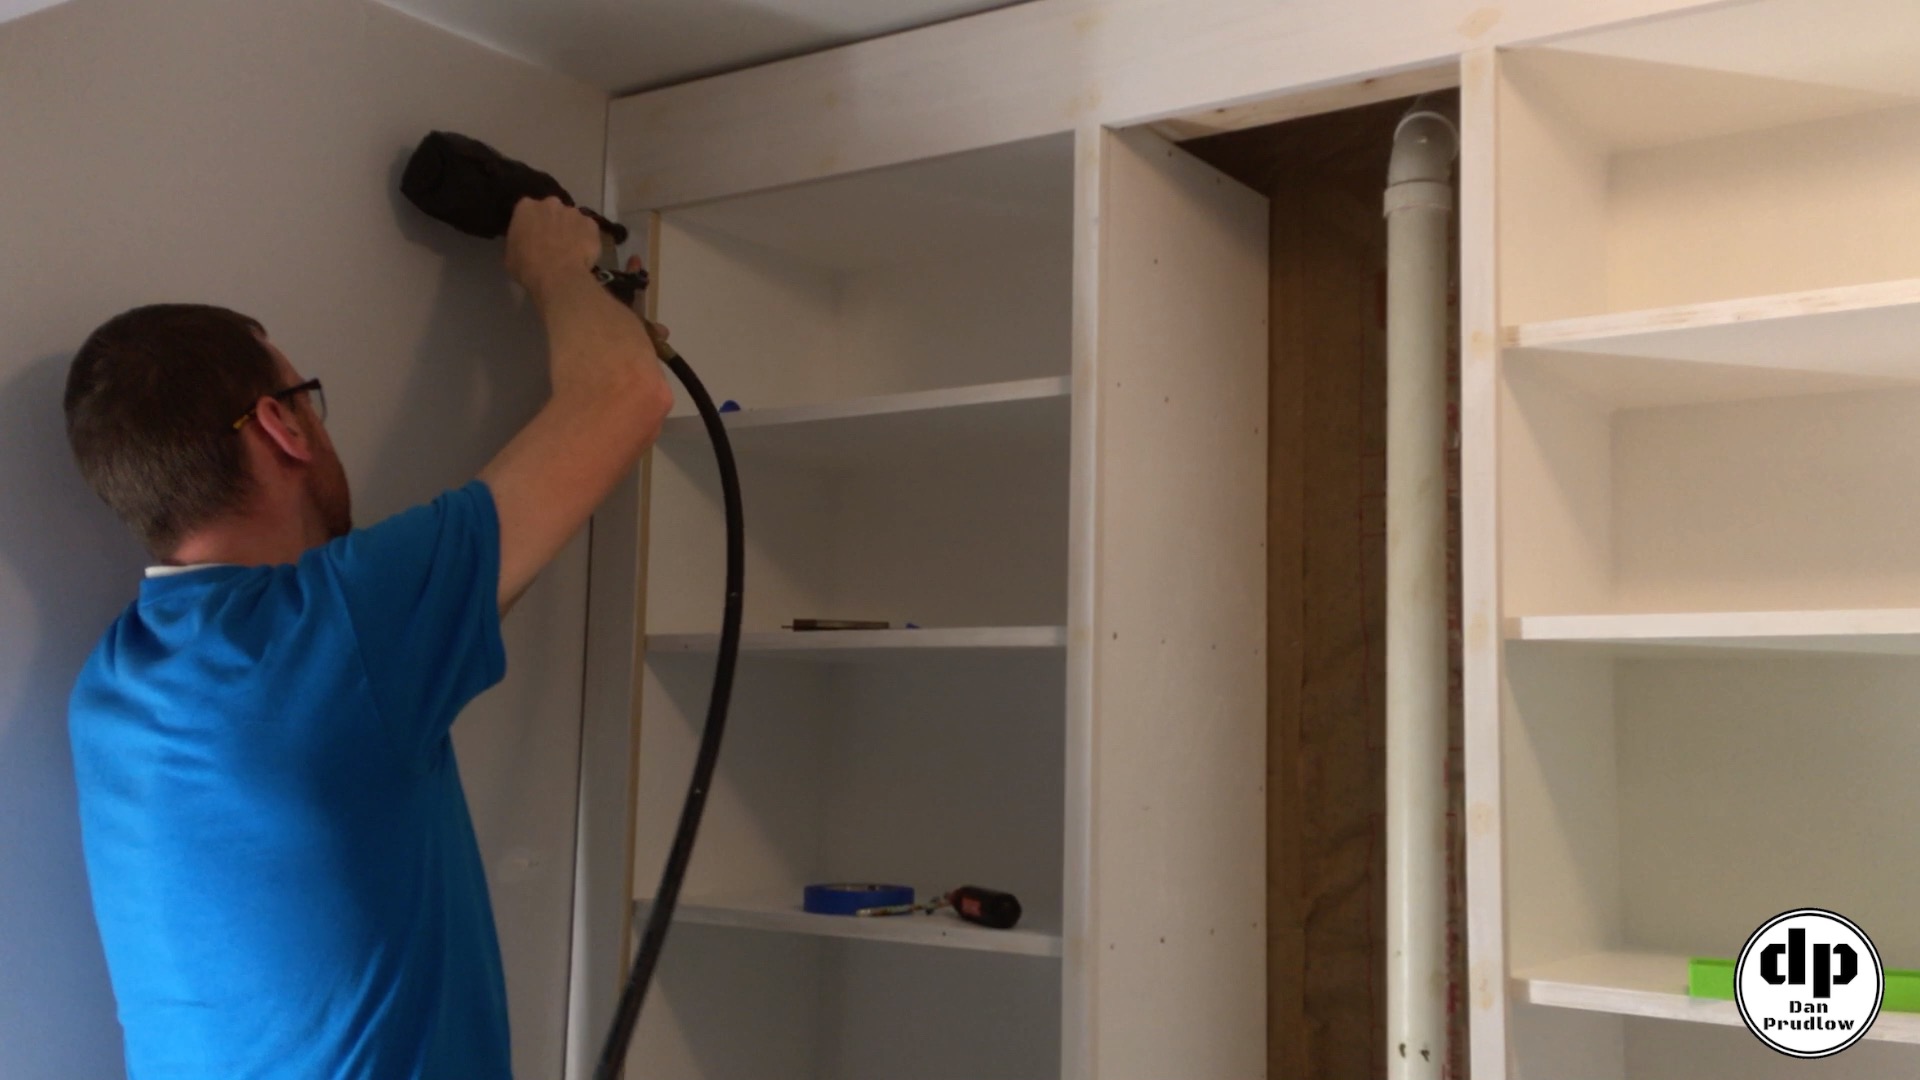
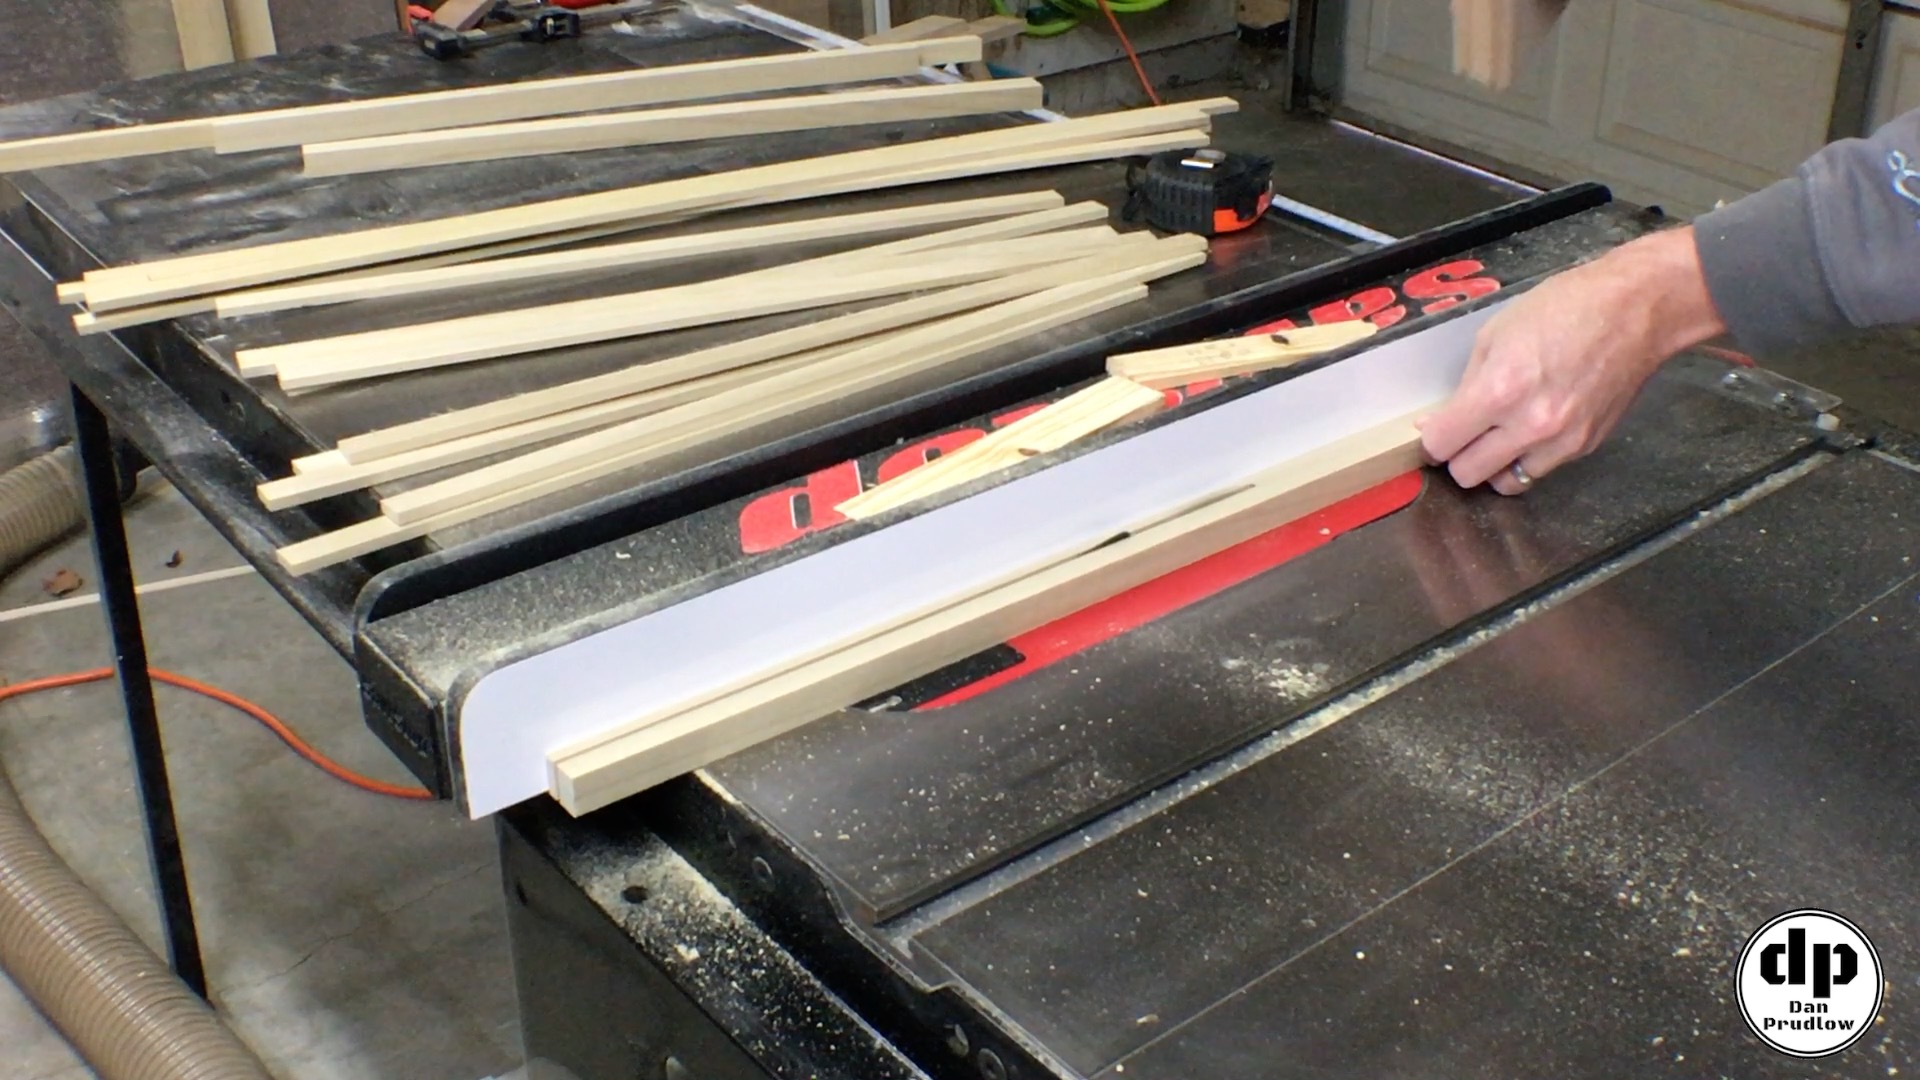
With the gap problem solved it was now just a matter of trimming all of the face frame parts to width and length and attaching them to the shelving units. I used an air nail gun to drive all of the nails. All of the vertical parts were sized such that there would be about a 3/8th inch overlap from the side of the cabinet. All of the trim was ripped from 3/4 inch poplar. Unfortunately the walls on either side were not perfectly plum so I had to scribe each piece and carefully trim them down to better fit the angle of the wall. The remaining gap was filled with white caulk.
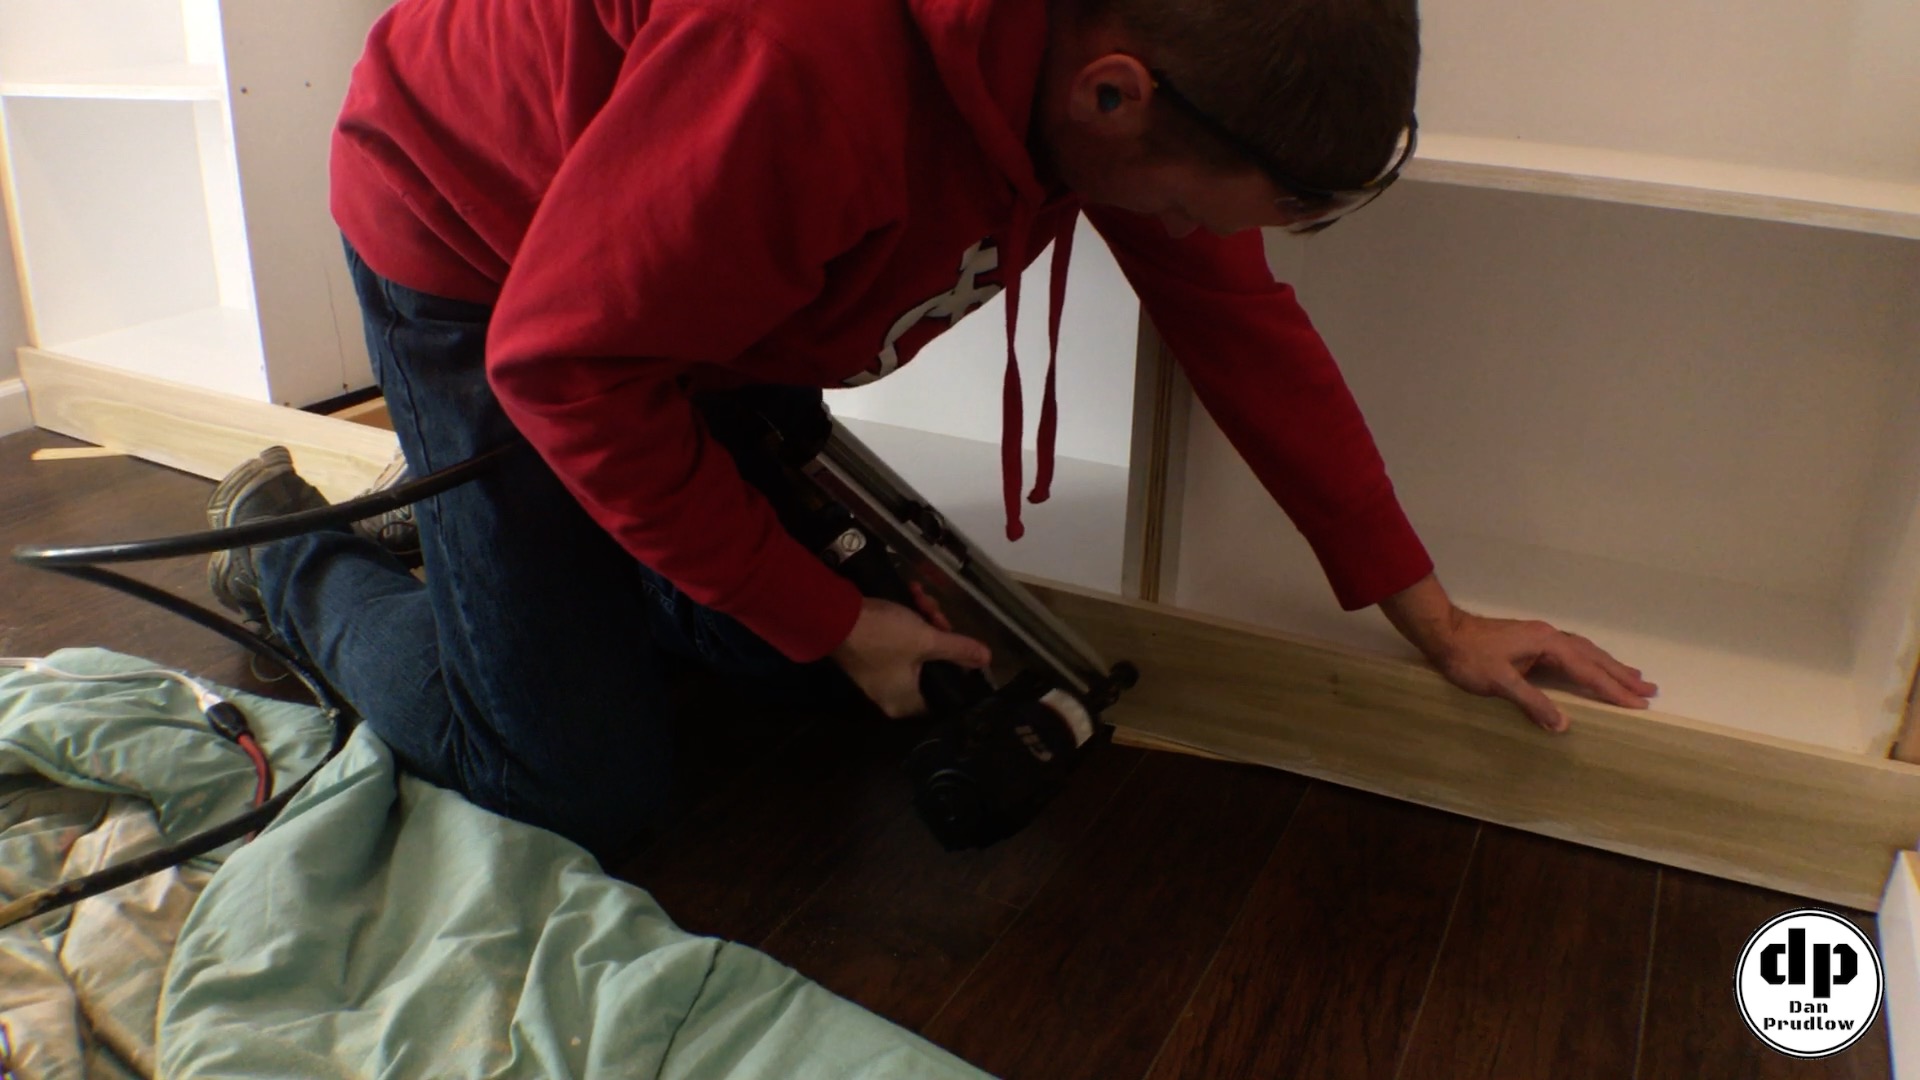
Final Trim Details
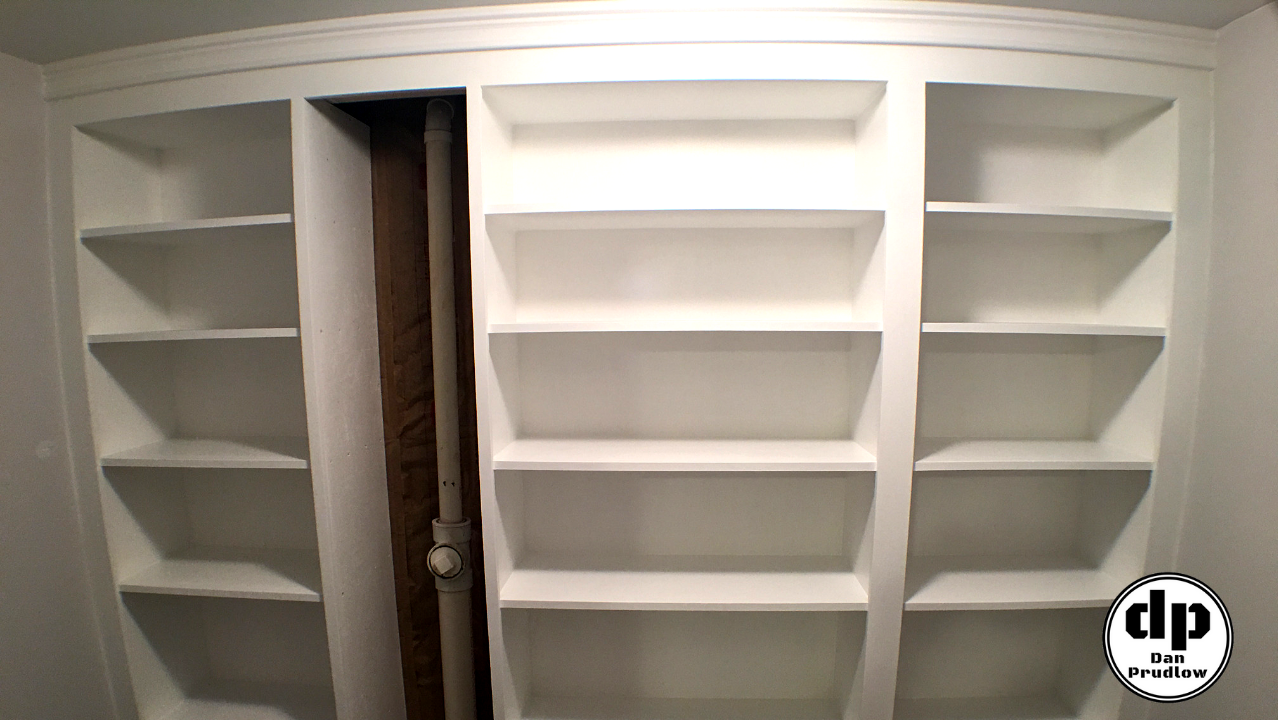
To cover the exposed plywood edge on the front of each shelf I ripped 1/4 inch strips of poplar and attached them with 1 inch brad nails. I decided to make these trim pieces thinner so that there would be some variation in thickness to help enhance the overall look. Additionally, I added the baseboard trim along the floor to tie into the existing baseboard and added a decorative casing trim at the top. I’m really happy with the way it turned out. With all the trim in place I added two coats of white paint and called it done!
Project Wrap Up
That wraps up Part 1 of this built in shelving project. This project was more of a necessity than some other fun projects but it was definitely worth the time and effort. I’m very please with how it turned out and the additional storage space over the previous shelving will be nice to have.
The next step, which will be Part 2, will be to build a set of removable shelving pieces that will cover the drain pipe. Being removable will allow us to utilize the space in front of the pipe but also keep it accessible for maintenance if needed. Be sure to stop back or subscribe to my YouTube channel or other social media for updates on that project.
If you have any questions or comments leave them in the comments section below. You can also find me on Twitter and Instagram or you can send me a message via the contact page. Also, please be sure to get subscribed to my YouTube channel so you don’t miss any future builds!
You can find links to many of the tools, accessories, and finish products I use in my shop over on my Tools & Resourcespage.