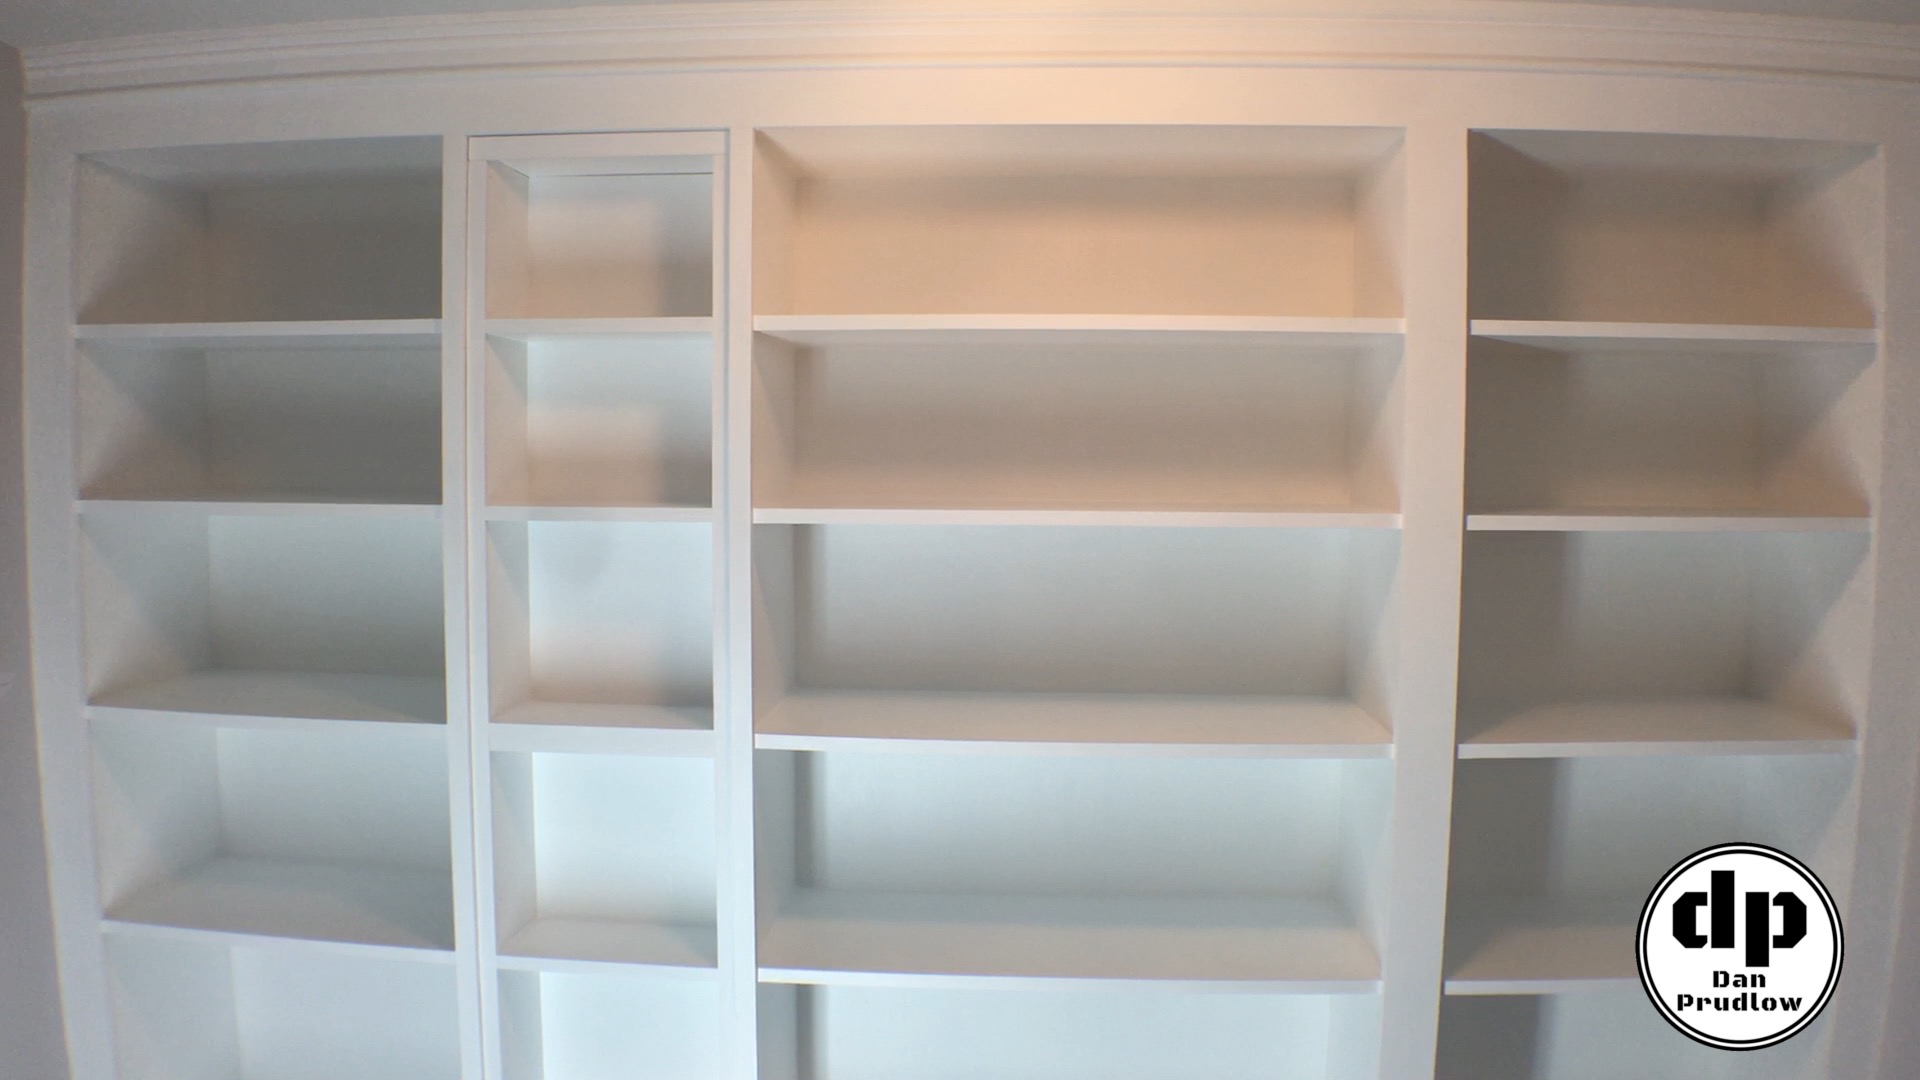
Built-in Shelving – How to Build Custom Shelving – Part 2
Finishing What We Started
In part 1 of the build I completed everything except for the narrow section in front of a drain pipe. The logic behind doing it this way was to allow me to build a separate section that would be removable in case we ever needed to access the pipe for maintenance. In building all of the other shelving first I was left with the exact dimensions needed. I designed the section to match the current shelving but also to use only the offcuts of the larger shelving project. I did not want to buy more material!
Simple Design
The design for this small shelving section is pretty simple. I had three requirements to manage. First, the shelves needed to align with the existing section from Part 1 of the build. Second, it had to be removable. Third, I had to be able to build it using the offcuts from the larger shelving project.
I had originally considered making three sections that could each be removed individually. As a result of taking measurements and looking at my off-cut material it made more sense to make one larger unit.
Working with Off Cuts
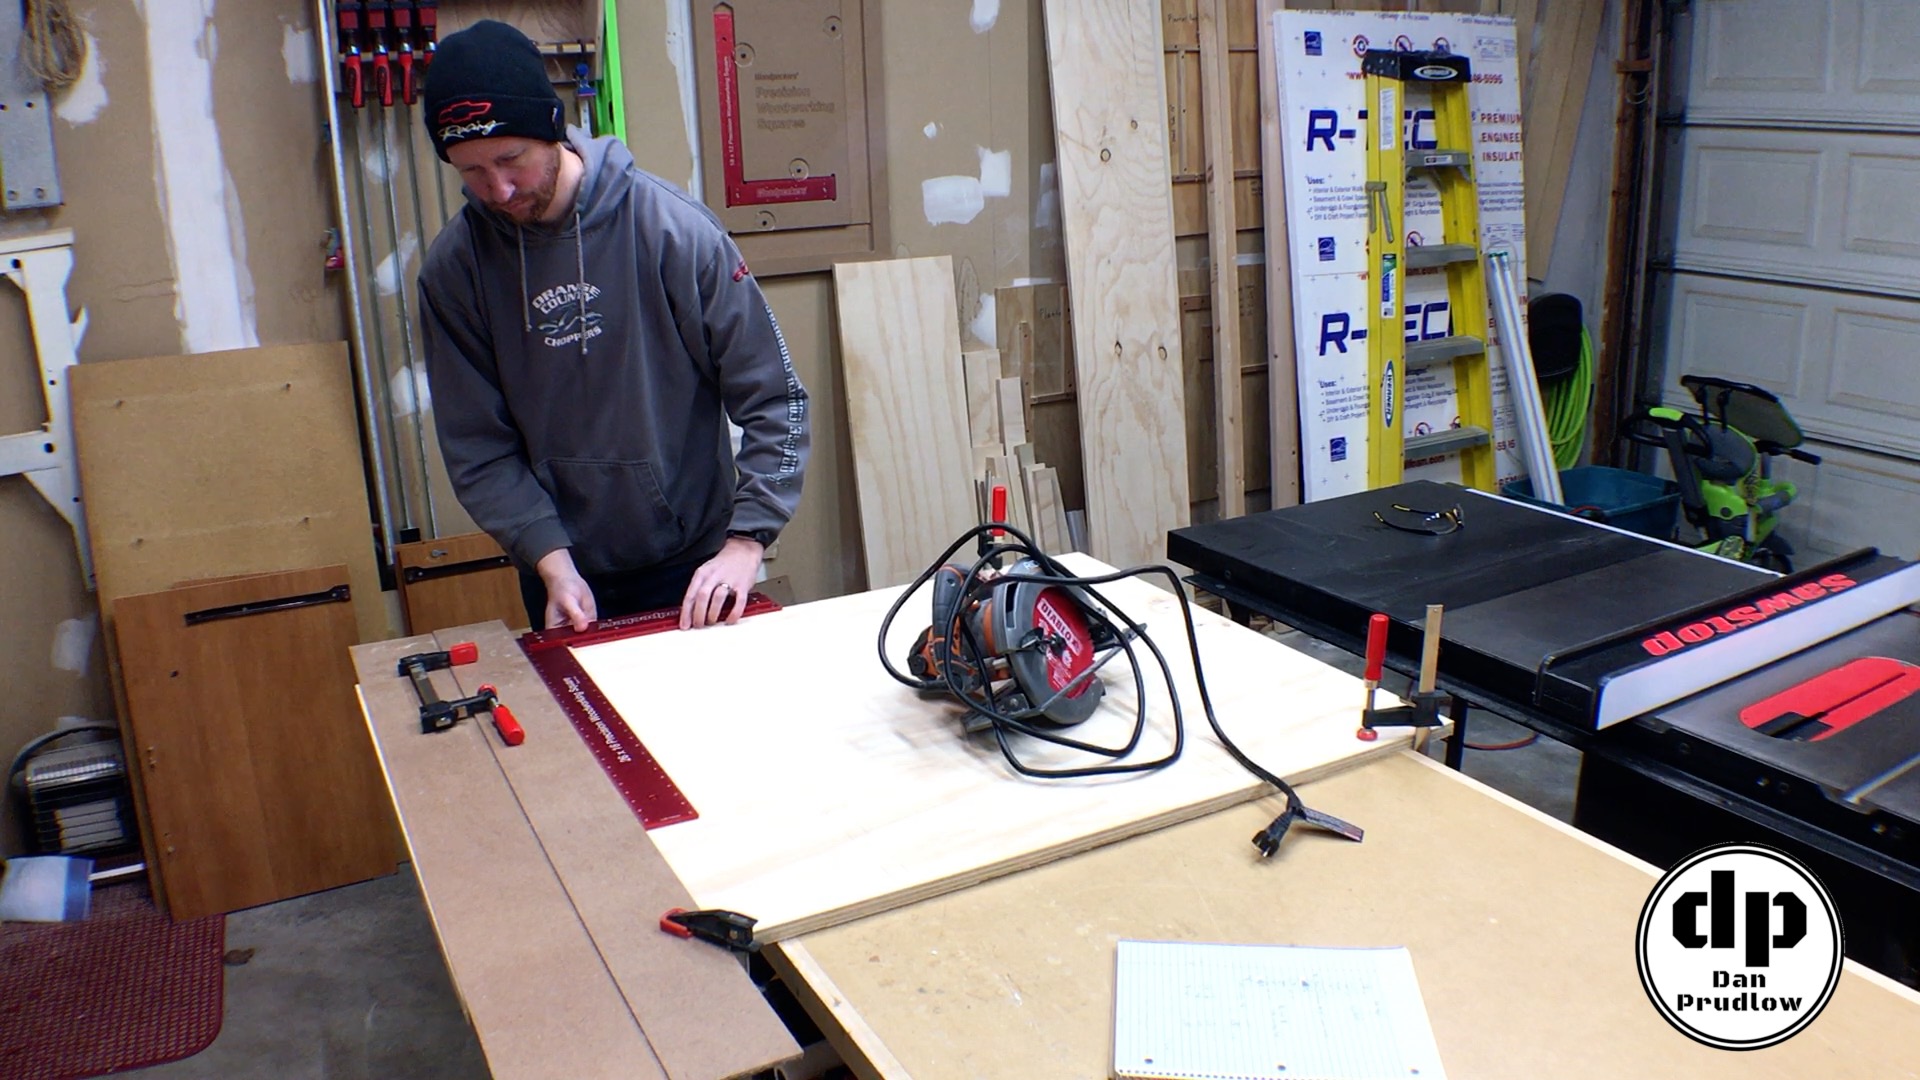
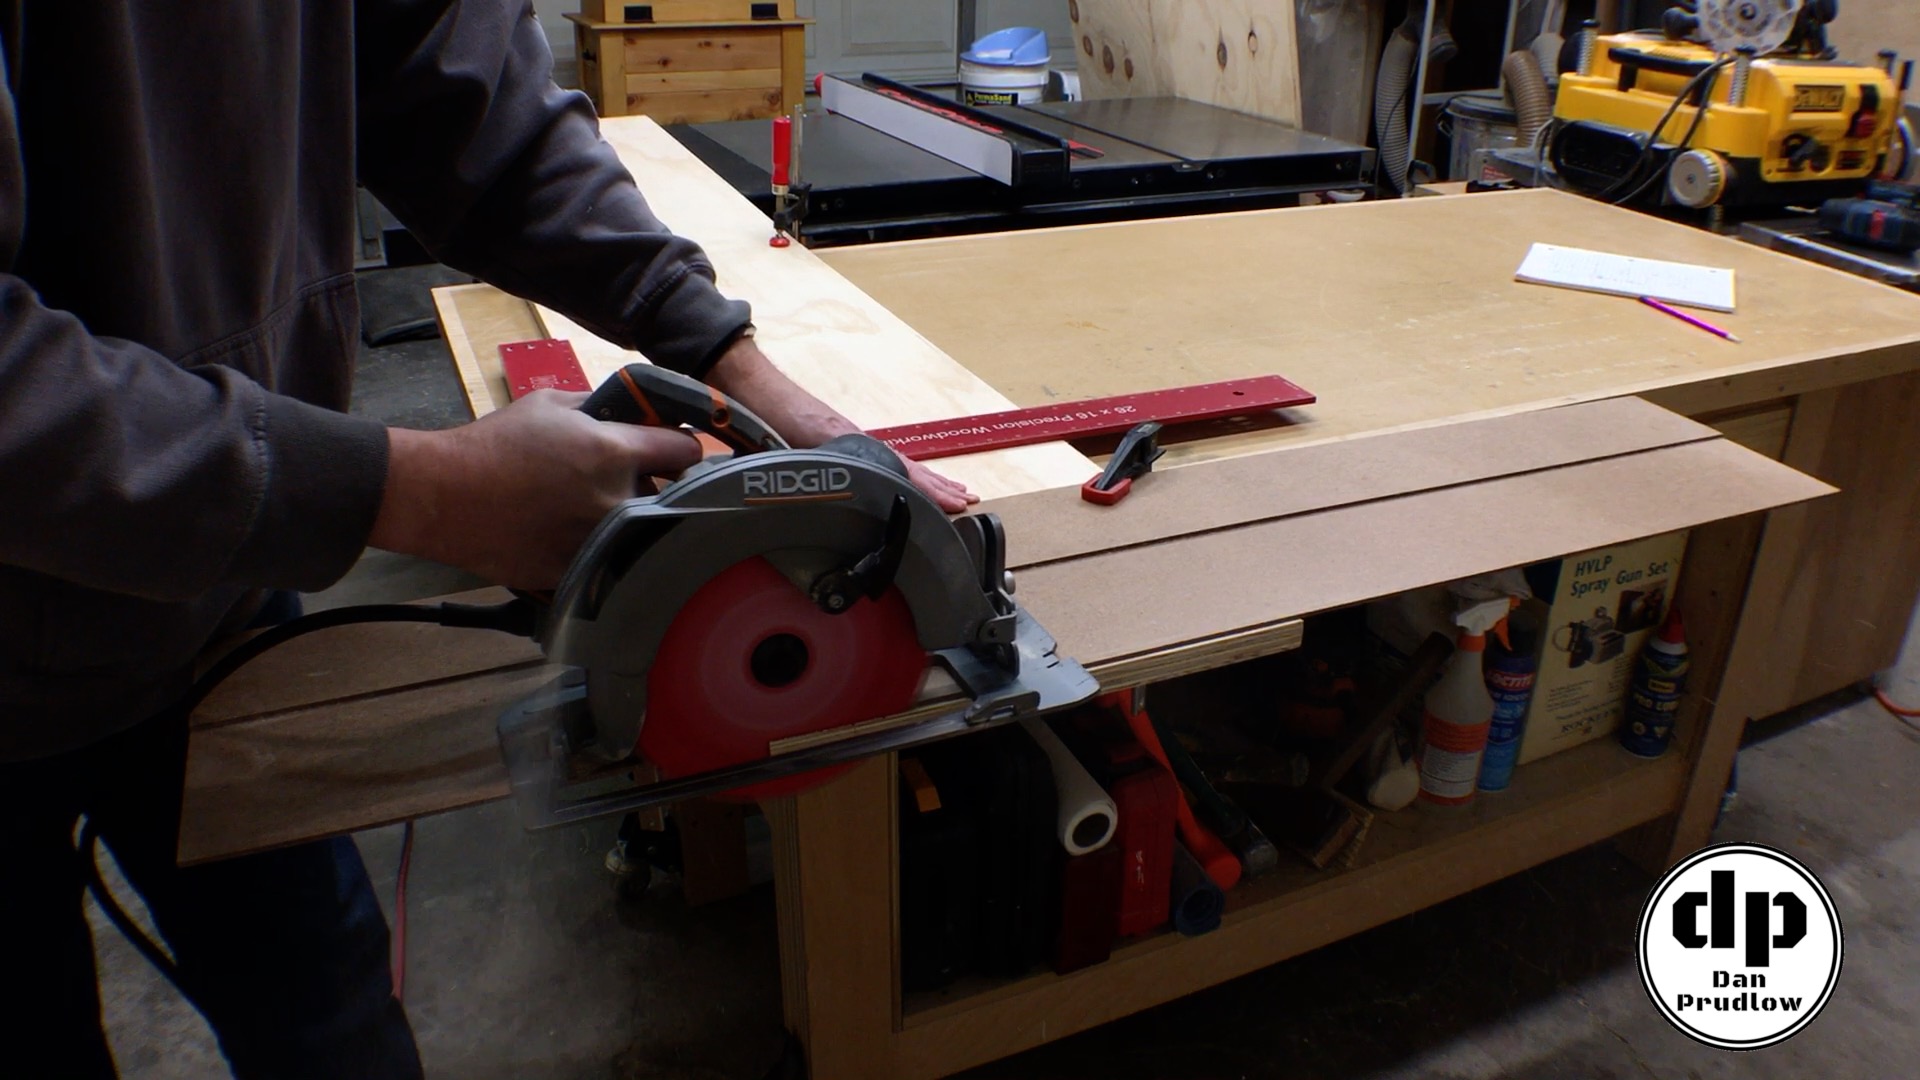
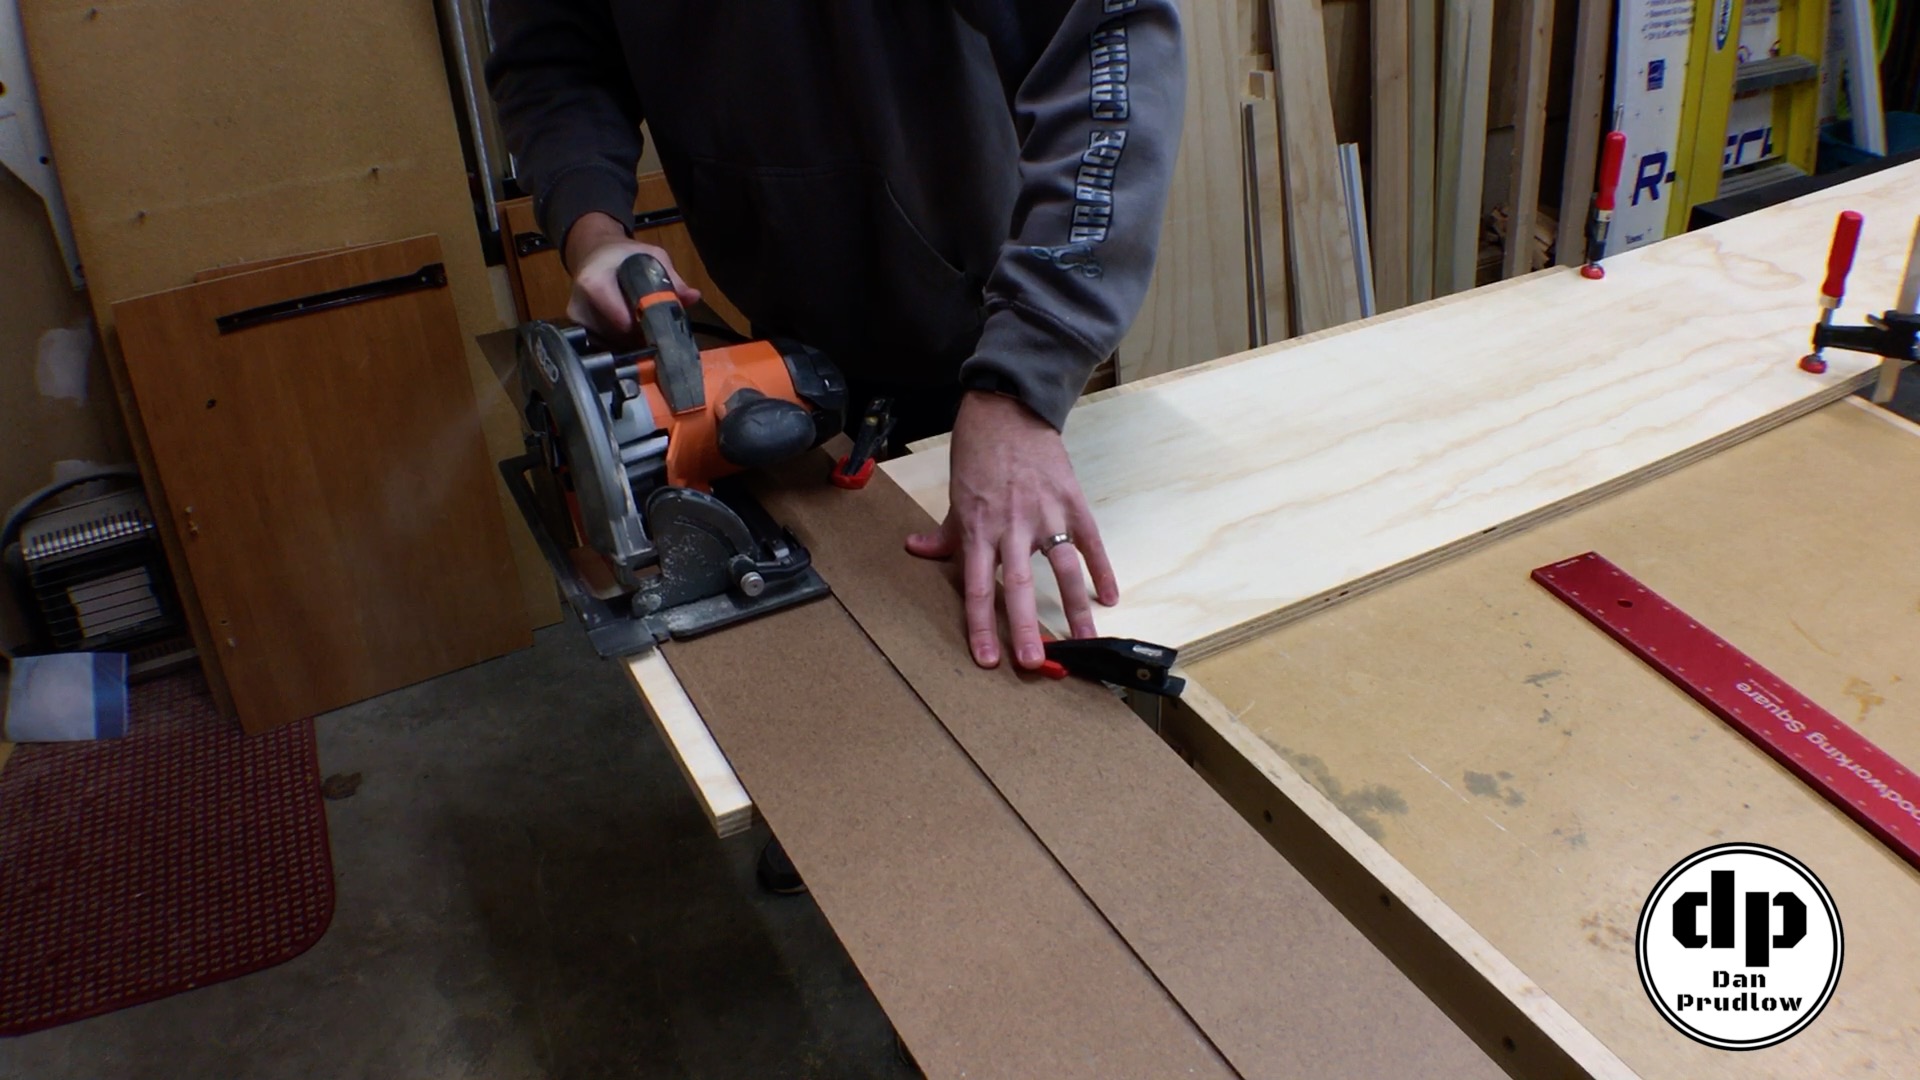
I am working with off cuts from the prior build. As a result I took time to square up the pieces prior to breaking them down. I used my DIY circular saw guide to make these cuts quick and simple. I have a video and article on making the saw guide here if you are interested.
Cutting the Parts
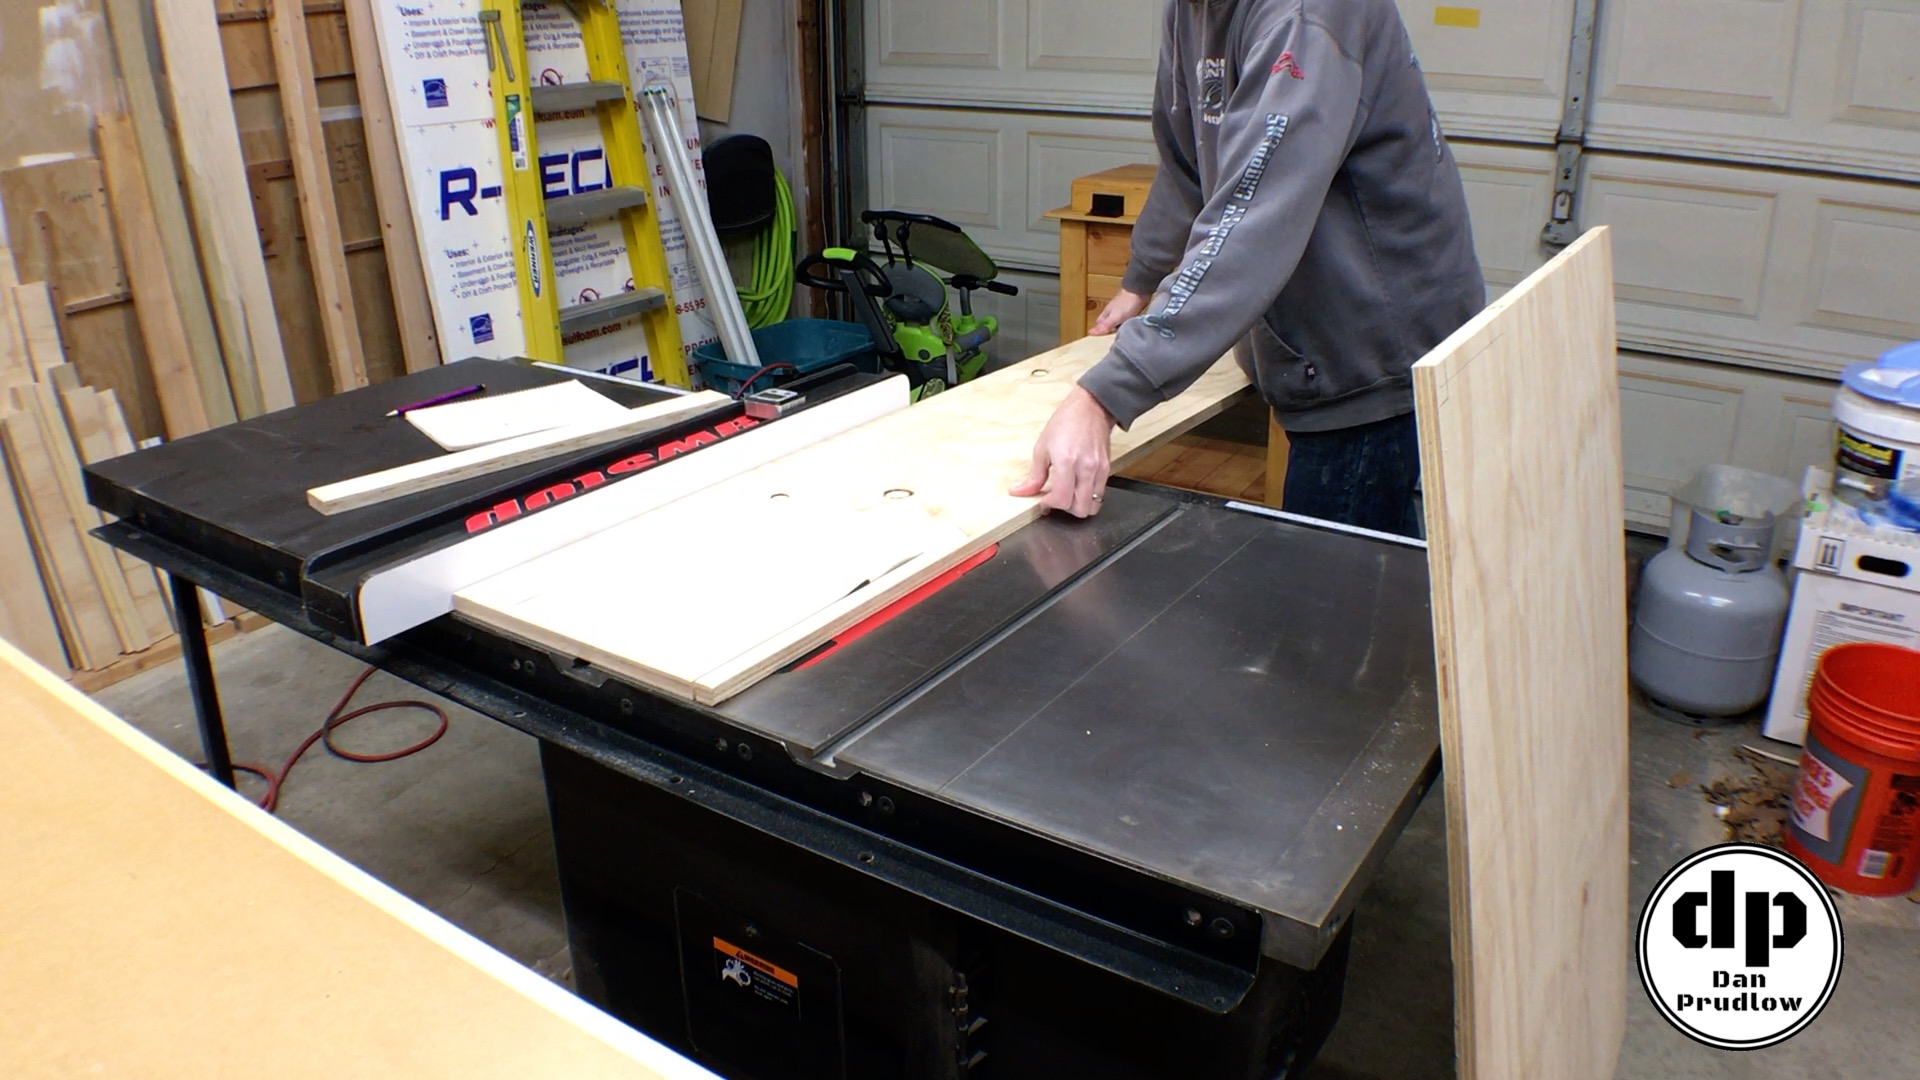
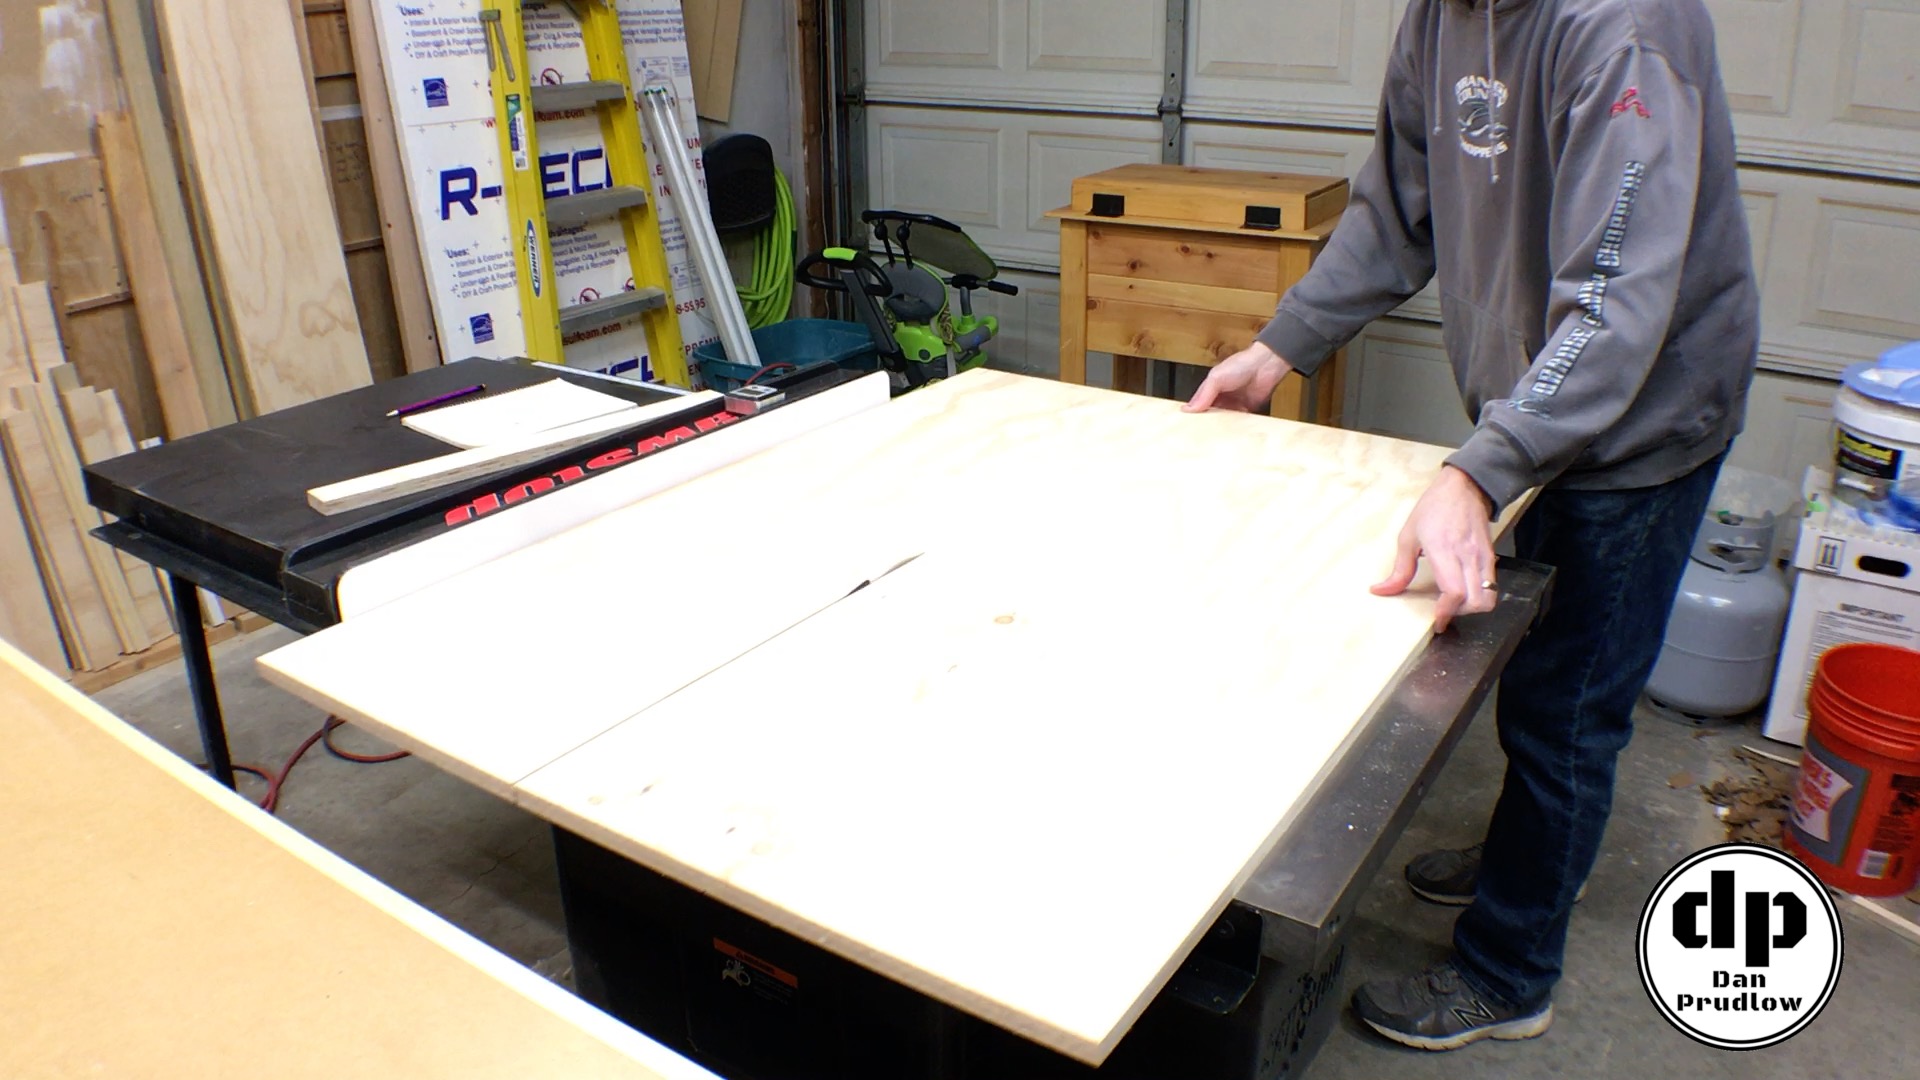
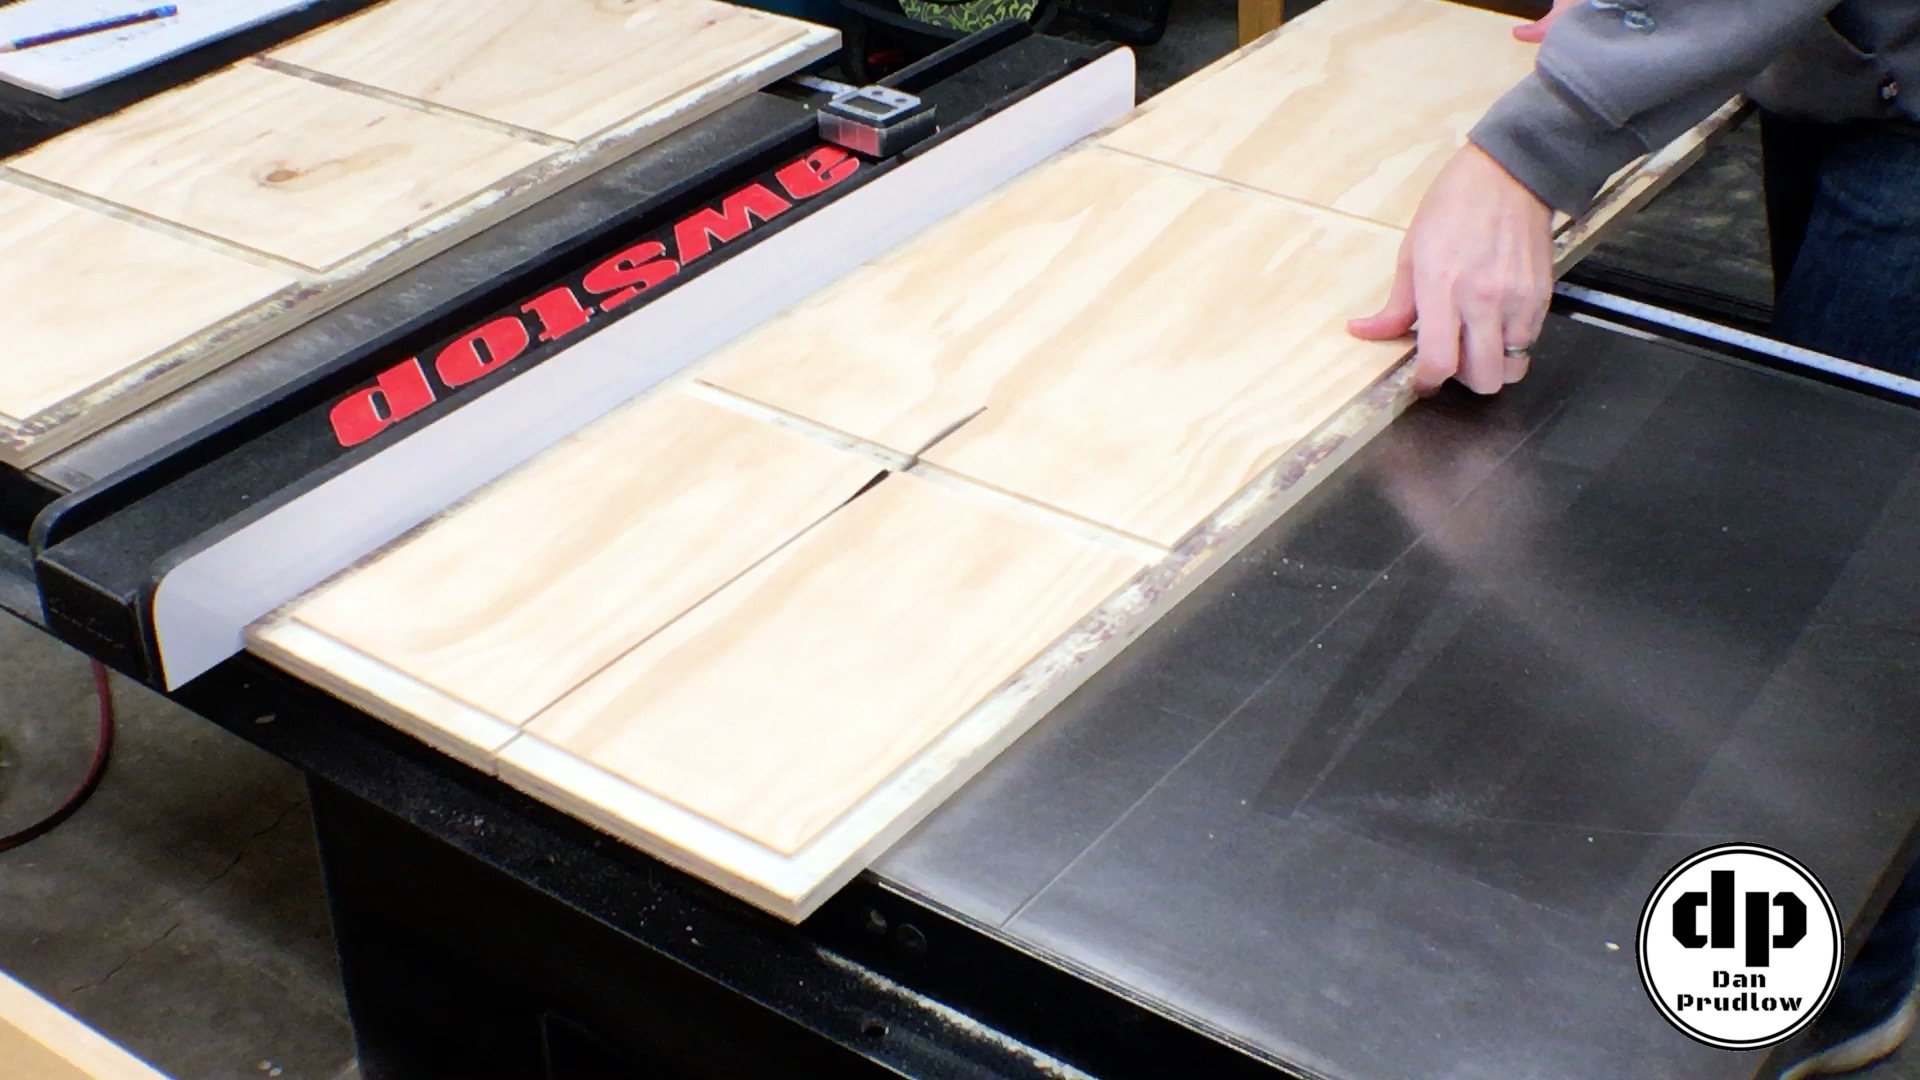
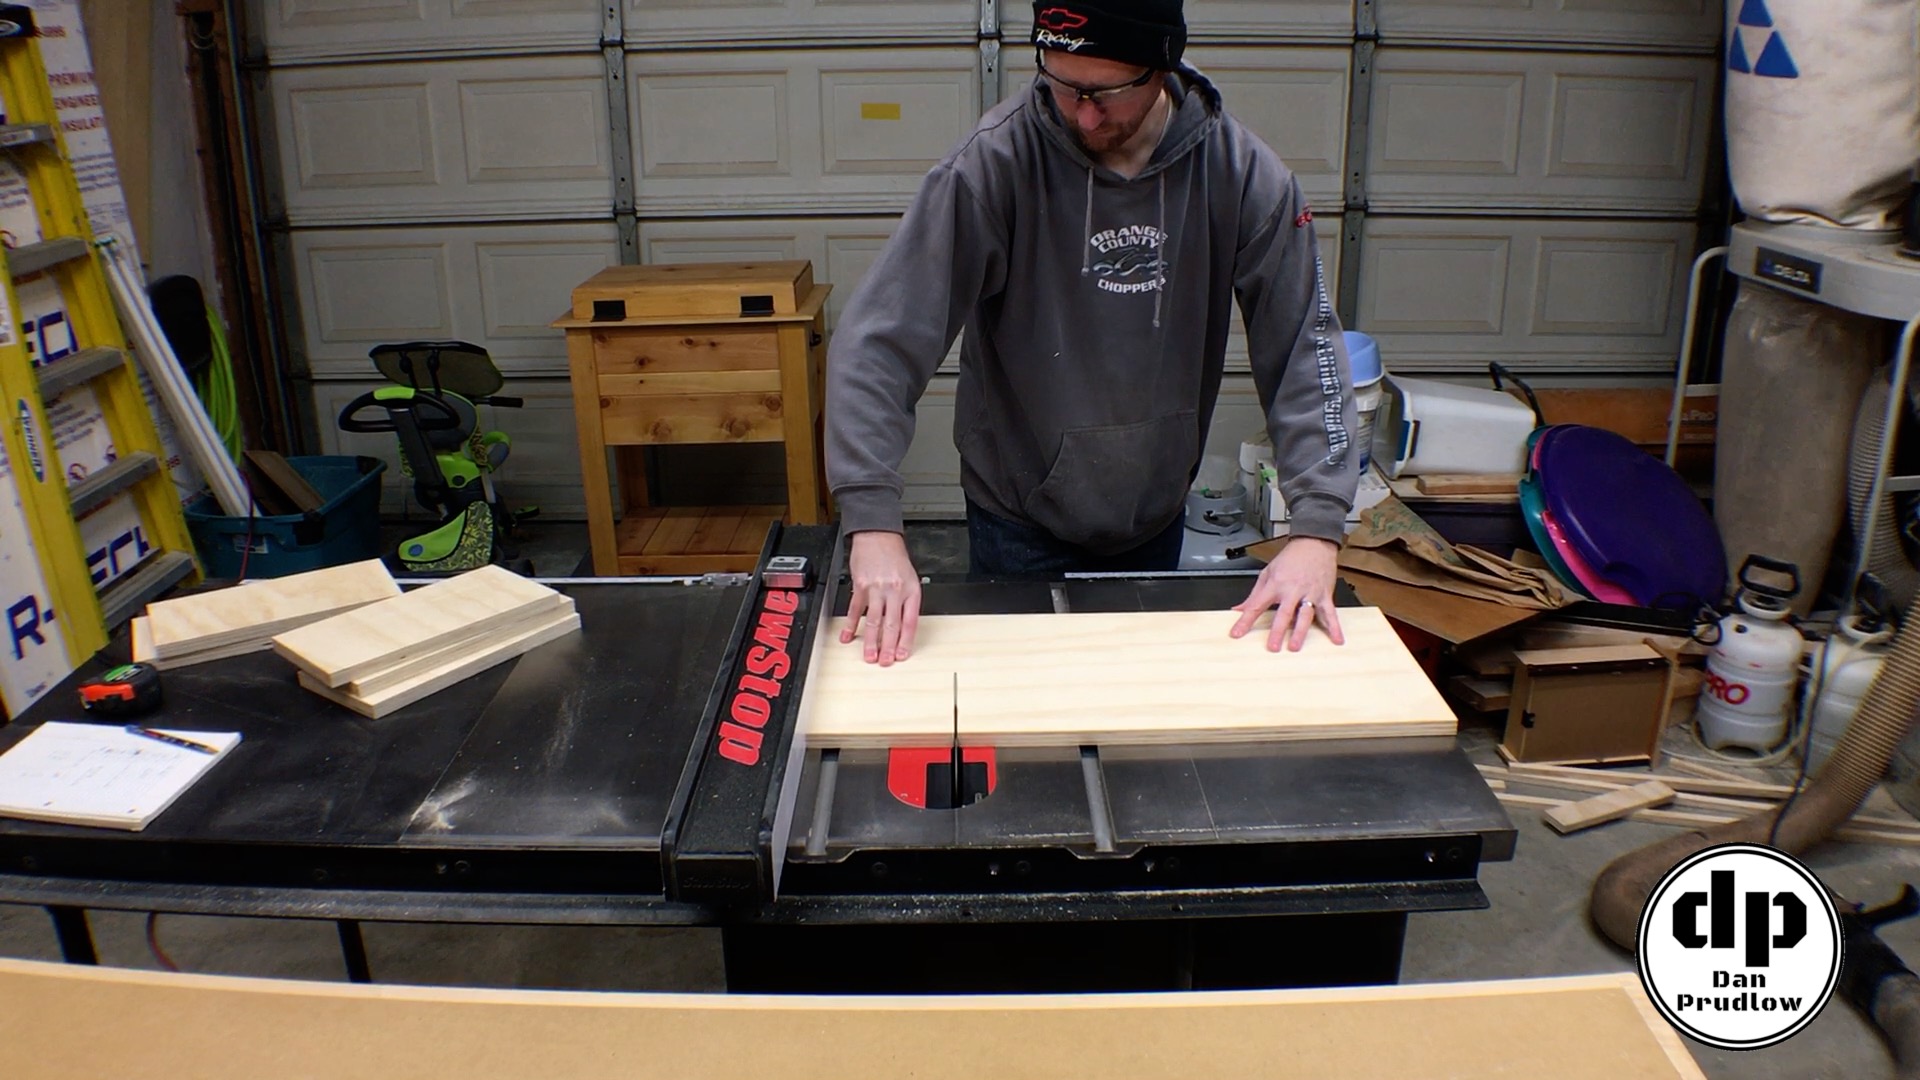
After getting things square I moved over to the table saw to cut the parts down further. The sides are made from four total pieces and the back from one long piece. Cutting the joinery is much easier on a wider board. For this reason, I kept the side sections as two pieces for now. For the long back section I used the circular saw guide to trim it to length.
Cutting the Joinery
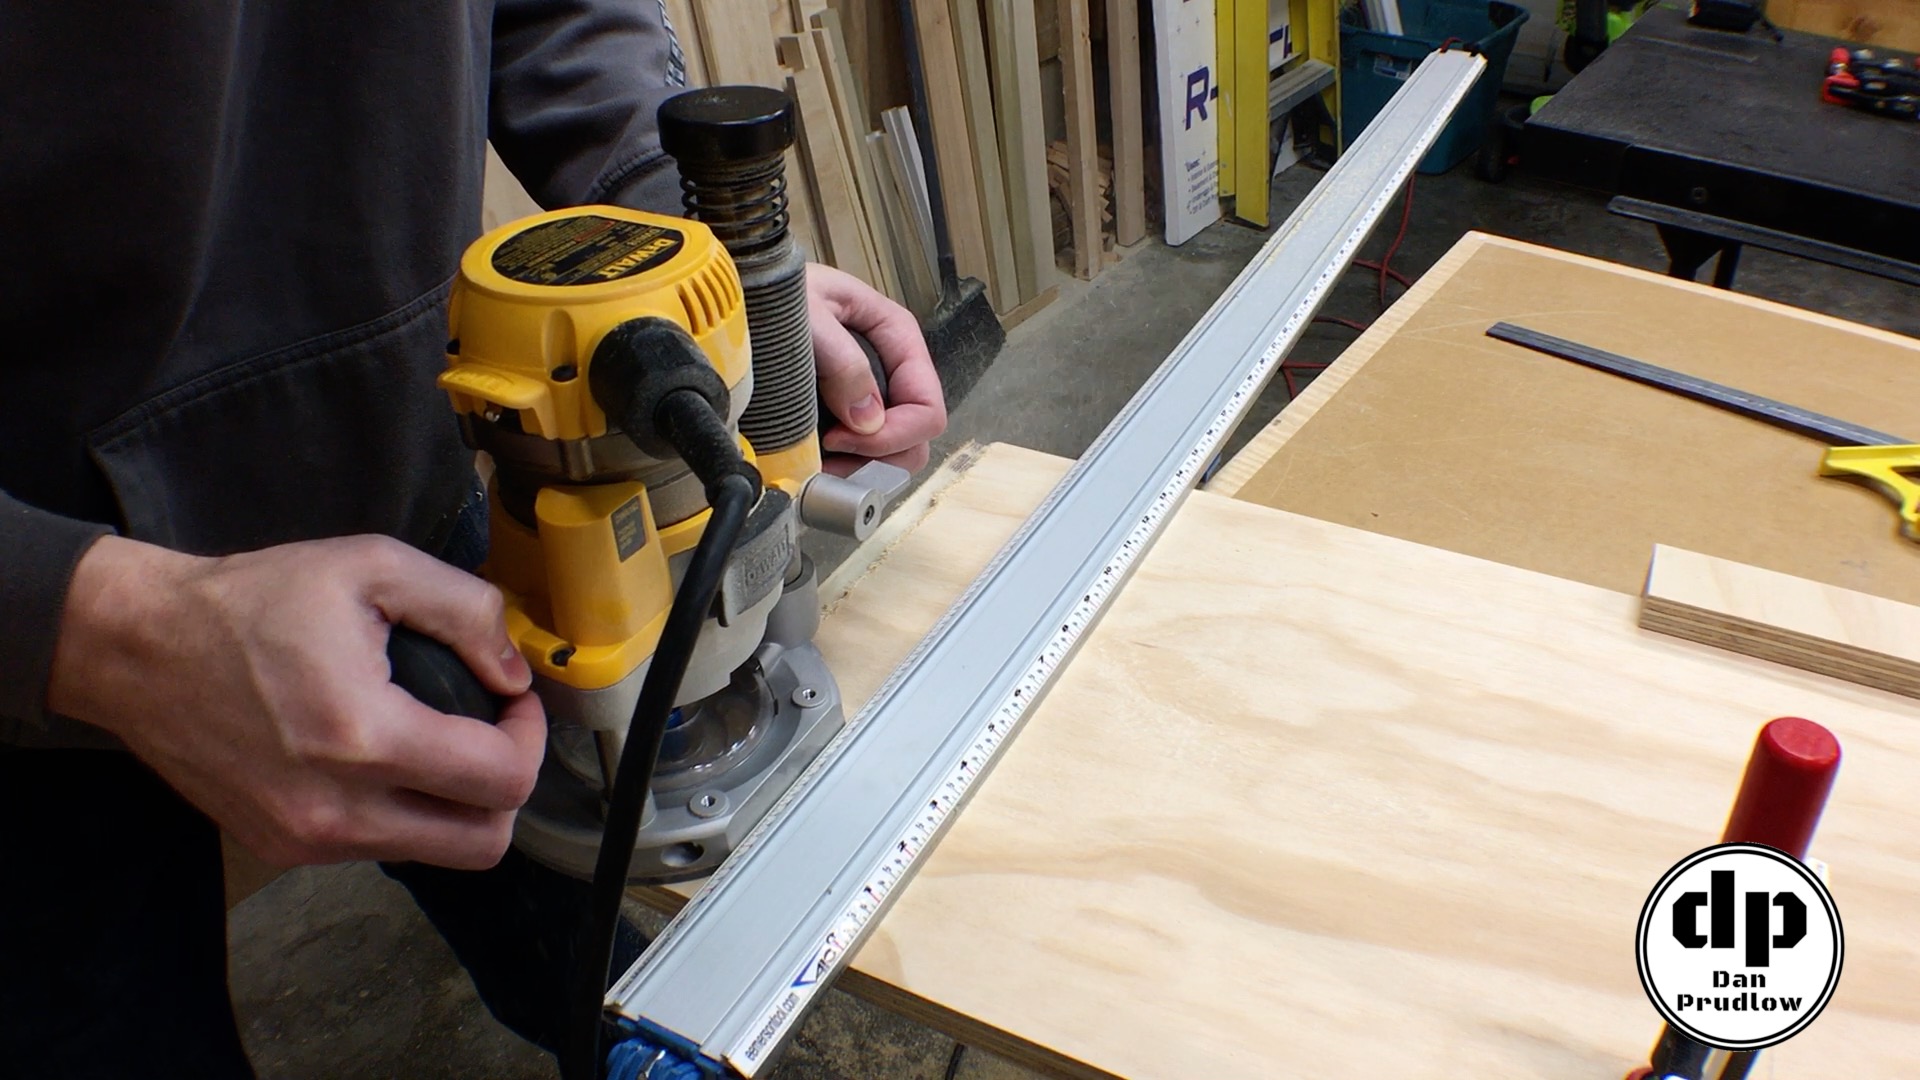
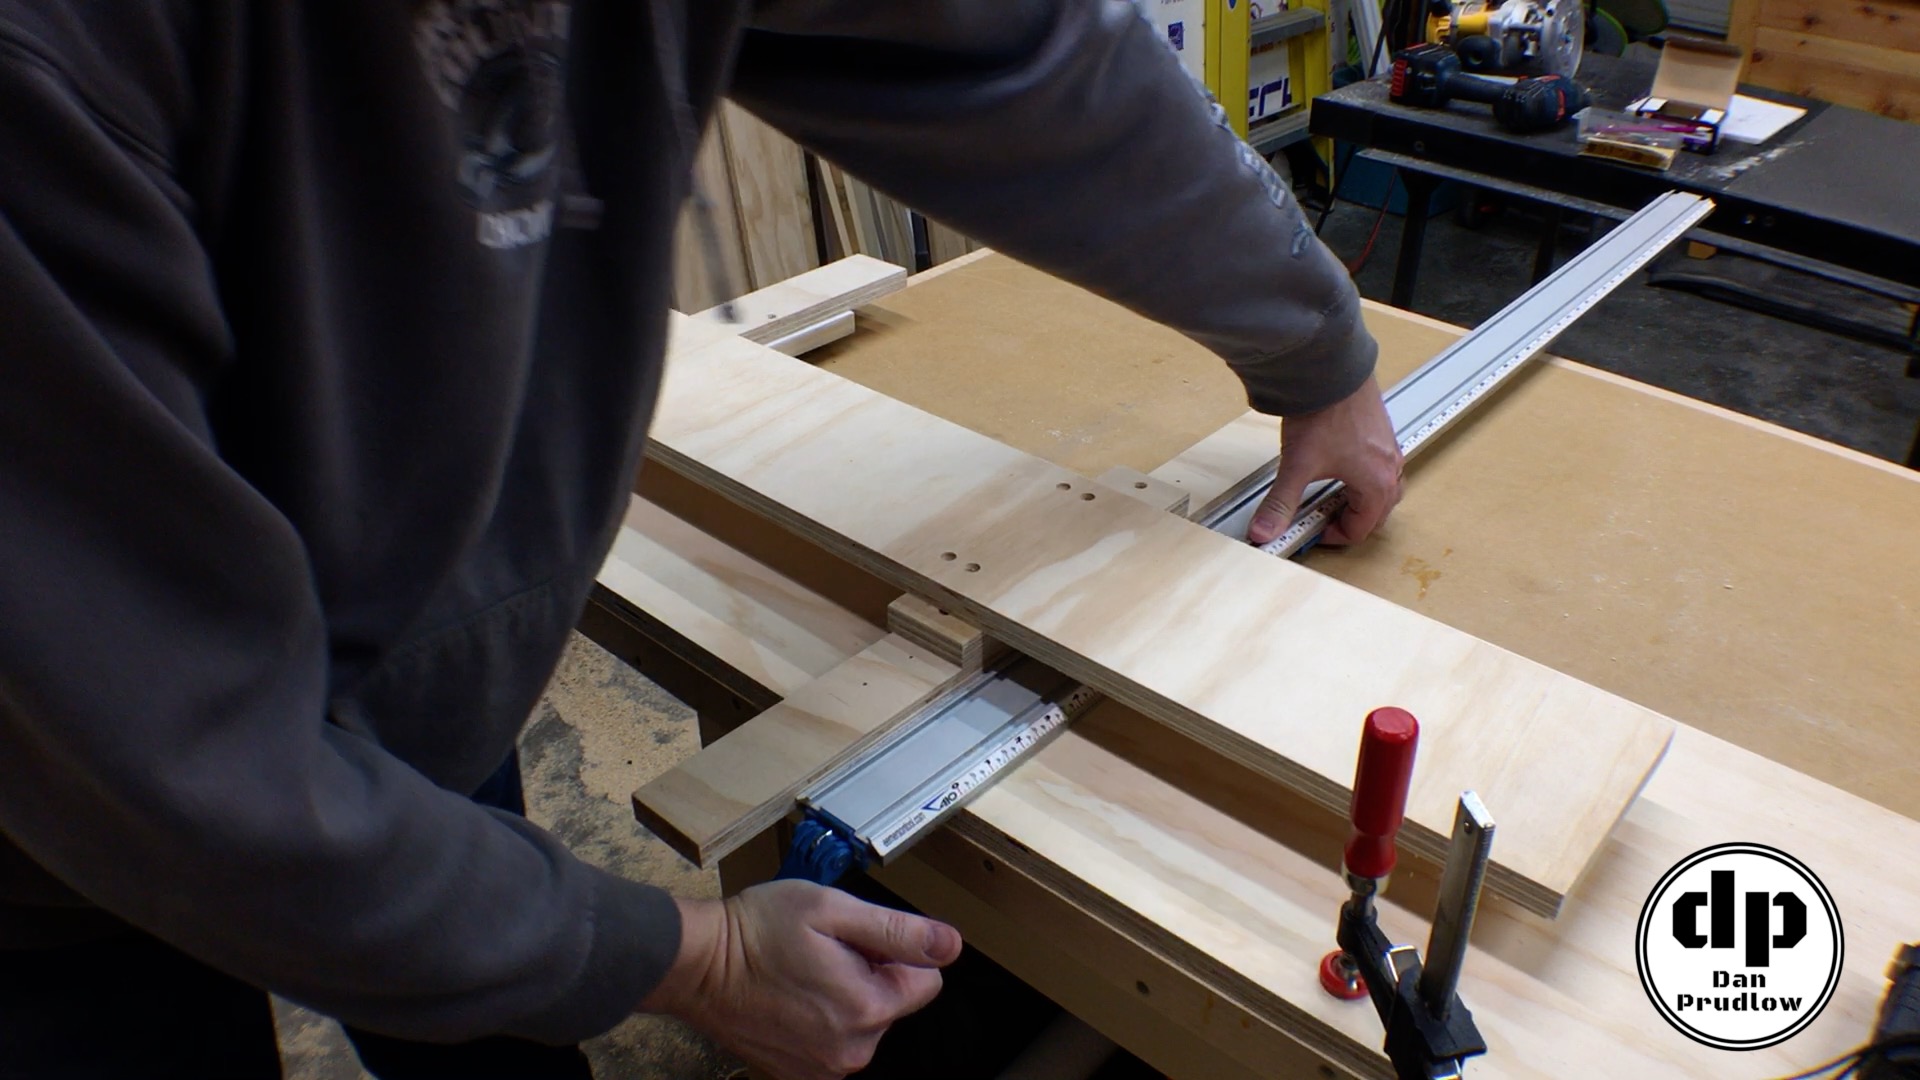
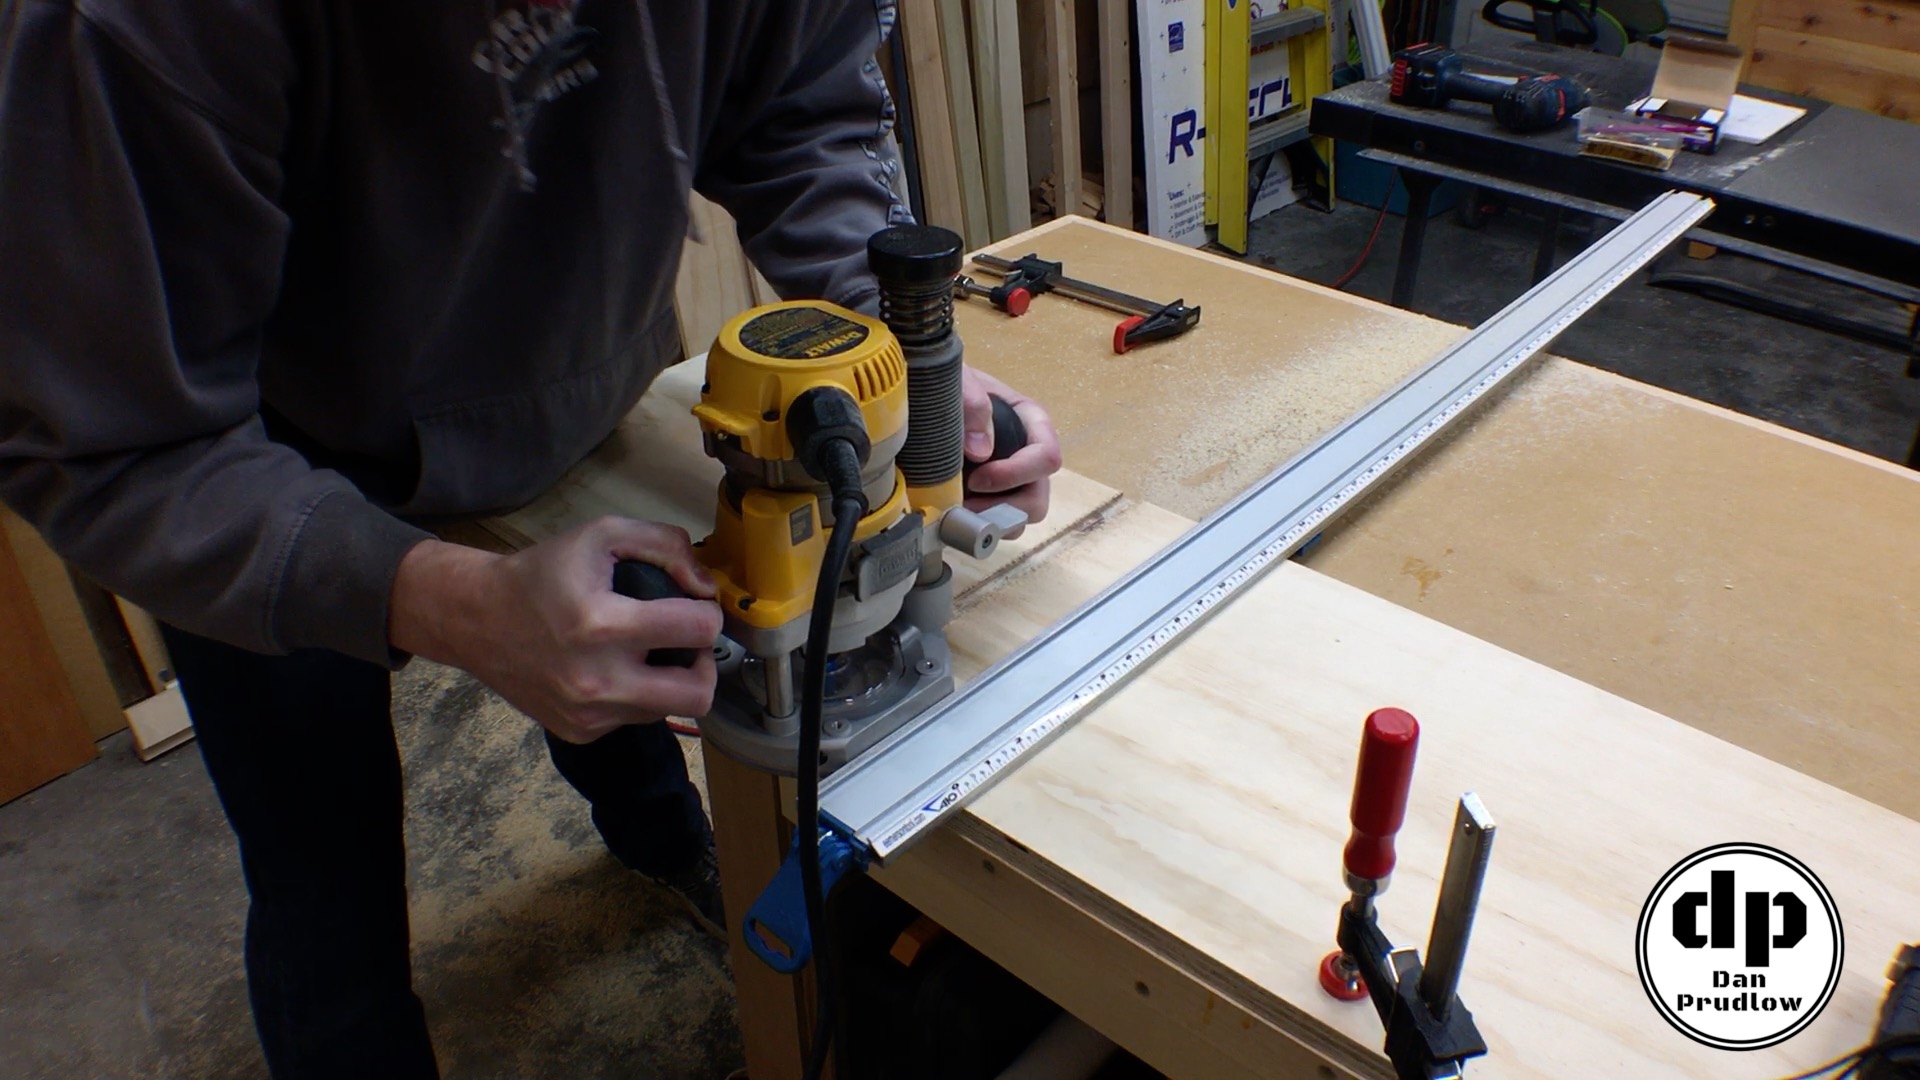
Like part 1 of the build this shelving unit uses simple rabbet and dado joinery. These cuts could be made with a dado stack on the table saw rather than a router but at the moment I don’t own a dado stack. The setup is rather simple using a straight edge guide clamp. I prefer to make a little jig to help with the offset between the guide and the bit. The jig makes it much quicker to reset the guide for each cut, for instance.
This is where keeping my side pieces together makes thing faster too. I cut the dados all the way across the board. Once complete I split the sides into two pieces each over at the table saw.
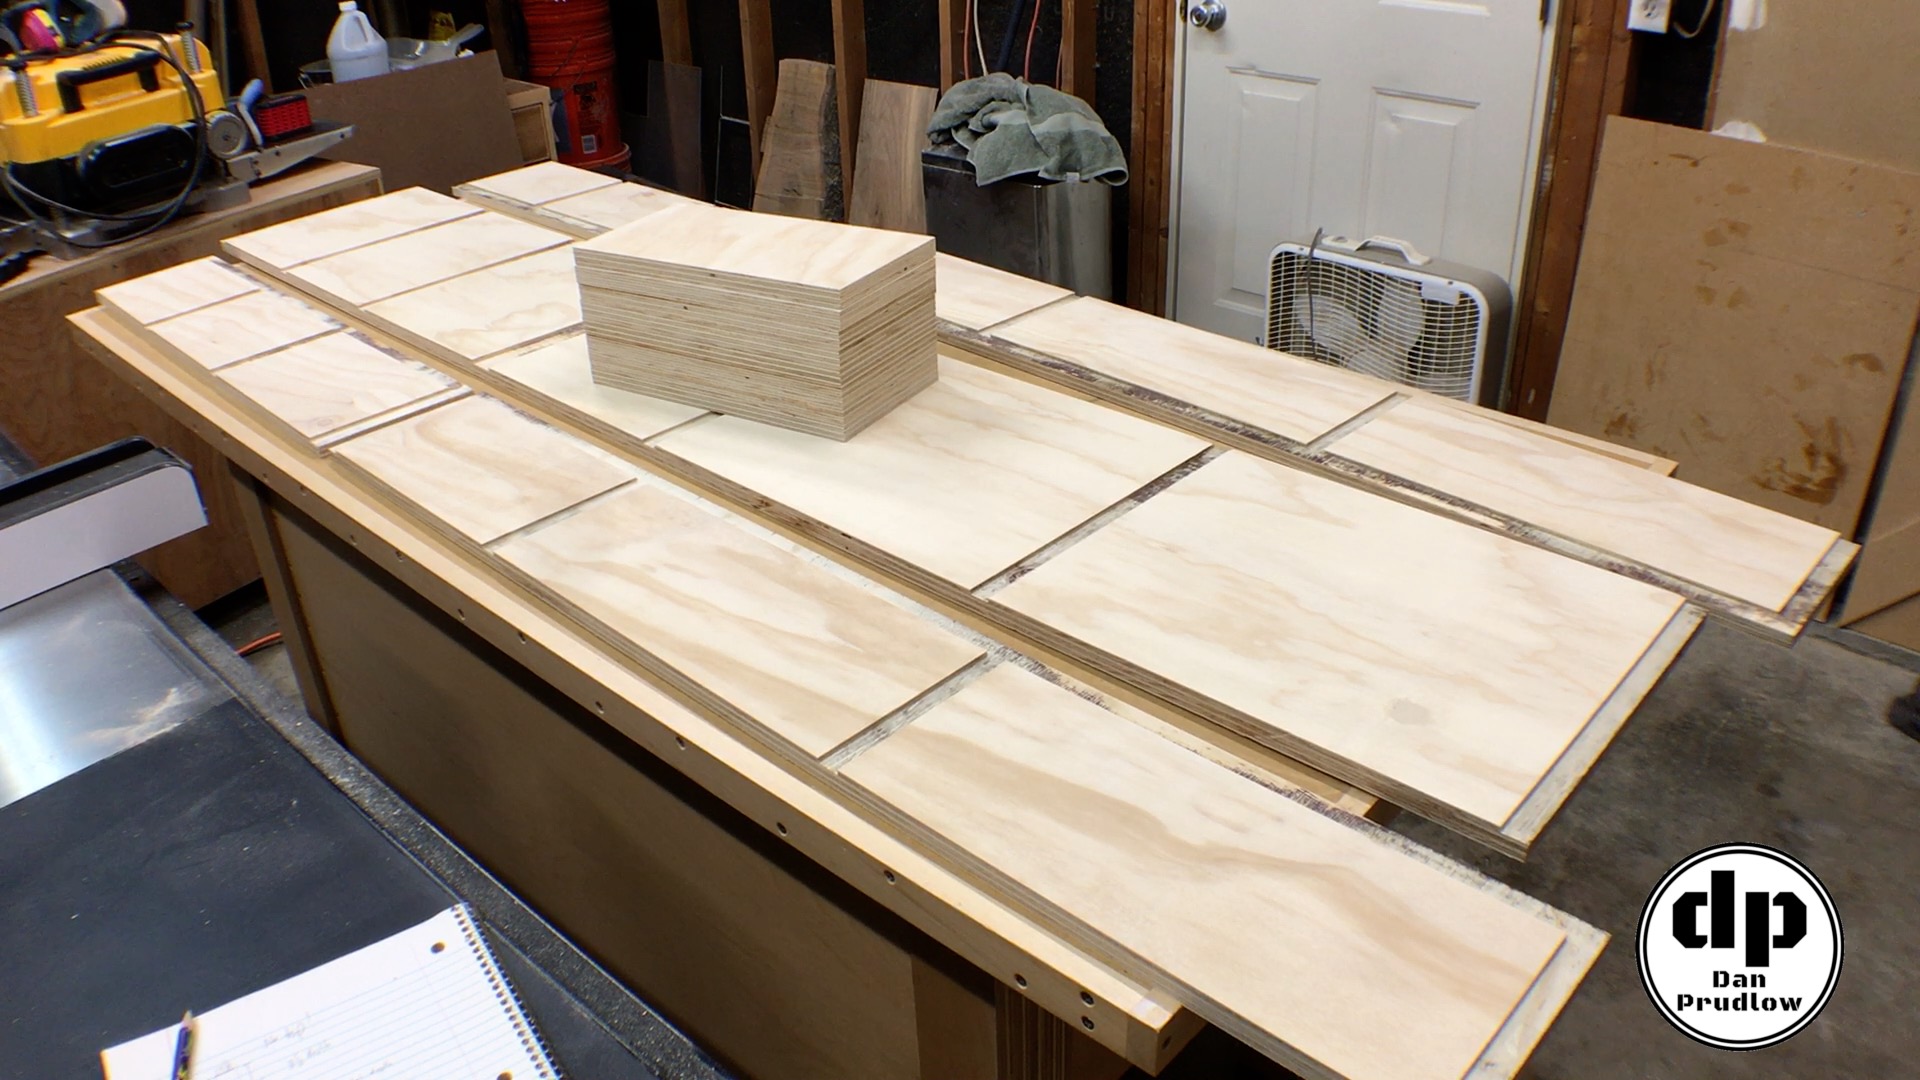
Cutting the Shelves
After cutting all of the joinery I could get exact measurements for the shelves. I had just enough material left to get all of the shelf pieces. Of the original 6 sheets of plywood I started with for this project I have very little scrap left over. I love it when a plan comes together!
Simple Assembly – No Glue Needed
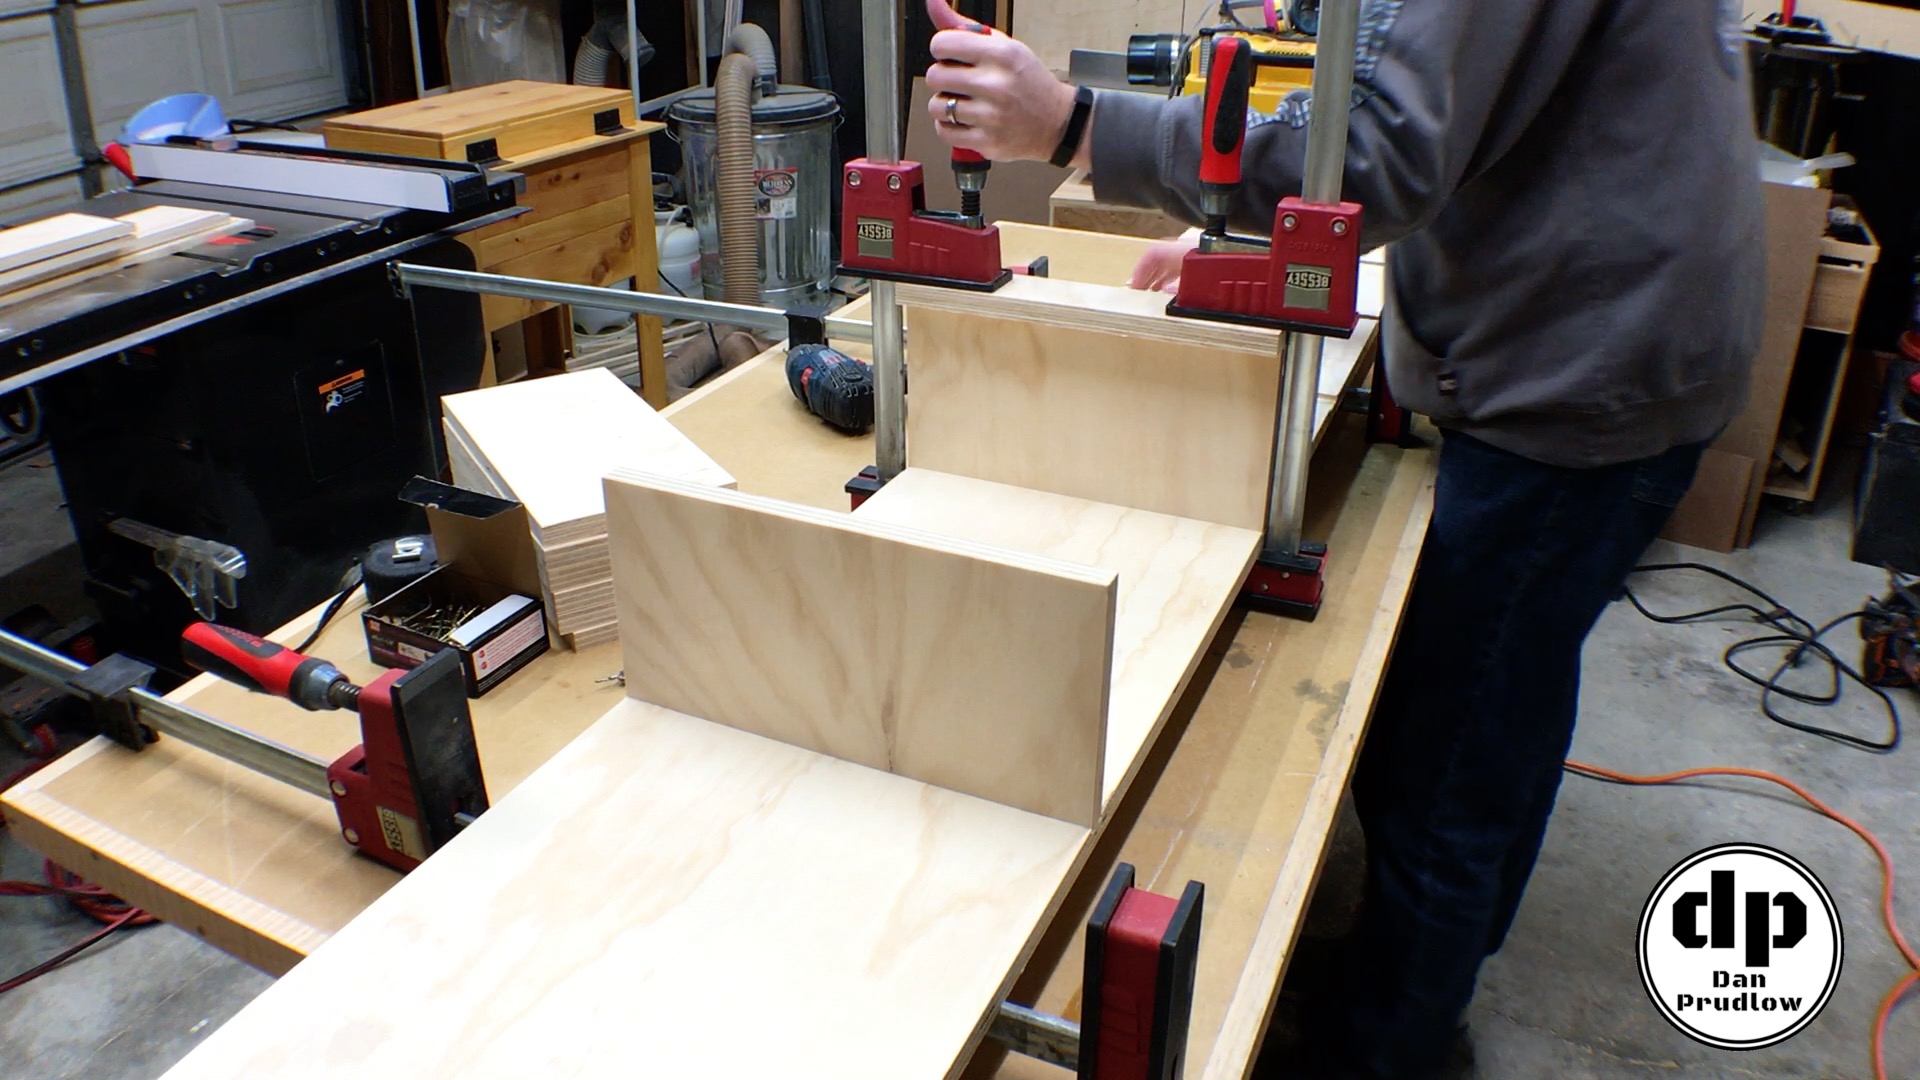
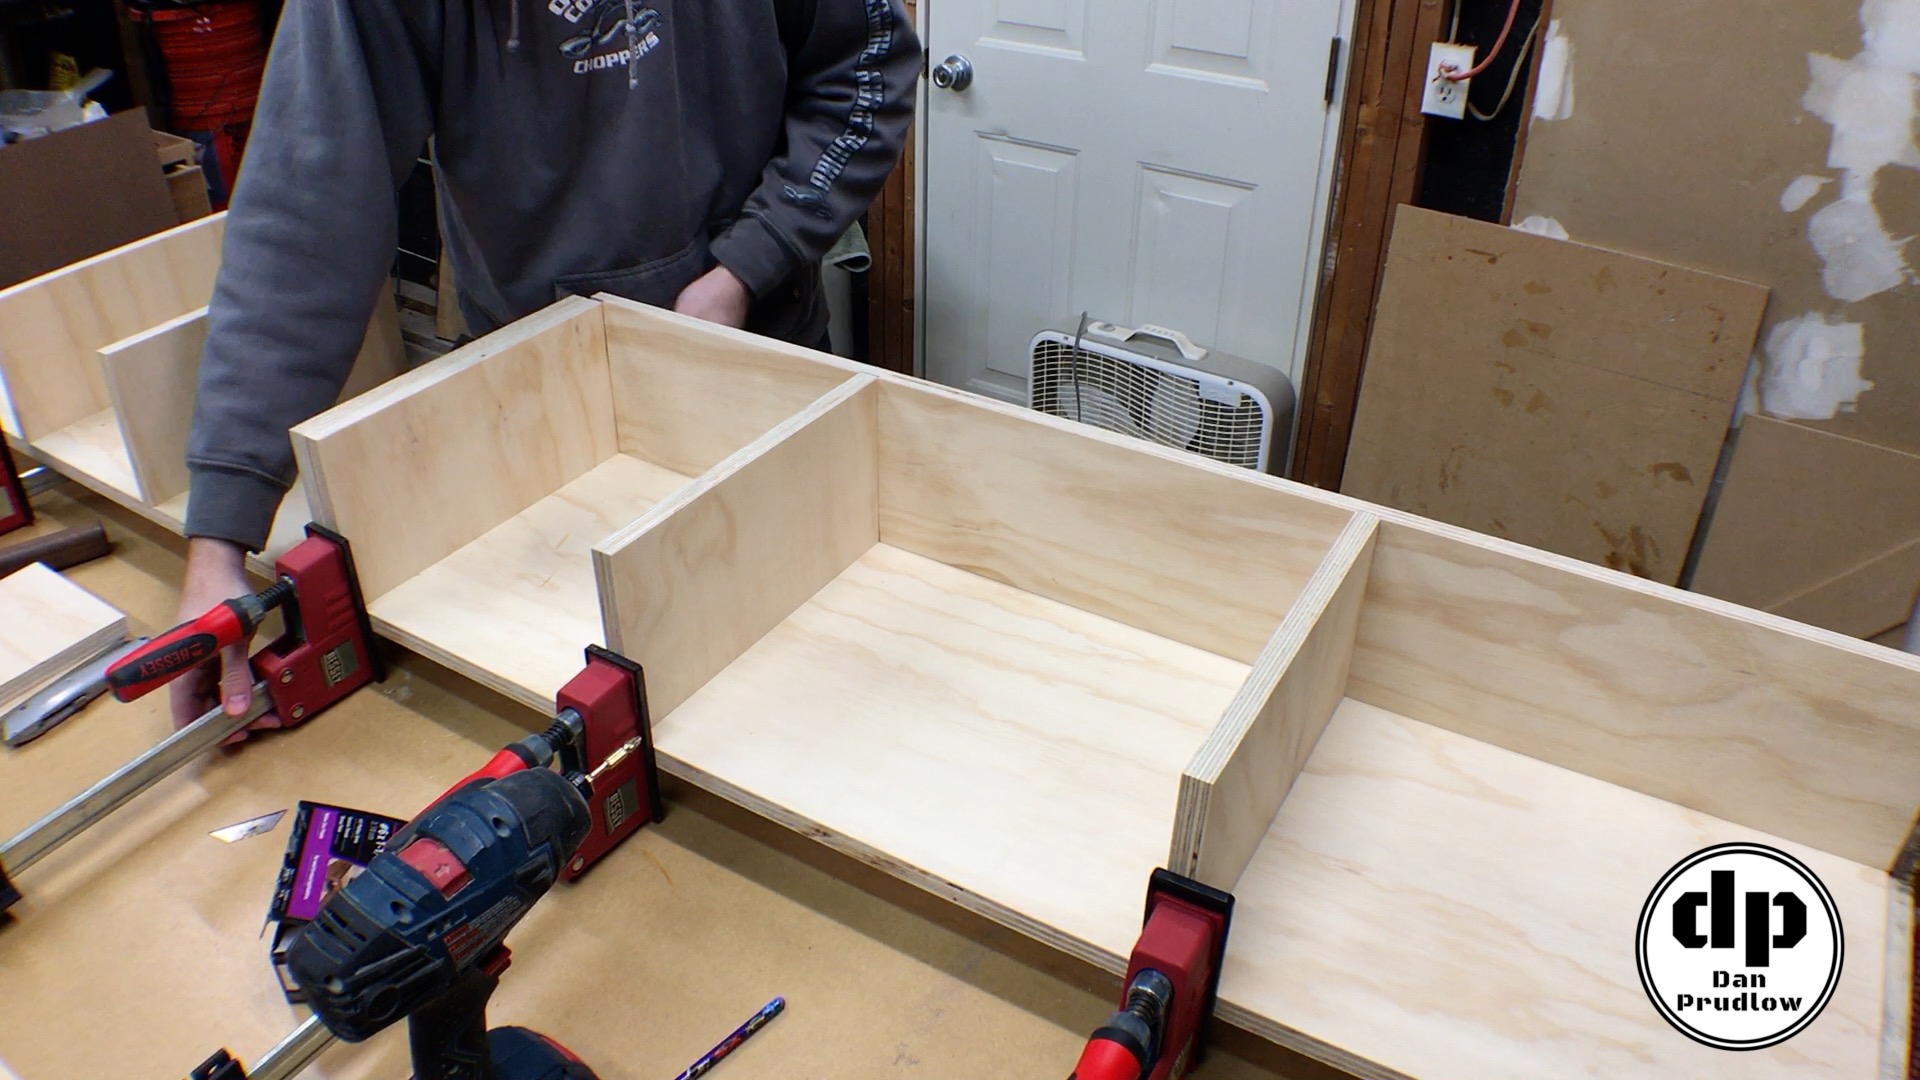
With all of the rabbets and dados done we can start assembling the shelving unit. I want to be able to disassemble these shelves if it’s ever needed so I only used screws to hold things together. The shelves fit very tight into the dados so once the screws are in these shelves are not going to come apart.
The assembly process was pretty simple. I used a couple of clamps to help press the shelves into the dados and then drove in screws from the back. Everything lined up pretty well but I did run into a couple of issues along the way. A couple of the dados did not align quite right. As a result, I had to chisel out a bit of material to get things to fit.
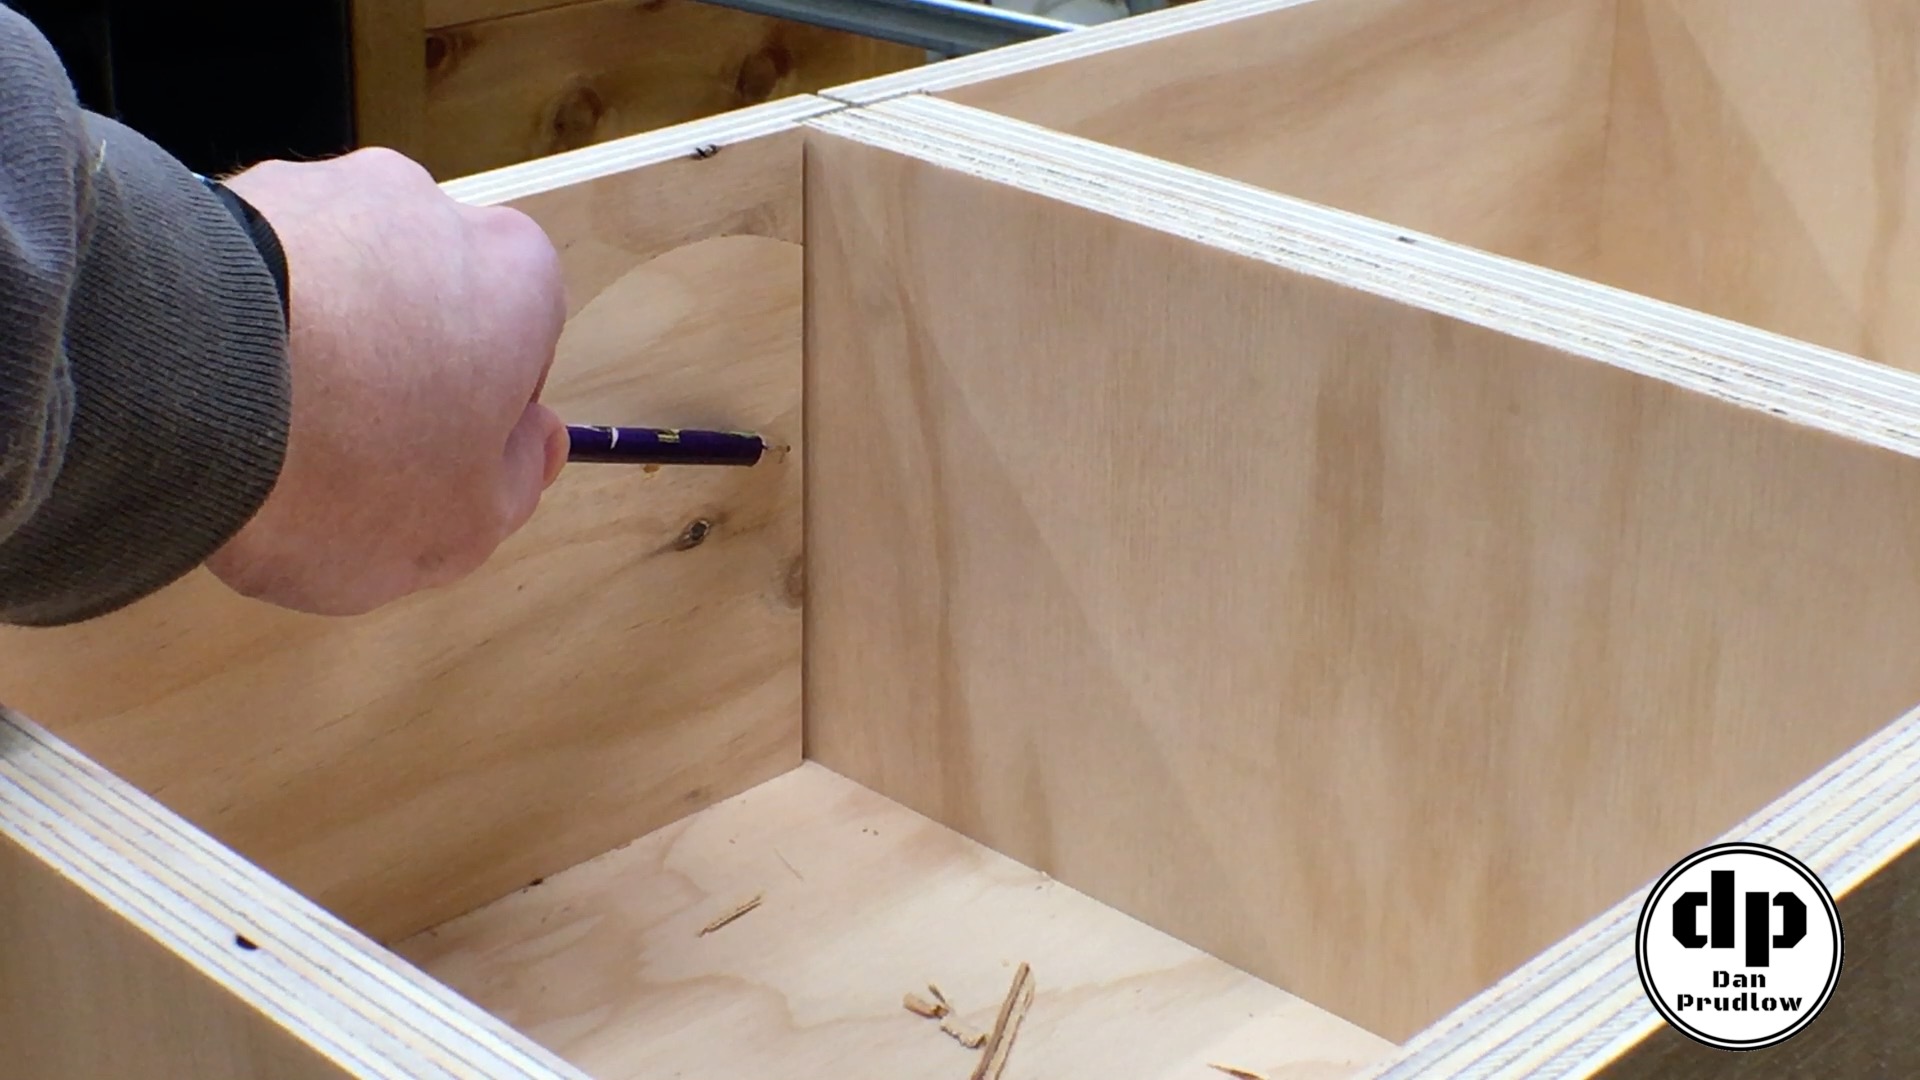
Not Everything Goes as Planned
Projects don’t always go as planned. For instance, I had a couple of mishaps on this one. The pictures below show two pretty decent blunders. The first shows where I did not measure the width of the rabbet quite right. I was left with about a 1/8th inch gap. The second shows the dado was not quite square. This is one where I had to chisel material on the other side to get the shelf to fit into the dado. Fortunately on this project the whole thing will be painted so I can fill these gaps with a little white caulk and paint right over it. Don’t let mistakes get you down…they happen to the best of us! Even with a few imperfections, the satisfaction of building something yourself is well worth the occasional frustration.
Preparing for Installation
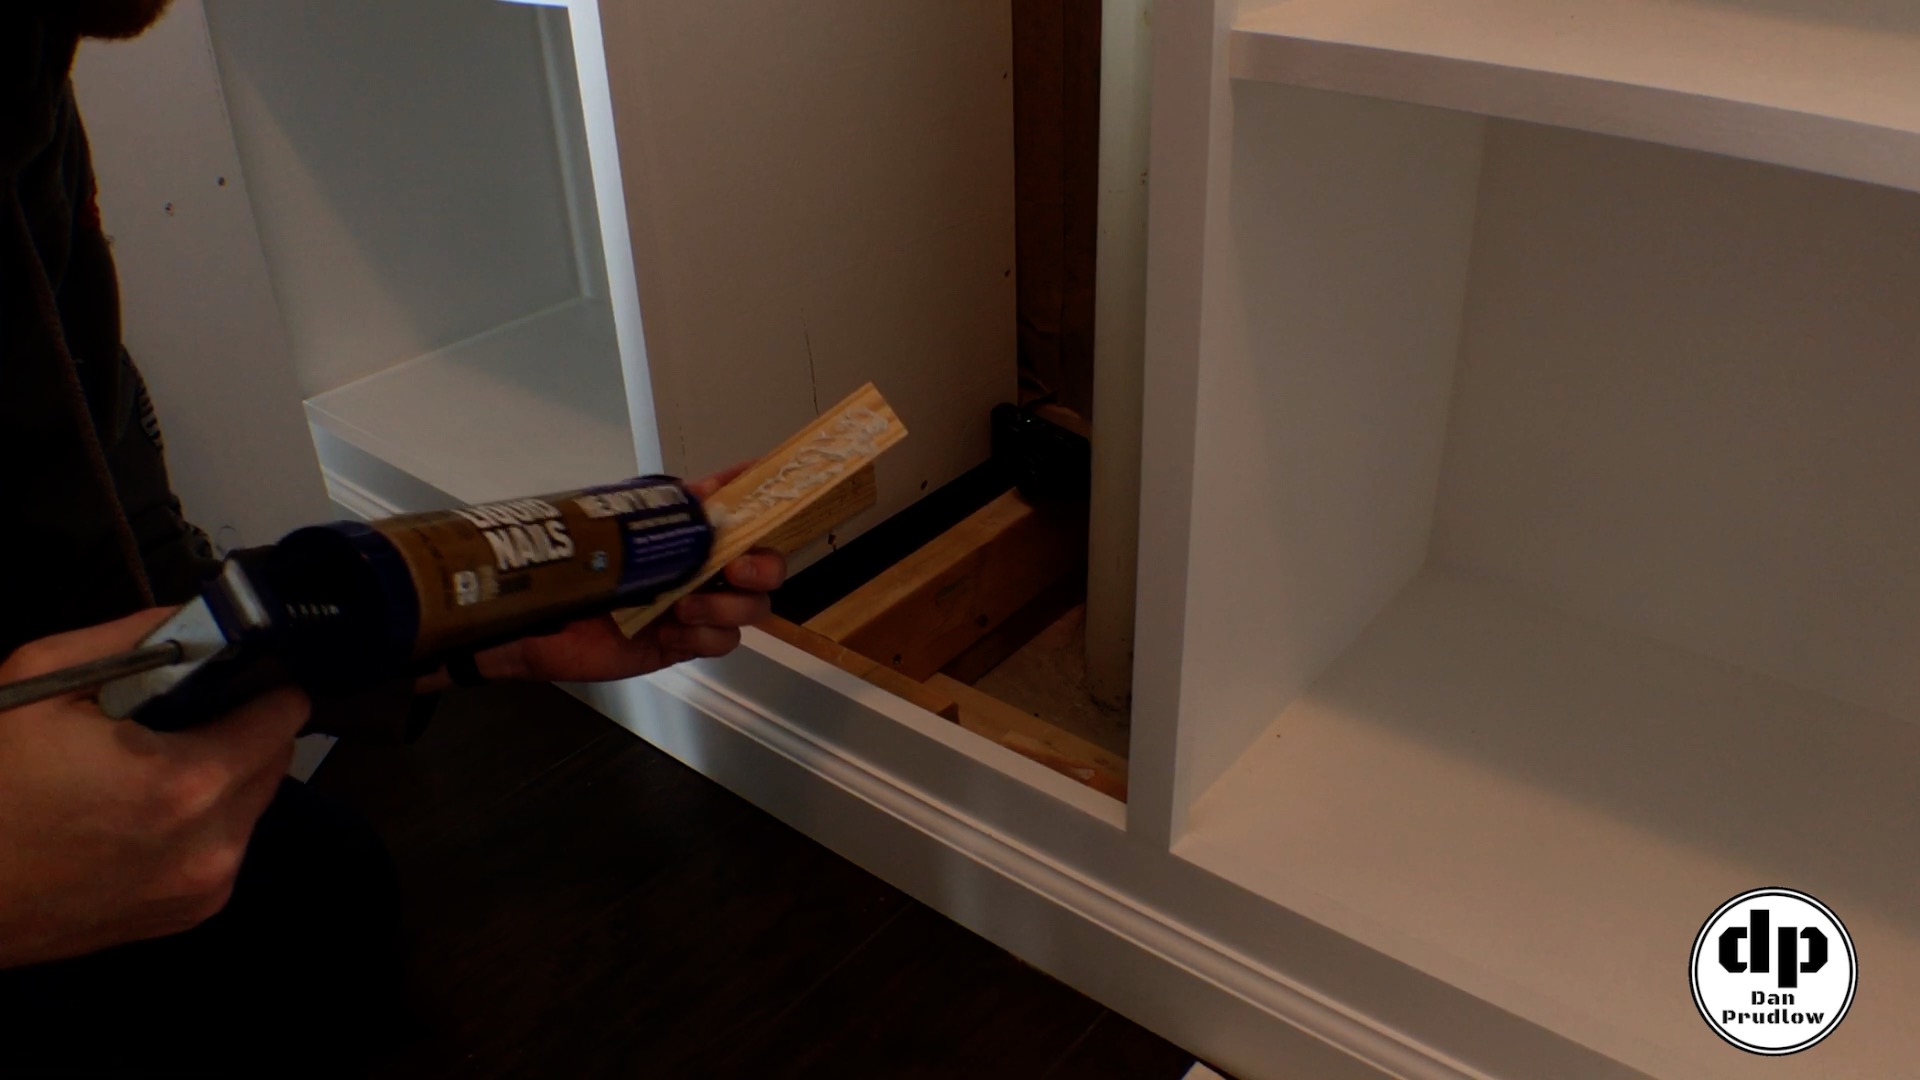
This section of shelving needs to be easily removable due to the fact that there is a drain pipe behind it. For this reason the overall width of the unit itself was about 1/2 to 3/4 of an inch narrower than the opening. To fill this gap where the mounting screws are located I cut down shims and glued them in place with construction adhesive. I shot in a few 3/4 inch nails to hold them while the adhesive set.
With the shims in place I positioned the shelving unit in place and drove in six screws. Two at the bottom, two about the middle, and two at the top. This is more than enough to hold the unit in place. I left the screw heads exposed so they are easy to remove if needed. This setup should allow the whole unit to easily slide back out if needed.
Cutting the Face Trim
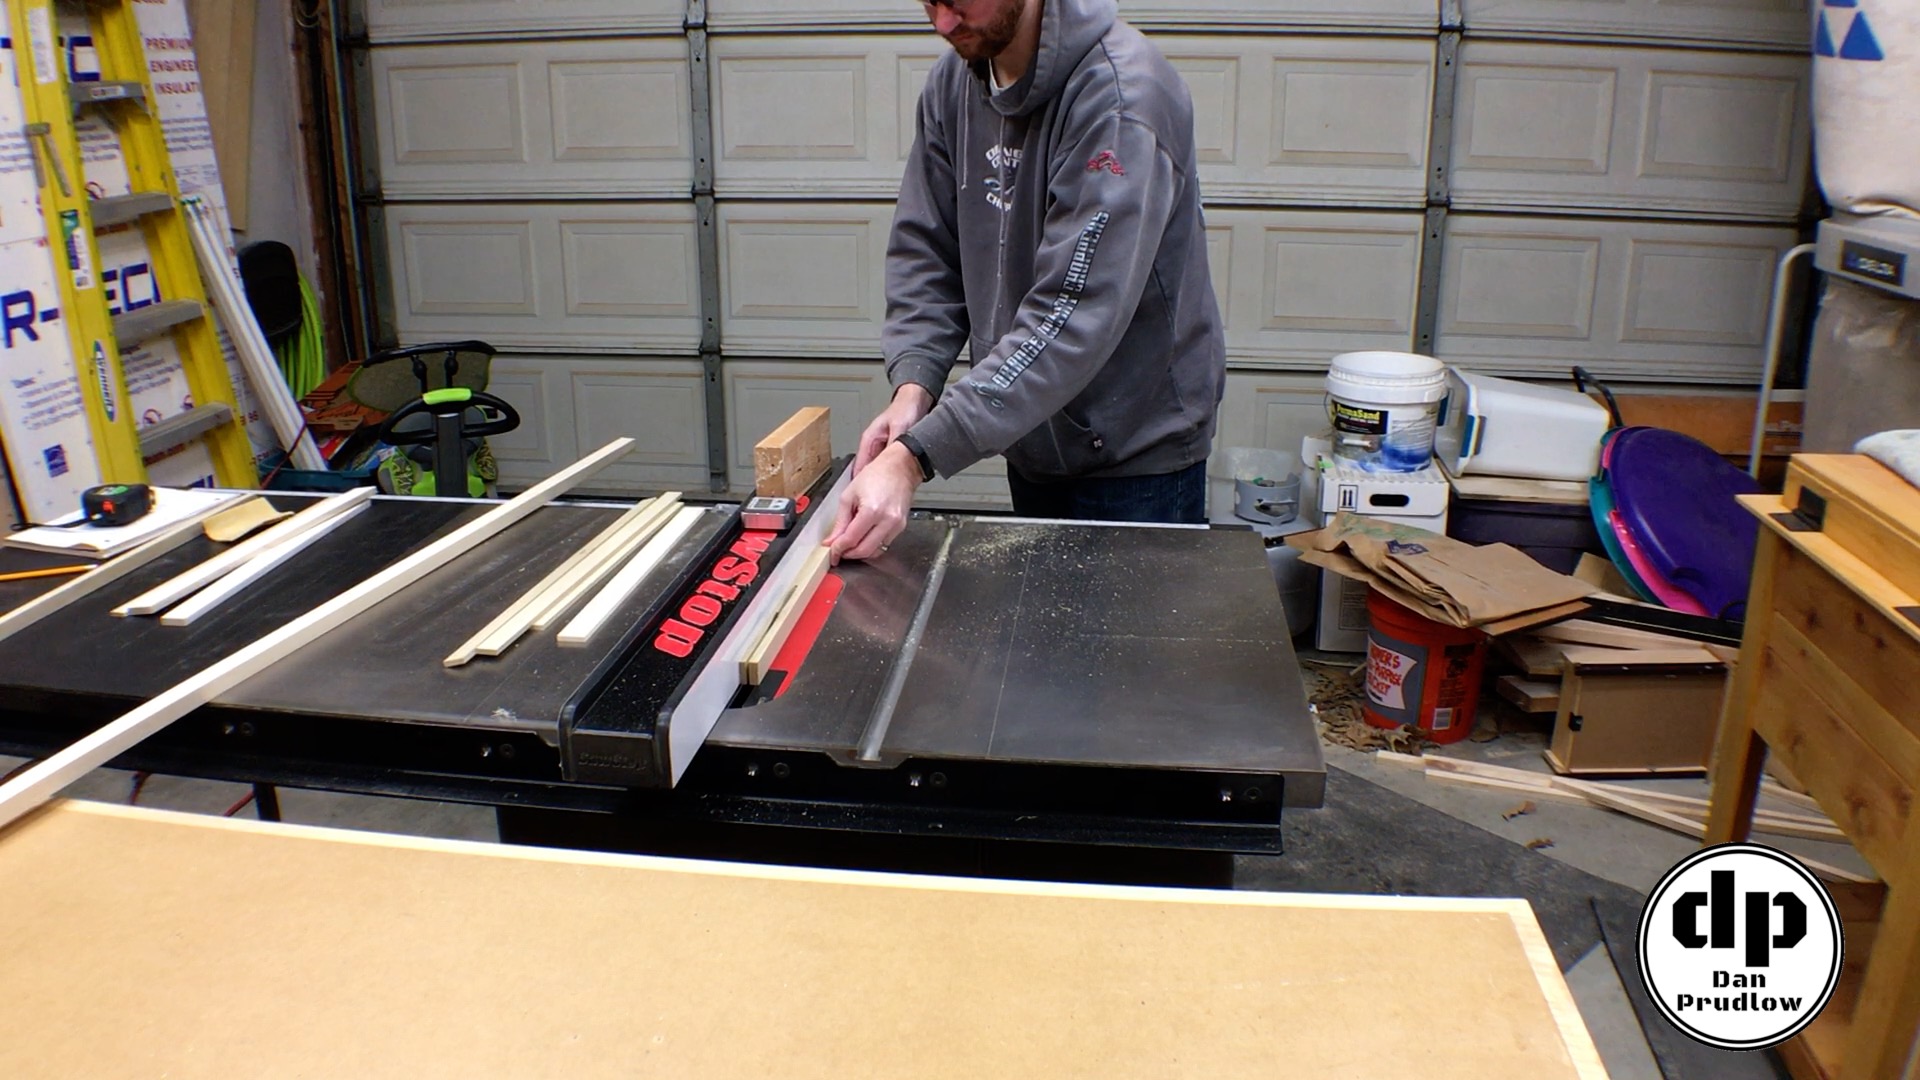
With the shelving unit now installed I took measurements and cut the poplar face trim. All of the trim pieces are 1/4 inch thick. As with the plywood this poplar is all left over from the stock used for Part 1 of the build. Ripping pieces at 1/4 inch thick can be a little nerve wracking. Take your time and make sure you have a good push block to guided the narrow piece through the blade. An alternate option would be to set the fence such that your 1/4 thickness comes off the left side of the blade. This is assuming you have a wider board. In my case I needed to rip my width first and then rip to thickness.
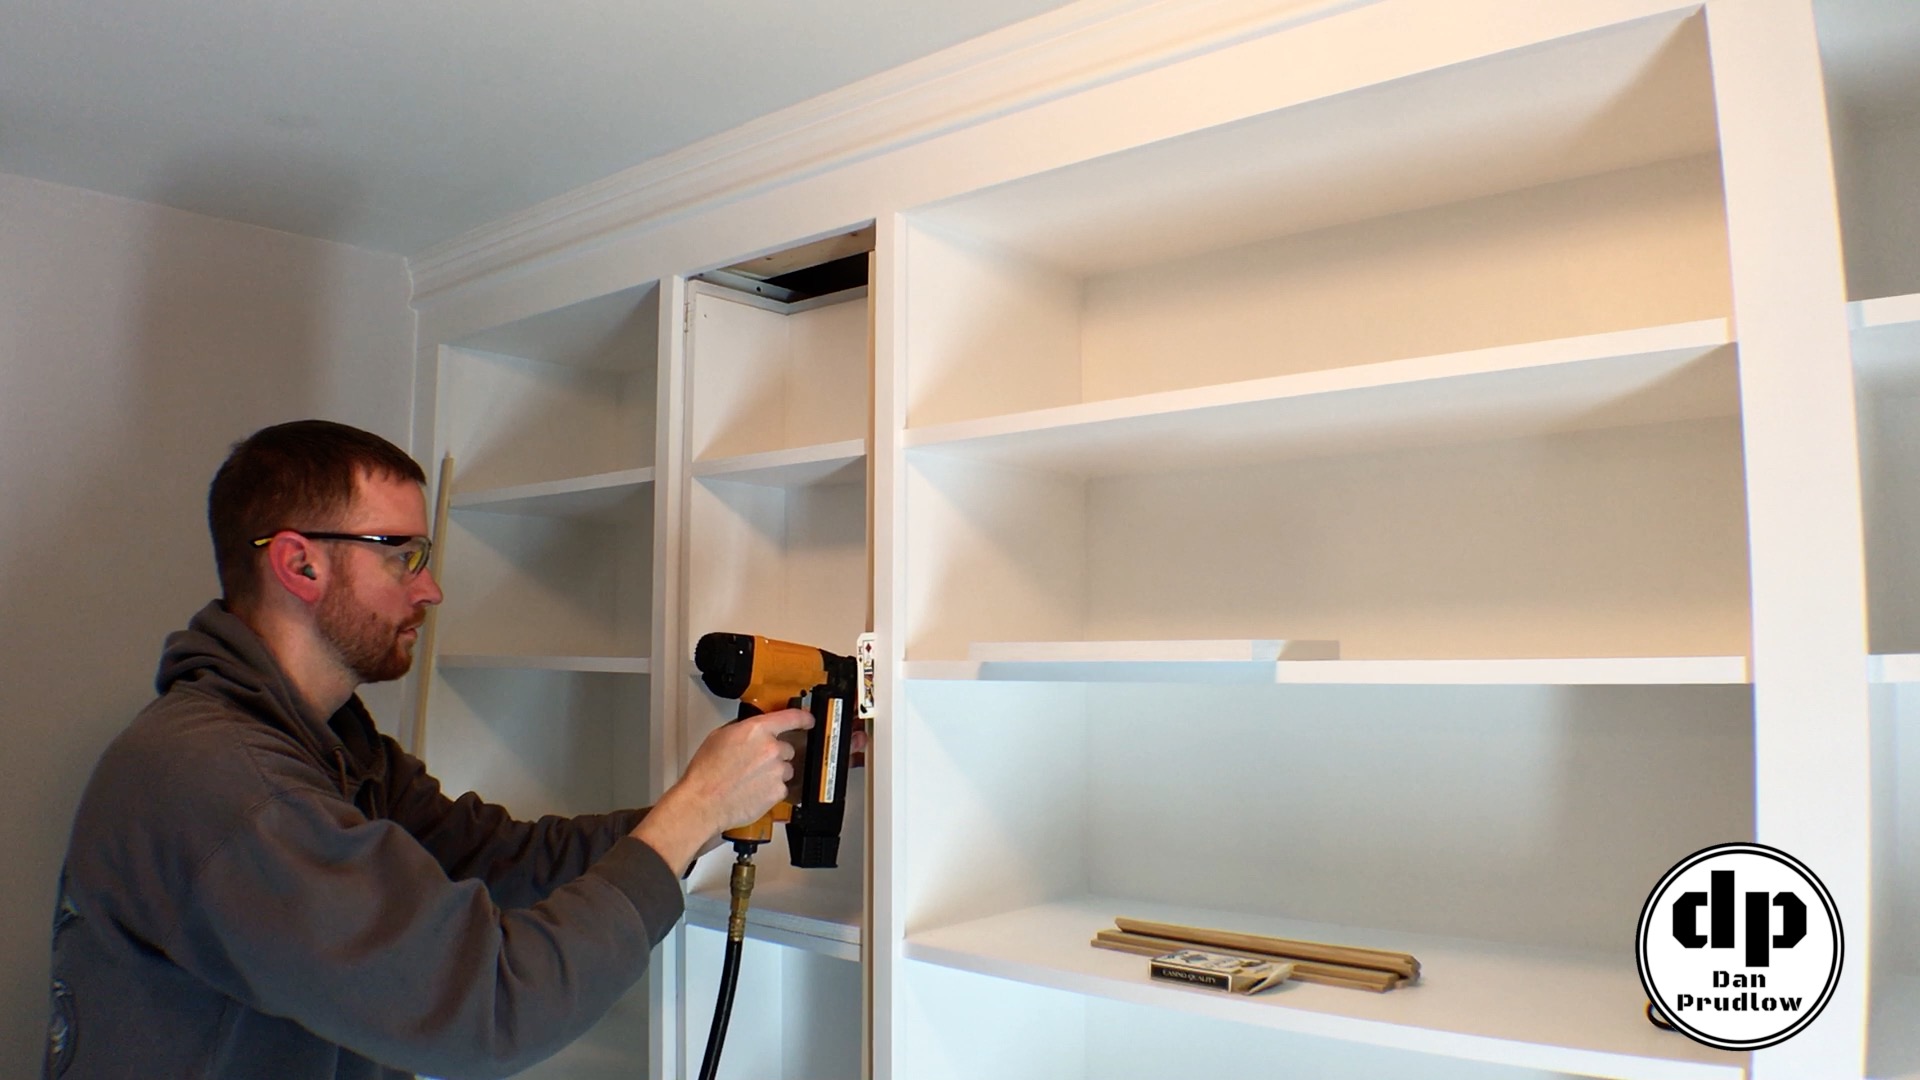
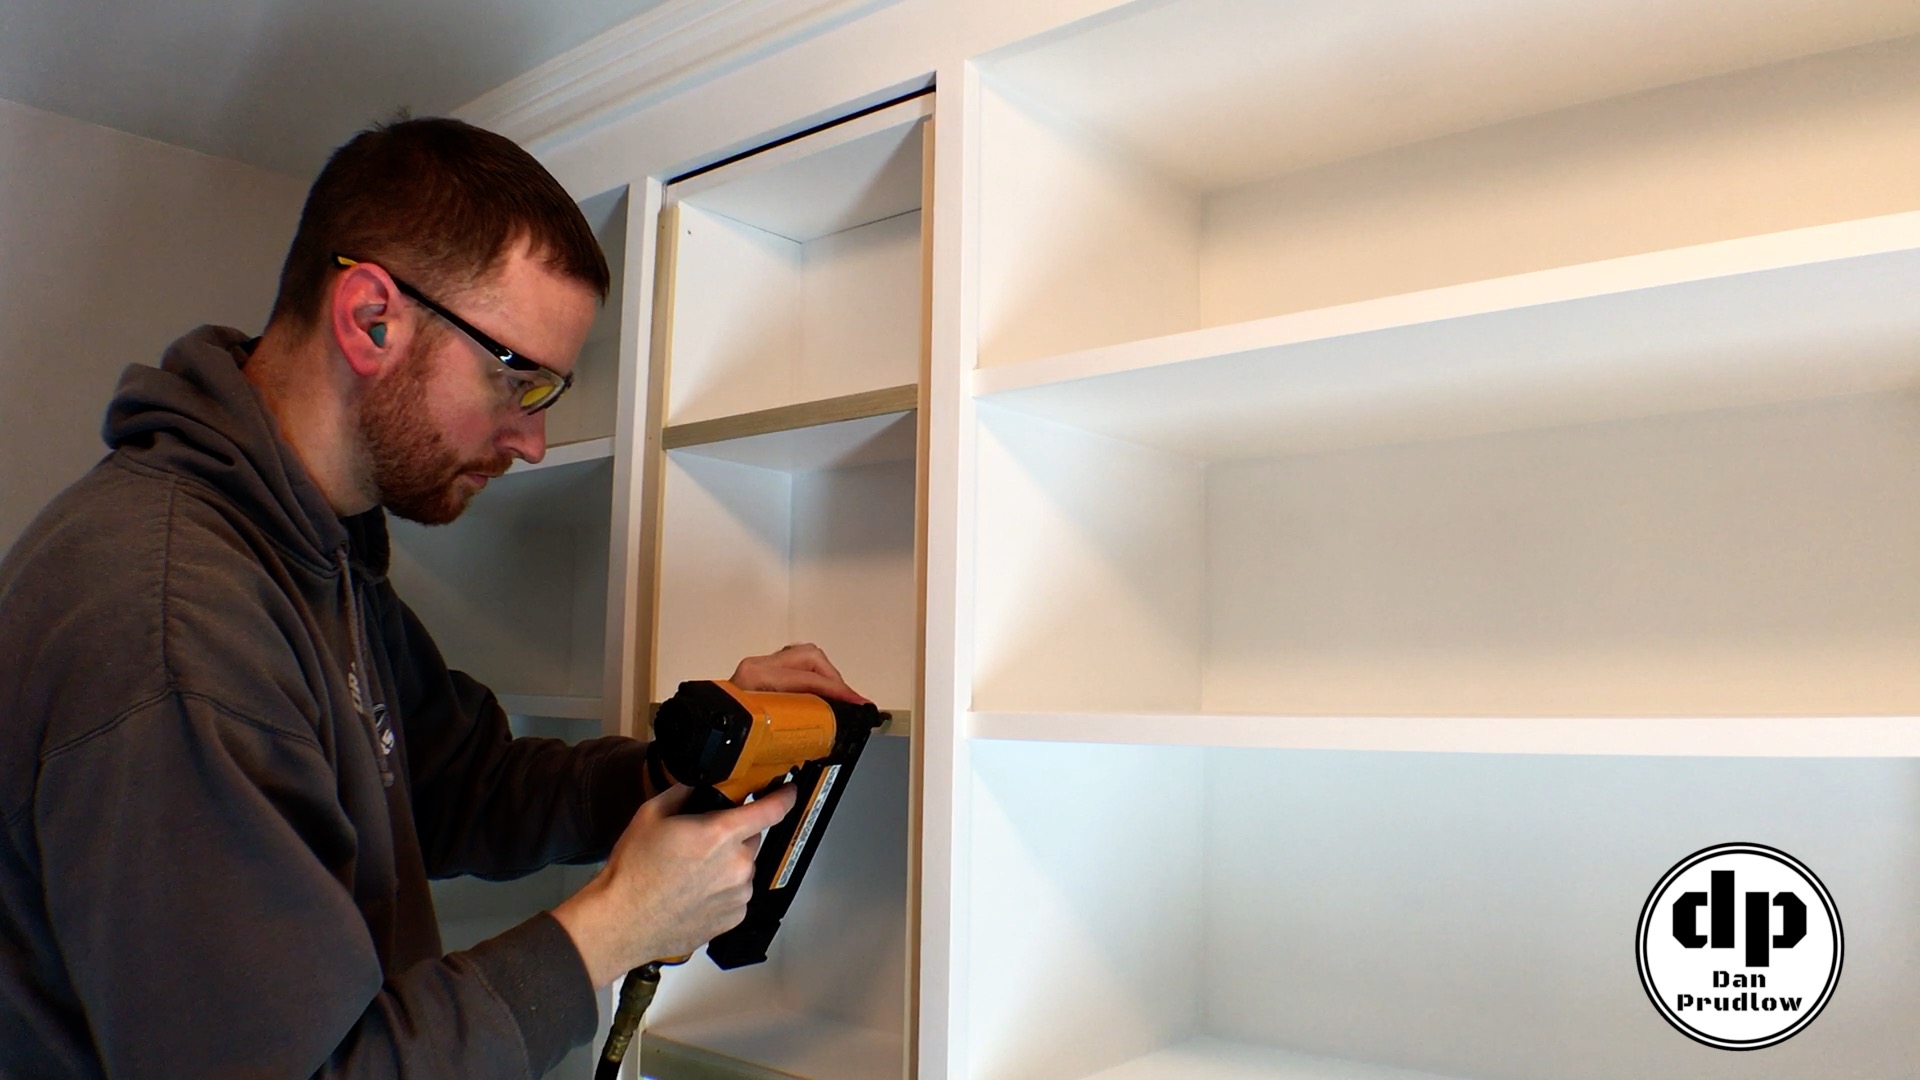
Finishing Touches
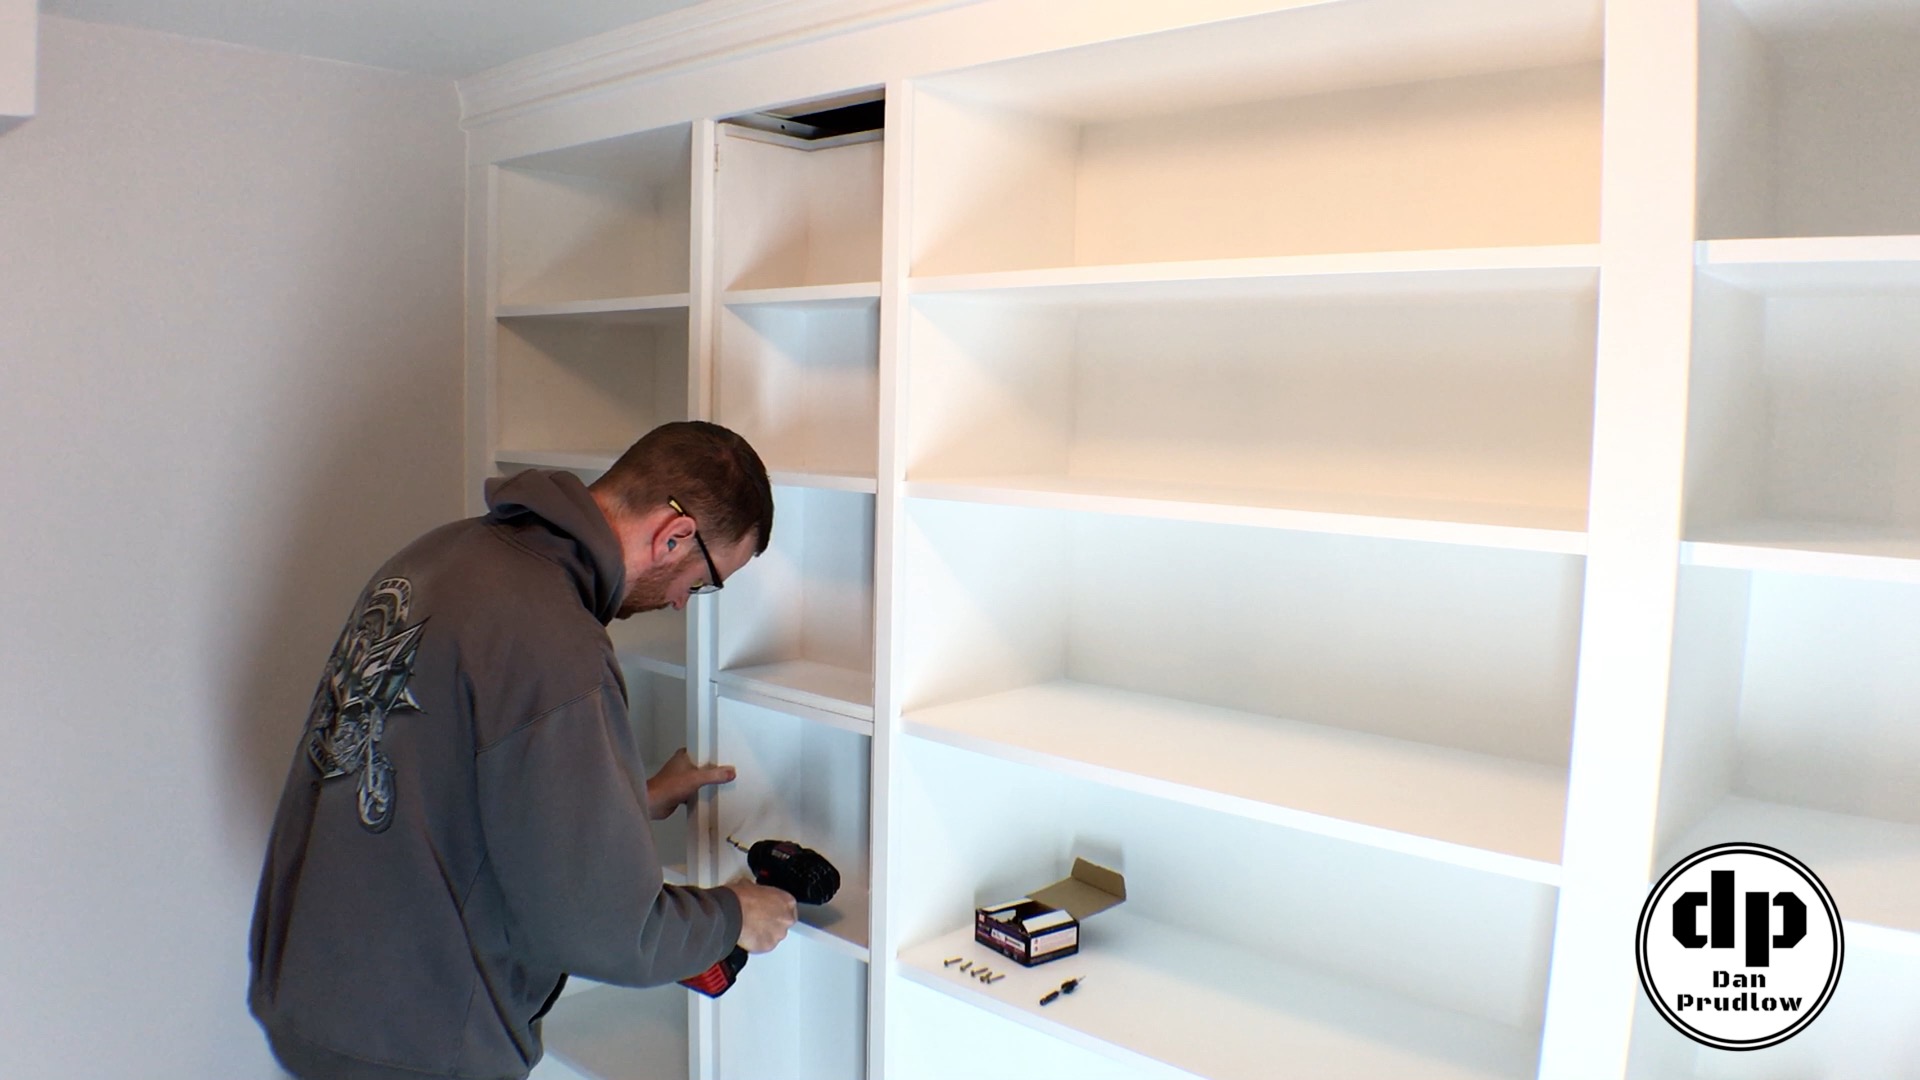
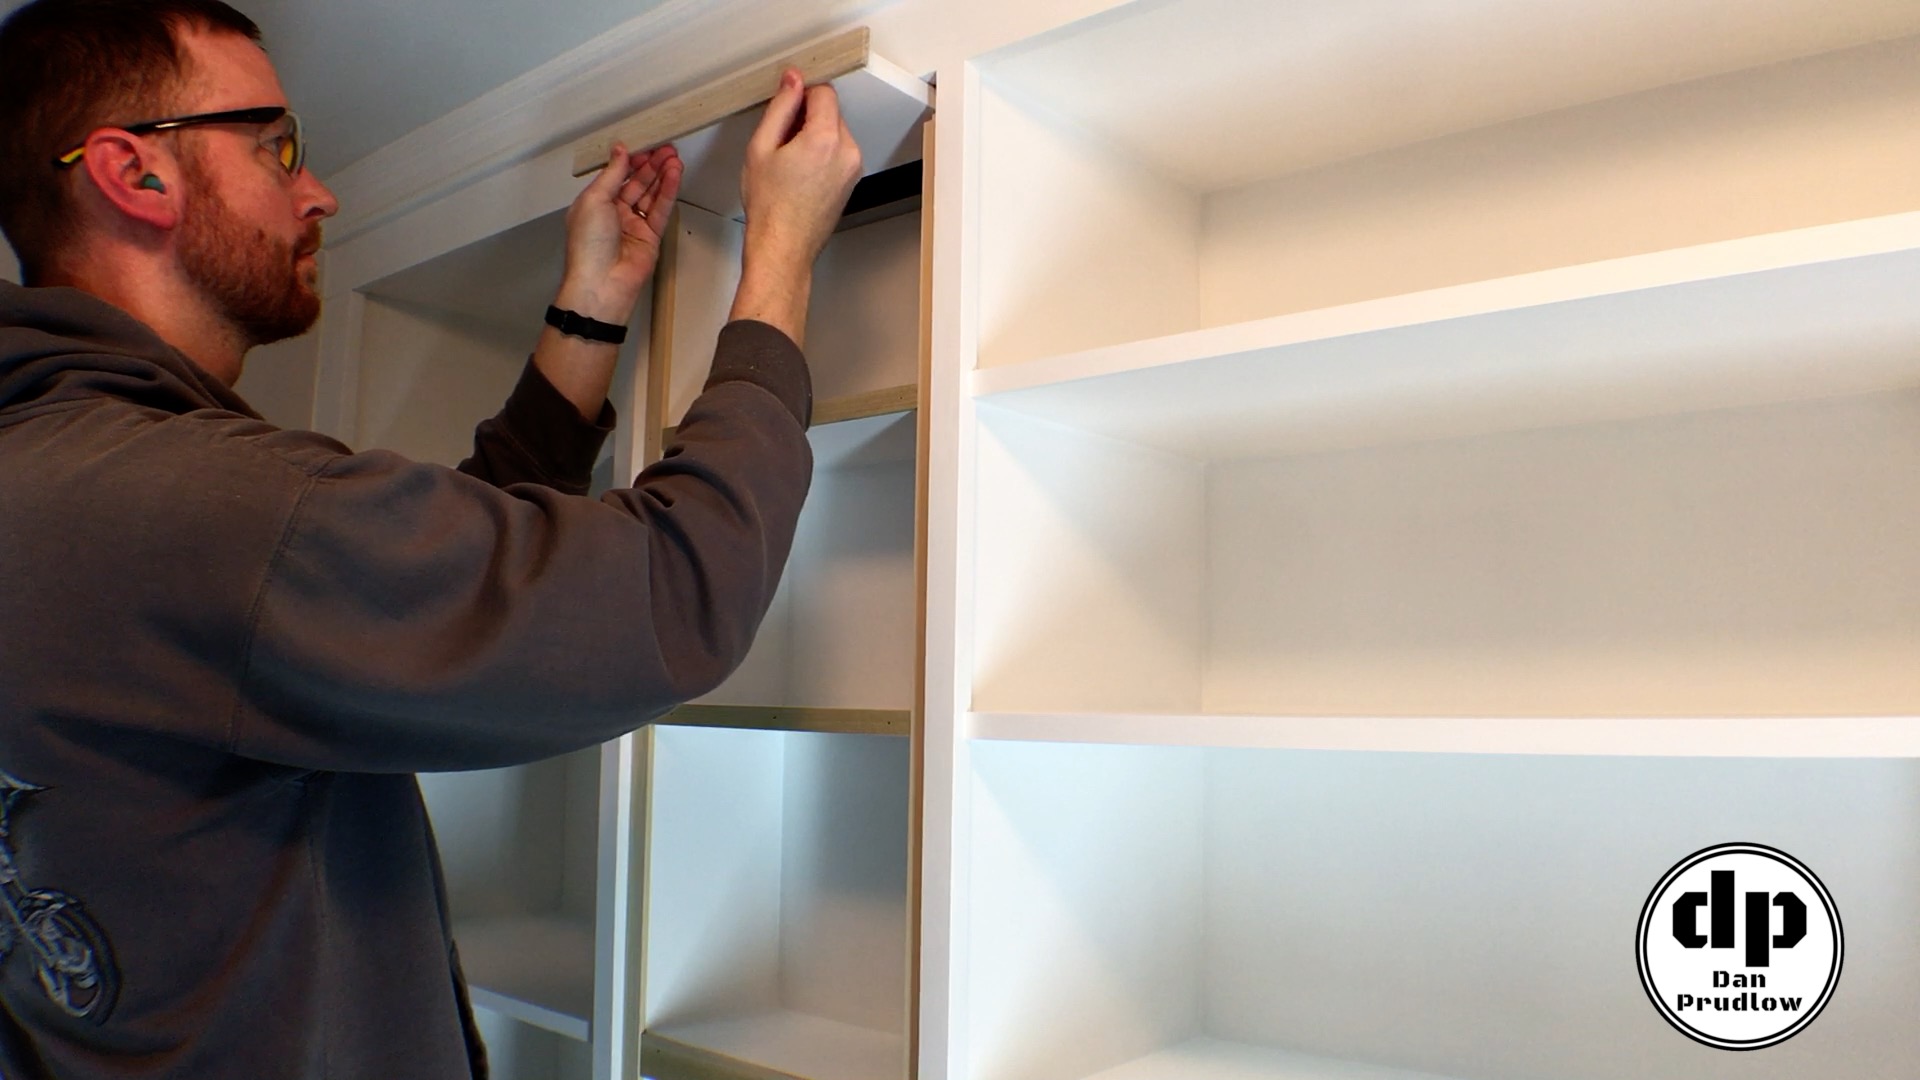
Installing the face trim is the last step prior to the final coats of paint. The trim is installed using 1 1/2 inch brads. For the two long vertical pieces I used two playing cards to create a consistent gap between the trim and the side of the existing shelving. This gap will help in being able to remove this while unit if needed. A couple coats of paint on the trim and this one is done!
You will notice that the top section is left loose so it can be removed if needed. This was done so that we can open it and allow warm air to flow up where there are a couple of water pipes. The pipes are along an exterior wall that gets really cold when temperatures drop below freezing. The ability to allow warm air to flow up above the shelving is just a little extra safeguard against frozen pipes.
Project Wrap Up
That wraps up Part 2 of this built in shelving project. With this removable section in place the project is done. This entire project was more of a necessity than some other fun projects but it was definitely worth the time and effort. I’m very please with how it turned out and the additional storage space over the previous shelving will be nice to have.
If you have any questions or comments leave them in the comments section below. You can also find me on Twitter and Instagram or you can send me a message via the contact page. Also, please be sure to get subscribed to my YouTube channel so you don’t miss any future builds!
You can find links to many of the tools, accessories, and finish products I use in my shop over on my Tools & Resourcespage.