Cutting Board Build – Make a Long Grain Cutting Board – Easy Beginner Board
My First Cutting Board Build
A cutting board is a woodworking right of passage they say. Hence, I figured if I was going to call my self a woodworker and share my projects, experiences, and knowledge with the online world I had better get a cutting board build under my belt. Now I can officially call myself a woodworker! This board is made from beautiful air dried walnut with maple and cherry accent stripes. It’s about 1 1/4 inch thick and measures 10 1/2 inches wide and 20 inches long.
Breaking Down Rough Stock
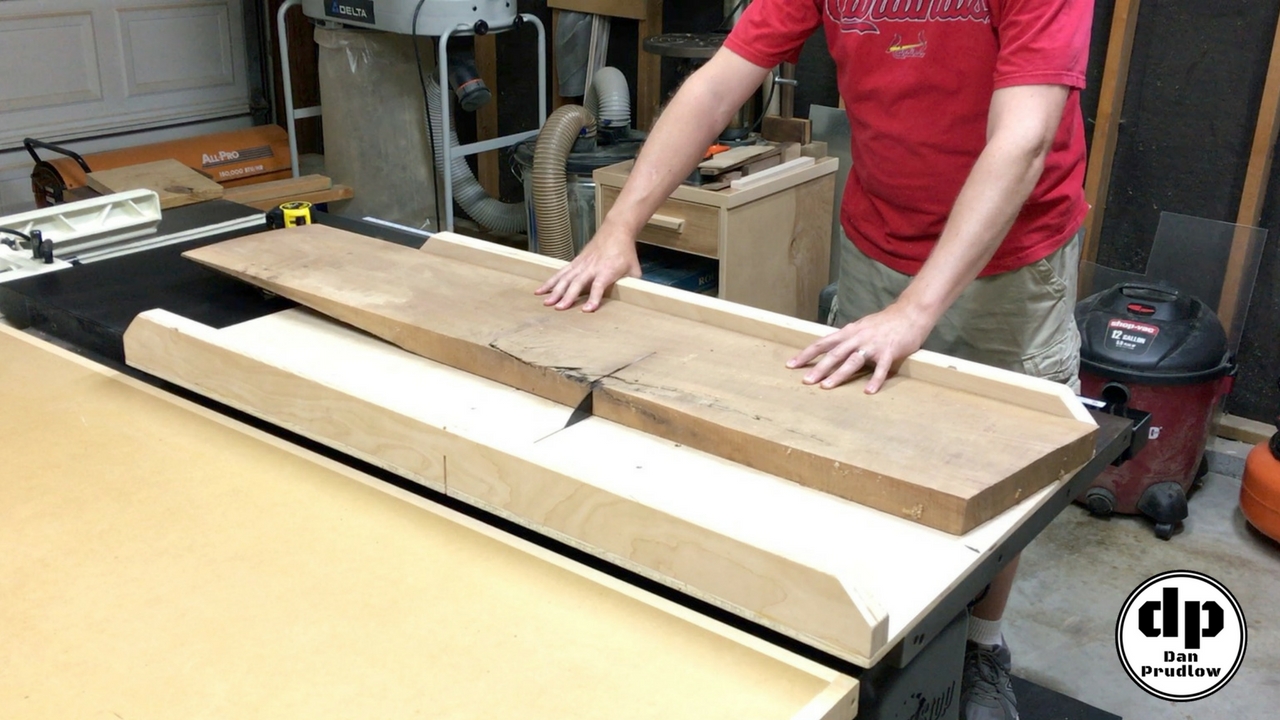
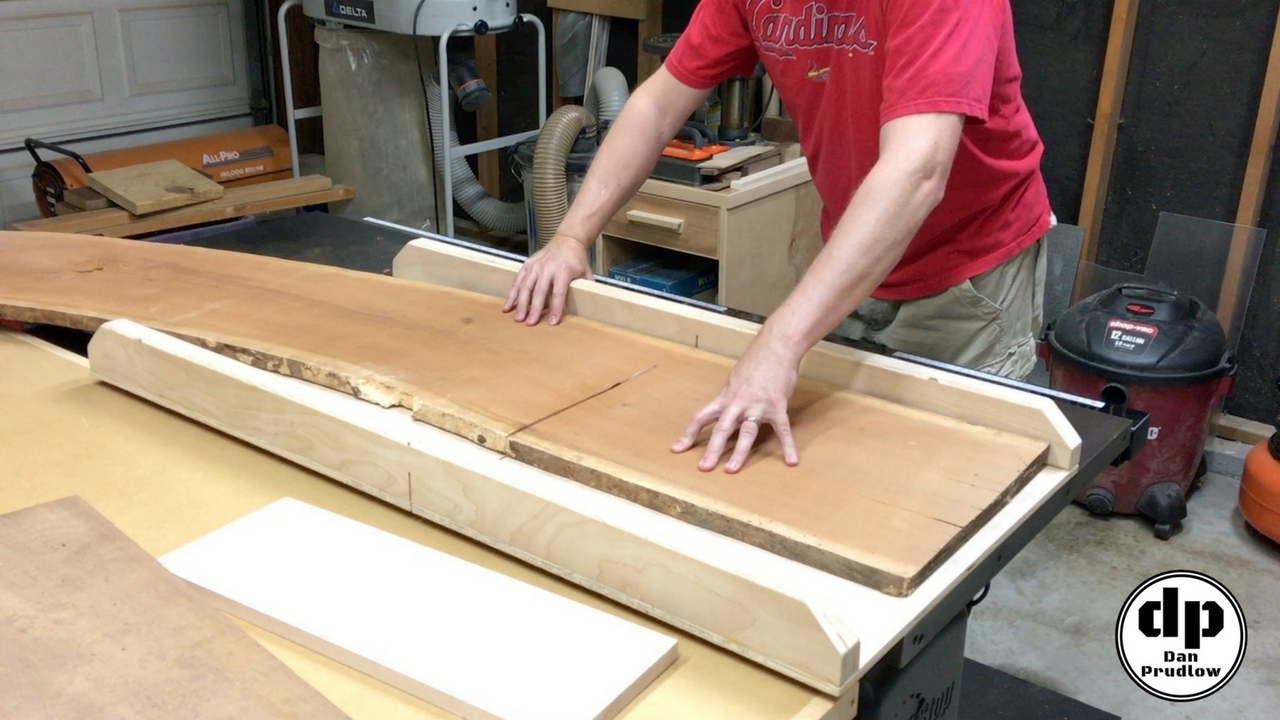
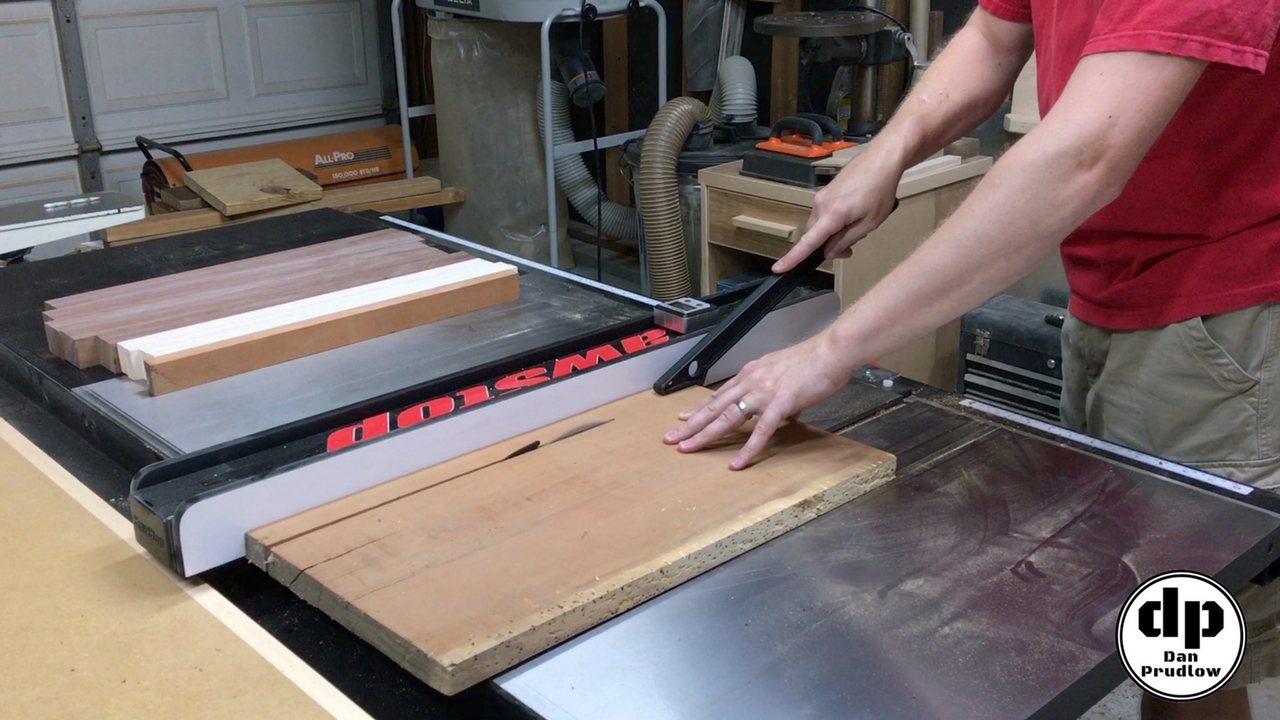
To get started with this cutting board build I used my crosscut sled to break down the walnut, maple and cherry. I cut lengths slightly longer than what I wanted the finished board to end up. This will give me a little bit to trim off each end after glue-up. The cherry board was really wide and had a big curve to it. It was nice having the big surface of the crosscut sled to push it through the blade safely.
Milling One Flat Edge
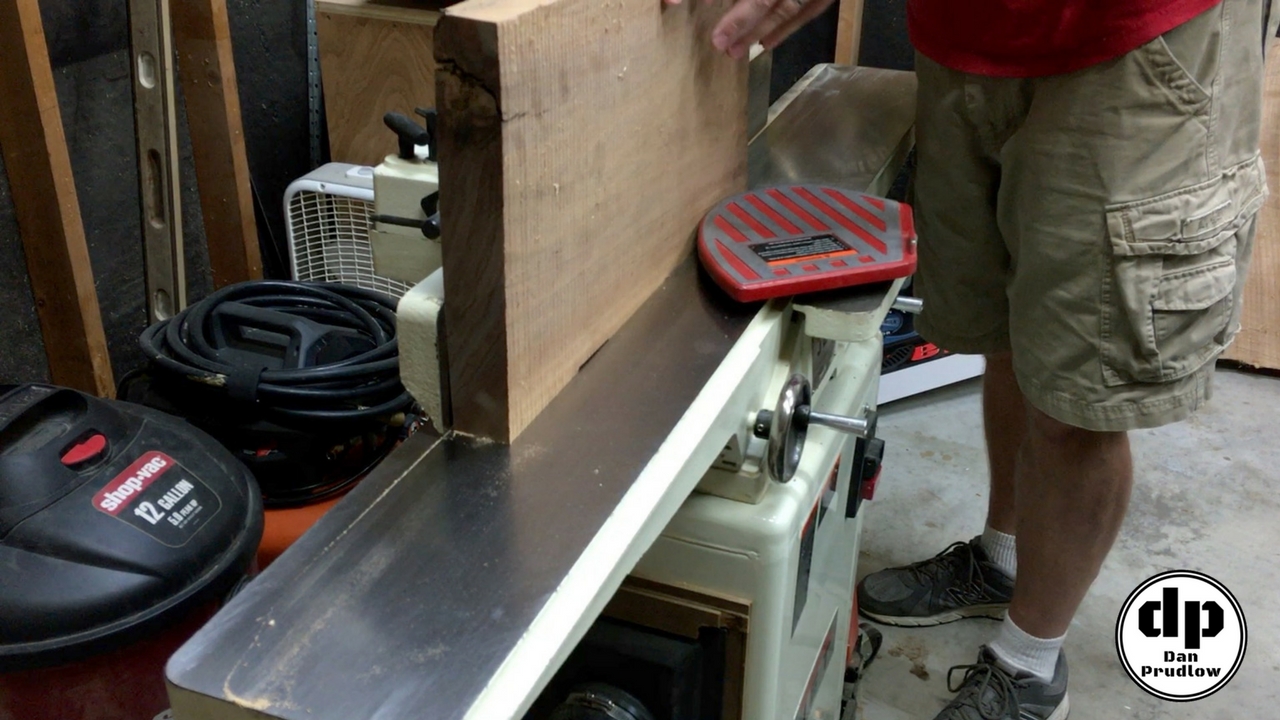
The next step was to take the stock over to the jointer and get one edge nice and flat. This step ensured that I had a good edge to reference on the table saw fence. If you don’t a have a jointer you could use a circular saw with a straight edge guide or even a hand plane. The main goal is to have one clean edge to reference on the table saw.
Ripping Strips at the Table Saw
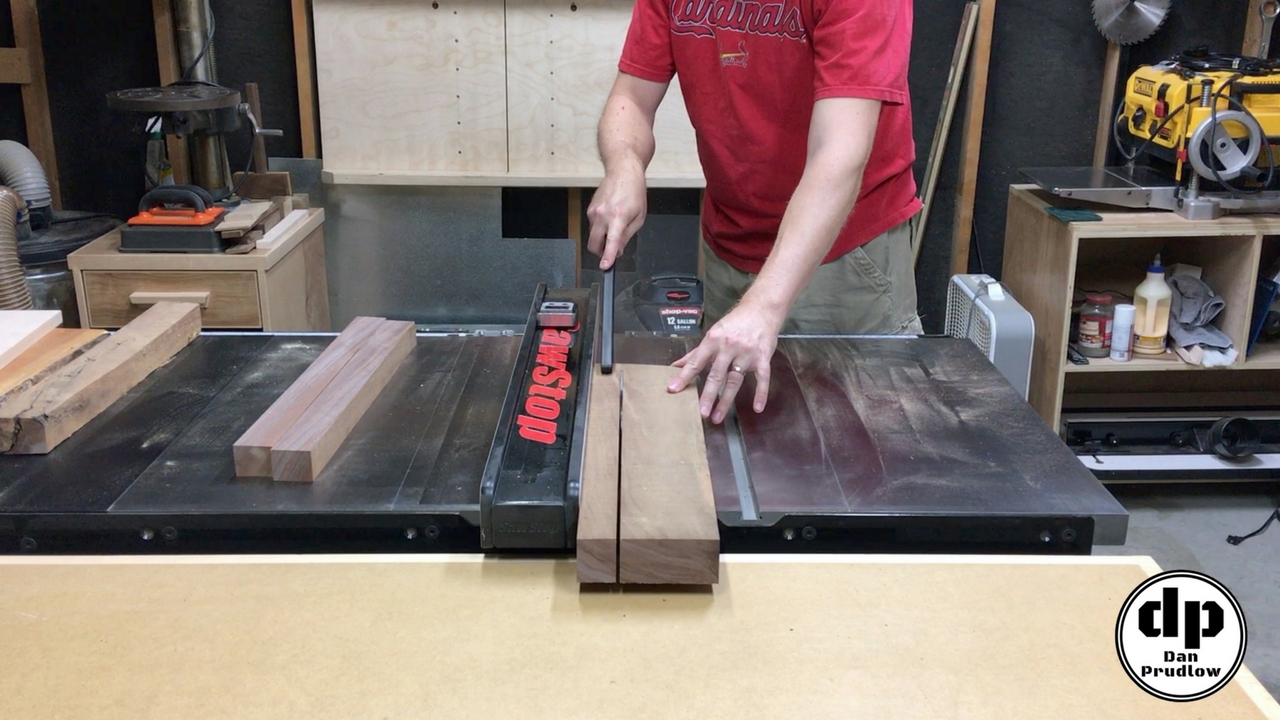
With one nice edge I went back to the table saw and cut the stock into strips. The reason for cutting the strips is so they can be turned on edge. This will put the nice edge grain on the surface of the board. The color in the air dried walnut here was incredible. You can see the color on left side of the fence in the picture below. There was almost a hint of purple to it.
Planing to Rough Thickness
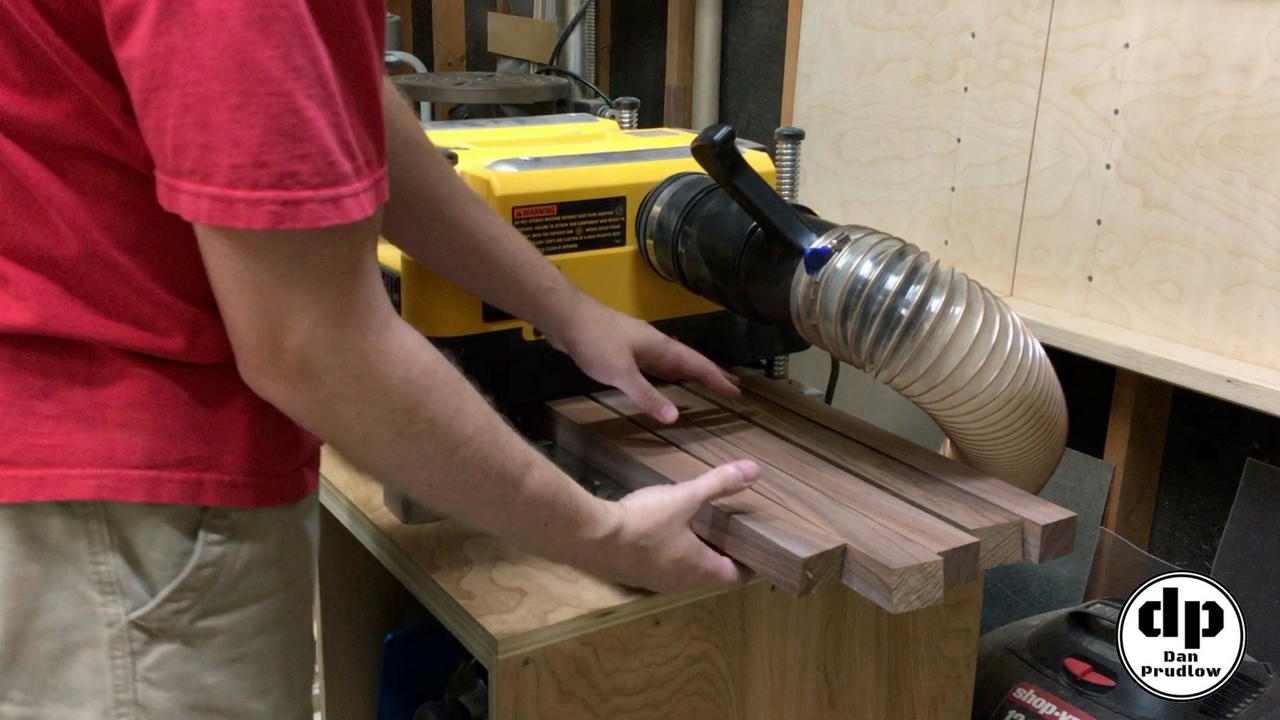
Next I took the parts over to the planer. I planed the cherry down to about 1/4 inch and the maple to about 1/2 inch and the walnut to 1 5/8 inch. Since all of the pieces will be turned on their edge the above thicknesses will actually be the width of boards in the final assembly. Back at the table saw once more I cleaned up the remaining rough edge to get the parts ready for glue-up.
Gluing Strips Together
The next step in the cutting board build was to glue all the strips together in the proper order. I first laid the parts out and put them in the order and direction that looked the best to me. Once I had them looking good I marked across the surface with a pencil making a triangle. This will give me reference marks to line up after adding glue. The glue up is pretty straightforward here. Spread a good amount of glue on the surfaces and clamp them together. I used a caul on each side to prevent the clamps from leaving any marks. This also helps to more evenly distribute the clamping pressure. I also added smaller clamps across some of the joints on the ends. This was to prevent them from slipping when pressure was applied to the larger parallel clamps.
Planing to Final Thickness
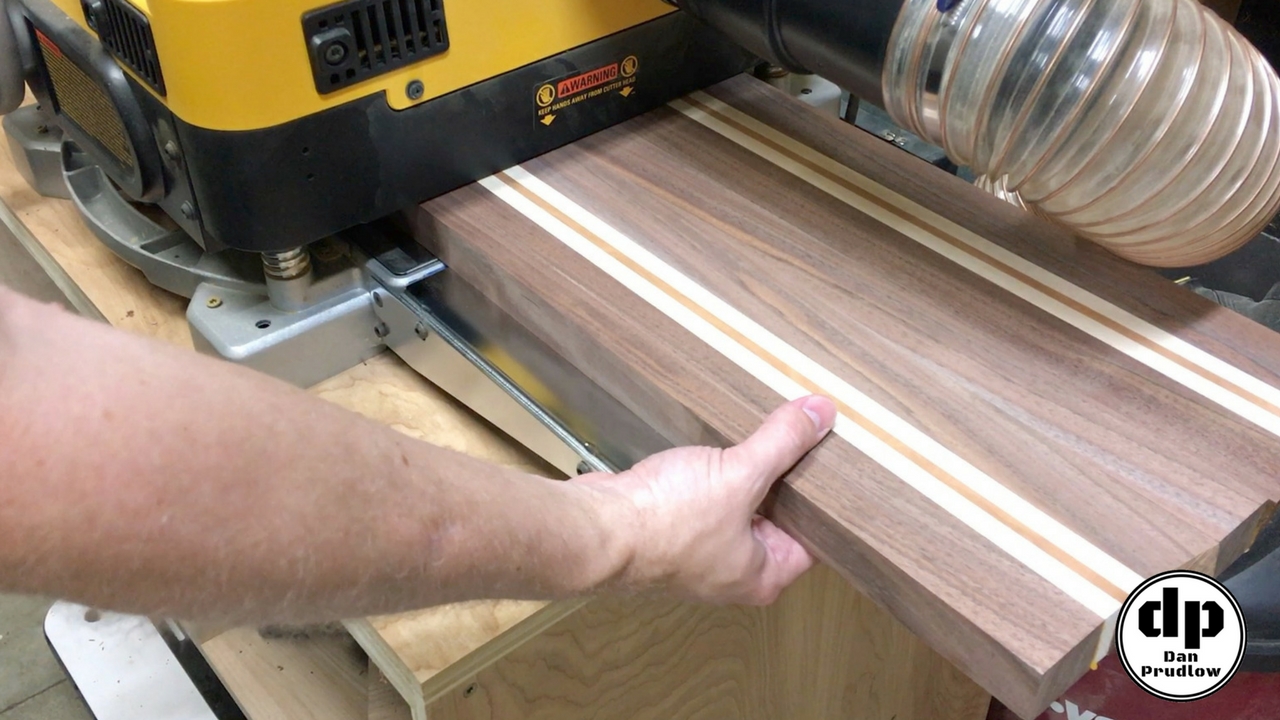
I left the board to dry overnight and after removing the clamps the next day I used a scraper to remove as much of the glue squeeze out as possible and get the board sitting flat on one side. The maple and cherry sections were a little thicker at this point which actually worked to my advantage as it gave the board something smooth to ride on going through the planer until I had the bottom surface nice and smooth. Next, I flipped the board over and took light passes until I had a nice clean surface.
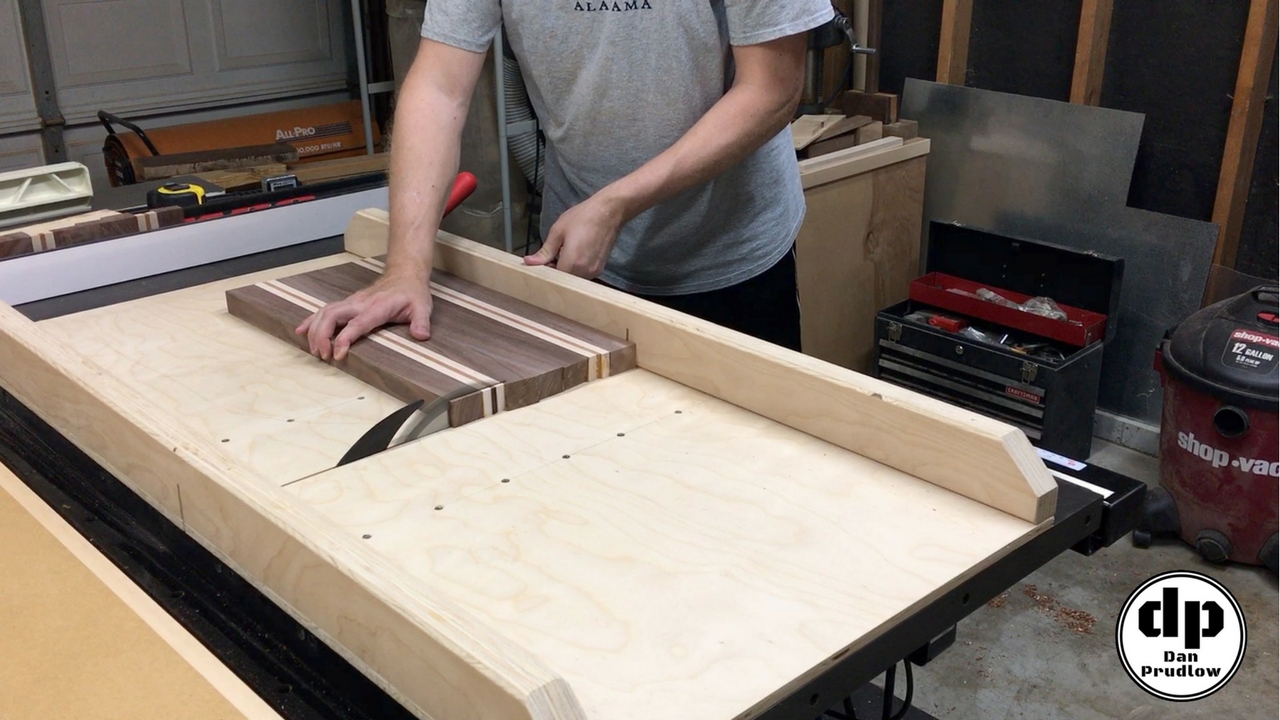
With the board nice and flat I took it back over to the table saw and used my crosscut sled to trim each end and get the board down to it’s final length of 20 inches.
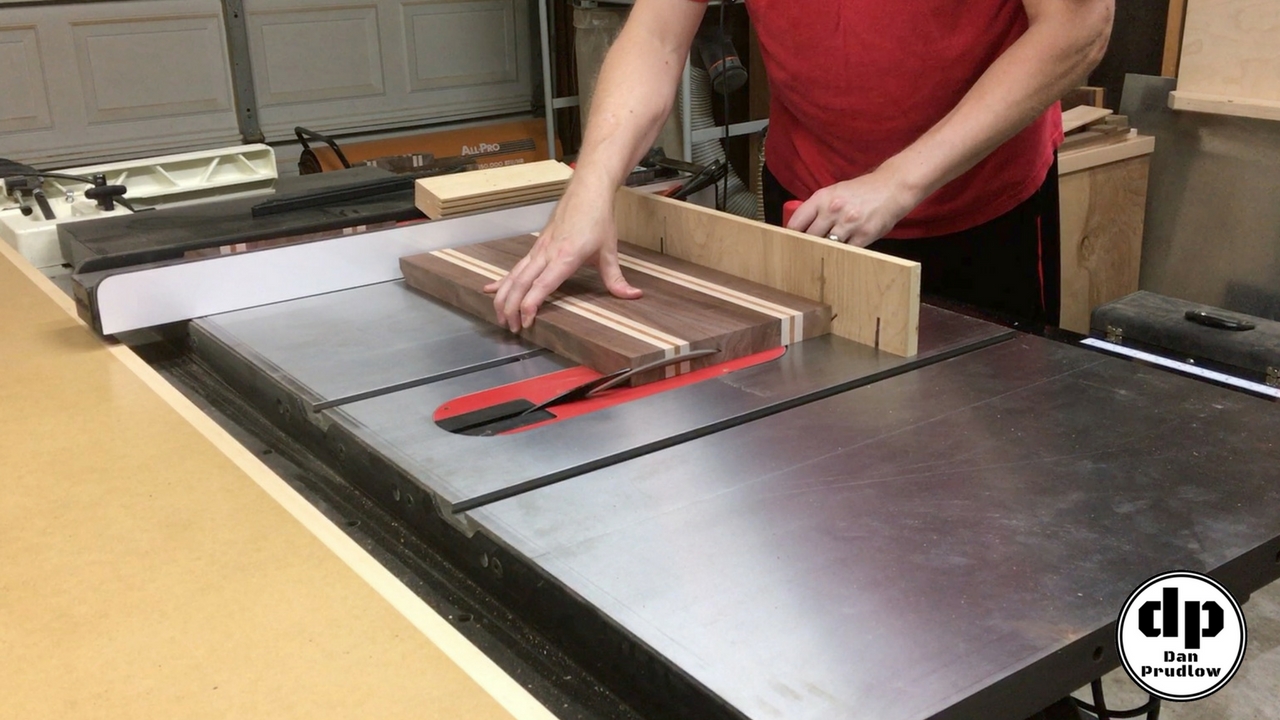
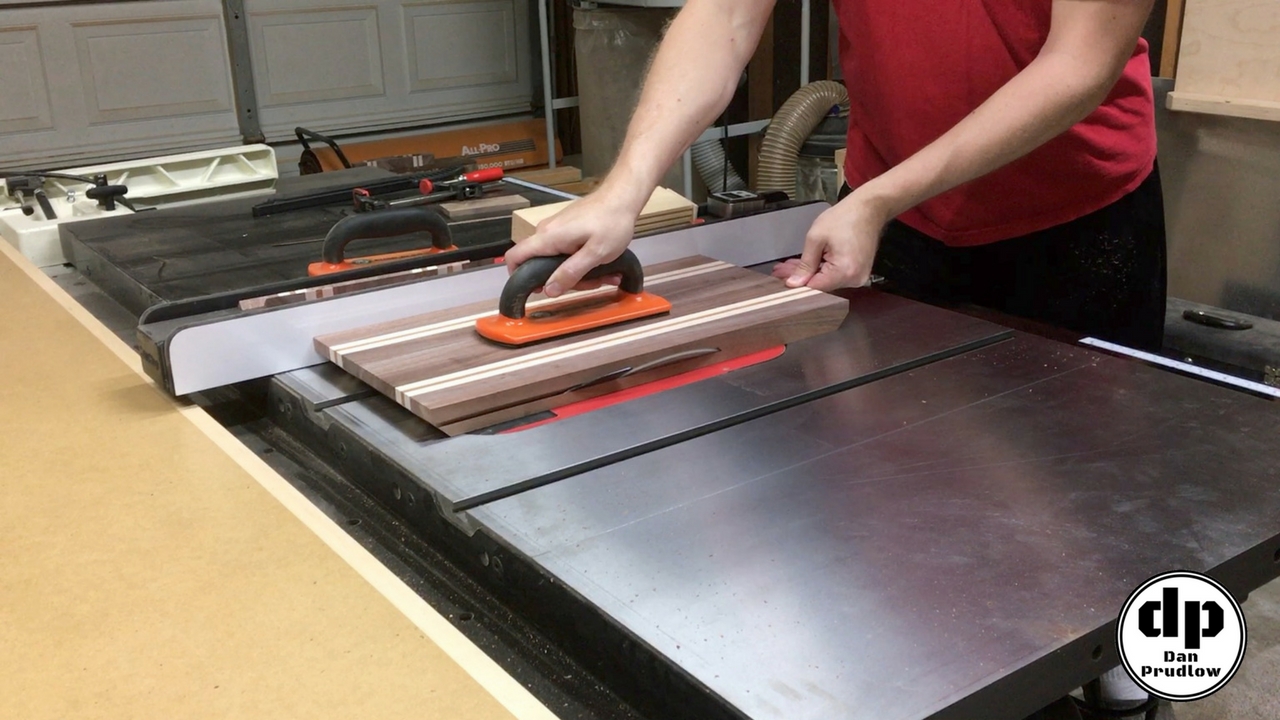
Adding Bevels & Chamfers
Now that the board was down to it’s final dimensions it was ready for some decorative bevels. I used my miter gauge with a sacrificial fence to cut 45 degree bevels on the underside of the board. It’s a good idea to make the end grain cuts first to avoid blow out and then use the fence to make the long grain cuts. Next I took a series of light cuts as I slowly crept up on the cut until I had the two bevels meeting perfectly at the corners.
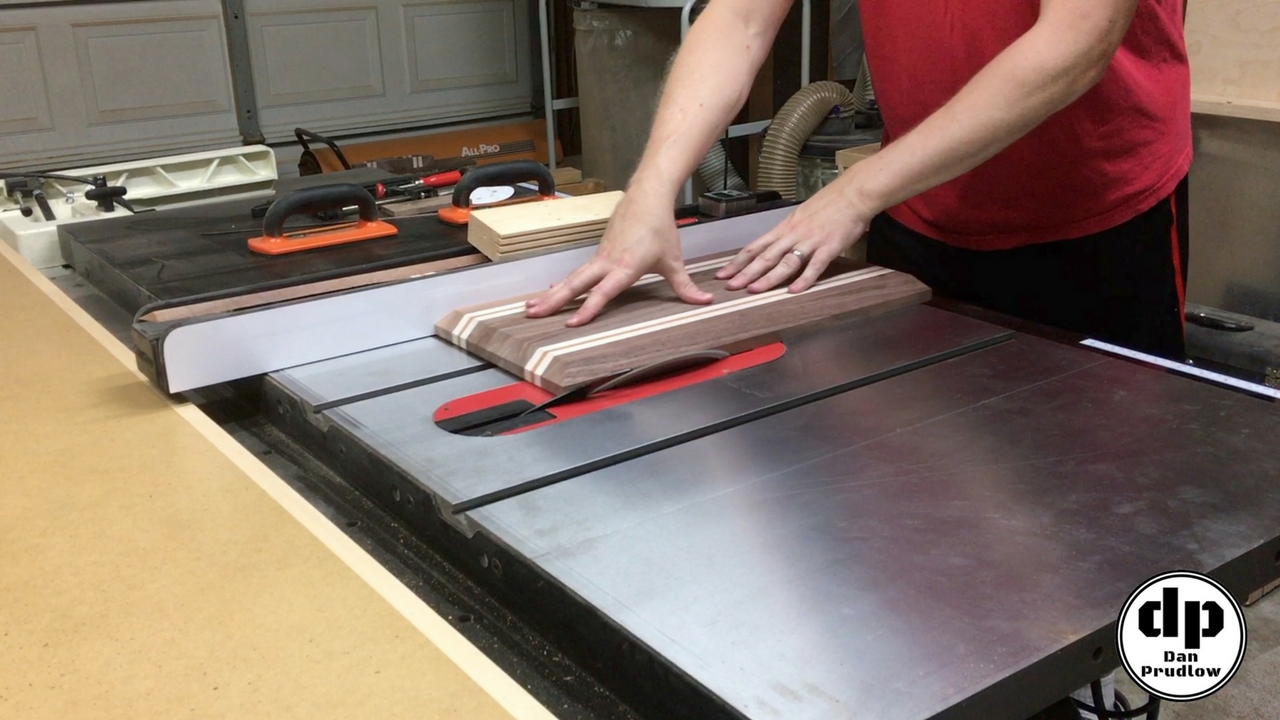
Little Details Make the Difference
To add a little more visual appeal and to knock off the sharp edges on the top. I flipped the board over and added about a 1/8 inch chamfer to all the top edges. This step could also be done with a router or block plane. I already had the table saw set up at 45 degrees so that is what I used.
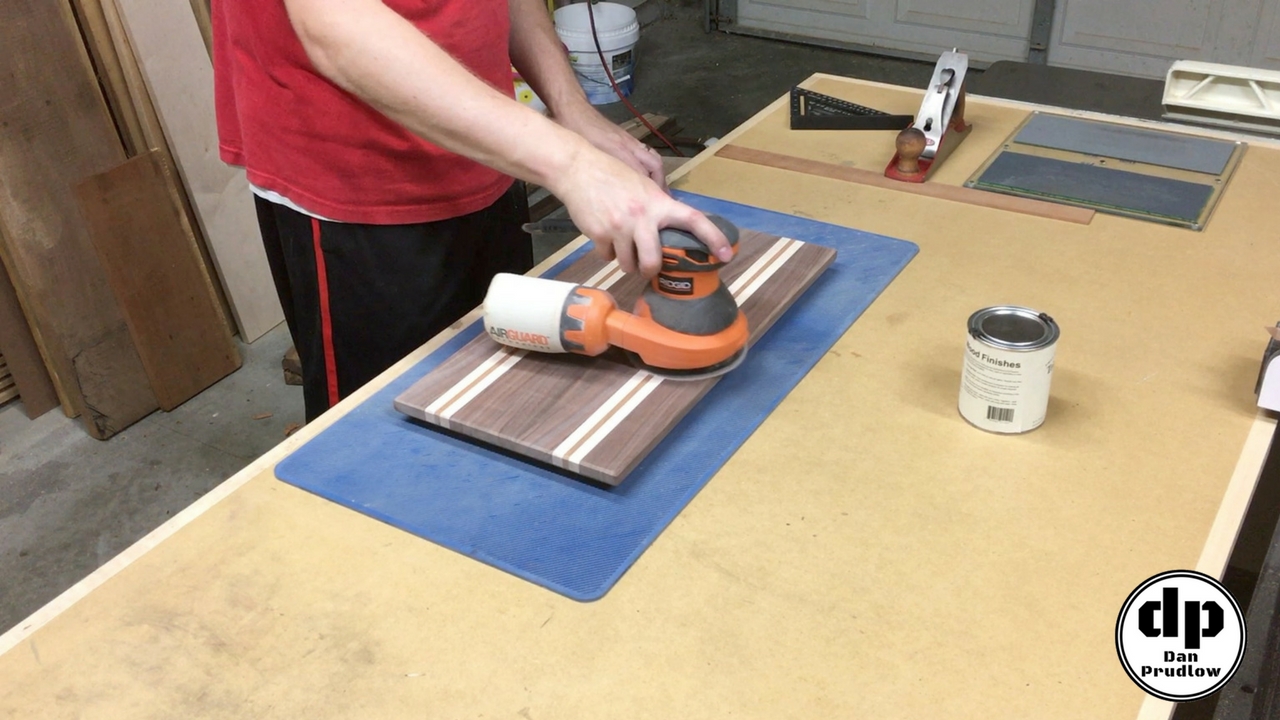
Following the final shaping I sanded all the surfaces starting with 120 grit, then 180, then 220 on the random orbit sander. I followed that with a light sanding with 320 grit by hand.
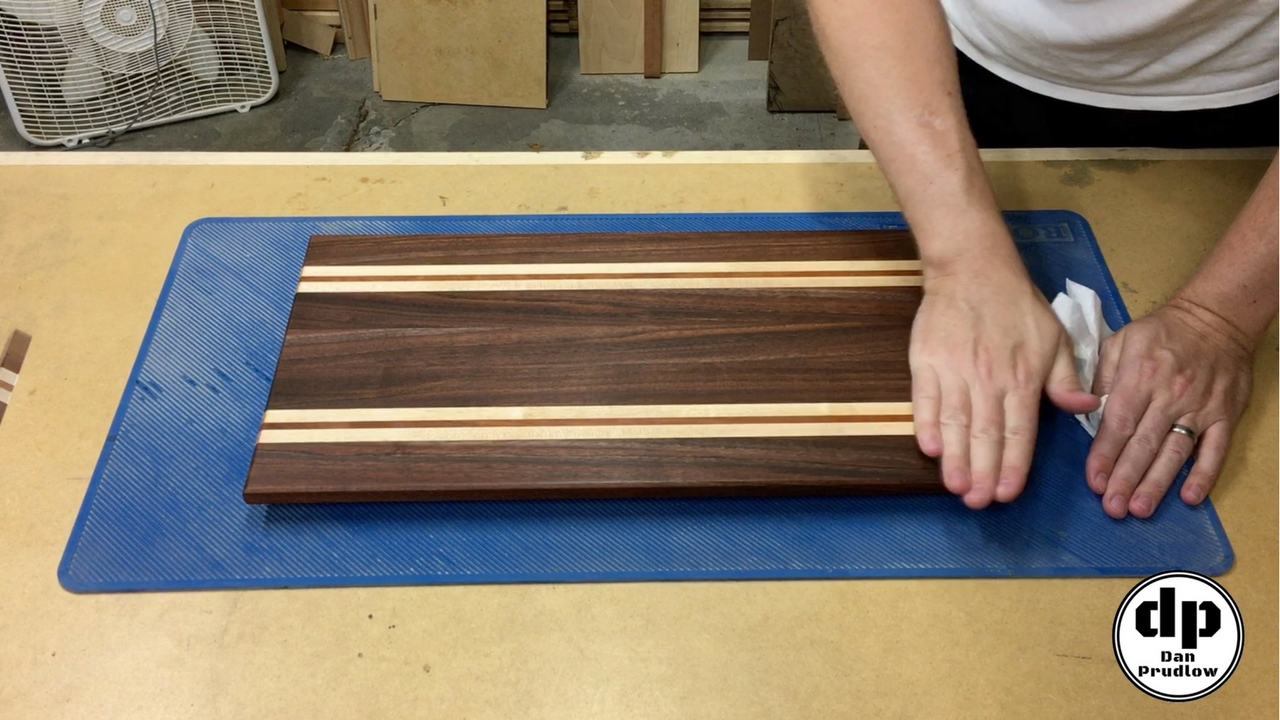
Applying the Finish
Now to apply the finish! For this cutting board build I applied 5 coats of Tried & True Original Wood Finish. It is a time consuming process but the results are worth the effort. For each coat you apply a thin layer, let it sit for an hour, then wipe the surface clean with a fresh rag. The finish then sits for 24 hours before rubbing it out with 0000 steel wool and then applying the next coat. The final result is a super smooth and even finish with just a little sheen. Most noteworthy is that the finish is food safe and contains no toxic chemicals so you don’t have to worry about the fumes or wearing a respirator while working with it.
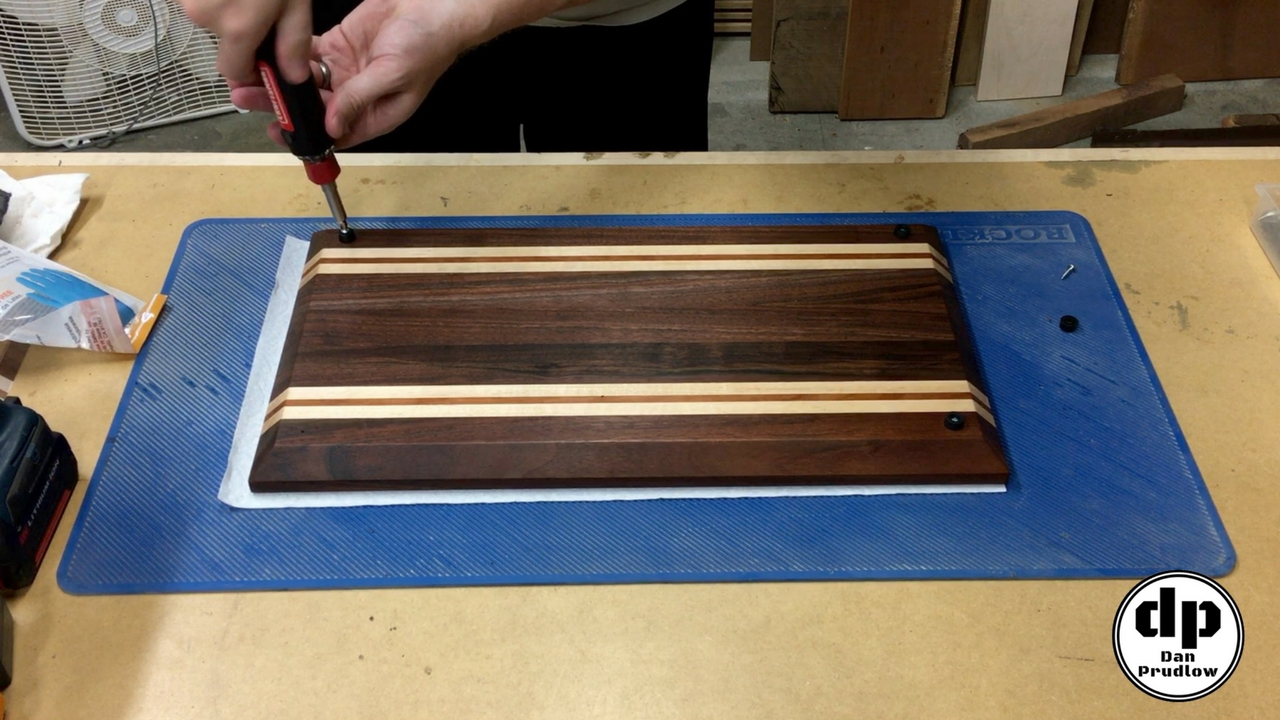
Final Details
I finished the board off with some small rubber feet that I picked up at Rocker. I drilled a small pilot hole and then drove the screws in by hand so there was no chance of striping them out or slipping with the drill and damaging the board.
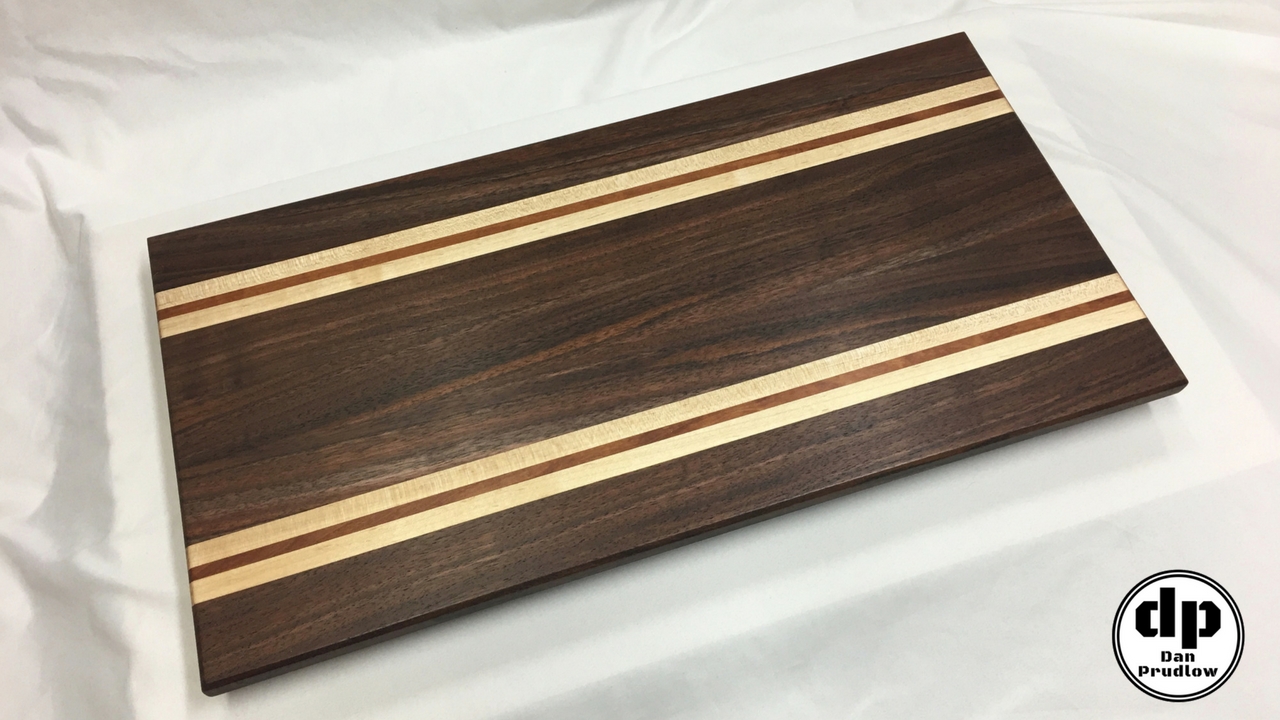
That’s a Wrap
The cutting board build is now complete! I really enjoyed this build. In conclusion, the board turned out looking really incredible with the finish and the colorful grain in the walnut. I think the only thing I might do different if I built this again would be to only have one set of the maple and cherry accent pieces offset to one side.
If you have any questions or comments leave them in the comments section below. You can also find me on Twitter and Instagram or you can send me a message via the contact page. Also, please be sure to get subscribed to my YouTube channel so you don’t miss any future builds!
You can find links to many of the tools, accessories, and finish products I use in my shop over on my Tools & Resourcespage.