Circular Saw Guide – How to Make a Circular Saw Rip/Crosscut Jig

Why Should I Build one of These Jigs

A circular saw is one of the most basic woodworking tools.  It is a great tool to use when you are getting started in the craft.  The trouble is that these saws on their own are not going to make very precise cuts.  This can be a problem if you are trying to build some sort of cabinet or other project that requires cutting large workpieces.  Short crosscuts are manageable with a carpenter’s square. Long long rip cuts are another story.

What Are My Options

You could spend several hundred dollars on a track saw.  If you are on a budget that’s usually not the best way to spend your tool funds.  Another option is to use some sort of straight edge.  You would then need to measure the offset from the blade to the edge of the base of the saw.  Then you have to make sure you offset your straight edge so that your cut is in the right spot.  It’s doable but takes a lot of time to set up correctly.

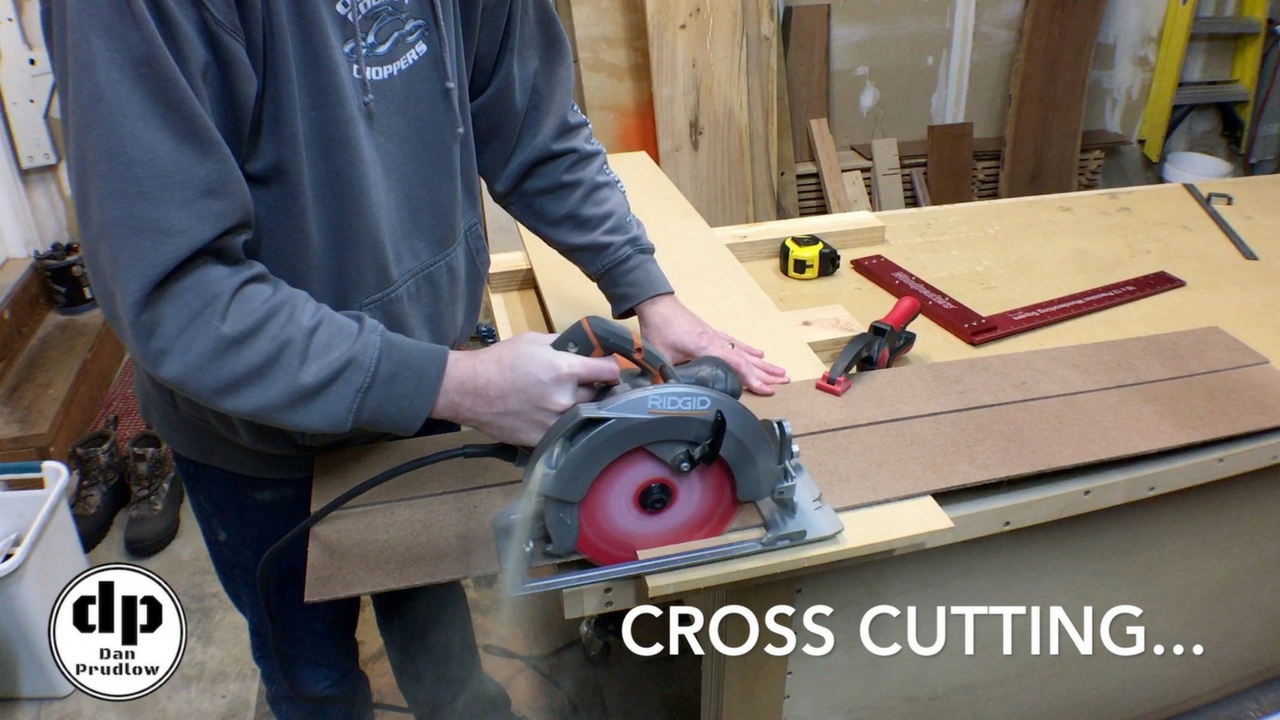
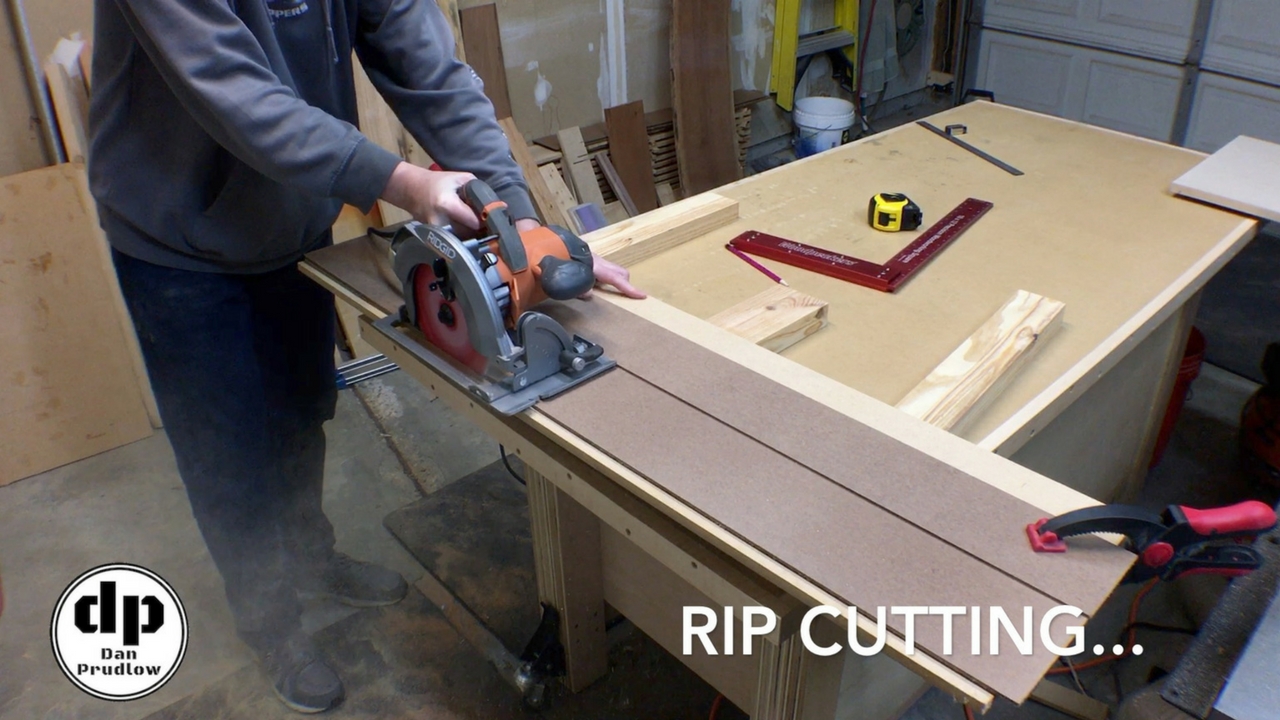
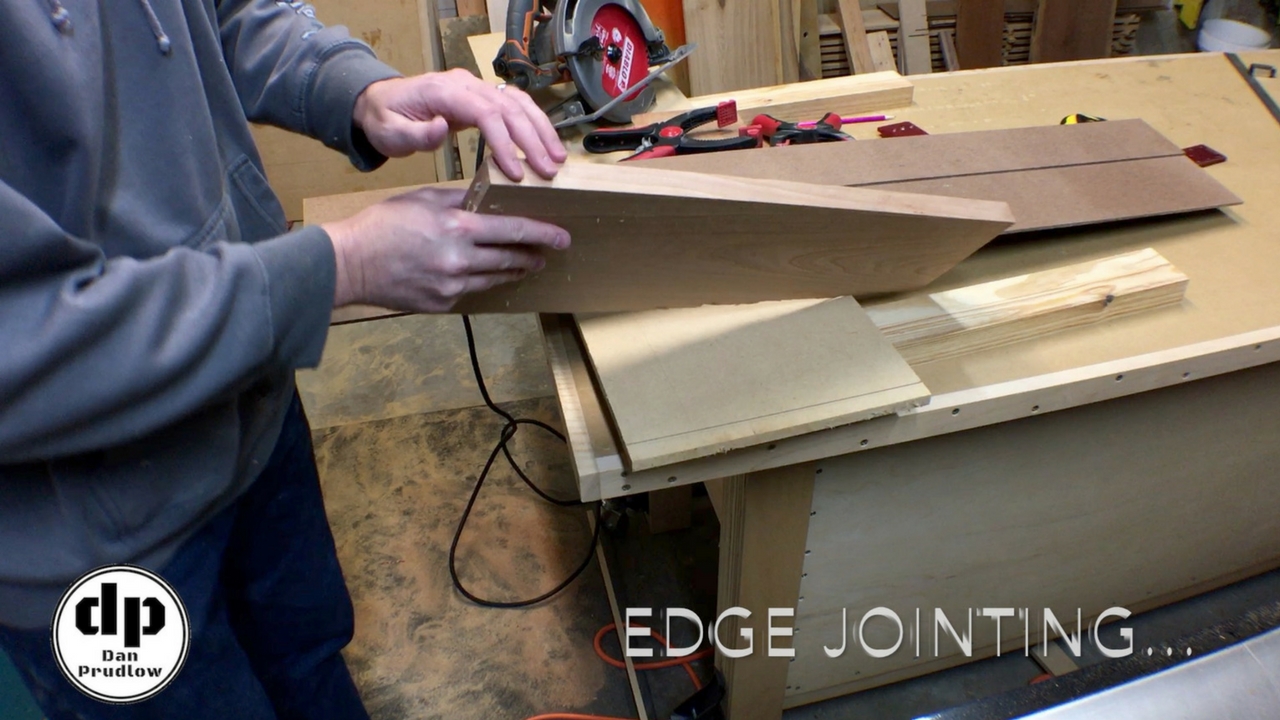
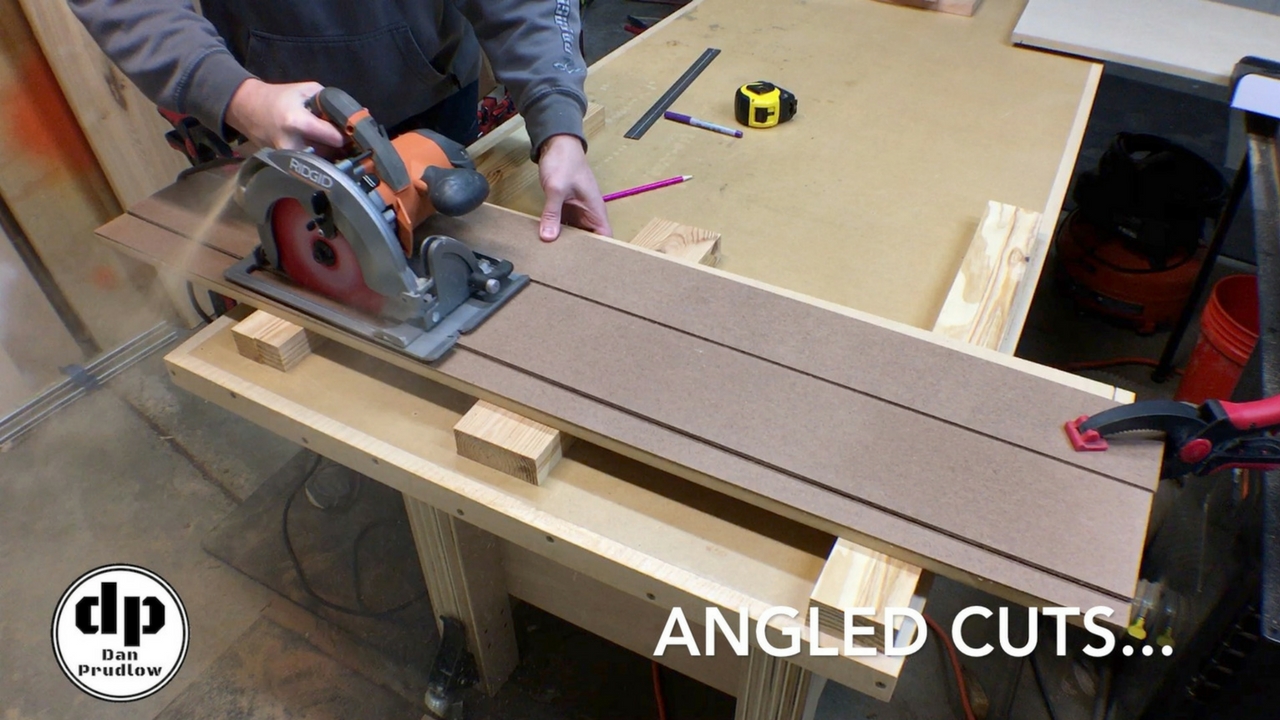
The best option in my opinion and the one we’ll cover in this video and article is to make a circular saw guide.  With this setup all you need to do is mark your cut measurement.  You then line up the jig on the marks, add a couple quick clamps and make your cut.  With a good sharp blade you can get clean, tear out free cuts that are very accurate and repeatable.

Let’s Build a Circular Saw Guide

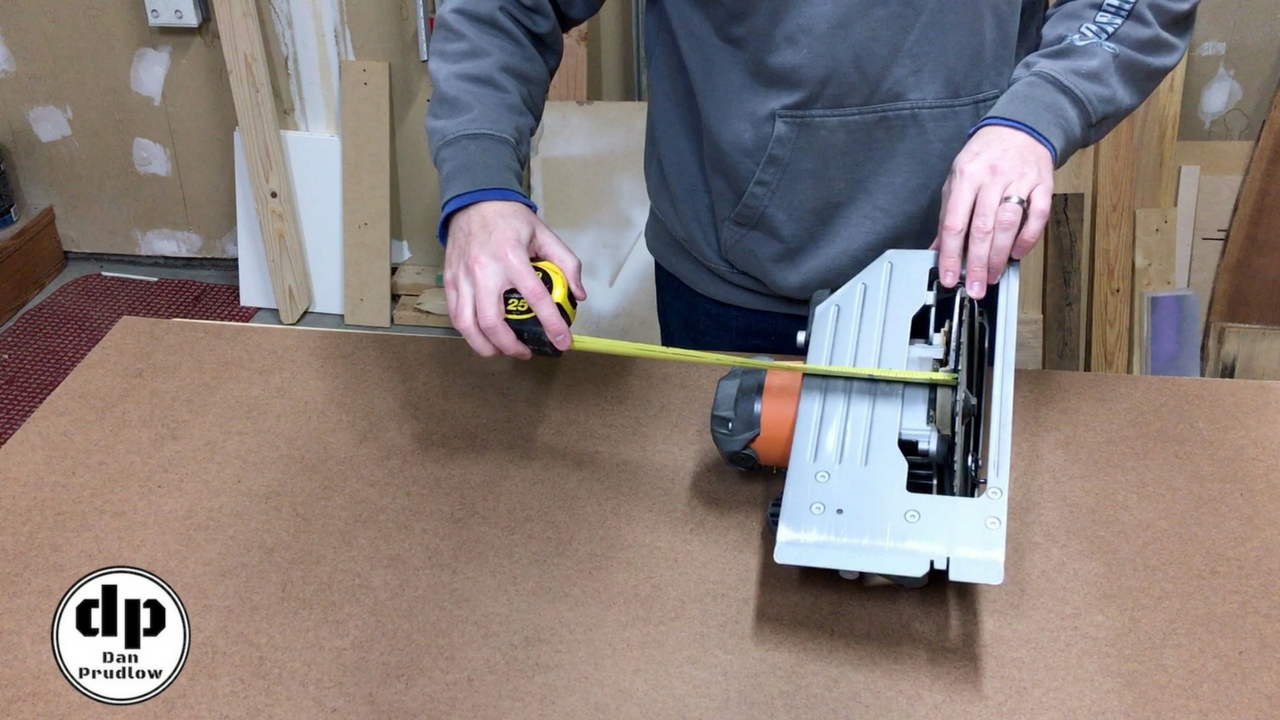
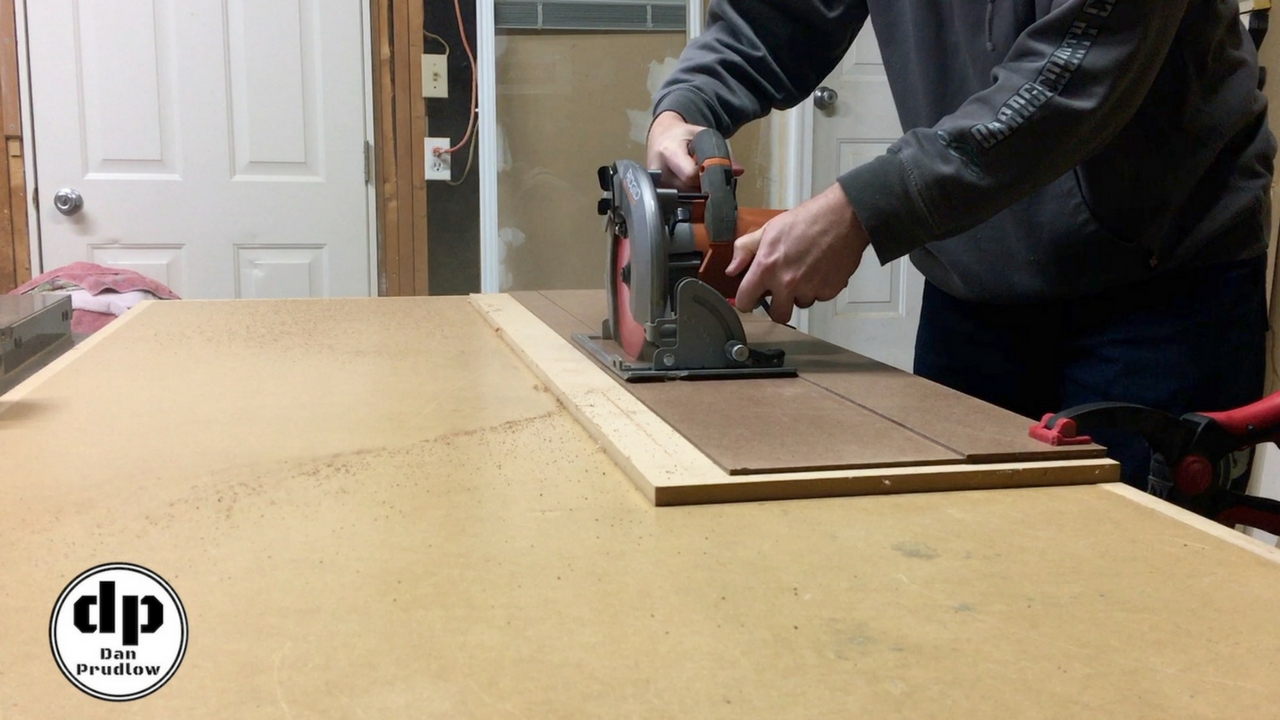
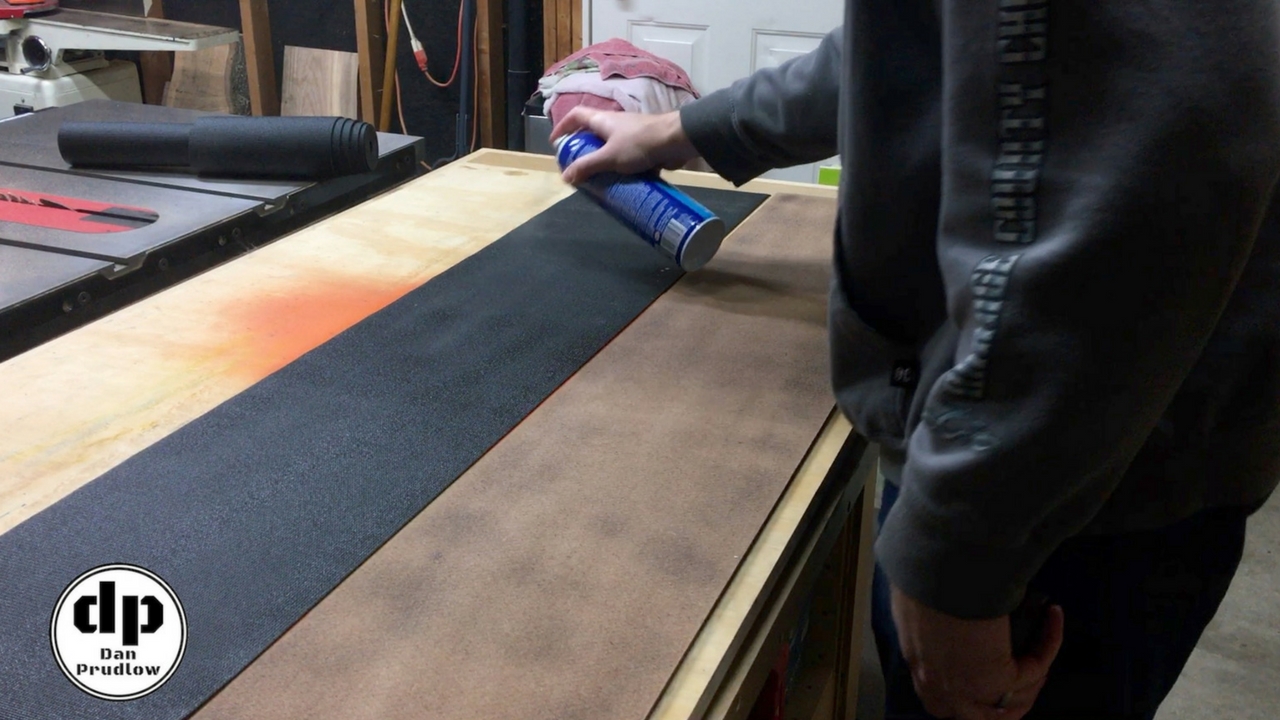
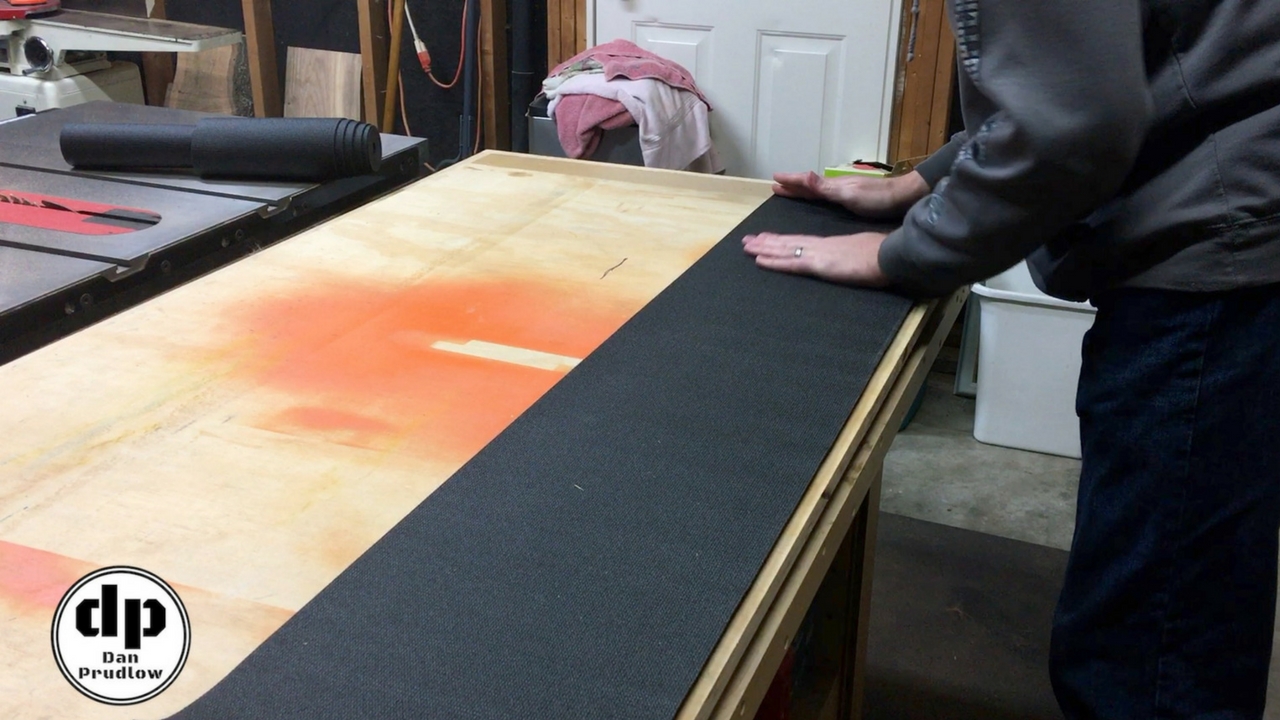
For this circular saw guide build I picked up a 2 foot by 4 foot sheet of 1/8 inch hardboard.  I also grabbed some construction adhesive and some non-slip toolbox drawer liner.  The first step is to take some measurements of the saw.  You want to make sure you have enough clearance on the motor side to give you room to clamp the guide in place.  For the overall width you will want to make sure the piece is wide enough to glue the guide piece on and still have at least 1/4 inch or more material beyond the saw blade.  This will allow you to make a perfect zero clearance cut that will always provide an exact reference to where the blade will cut.  If this doesn’t make sense don’t worry, it will become clear later in the build.

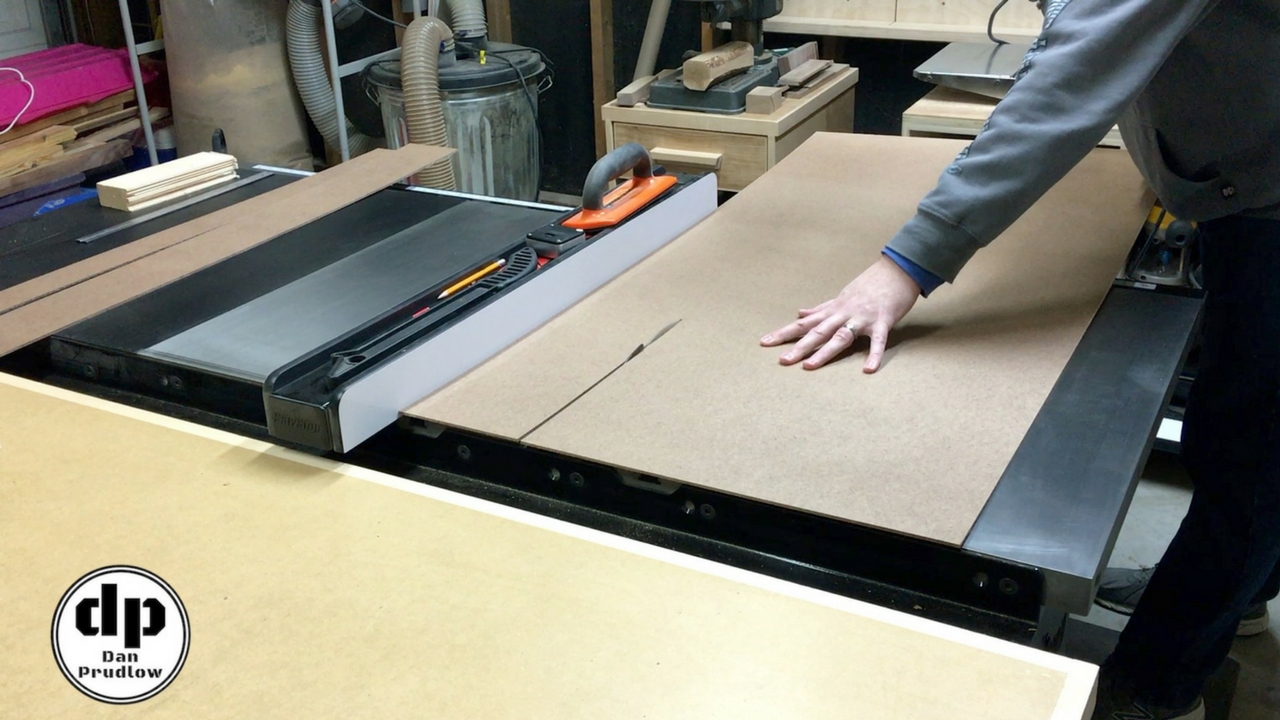
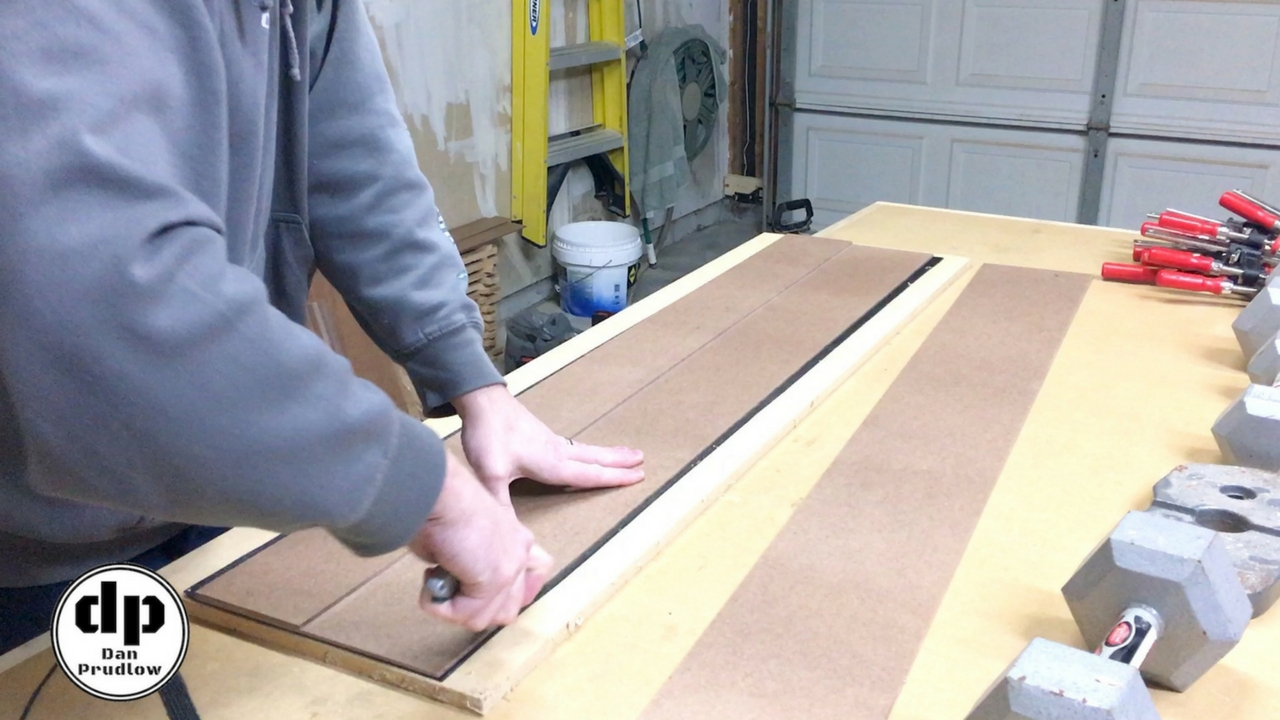
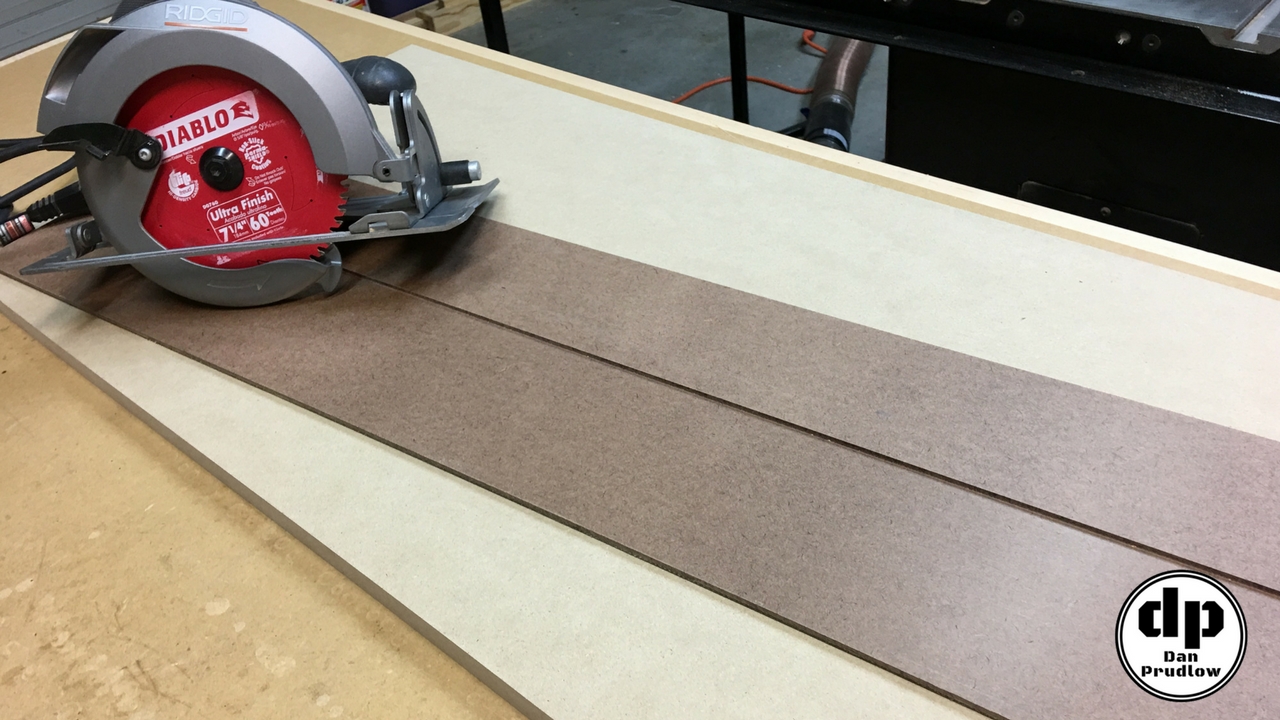
Now we’ll move over to the table saw and cut our parts.  I first cut the narrower piece that will act as the guide fence.  I then cut the larger piece that will serve as the base.

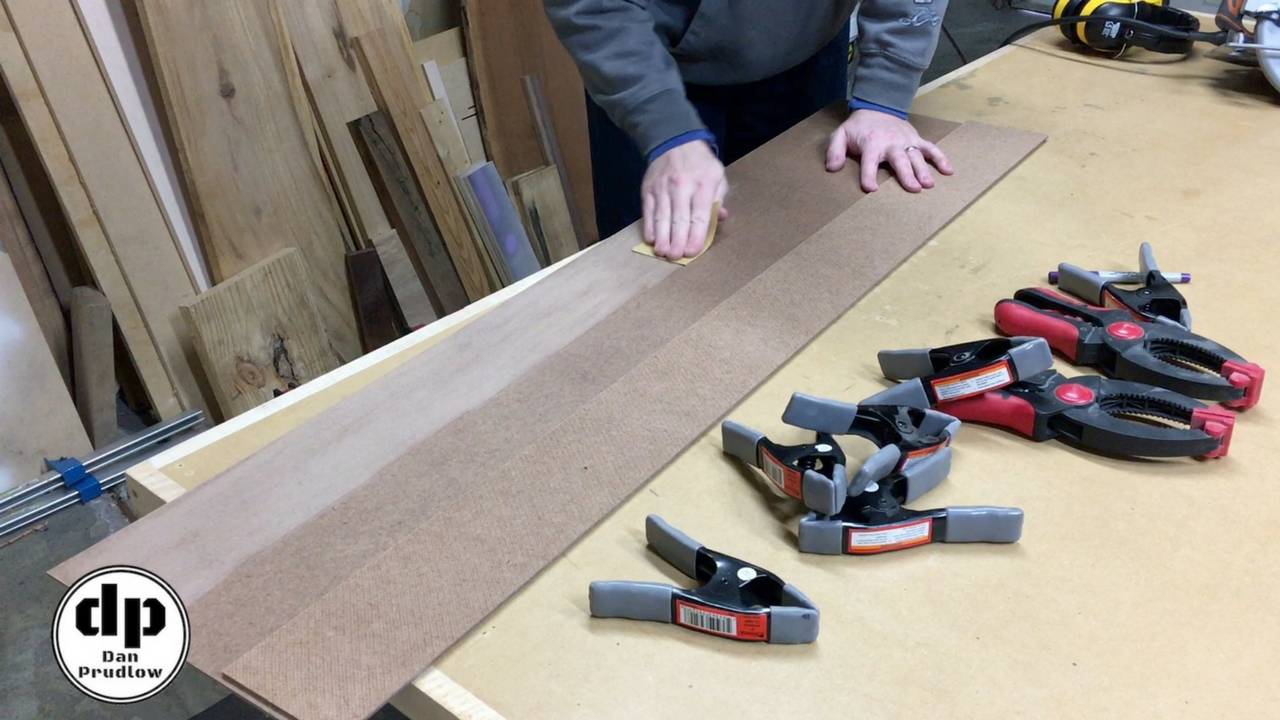
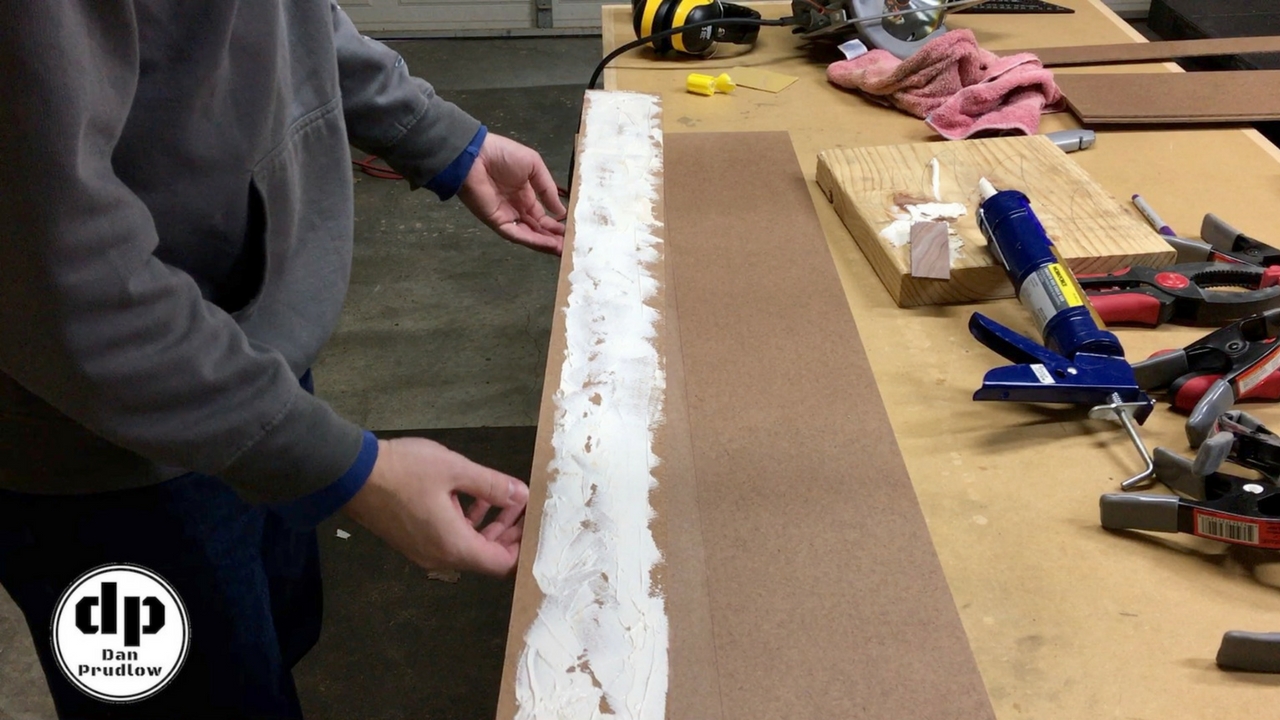
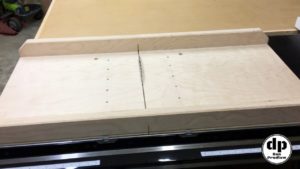
With the pieces cut I used the narrower piece to mark a line on the wider base.  This line indicates where the pieces will be glued together.  I used some 150 grit sandpaper to take the shiny surface off prior to adding glue.


Assembling the Parts

Next I applied a layer of construction adhesive to the back of the narrower fence piece of the circular saw guide.  I spread a thin layer with a scrap of wood.  You will want to make sure to get glue close to all the edges but don’t apply too much.  You don’t want a bunch of squeeze out getting on the surface of the base where the saw will ride.  Add some clamps and let it sit overnight to cure.  You may want to lay another thicker board such as a piece of plywood or MDF over the glued sections and add then add the clamps.  This will distribute the clamping pressure more evenly across the parts.

With the circular saw guide out of the clamps we’re just about done.  Check the outside edge to see if the parts slipped.  If there is any squeeze out, remove it.  If the parts slipped I would recommend running it through the table saw.  Take off a blade width or less to clean up that edge.  This edge being straight and parallel to the other will be handy when squaring up the guide with a framing square or carpenters square.

Making the First Cut

Now it’s time to make the first cut to establish our zero clearance edge.  Lay the circular saw guide on top of another piece of scrap plywood or MDF and clamp it in place.  Now set the depth of cut on your saw just deep enough to cut through the saw guide.  Don’t cut all the way through your scrap underneath!  Position the saw against the guide fence and make your first cut.  Be sure to keep the base plate of the saw firmly against the guide fence.

Once the cut is made grab some 150 or 220 grit sandpaper and go over the cut edge gently, just enough to take off the sharp edge.  You could do the same to any other sharp edges at this time if you choose.


Bonus Feature

To help keep the circular saw guide from slipping around a lot during use we’ll now add a layer of non-slip toolbox drawer liner to the bottom.  Home Depot carries a role for about $10 and there is enough in the role for multiple guides.  You may want to make various length guides to have on hand.  Cut a piece of the drawer liner about 1/8 to 1/4 inch oversized on all sides of the guide.  Apply spray adhesive to both surfaces.  I used Loctite brand and I would recommend using the Professional Performance for Heavy bonding.  If you watch the video you will notice I used General Performance.  It started to peel off after a week or so just sitting in the shop.  I reapplied the professional formula and it is a much more solid bond.

With both surfaces coated, let it sit for a minute or two to partially dry and then press the surfaces together.  I laid the drawer liner on the saw board and worked back and forth pressing the liner down onto the board.

You may or may not want to clamp a board down on top of the saw guide to keep the liner pressed onto the saw guide until the adhesive has had some time to cure.  I did this with the light duty adhesive and it still came loose…I didn’t bother doing so when I went back and used the heavy duty adhesive and it worked just fine.


Cleaning Up the Edges

Once it is dry use a utility knife to trim the excess material off around the edges.  With the edges trimmed the saw guide is now complete and ready to use.  In the video and in the pictures below I show just a few uses for this guide.  You will probably get the most use out of it breaking down large sheet goods into smaller, more manageable pieces that you can take over to the table saw.  Or you could break things down to final dimension with the guide alone.  This particular guide is 48 inches long so it will stretch the full width of a standard 4’x8′ sheet of plywood.  In the future I will probably go back and make at least two more of these…one 8 foot and one 2 or 3 foot for smaller workpieces.


A Few Sample Cuts

Here are two pictures using the guide to edge joint a piece of hardwood.  In the second picture you can see just how straight and clean the cut is.

And finally we can use the guide to cut various angles or tapers…whatever you want to call them.  Here I cut a piece 2 inches wide on one end and 1 inch wide on the other.


Project Wrap Up

That wraps up this quick shop project. A circular saw guide like this is really easy to make and very inexpensive when compared with the alternatives.  Even a straight edge guide clamp will cost you more than what I spent on this project.  More importantly, with a good blade like the Diablo 60 tooth Ultra Finish blade, you can make clean accurate cuts with minimal setup time using a saw that you probably already own.

If you have any questions or comments leave them in the comments section below.  You can also find me on Twitter and Instagram or you can send me a message via the contact page.  Also, please be sure to get subscribed to my YouTube channel so you don’t miss any future builds!

You can find links to many of the tools, accessories, and finish products I use in my shop over on my Tools & Resources page.

Thanks for stopping by!

Dan