Cedar Cooler Box – Build a Cooler Box with Cedar Fence Pickets
Project Inspiration
This project was inspired by the cooler box build that Donald at FunWithWoodworking completed on his YouTube channel. Donald’s cooler box video was one of the first woodworking videos I watched on YouTube when I decided I wanted to get more into woodworking as a hobby. Since starting my own YouTube channel I’ve been wanting to do a cooler box build video of my own. I have built a few of these cooler boxes and I made a couple of small design changes that I think give the cooler box a little bit cleaner look overall. I’ll cover those changes in detail below. Links to Donald’s video and website are located at the end of this article if you are interested to see his build.
Material Selection for the Cooler Box
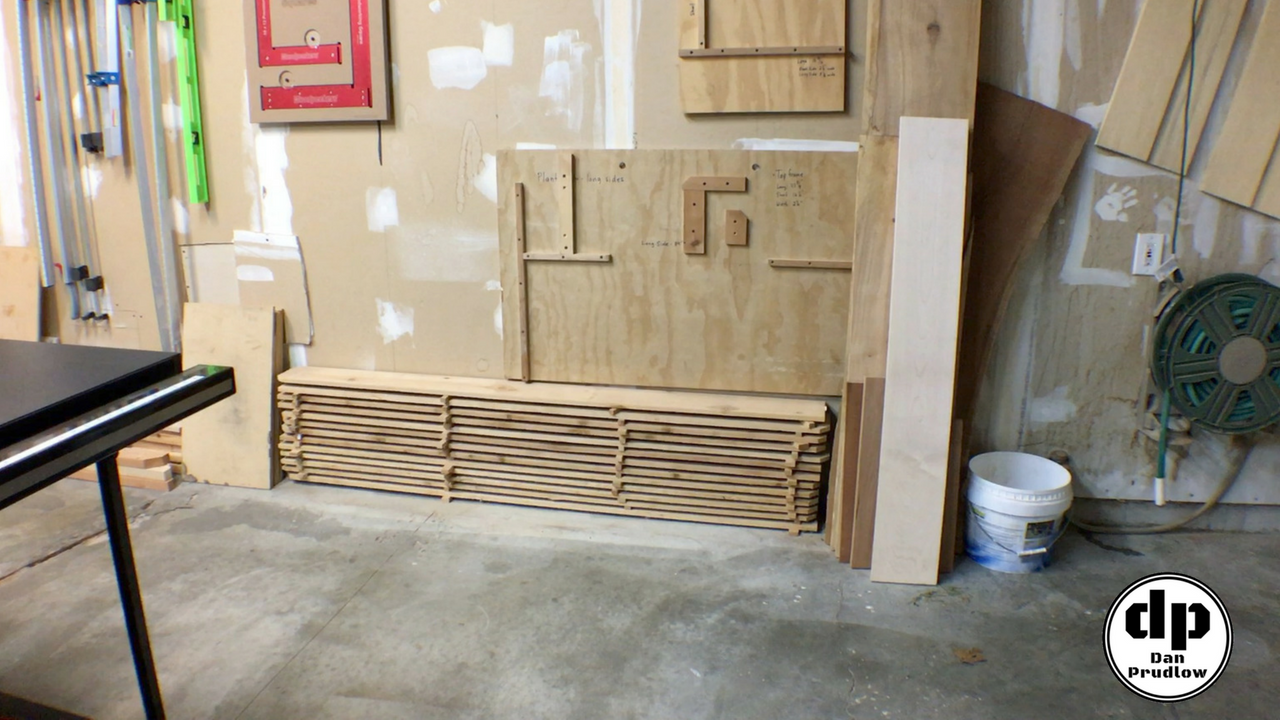
This cooler box is built using cedar fence pickets from Home Depot. I like the pickets at Home Depot because they are usually a full 6 inches wide or pretty close. They are also thicker than what I’ve found at the other home centers. You will need a minimum of 10 pickets but I usually have 12-14 on hand just in case I make a mistake.
When picking out the boards for the cooler box you will want to try to find boards with the fewest knots and cleanest look overall. I also check the width and try to pick only those boards that are 6 inches wide or very close to it. Wider boards will give you about 1/2 inch of width per board to clean up the edges before cutting to final width. Grab the thickest pickets you can find as well! Many times you will find the fence pickets are still fairly wet so you may need to let them sit for a few weeks to dry. The boards are much less likely to bend and warp when they are dry.
Getting Started
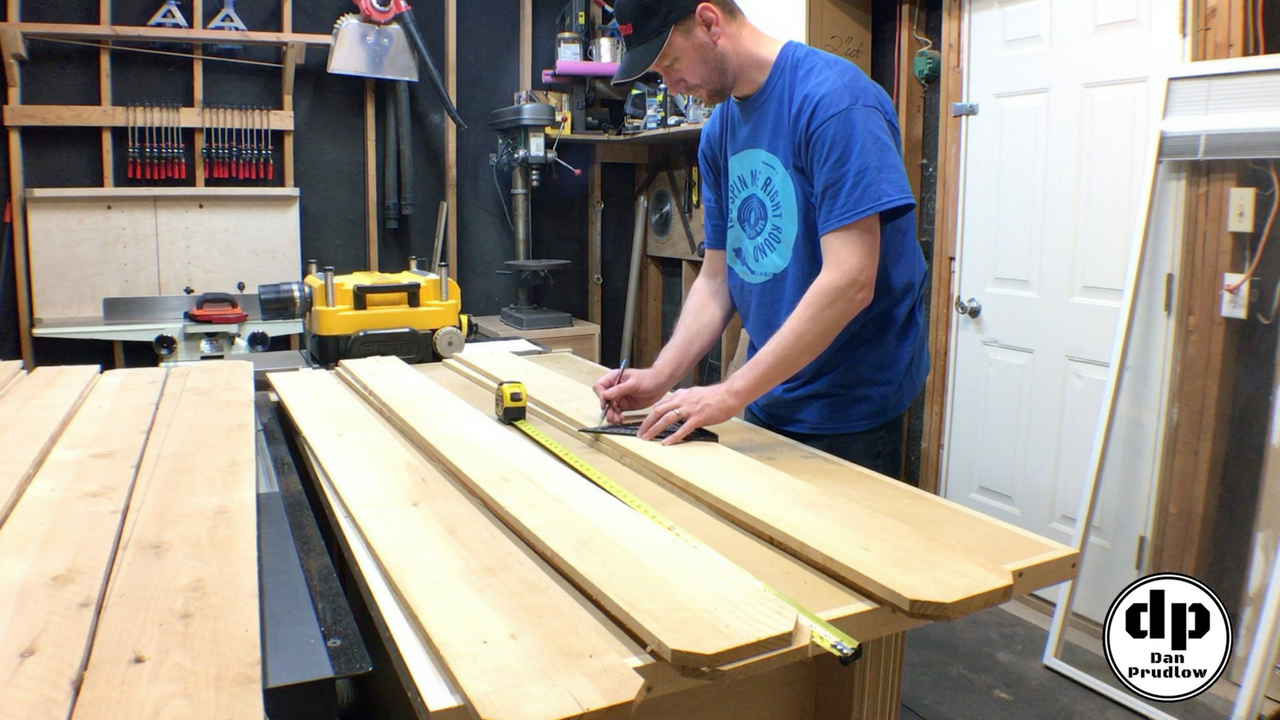
Step one is to break down the material to rough length. My process is to look through the boards and mark each cooler box part while working around big defects. I usually leave at least 1/2 to 1 inch of extra length on each part at this point. Label each part and keep track with a cut list so that you don’t end up missing parts or cutting too many of any one part.
Cleaning up One Edge
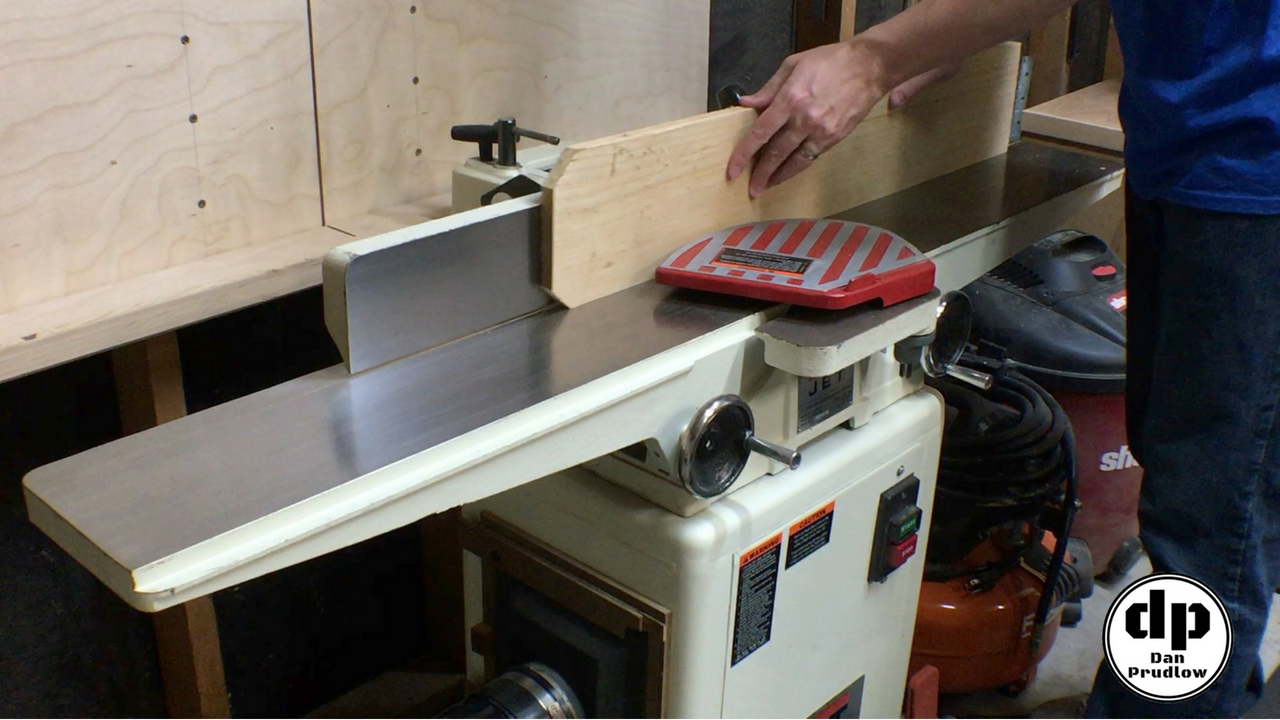
Next, clean up/straighten one edge of each of the cooler box parts. I have a jointer so that is what I used but it’s certainly not a necessity. You could take a few light passes at the table saw, use a straight edge guide with a circular saw, or use a hand plane. The idea is just to get a clean edge to reference when ripping parts to final width. Fence pickets will often have very rough and uneven edges which are not ideal for the table saw fence.
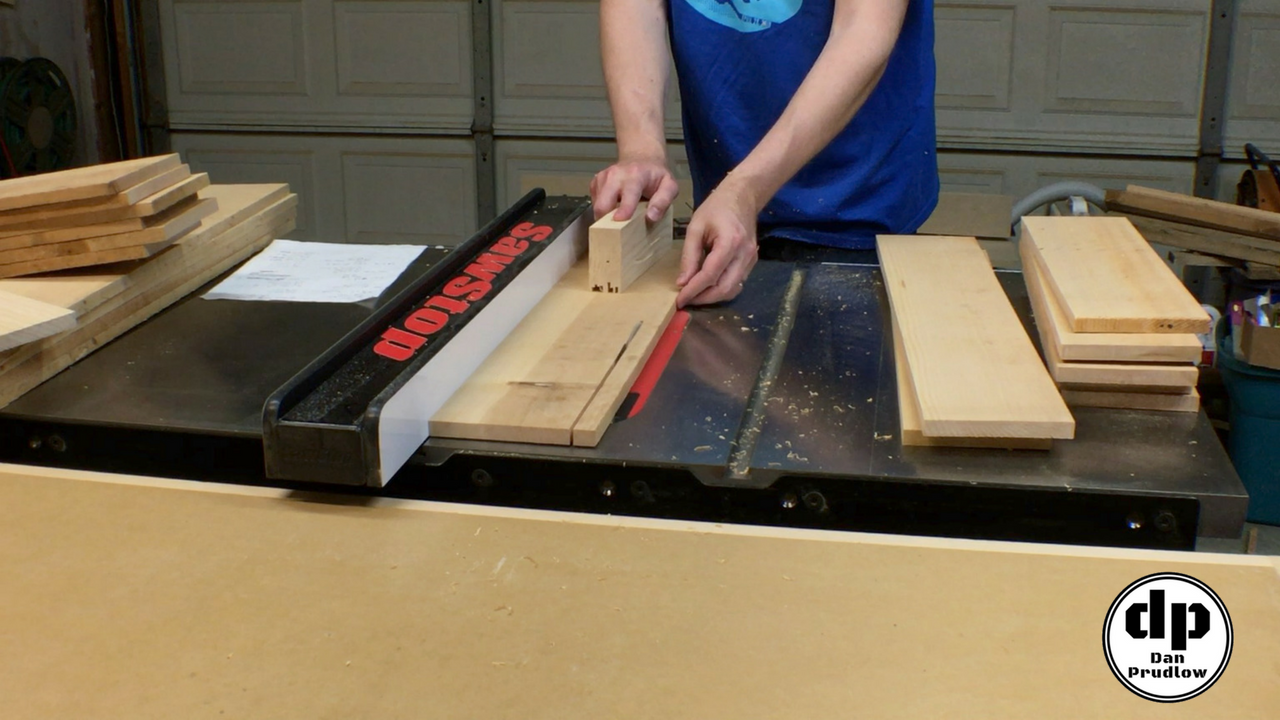
Ripping to Width
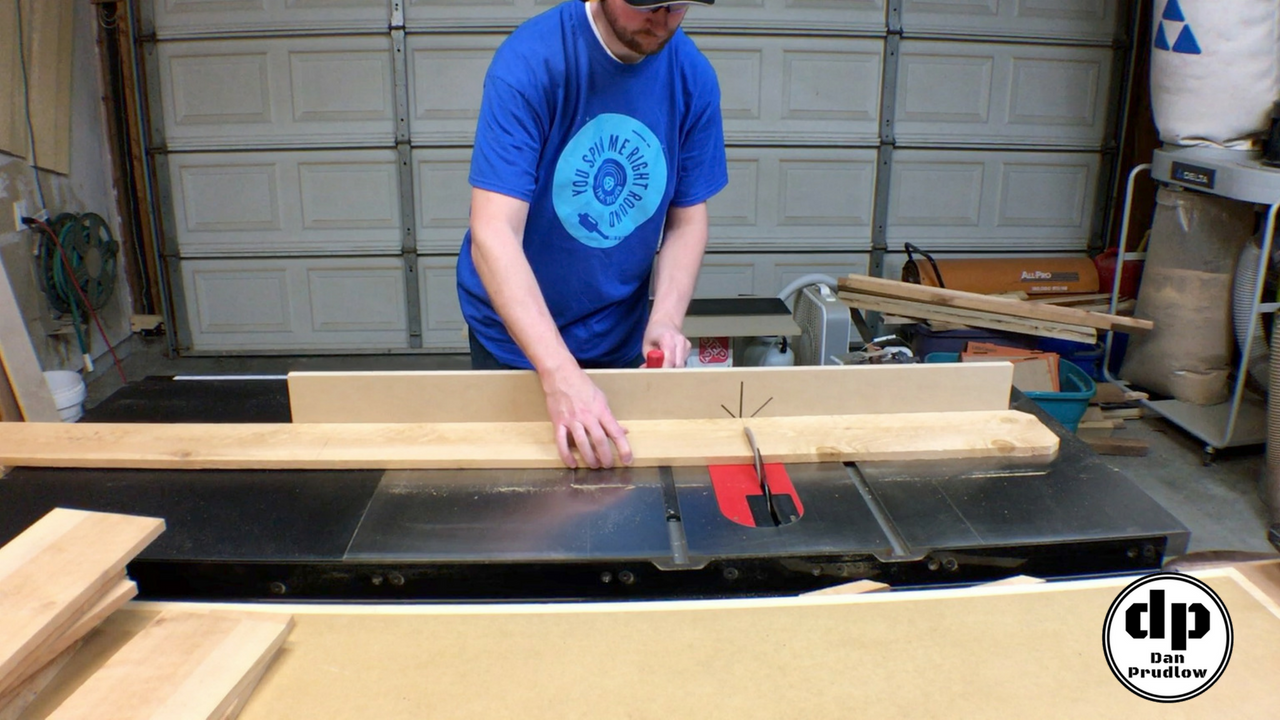
Next, I move back over to the table saw and rip all of the parts to final width. Label everything and keep parts stacked together so that nothing is miss cut or overlooked. The last thing you want to do here is cut something wrong and have to go back and remake something…especially if you don’t have an extra board or two on hand.
**Note:If you plan to recess the bottom like I’ve detailed below the boards for the sides will most likely need to be wider than what Donald’s plan calls for. Unless you find the exact cooler Donald uses you will more likely than not have to adjust the plans slightly. Keep the overall depth of the cooler versus the height of the sides in mind when making adjustments.
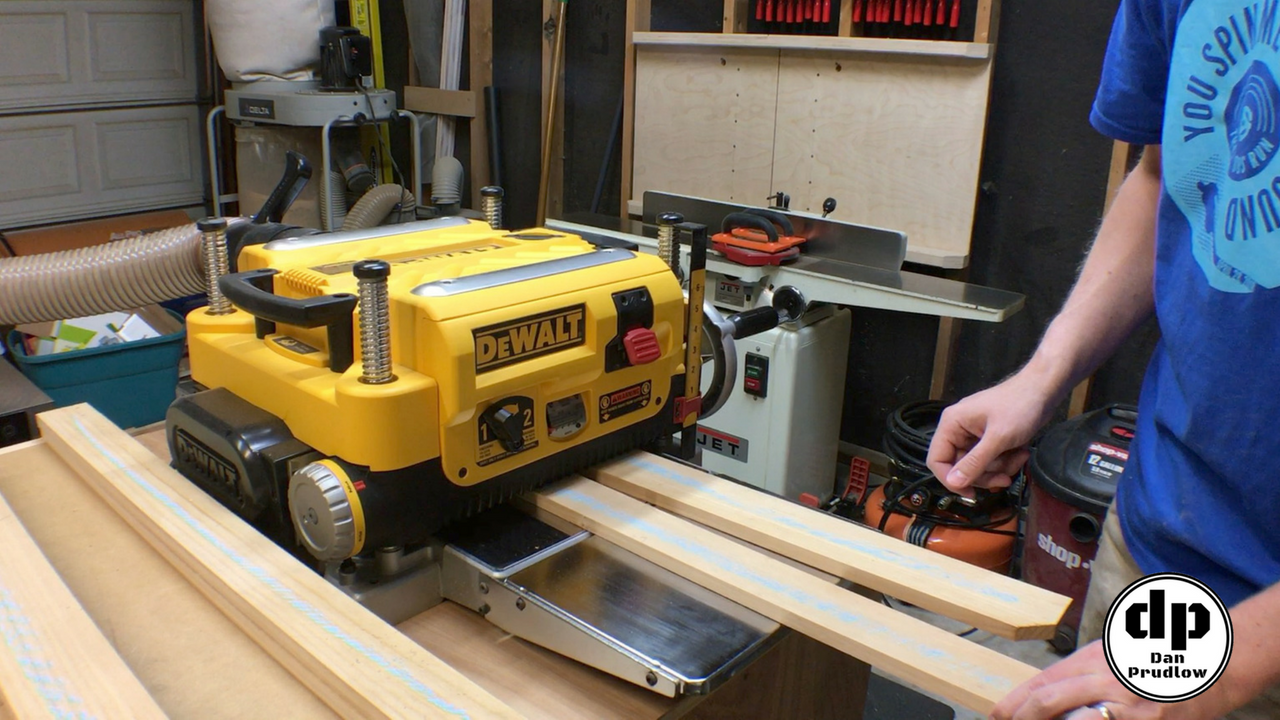
Cleaning up One Face
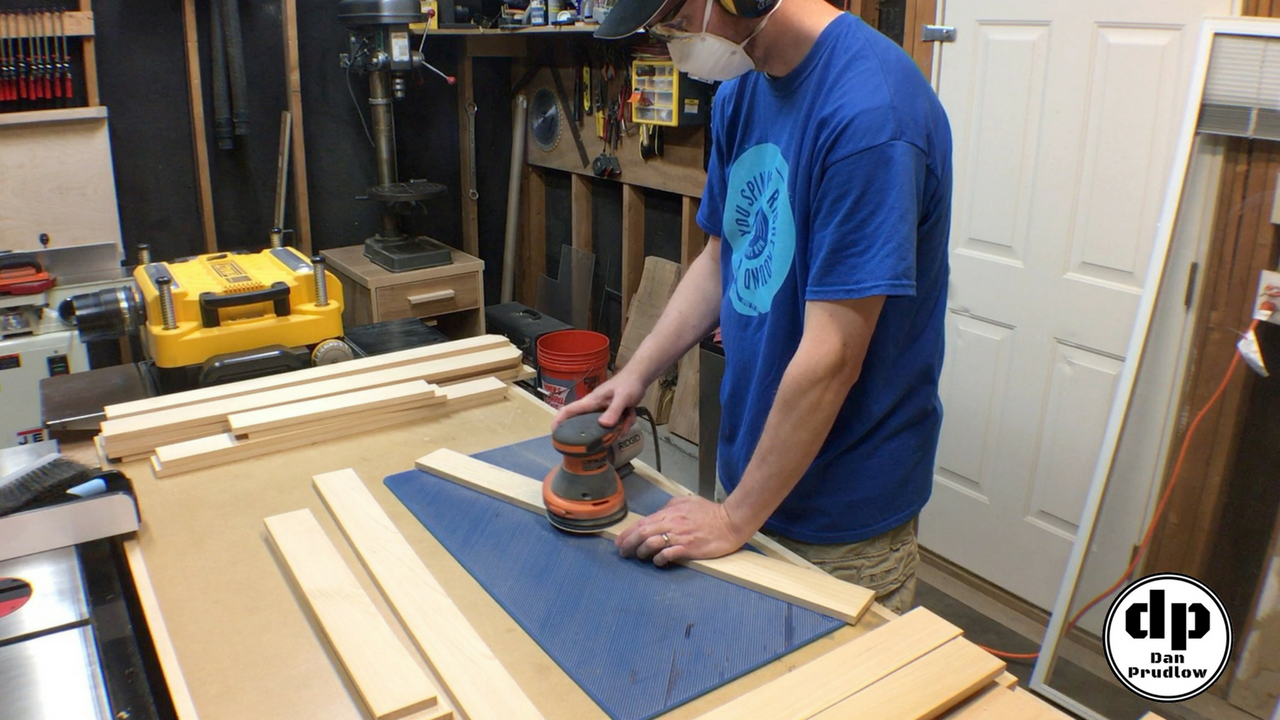
Next, clean up the show face that will be seen once the cooler box is assembled. This step is optional as you could certainly leave the boards rough but I prefer the look of the smooth sanded boards. I used my thickness planner to do the bulk of the work and just took enough off to remove the rough sawn surface.
The only groups of parts that I make sure to plane all to the same thickness are the top mitered frame, the lower shelf parts, and the three slats for the lid. I did not always have a planer and I built a few of these just using a belt sander to take the rough surface down. A hand plane could also be used. Once the rough surface is gone I sand each face with 220 grit to remove any milling marks. Cedar is pretty soft so the 220 grit does the job without removing too much material.
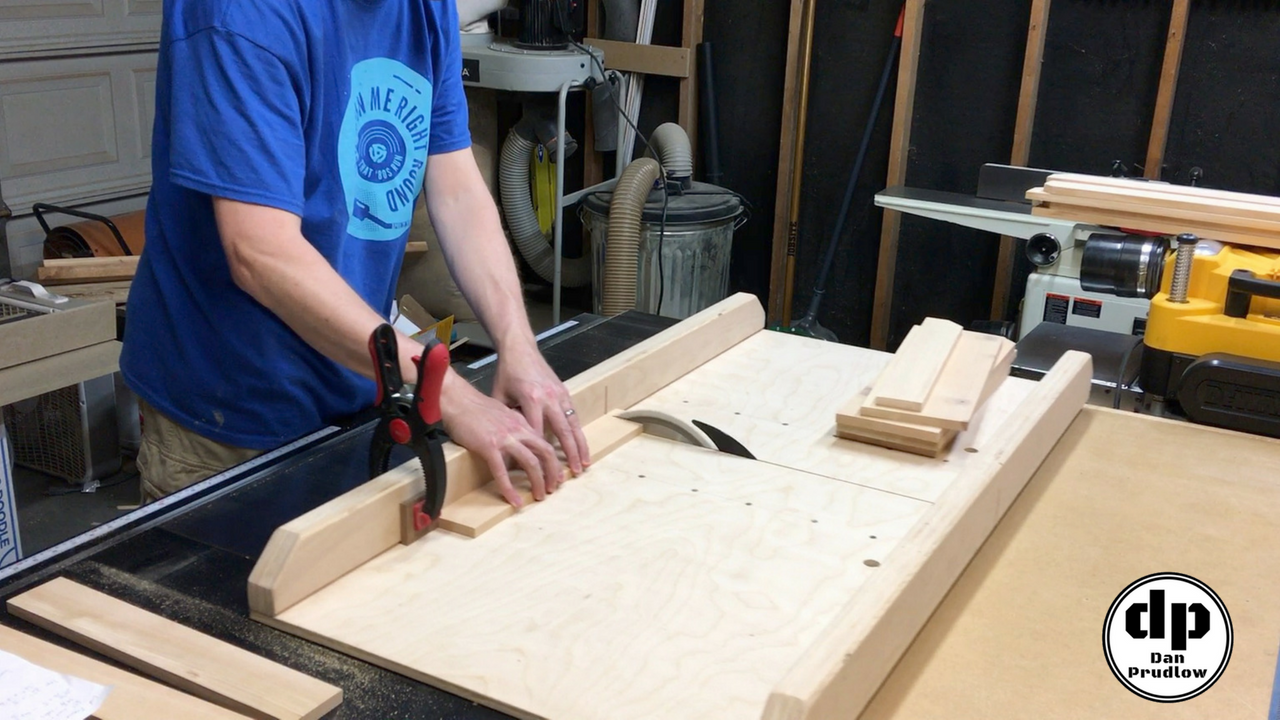
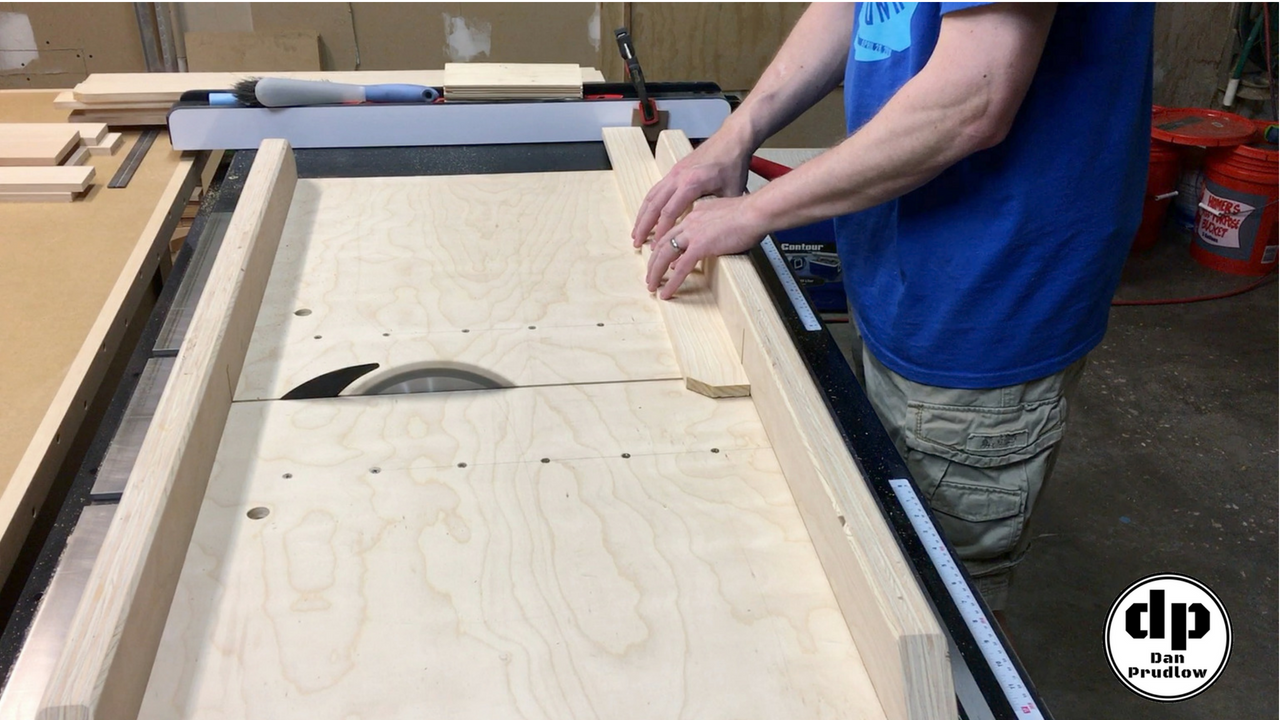
Cut to Final Length
Next, cut most of the parts to final length. At this point I leave the parts for the top mitered frame, lid frame, and top lid slats at rough length. My reasoning for this is just in case any of the assembly throws the final dimensions off just a little. If I cut everything now I could be left with parts that are too short. A stop block on the crosscut sled makes this step really easy. First, square off one end by taking 1/8th inch or so off then slide the piece over to the stop block and cut to final length. It is important to keep track of your parts here so make sure things are marked and organized. Use a stop block clamped to the table saw fence for parts longer than your crosscut sled can handle.
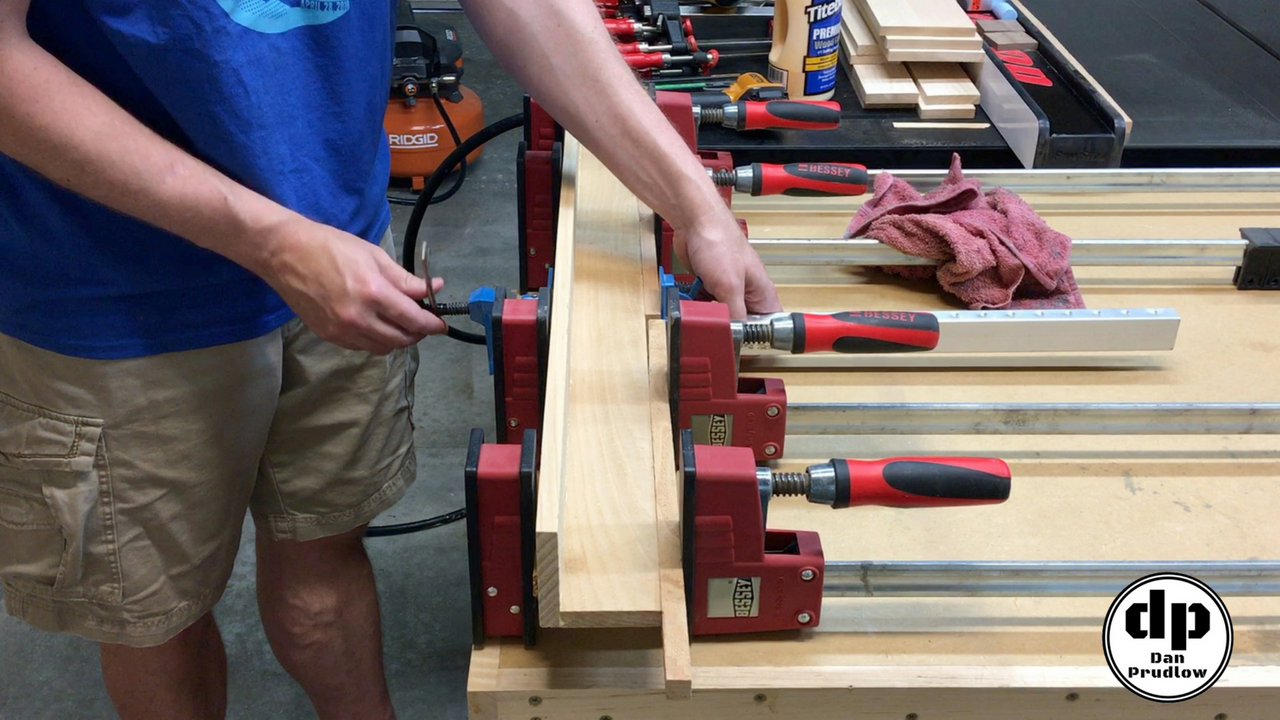
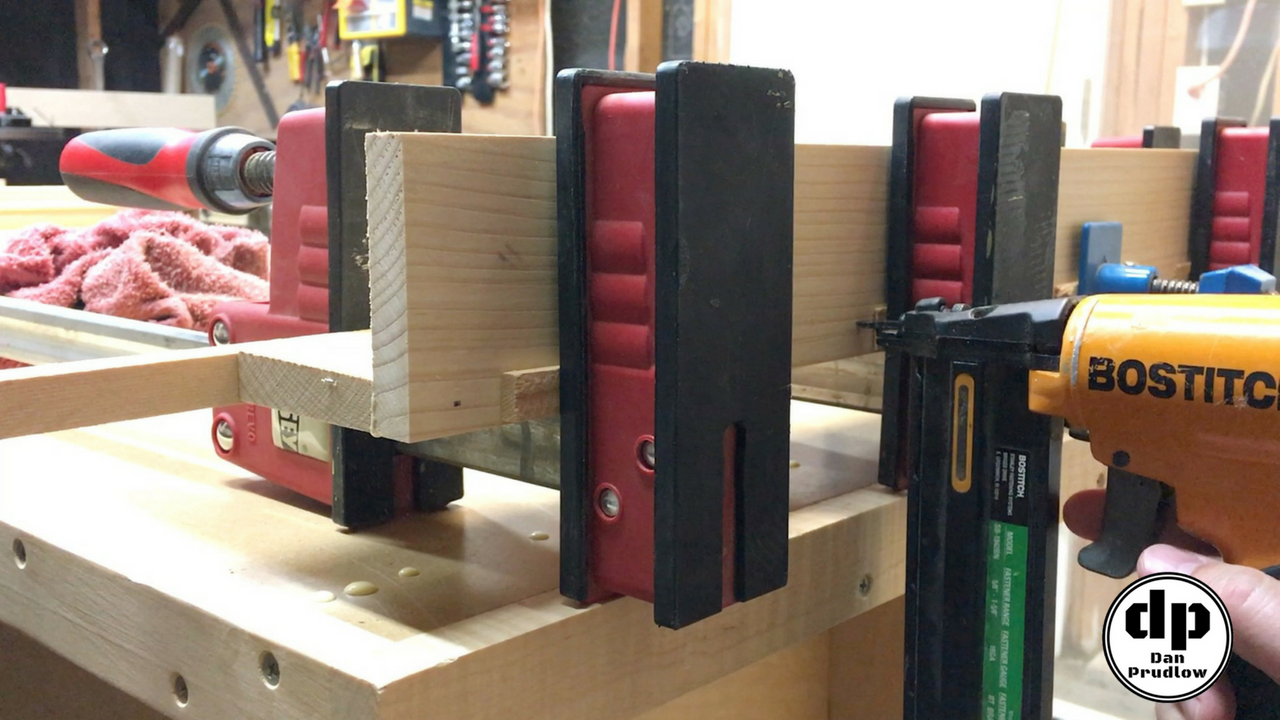
Assembling the Legs
The first step in assembly is to build the four legs for the cooler box. Be sure to pay attention to the orientation of your boards here so you end up with two right side and two left side legs. When clamping the legs it’s a good idea to use cauls to avoid clamp marks in your parts. Cedar is a soft timber so you will want to use cedar or pine cauls. I just used offcuts from earlier stages of the project. Once the pieces where in the clamps I fired in a series of two inch brads. I removed the leg from the large parallel clamps and added a bunch of small F style clamps to hold things until the glue drys. I like using the parallel clamps for assembly and I only have four of them so that is the reason for switching the clamps.
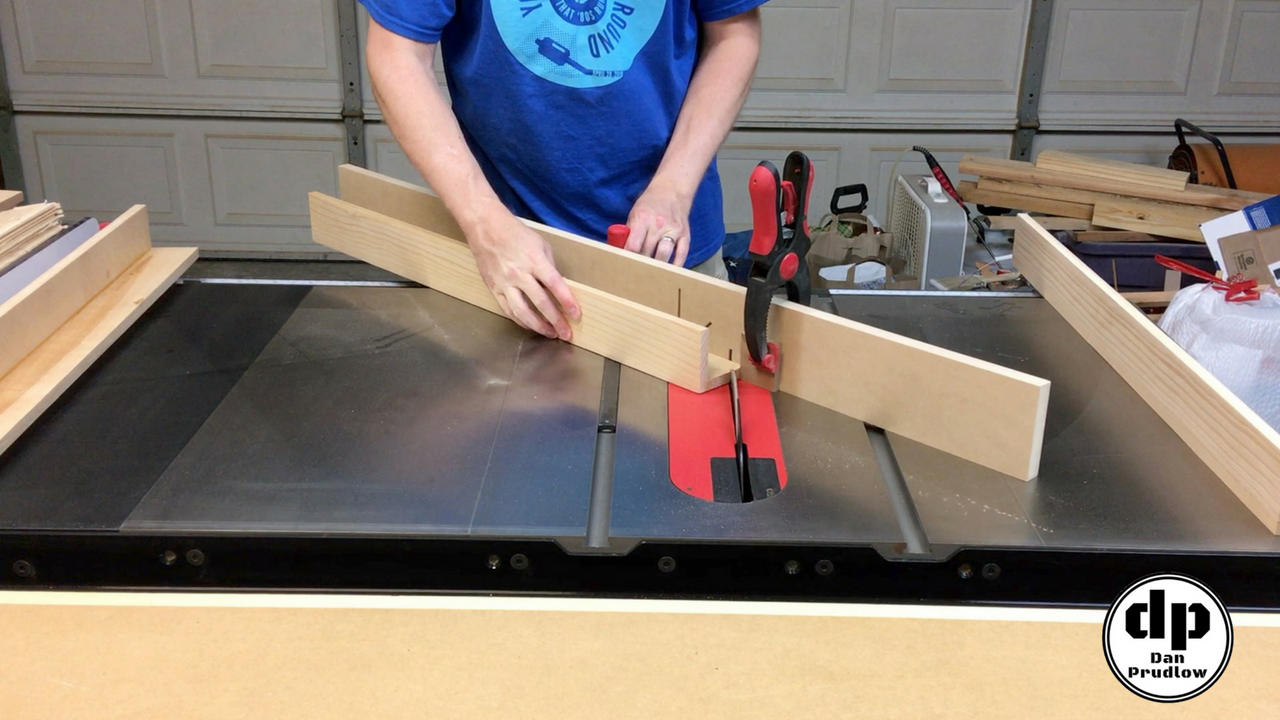
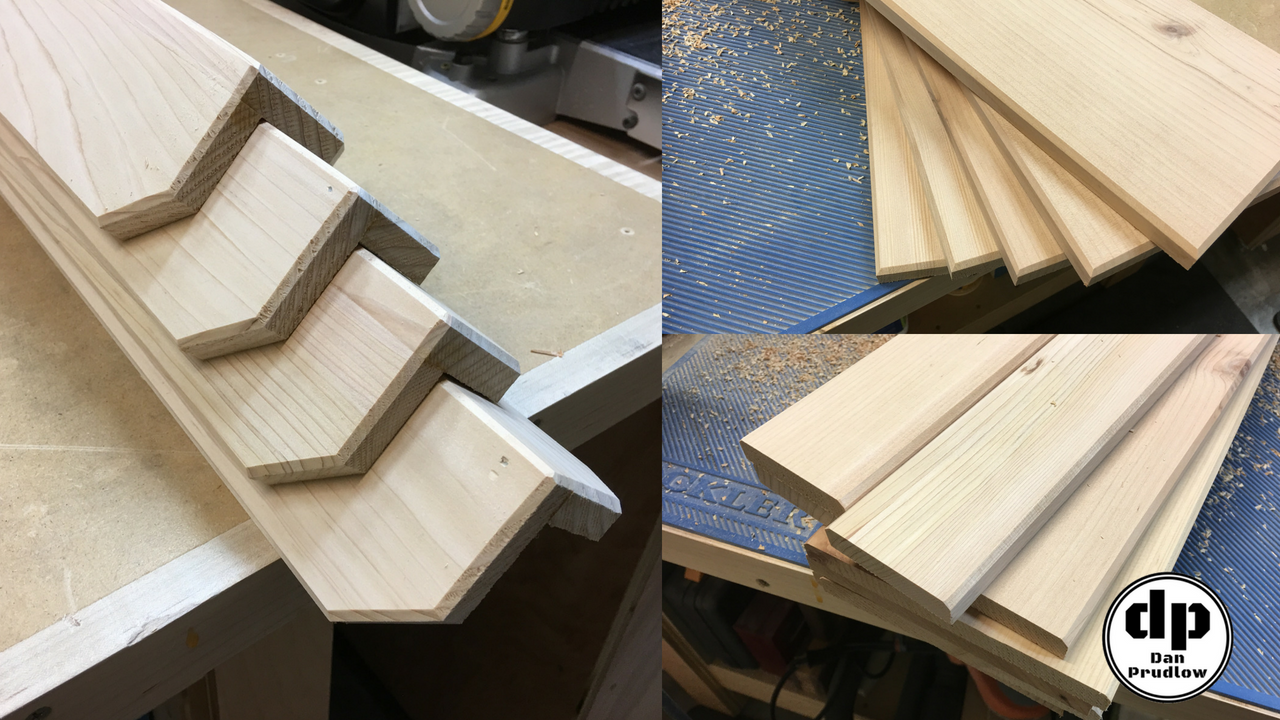
Dog Ears and Chamfers
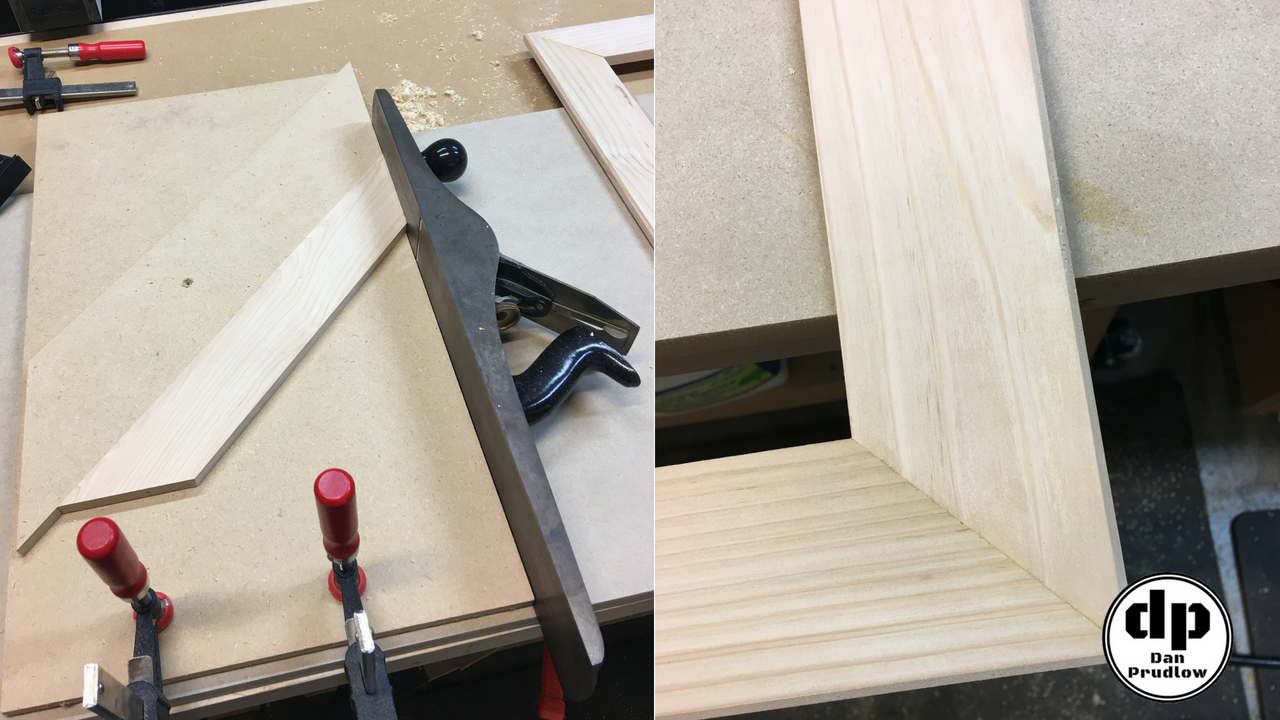
With the leg parts assembled it’s time to start adding some decorative touches to the cooler box parts before we start putting the box together. Because the “dog ears” on the fence pickets are not always the same on each board I like to cut them off in the early stages of material breakdown. I then recut them on the bottom of the legs so they are all the same length and angle (45 degrees). I use a sacrificial fence on my miter gauge along with a stop block to accomplish this task. This is one difference between my build and Donald’s build. It’s a very minor detail but I think the result is worth the extra cuts and slightly more waste material.
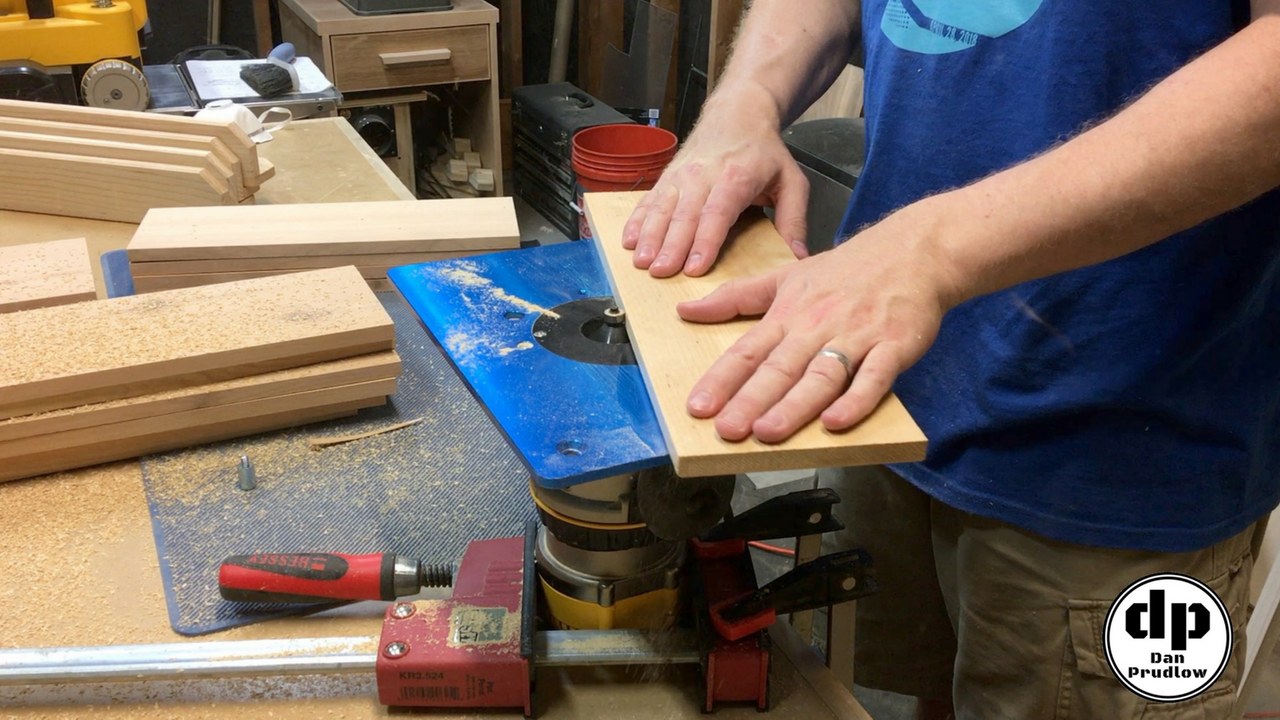
Next I take all the parts to the router and add a small chamfer detail. For the legs I do both sides all the way down around the bottom and then also along the outside corner. The bottom shelves get a chamfer all the way around. The main box parts only need chamfered on the long sides as you won’t see the ends of these parts. I don’t recommend the router setup I have going here but I don’t have a small trim router and my router table doesn’t have a good setup currently.
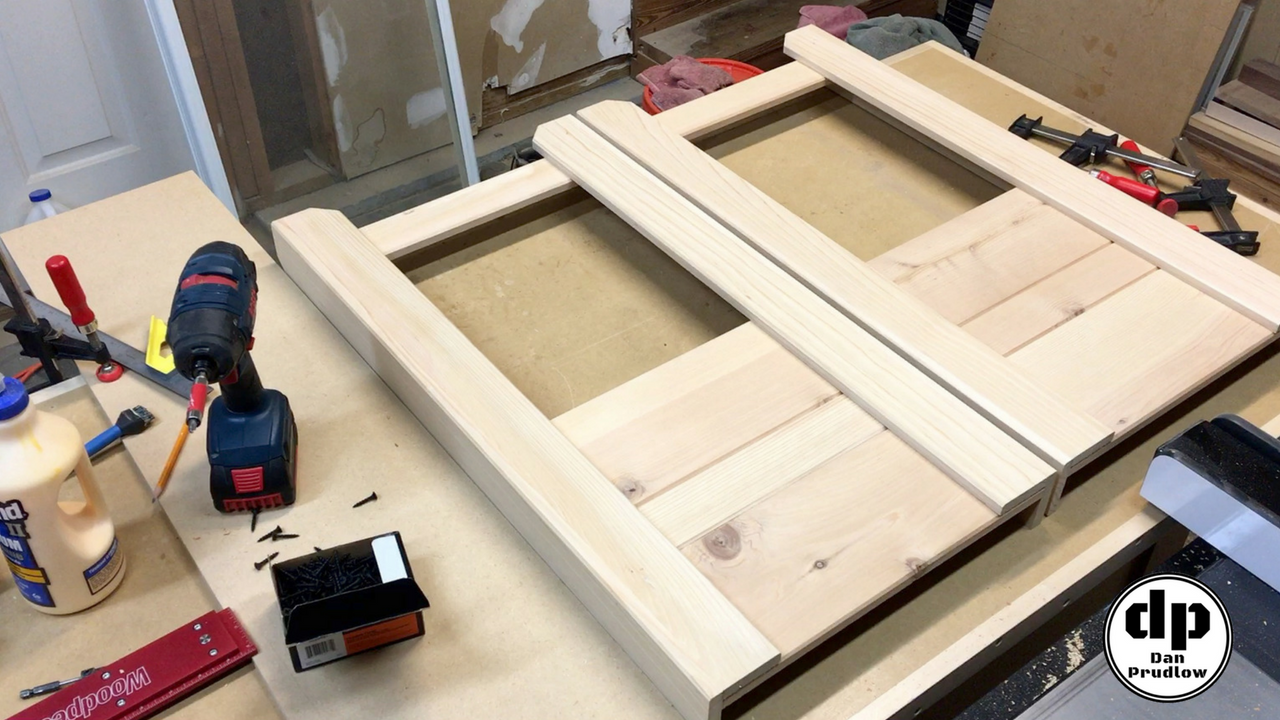
Short Side Assemblies
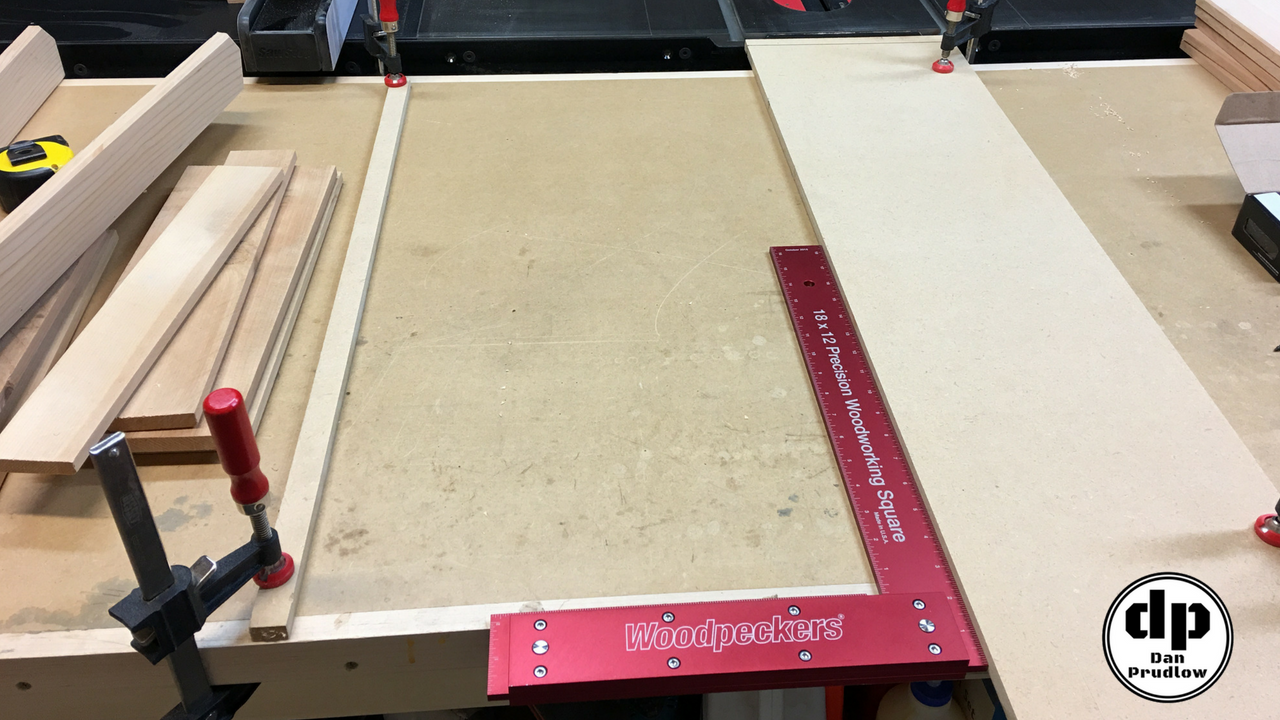
All of the main components of the cooler box are now ready for assembly. Assembling the short sides first will make things easier. My first step is to clamp down a couple of scraps to the exact width of the short sides. This setup will ensure both of my short sides are the exact same width and everything will be square.
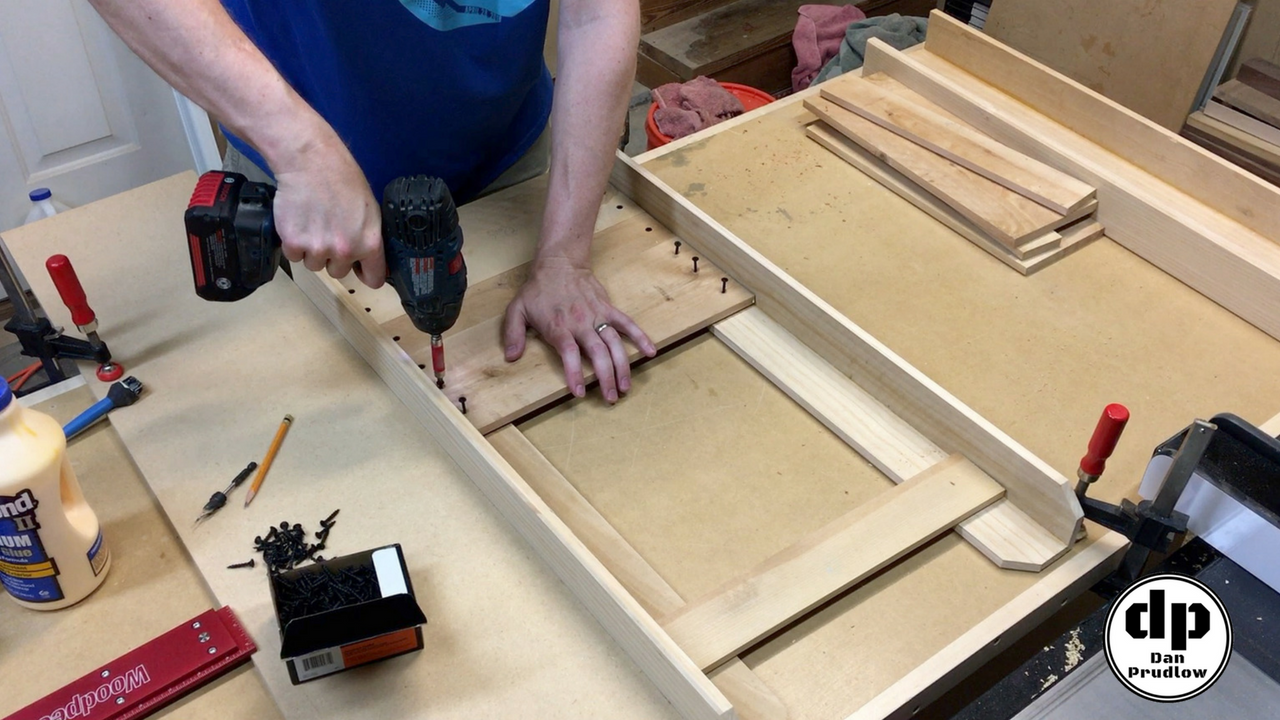
With the temporary assembly jig in place the two short sides come together really quickly. Make sure the legs are oriented correctly with the glue seam facing down. Arrange the boards, pre-drill and countersink for 1 inch screws, add glue and drive the screws. Turn the assembly around and attach the bottom shelf support the same way.
Attaching the Long Sides
Move one of the temporary jig pieces out to the exact width of the long side of the cooler box. Again, this will ensure everything is spaced correctly and the box is square. Use the same method to attach the long side parts. Arrange the boards, pre-drill and countersink holes, add glue and drive in the screws. When one side is done flip it over and complete the other side.
Deviating from the Plans
These next few details cover one of the somewhat significant changes I made compared to Donald’s plans. In the plans the bottom slats that hold the cooler are attached to the bottom of the long sides using glue and screws. This leaves the end grain of these parts visible which I did not necessarily care for. So in my version I’ve recessed the bottom so that it sits on cleats attached around all four sides. In order to accomplish this you need to know where exactly the cooler will need to sit in order for the top mitered frame to be flush with the top of the cooler…minus the lid of course. Don’t worry…it’s easier than it sounds!
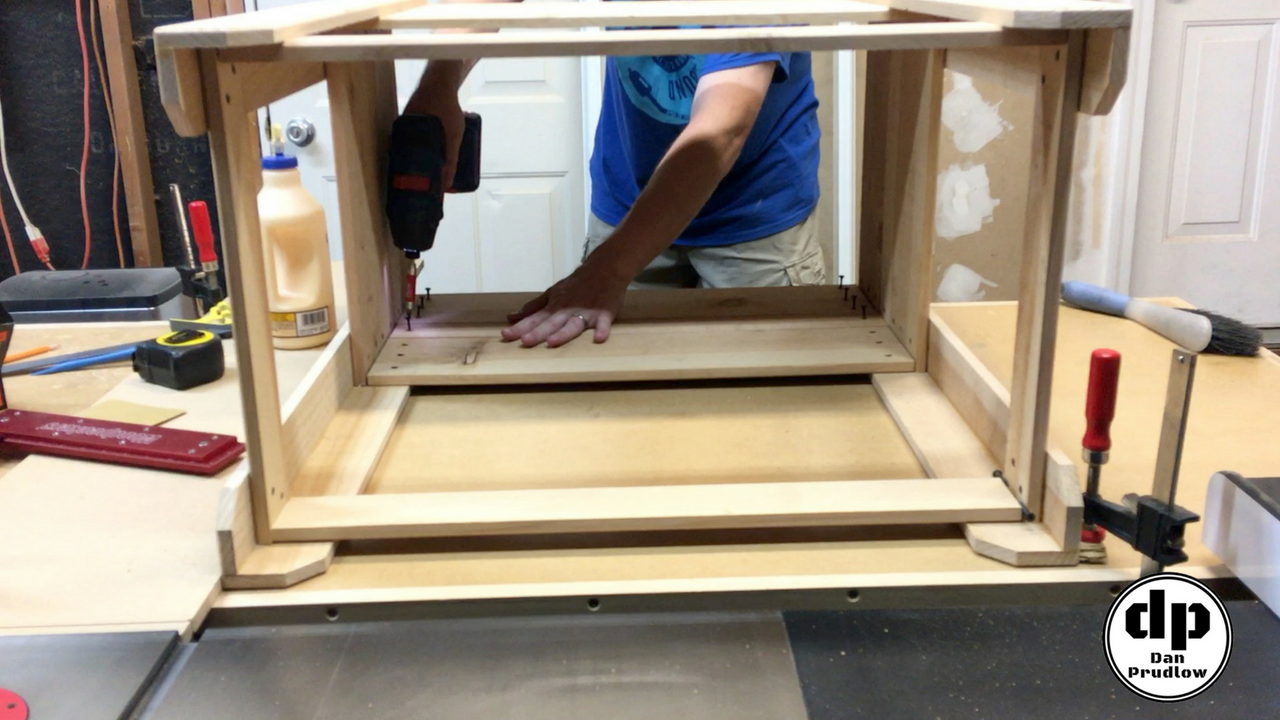
Hide the Bottom
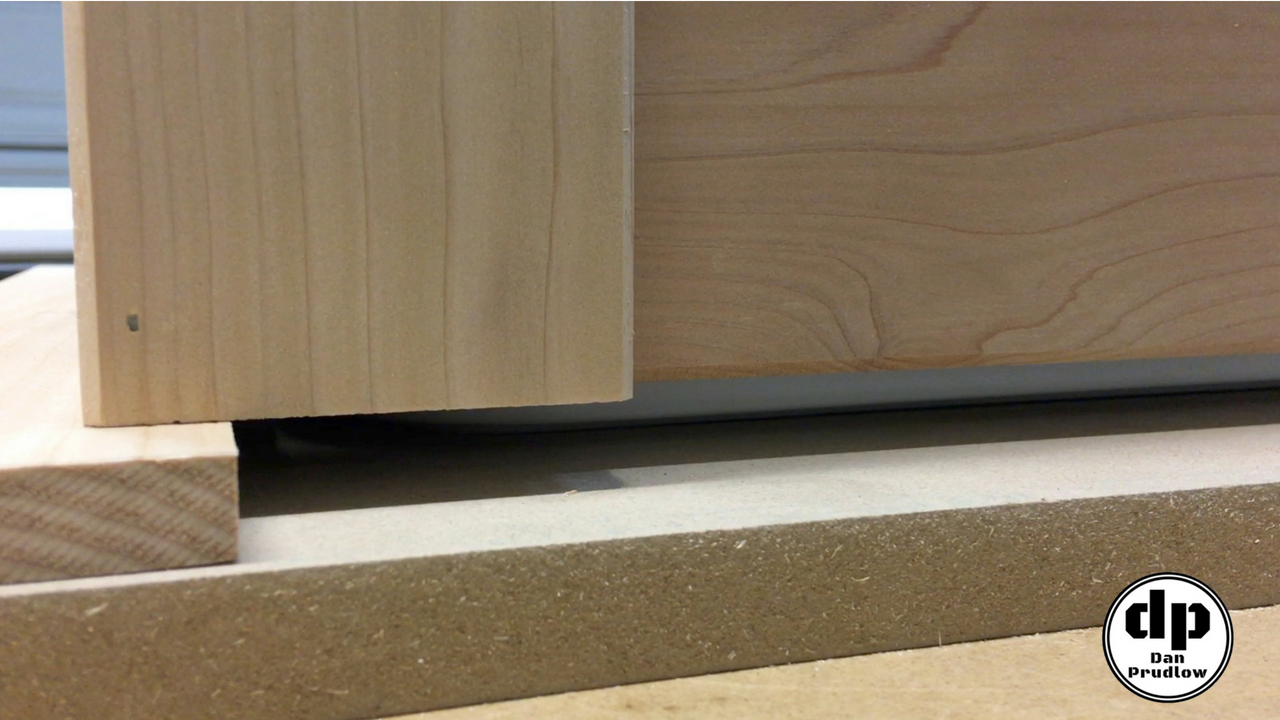
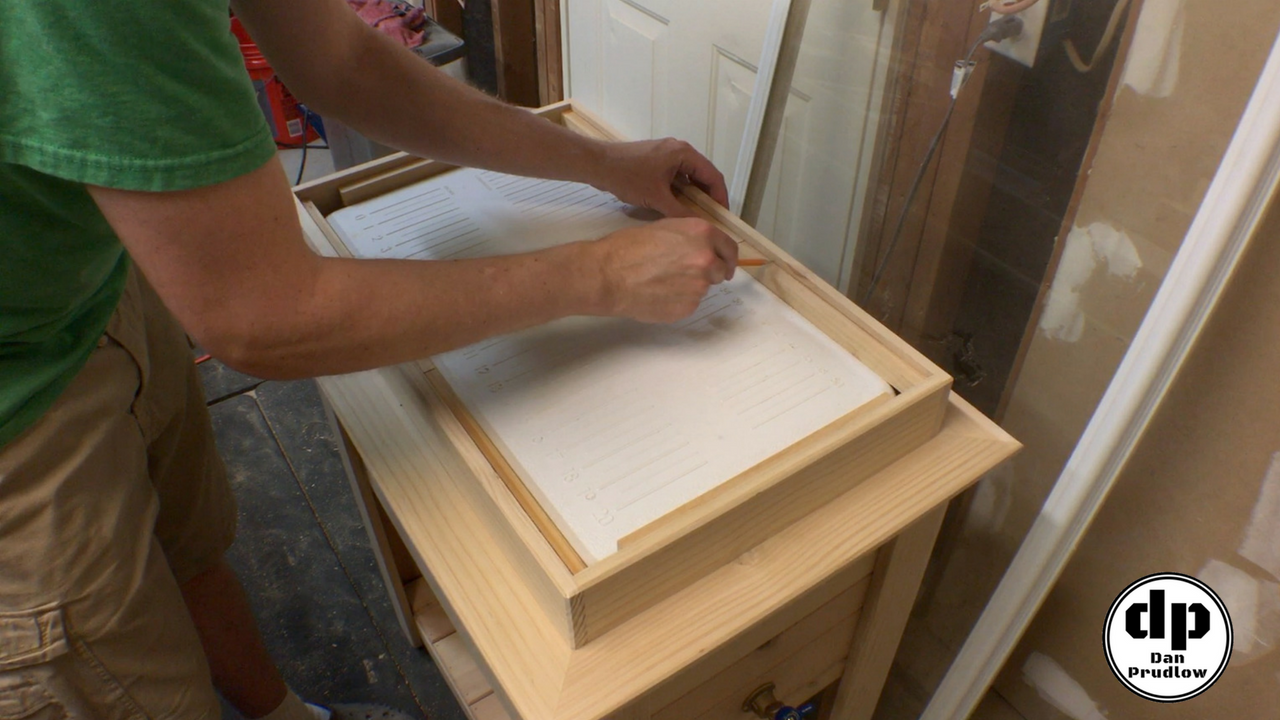
Start by turning the assembly upside down and insert the cooler from the bottom. With the cooler in place take the two short sides of the mitered frame and slide them under the edges of the cooler box. Make sure the actual cooler is not resting on these parts. Now push the cooler down so it contacts the surface below. We now have the top of the cooler exactly in line with the top of the mitered frame and we know exactly where the bottom of the cooler needs to sit.
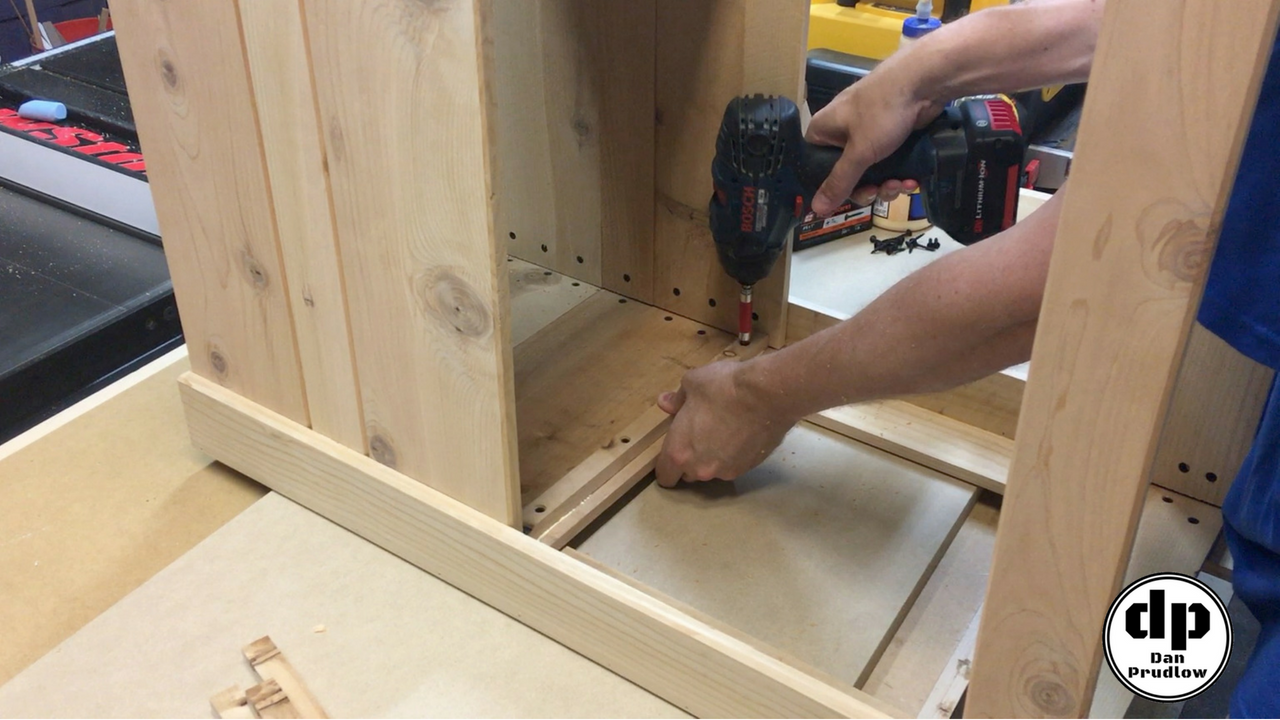
Lay a couple of the bottom slats on the highest spots of the cooler bottom and mark the location of the cleats that will be added around the four sides. The lines you mark will represent the top of the cleat…so when you attach the cleats the will be attached below the line…this is important to remember!
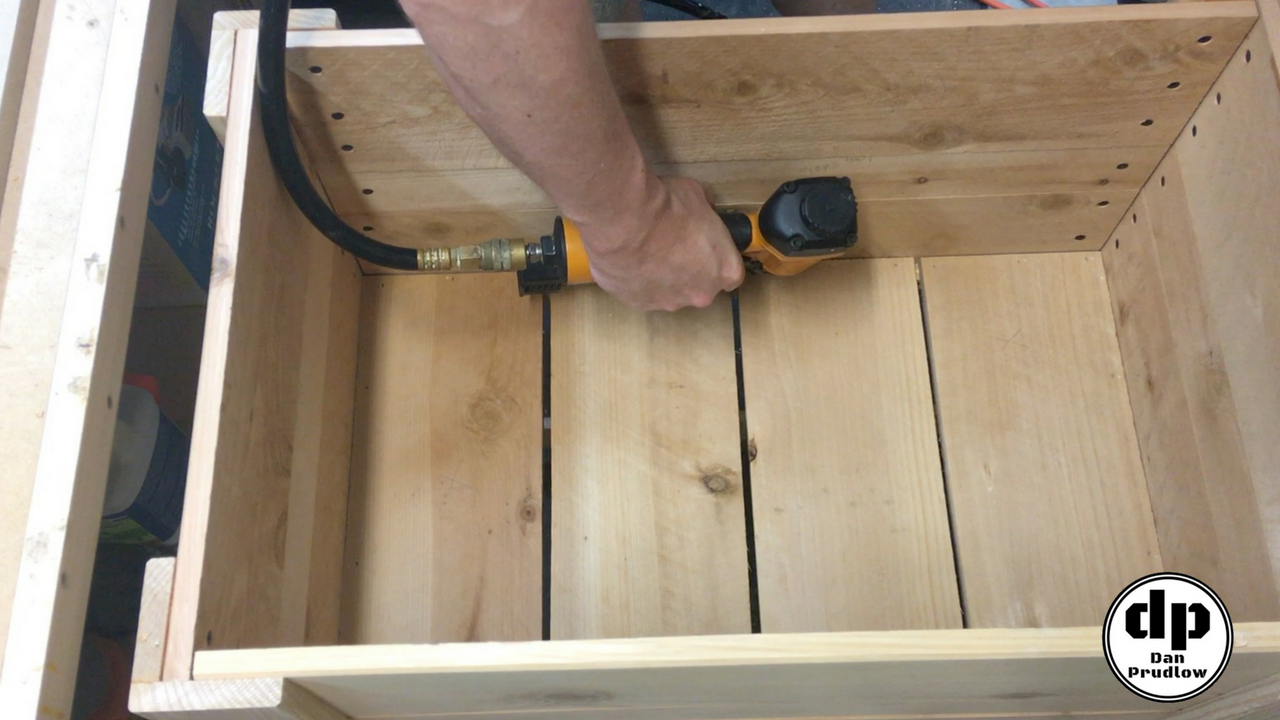
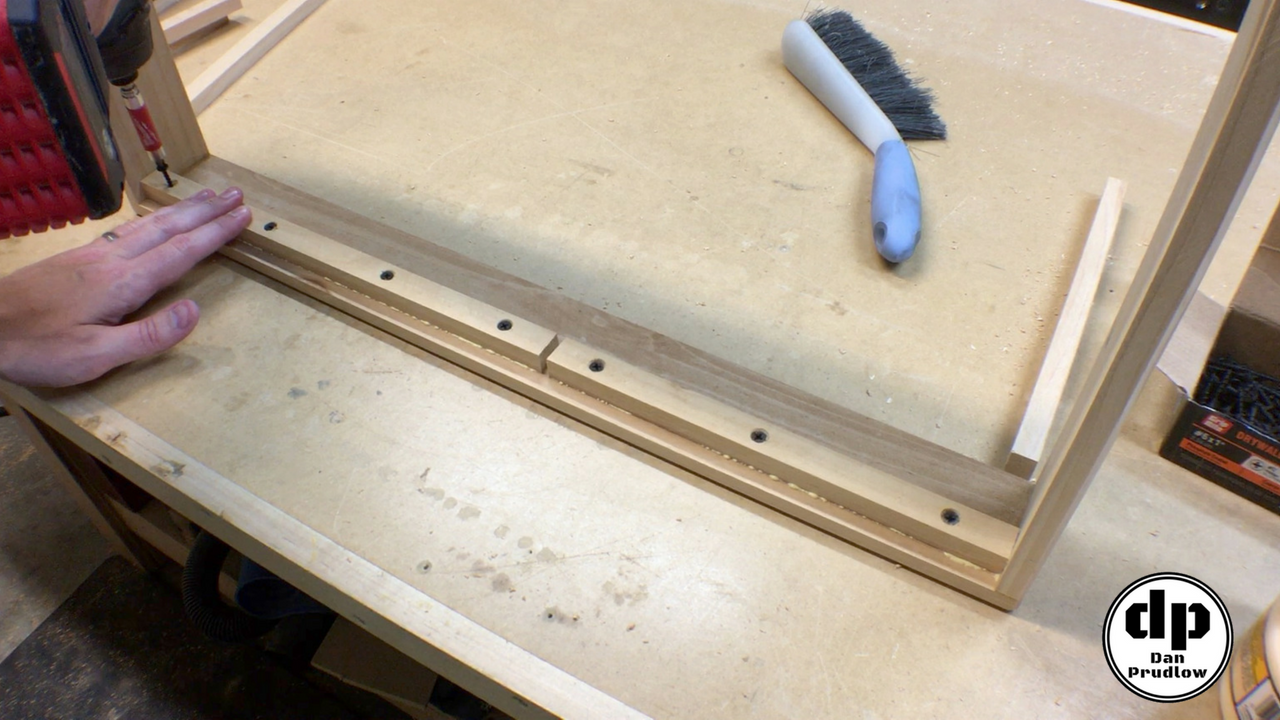
For the cleats themselves I just used 3/4 by 3/4 inch fence picket scraps. They are attached just like all the other parts so far…pre-drill and countersink holes, add glue, drive the 1 inch screws in. Next, add the bottom slats by setting the cooler box upright and laying the slats in from the top. I added glue and 1 1/4 inch brads to hold them in place.
Adding the Bottom Shelf
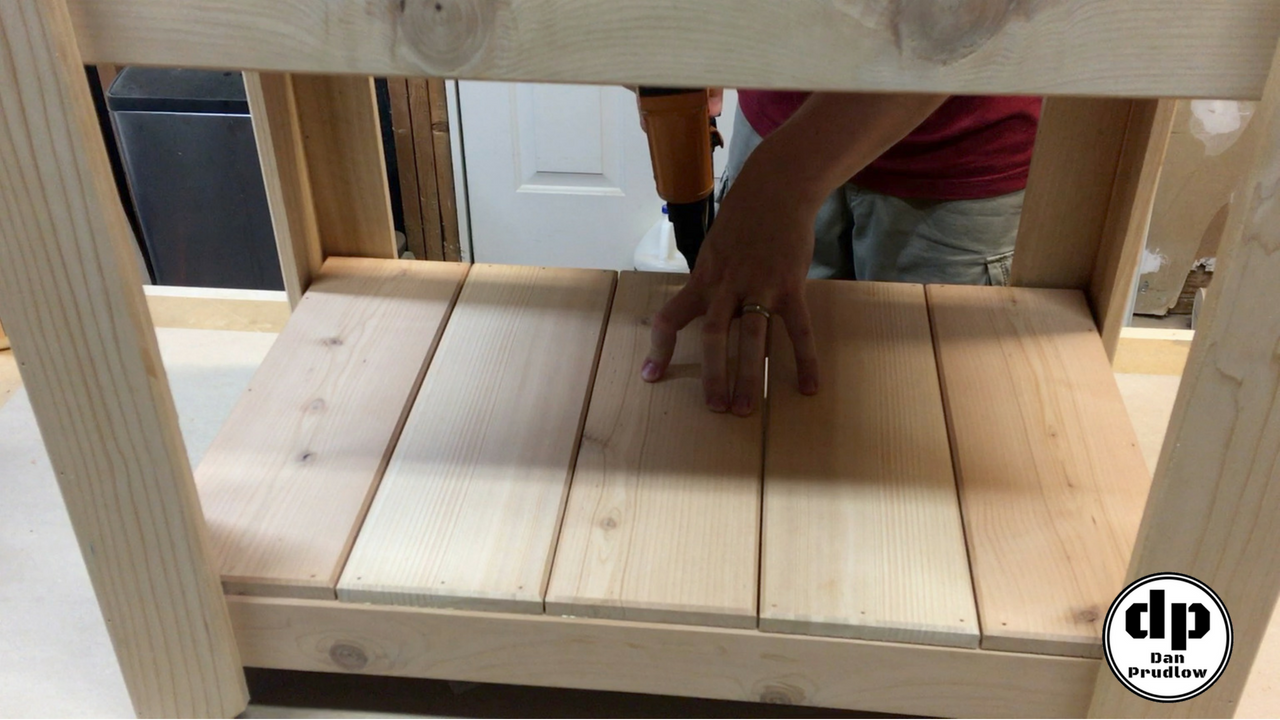
Adding the bottom shelf is pretty straightforward. In my version all of the slats are the same width so I attach the two end slats and then evenly space the middle three so that there is an equal gap between all five pieces. Just glue and 1 1/4 inch brads to attach these pieces.
The Mitered Top Frame
You will remember earlier that I mentioned that I did not initially cut the top mitered frame parts to length. Now is the time to make those cuts. The reason for waiting until now is that now we can actually set the cooler in place and make sure we get a good clean fit all the way around. I make the 45 degree cuts about 1/16 to 1/32 of an inch long and then use a 45 degree shooting board and a hand plane to take each cut down to it’s final mark. This is probably overkill but it really helps to dial in the miters to exactly 45 degrees so that the resulting joint is nearly perfect. Glue and pocket screws are a simple way to assemble the frame.
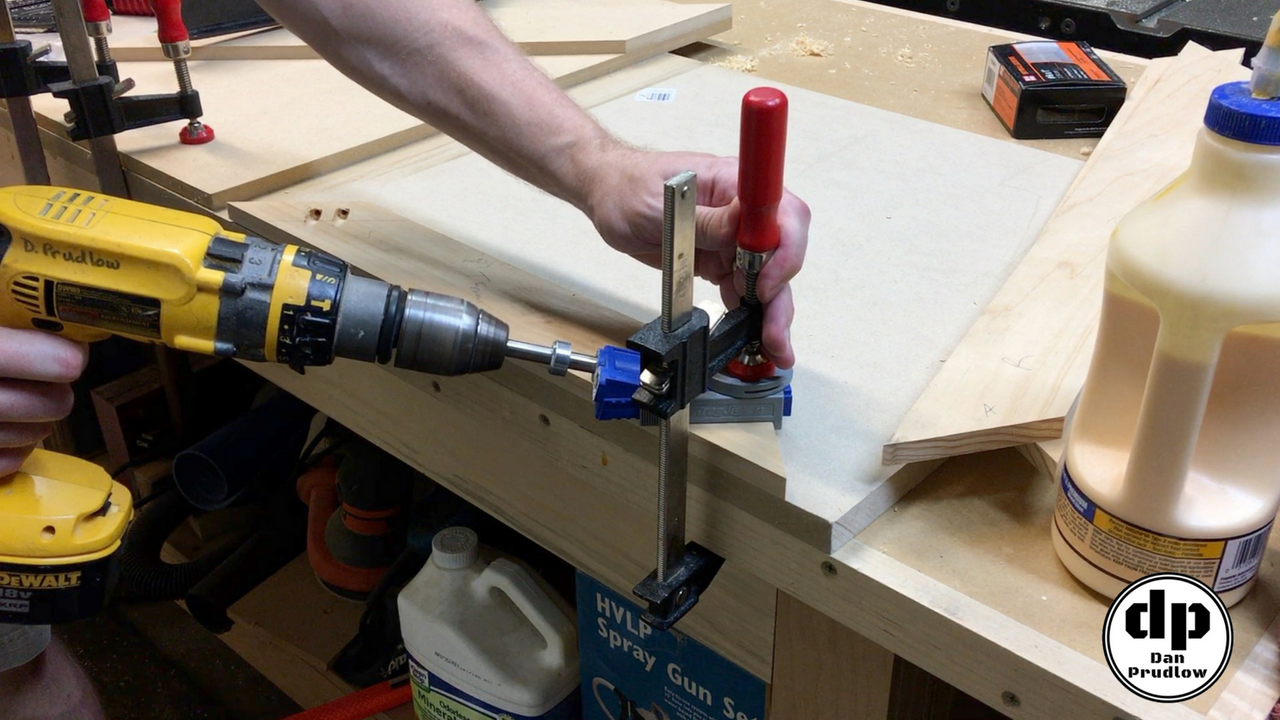
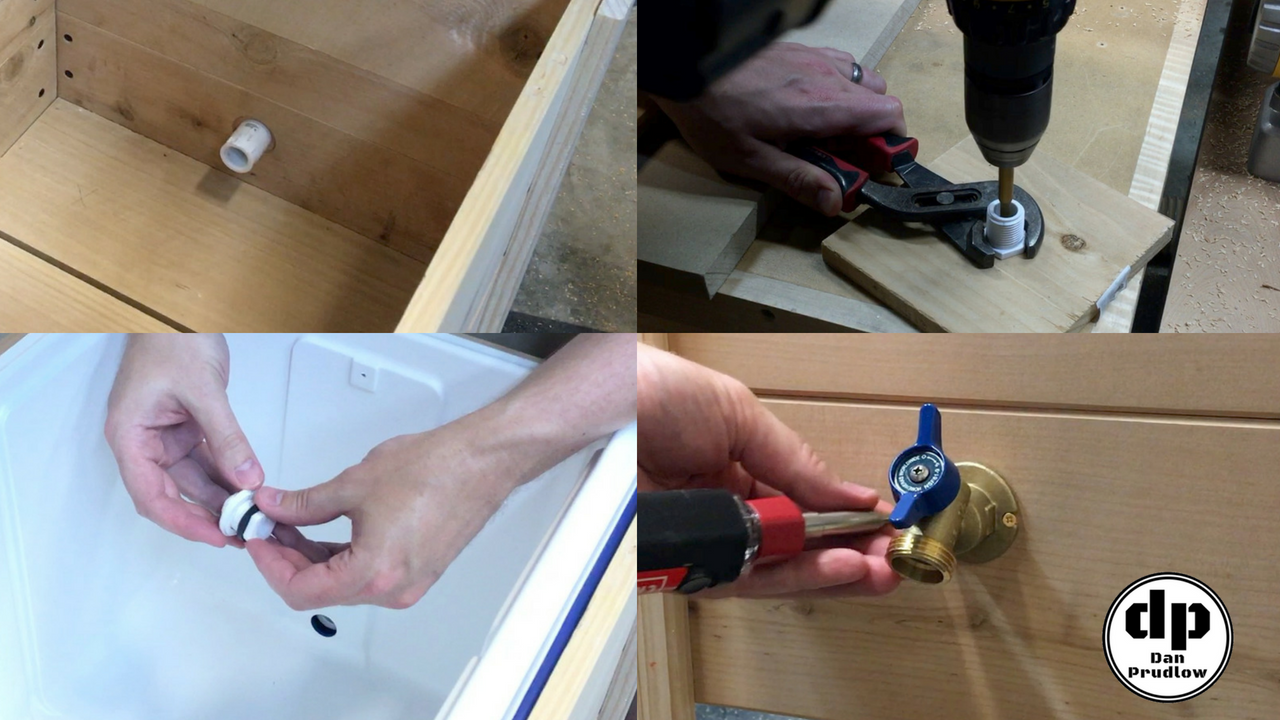
Cooler Box Drain Spigot
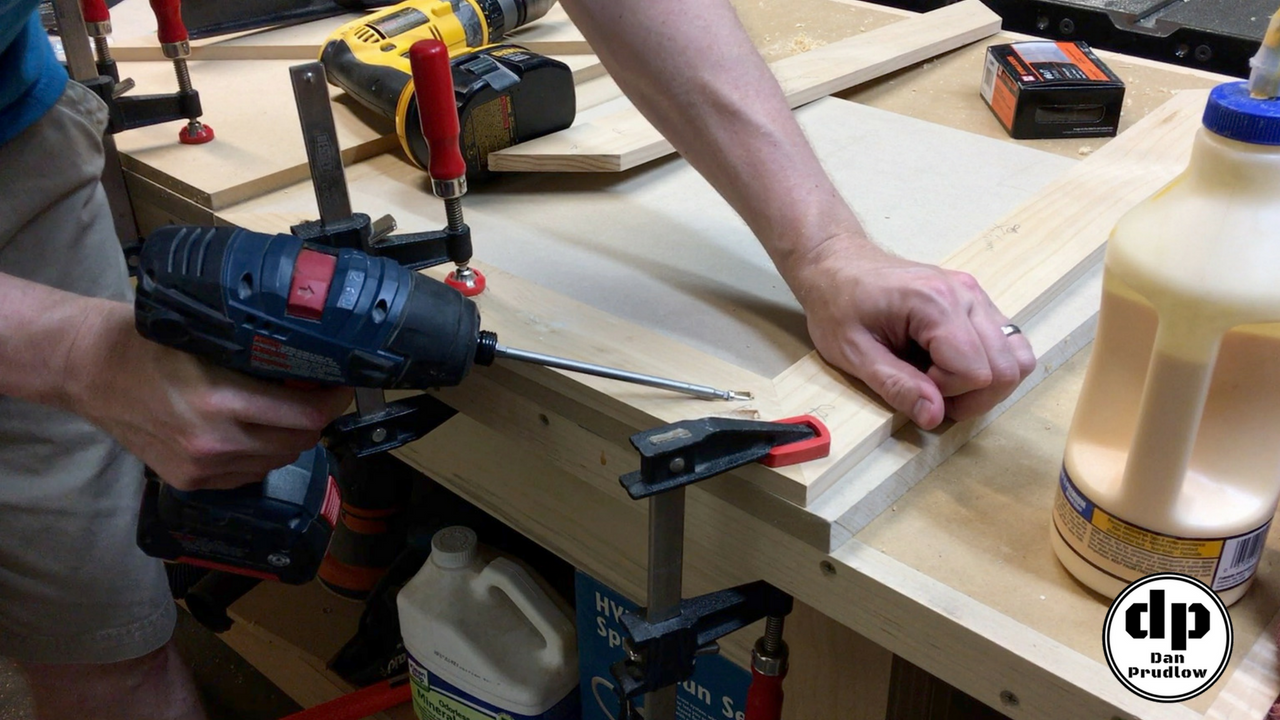
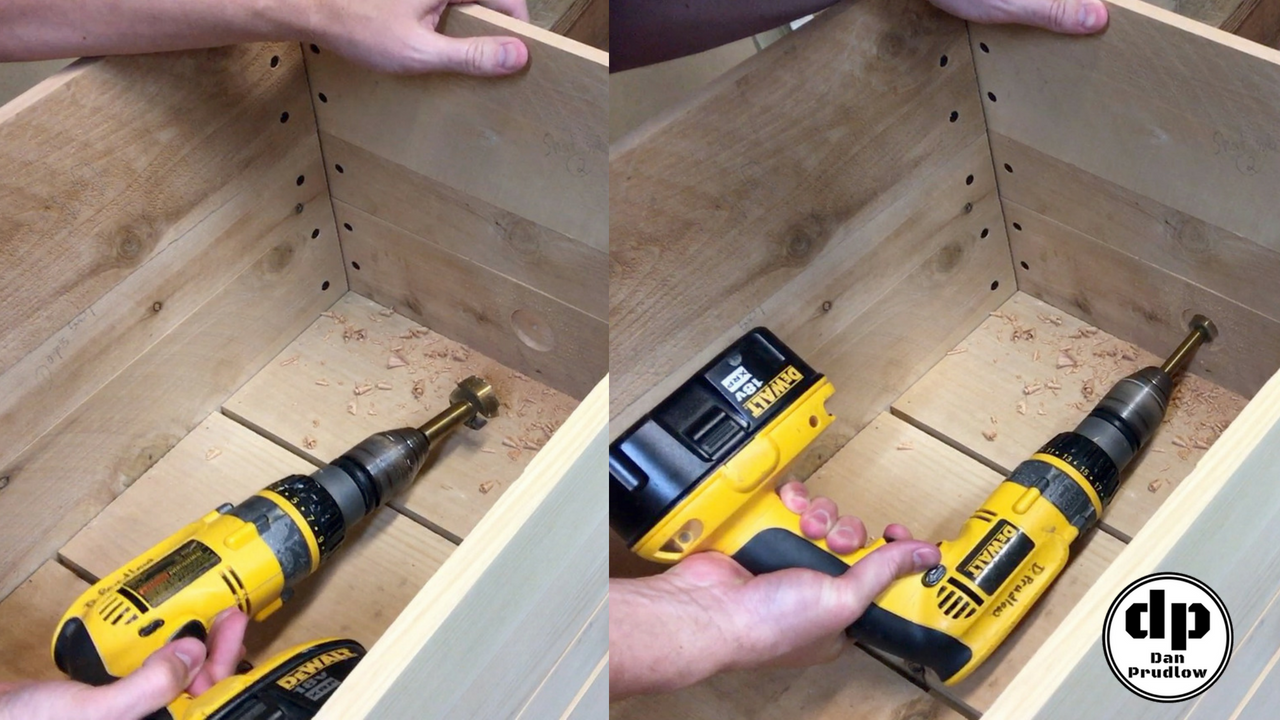
With the cooler sitting inside the cooler box it would be difficult to empty any liquids out so a simple solution is to use a brass spigot and attach the cooler drain to it with a couple of small PVC fittings. This part of the build will vary depending on the parts you select. My parts require the pipe inside the box to be recessed slightly into the side so that there are enough threads to securely attach the spigot. I first drill the larger recessed area using a forstener bit and then finish the through hold with a smaller bit. It is a good idea to go just far enough for the tip of the bit to show on the outside and then finish the hold from the outside to avoid blowout damaging the face of the cedar board.
A little teflon tape helps ensure a leak free seal. To complete the drain I drill a hole all the way through a threaded PVC plug and thread it in using the same rubber o-ring that came with the cooler’s original drain plug. Add a couple of small brass screws to the spigot to keep it from twisting when used.
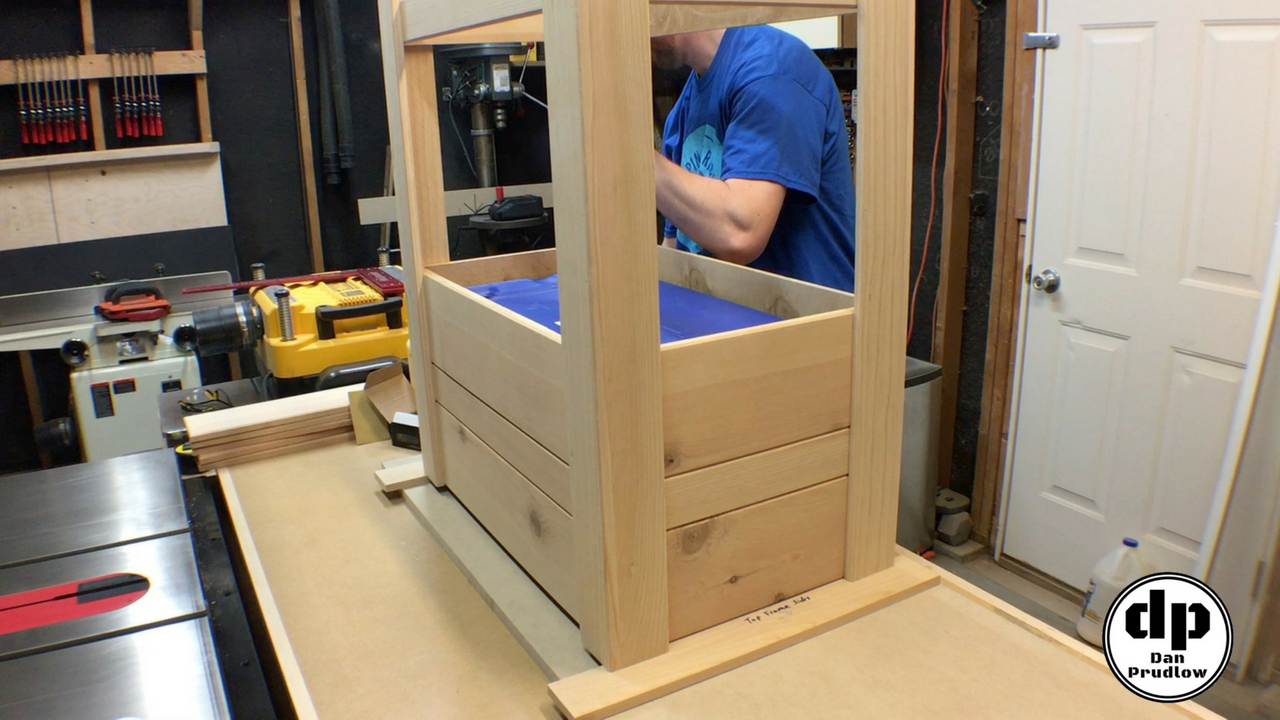
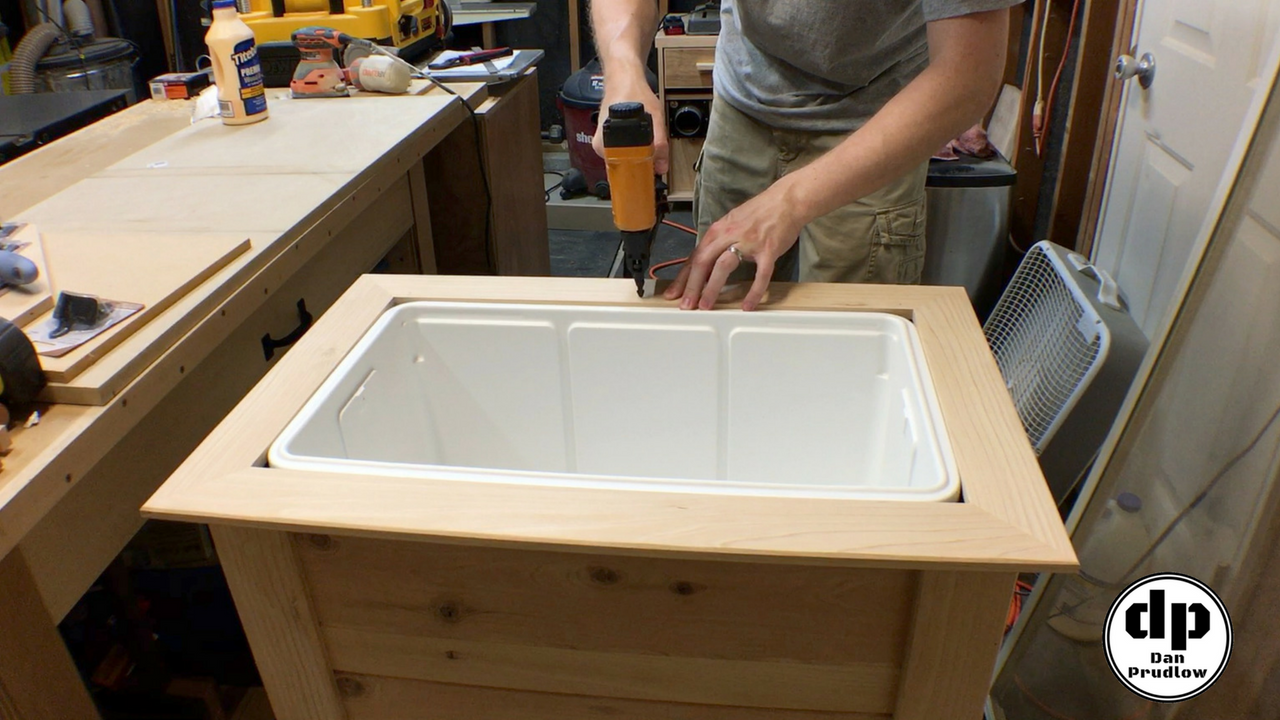
Attaching the Top Frame
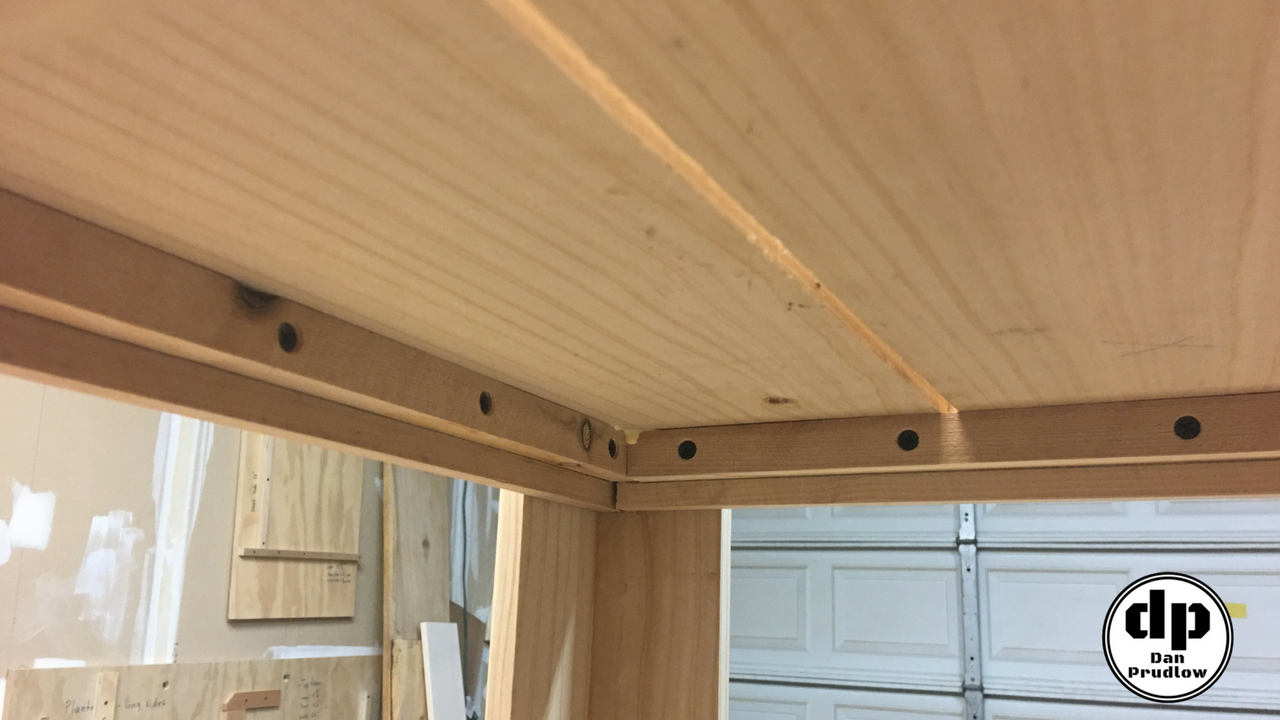
With the cooler now in place and the drain spigot installed it’s time to attach the top mitered frame. The frame is attached using 1 1/2 inch brads and glue. Add glue around the perimeter of the top, set the frame in place and tack it down. Be careful to line up the nail gun so that the brads don’t come through the sides of the side boards. This alignment is particularly critical for any nails that are not at the corners. The nails in the corners have the extra layer of the leg parts to help prevent the brads from blowing out the sides.
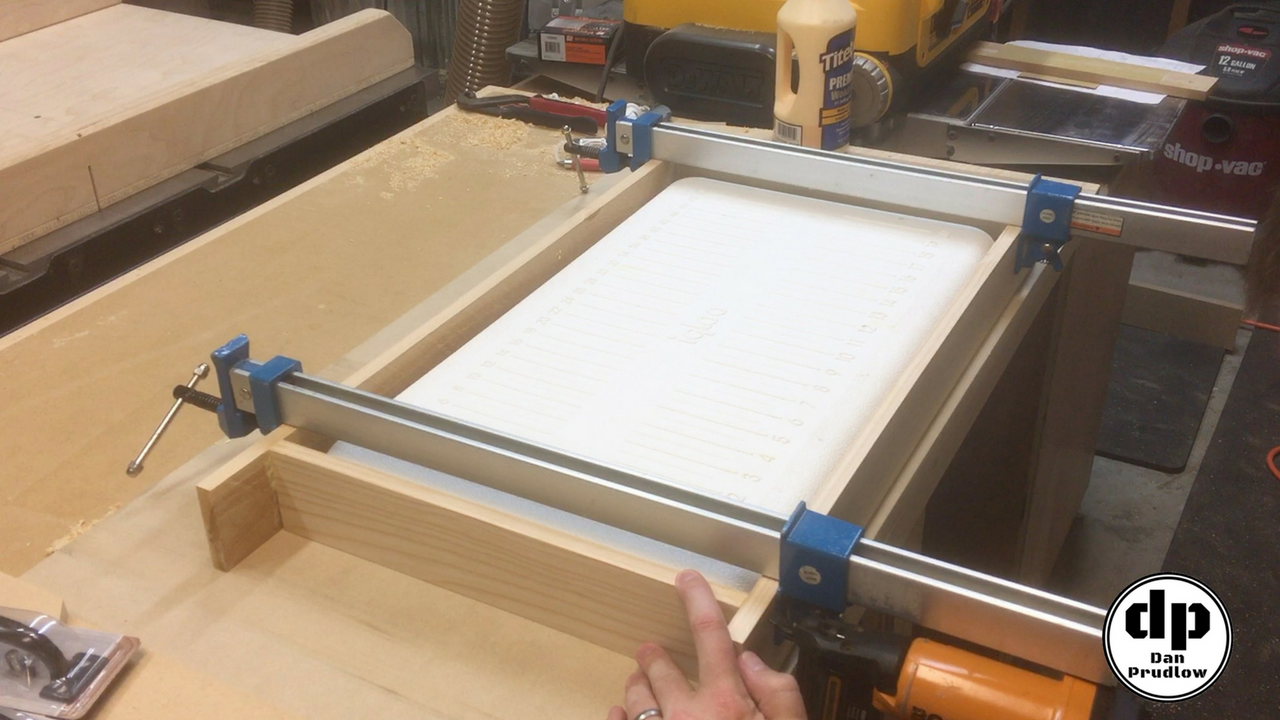
Making the Lid
To start the cooler box lid I first glued and nailed the long sides to the short sides using 1 1/2 inch brads. I clamped the parts around the cooler lid to help keep things square. My reasoning for leaving the front and back parts long is that it’s easer to glue them this way. Trying to hold things in place around the cooler lid to get the exact length for the front and back is kind of a pain. After the glue dried I trimmed the excess length off at the table saw and sanded things flush.
Cooler Lid Attachment
This step is another deviation from Donald’s plans. If you watch his video you will see screws on each side that hold the cooler lid to the wooden frame. I wanted to figure out a way to not have those screws showing. To accomplish this I came up with the mounting setup described below.
I started by cutting a series of 3/4 by 3/4 inch cleats and laying them around the perimeter of the lid. This is done while the lid is on the cooler and the frame completed in the previous step is sitting in place. Mark a line where the cleats need to be attached and then attach the cleats with glue and screws.
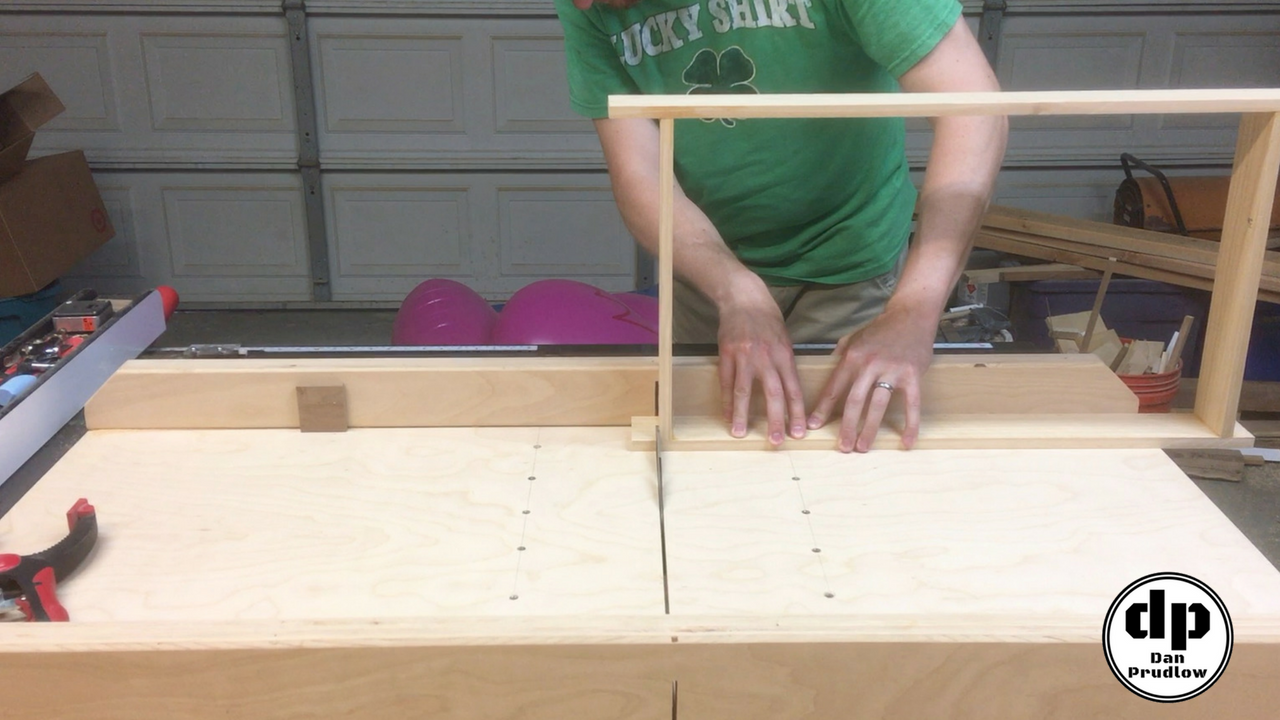
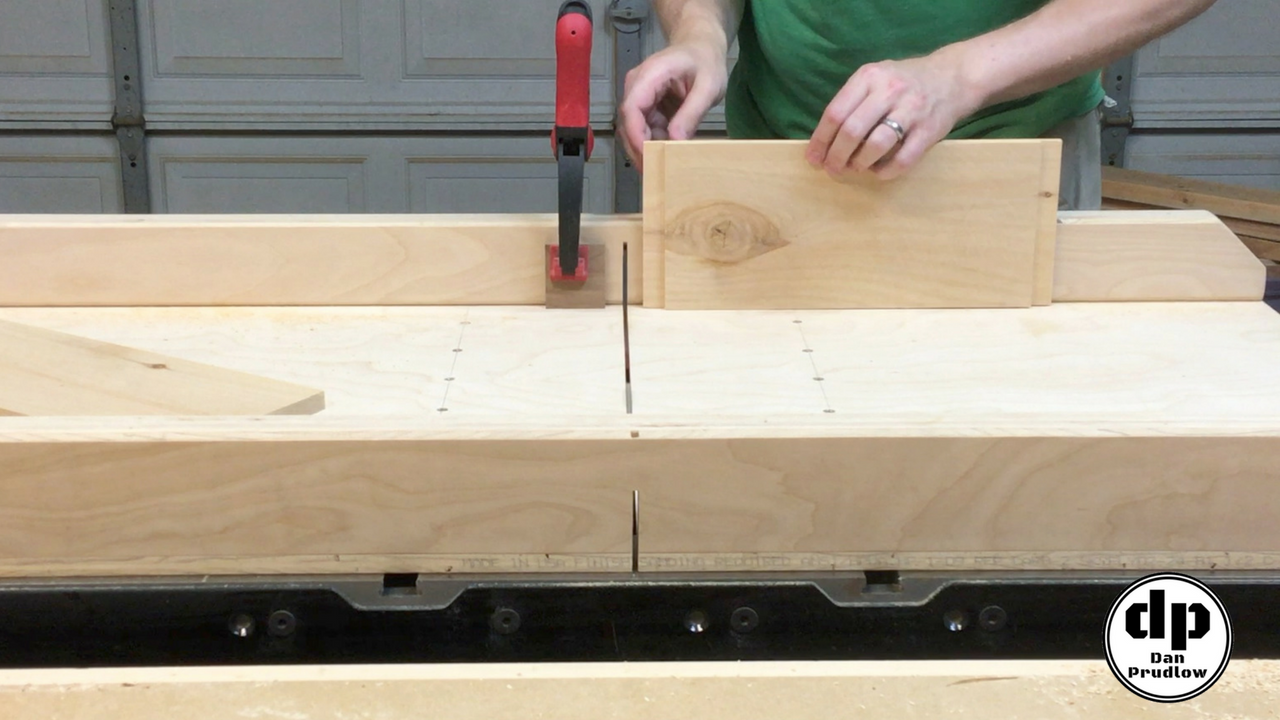
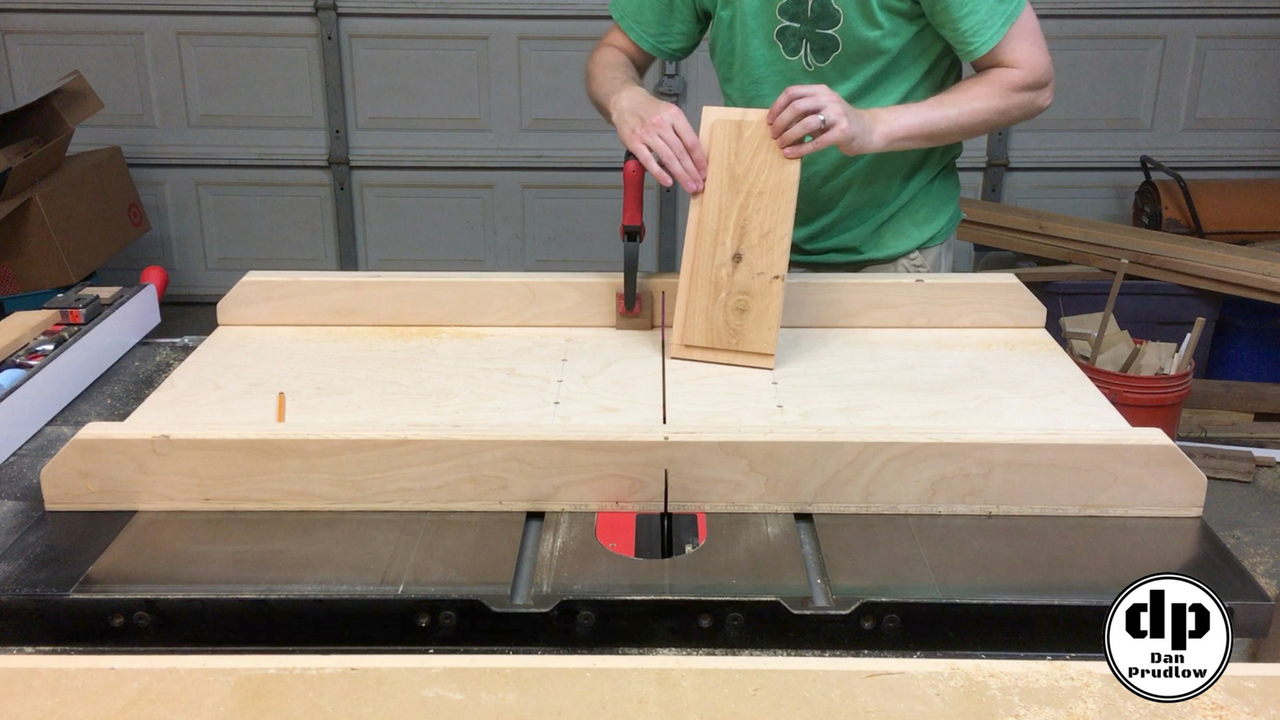
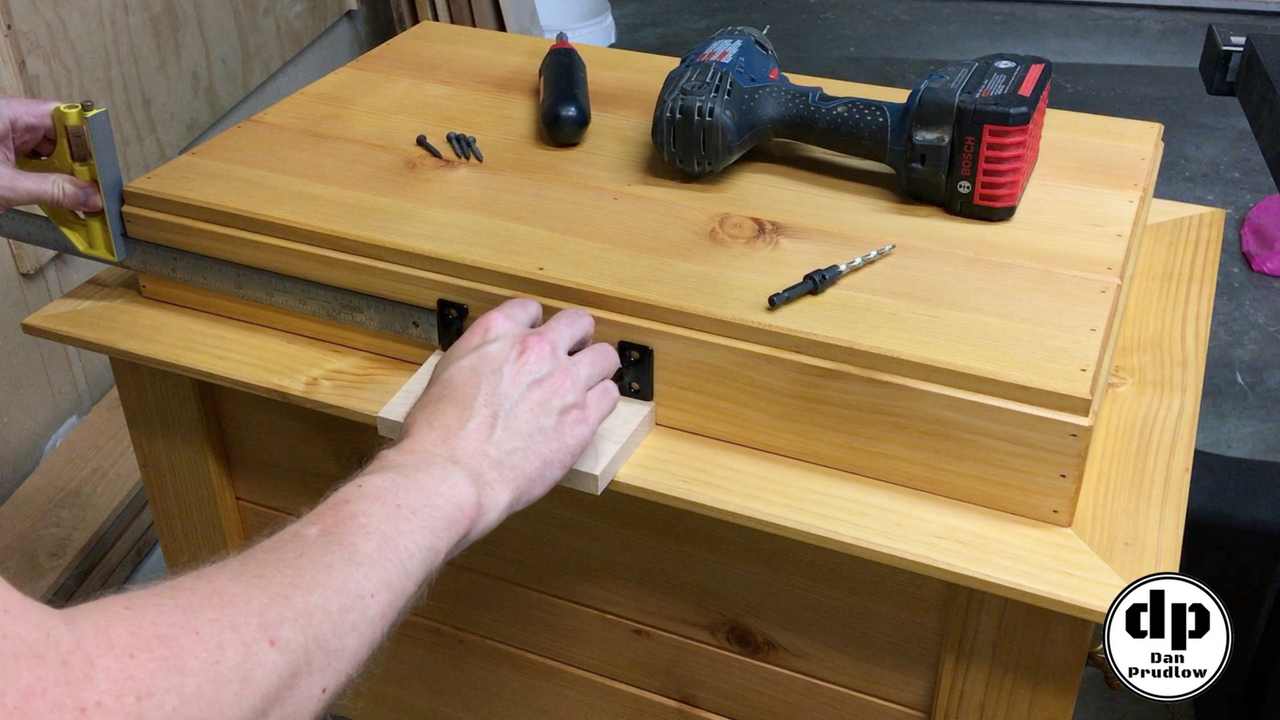
Making the Cross Supports
With the cleats in place I set the frame back around the lid and measure and cut three boards that will fit across and rest on the cleats. Next, I marked the location of the cleats and then used the table saw to cut rabbets on the ends of each board. For the two side supports I turned the pieces 90 degrees and cut a rabbet along the length. This will allow the pieces to rest on the cleats on the short sides of the lid.
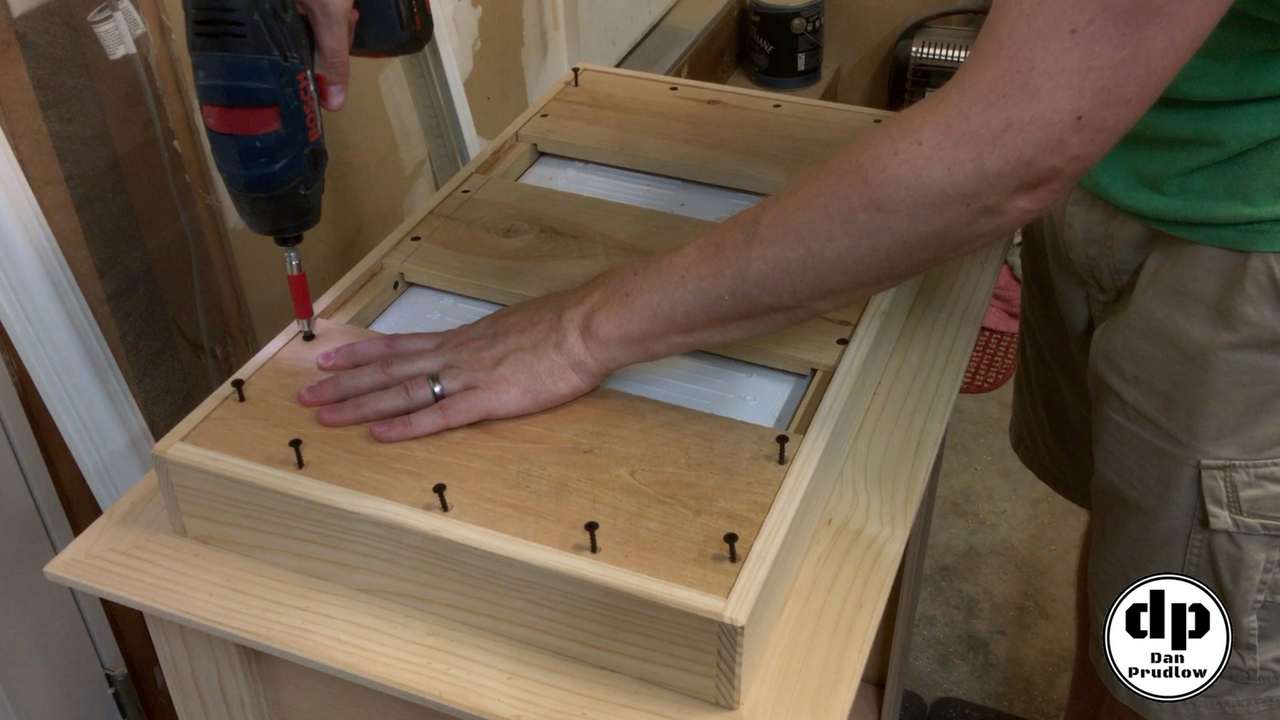
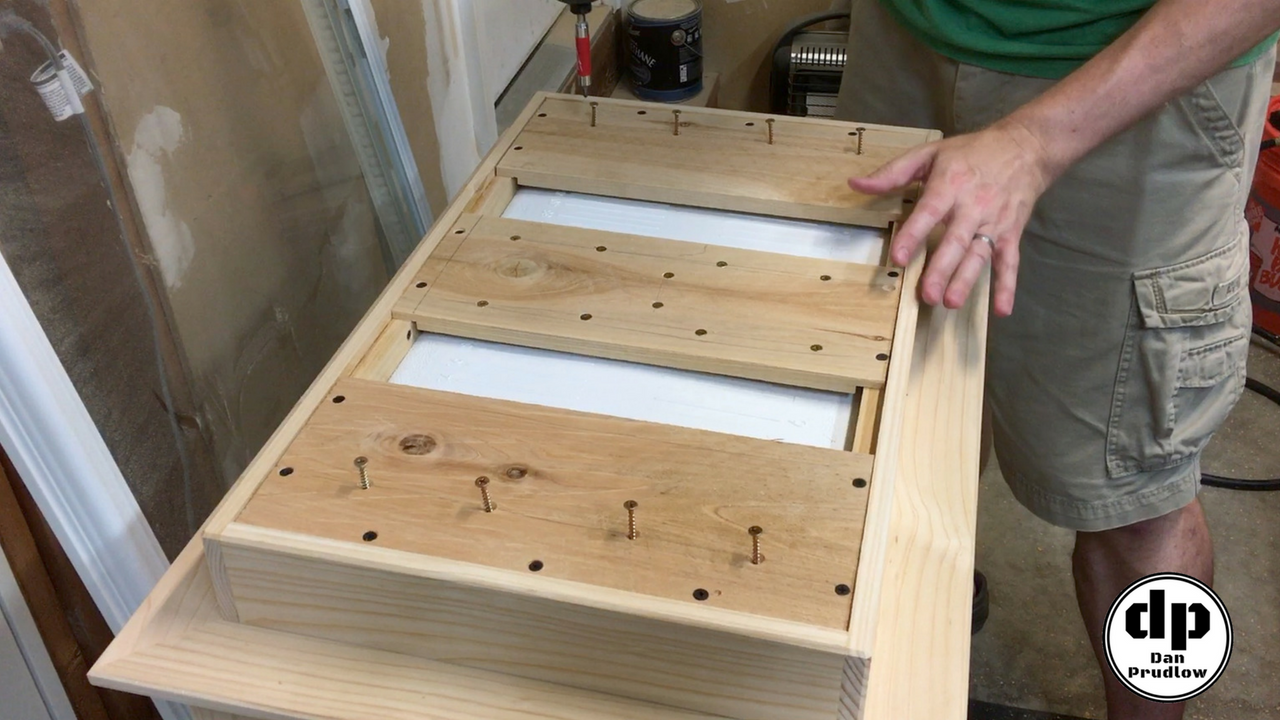
Attaching the Supports & Cooler Lid
The next step is to attach the cross supports using glue and screws. I then pre-drilled and countersunk a series of holes in the cross supports. It seems like a lot of screws and it’s probably a bit overboard but once the top lid slats are attached it will be impossible to add more screws if any don’t hold for some reason. For that reason I put way more screws than is really necessary to hold the lid to the cross supports. It’s important to make sure the screws going into the cooler lid actually puncture and thread into the lid.
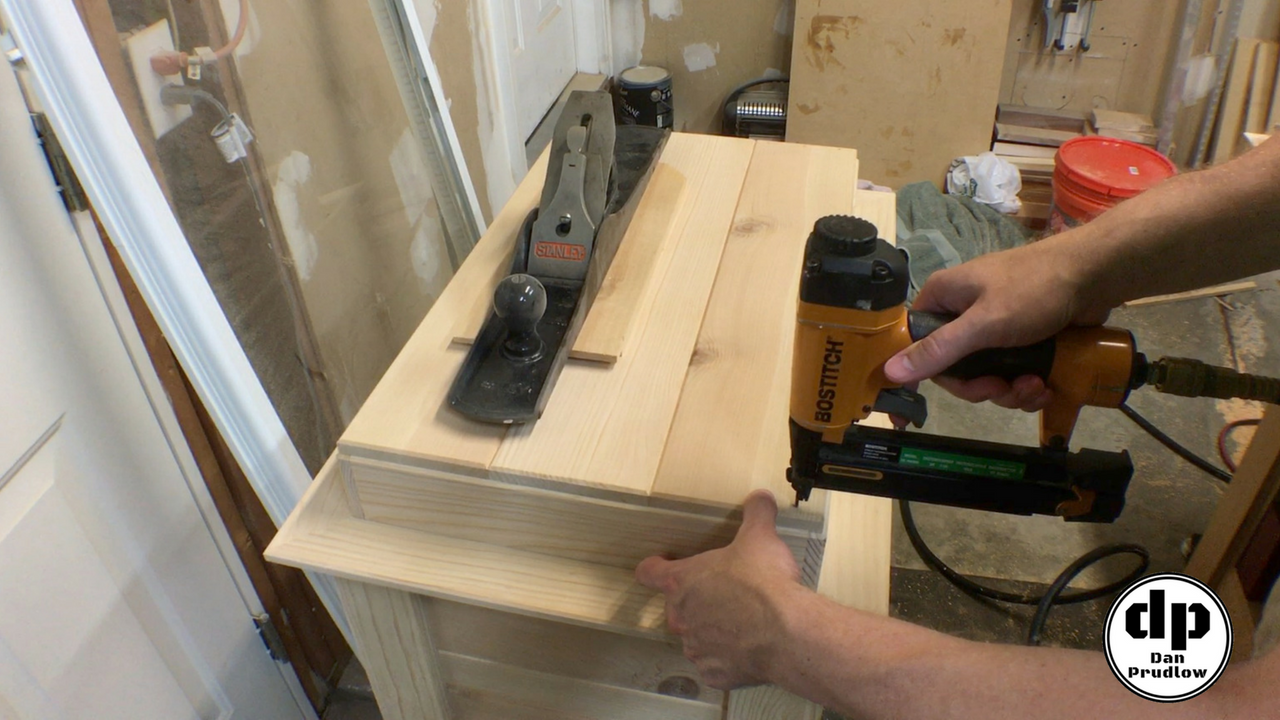
Completing the Lid
All of the internal support structure is complete so the next step is to attach the three top slats to complete the lid. These slats are another set of parts that I did not initially cut to final length early in the project. With the lid at final dimension I measured and cut the parts. Next I added the chamfer detail around all four sides. Finally, I laid the pieces in place and glued and nailed them in place. I used the weight of a large jointer plane to keep things from moving around as I attached each slat.
Finish and Hardware
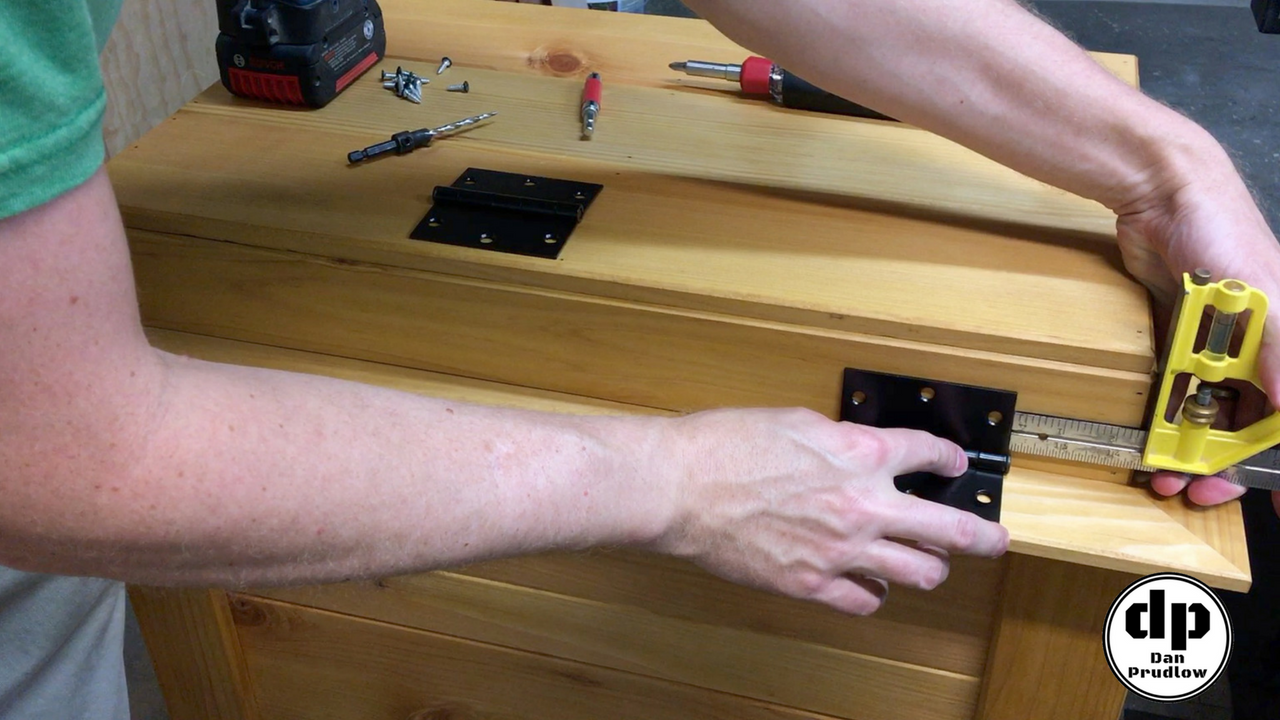
The cooler box construction is now complete so I moved on to the finish before adding any hardware. I applied a natural timber oil finish to keep things simple. Outdoor finishes take a beating from the sun and other elements so I didn’t want to spend a lot of time and money on an expensive finish. The timber oil can be refreshed every year or two as needed to keep the cooler box looking nice.
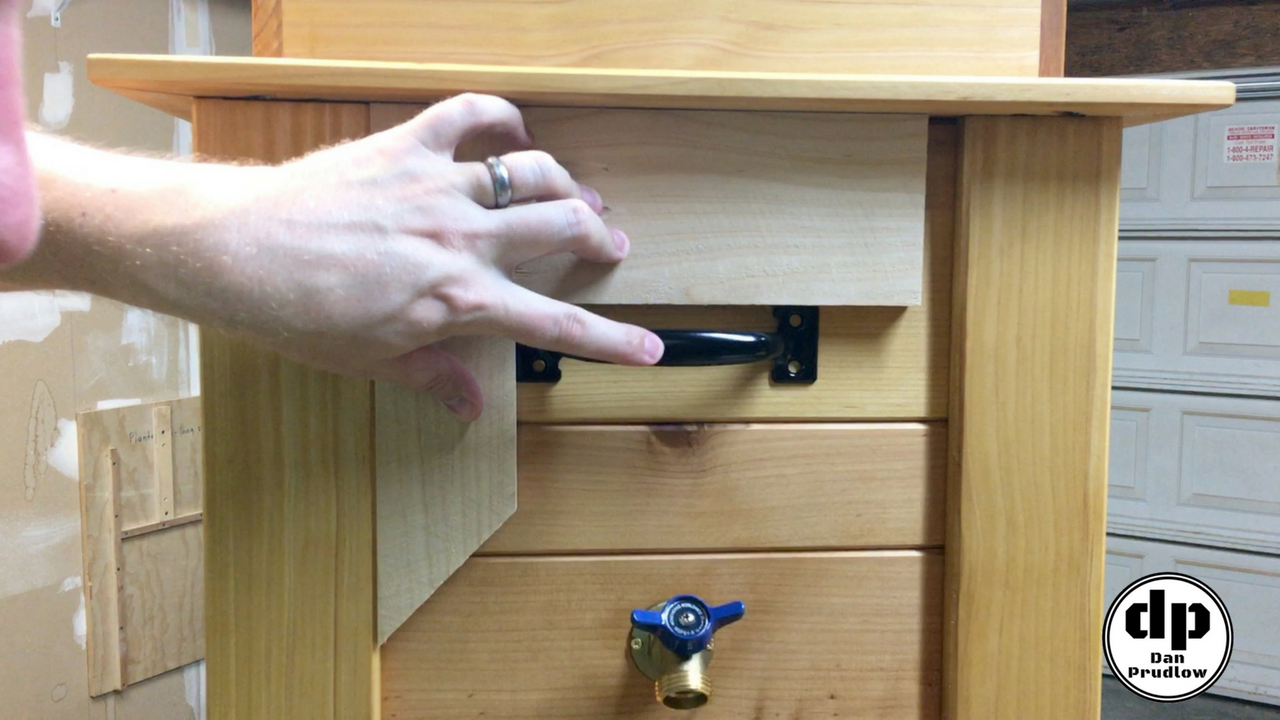
The hardware is also simple and inexpensive. The hinges are simple 3.5 inch black hinges. The handles are also black and are just a basic black painted metal. Again with the harsh outdoor elements I didn’t think it was worth spending a lot on these parts as they can easily be replaced if needed.
Final Details
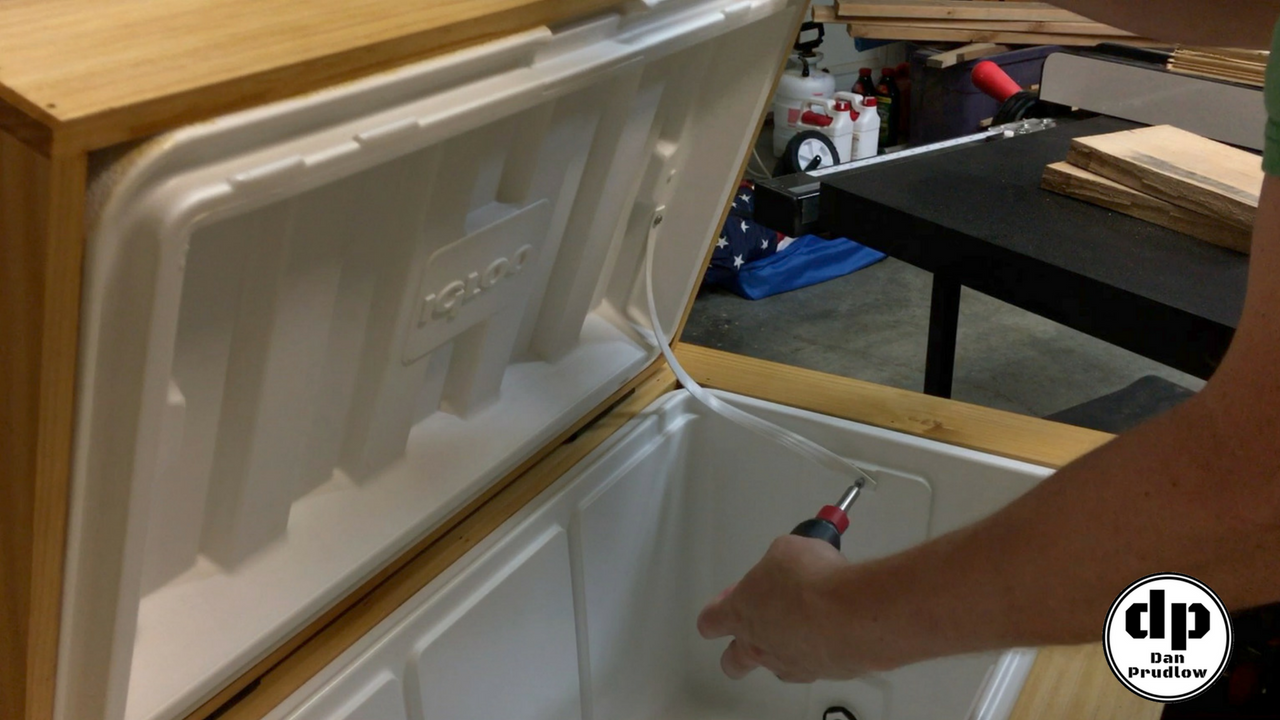
In addition to the hinges and handles I also added a bottle opener to the front…again just an inexpensive black painted piece from the home center. Finally, it’s a good idea to reattach the plastic strap to the inside of the cooler and lid to limit how far the lid can lean back. With the top frame only being about 1/2 inch thick and cedar being a softer wood you don’t want to repeatedly have the weight of the lid pressing back on the hinges and frame.
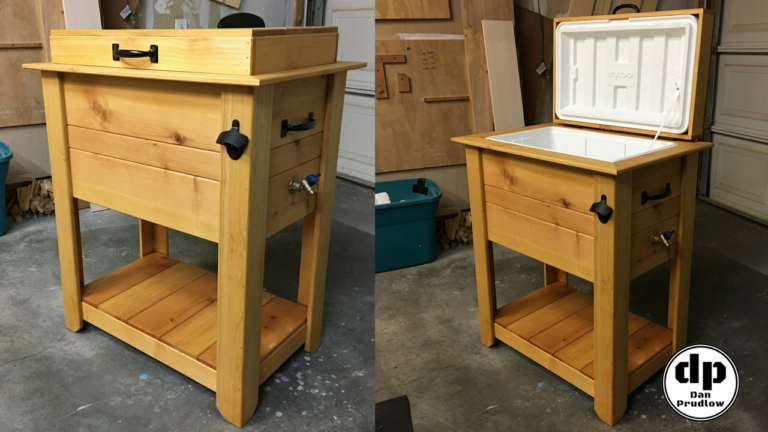
Project Wrap Up
That wraps up this cooler box project. This build was a lot of fun and will make a great addition to any outdoor living space. Not only is it functional as a cooler but it just looks cool! If you are interested in the plans that Donald at FunWithWoodworking put together follow the links below to check out his build video and website.
If you have any questions or comments leave them in the comments section below. You can also find me on Twitter and Instagram or you can send me a message via the contact page. Also, please be sure to get subscribed to my YouTube channel so you don’t miss any future builds!
You can find links to many of the tools, accessories, and finish products I use in my shop over on my Tools & Resourcespage.


Awesome! Everything so well done. From YouTube to article. Keep it coming! Sue
Thank you and thanks for stopping by! More projects coming soon.