Magnetic Organizer – Build a Magnetic Desk Organizer / Picture Frame
Why Build a Magnetic Organizer?
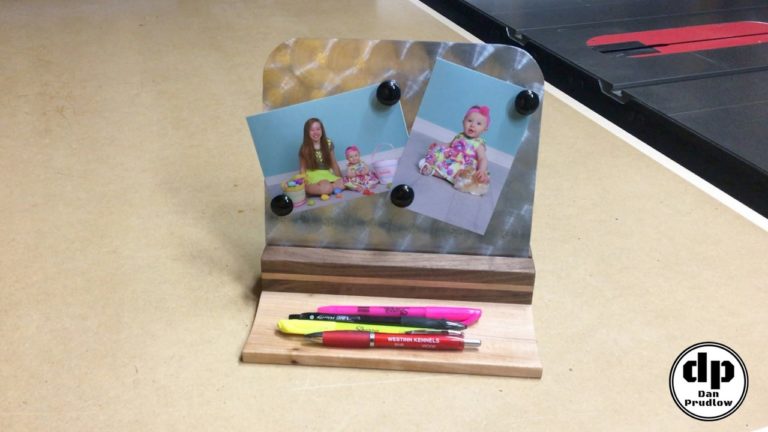
Everyone has a need for some sort of organization right? Most people have a desk or office space either at a job or at home and those spaces can quickly become a disorganized mess. This magnetic organizer is something I came up with to try to rein in the pens and pencils that end up laying all over the place. It’s a simple tray with a slight curve so the items don’t roll off. The metal piece is a great place to display a couple of family pictures or you could use for a “to-do” list or other notes and reminders that you want front and center. Let’s get started!
Working with Hardwood
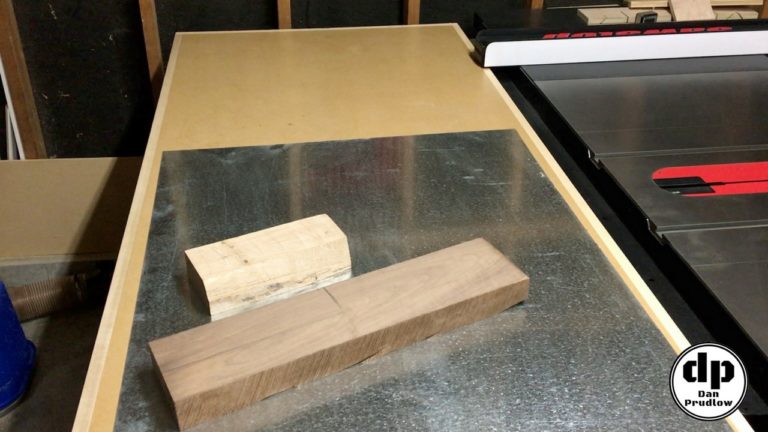
This magnetic organizer was my first project using hardwood stock. I stopped by my local hardwood dealer and searched through their large bin off cuts. Luck was on my side as I found a nice sized I grab piece of walnut in addition to a few other odd ball pieces. I’ve had the large piece of 26 gauge galvanized sheet metal on hand from a past project before my online content days so it was nice to find a use for a portion of it.
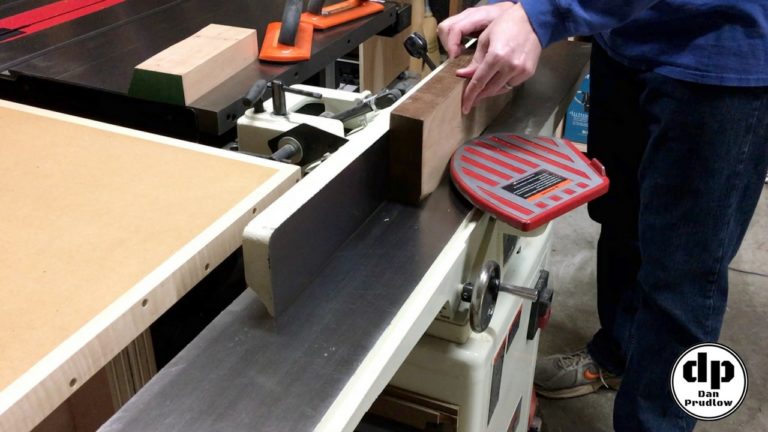
To start things off I took the stock over to the jointer to get one face and edge flat and square. The smaller pieces of stock made me a little nervous on the jointer. Fortunately the stock was already pretty flat so I just took a couple of really light passes. The walnut milled up nicely and was much bigger so it was easier to work with.
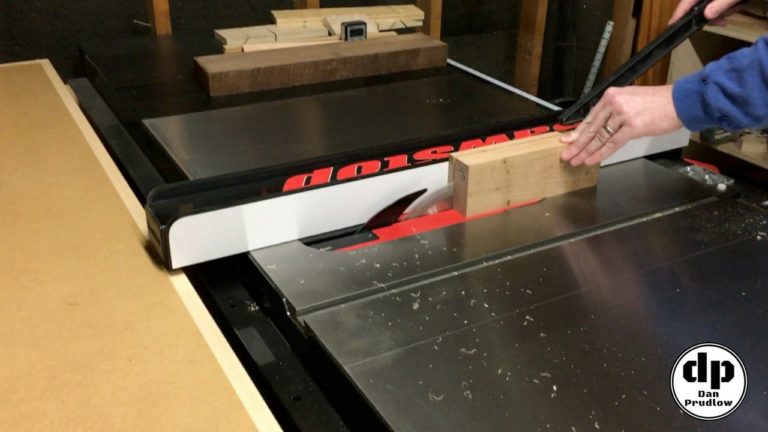
Next I moved over to the table saw. First I re-sawed the smaller piece into a couple of thiner pieces. A bandsaw would be a much better option for this procedure but I took my time and it worked just fine.
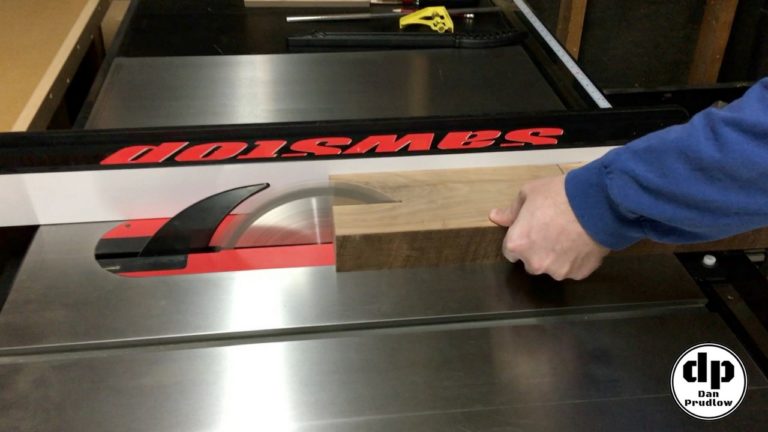
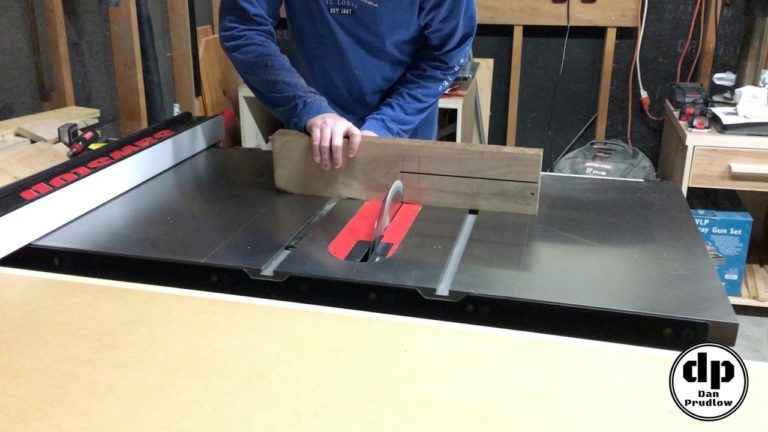
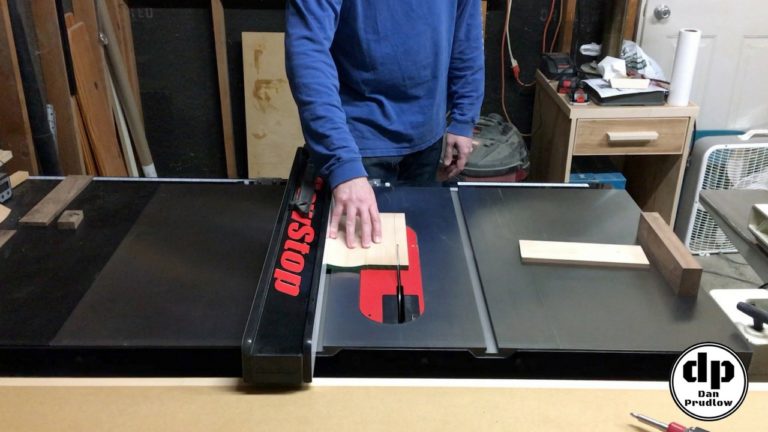
I only needed a small piece of the walnut and did not want to rip the whole thing in half so I raised the blade on the saw to max height and made the first cut, stopping right at my line. This created a little bit of an undercut in the rest of the board but it was better than cutting the whole thing in half!
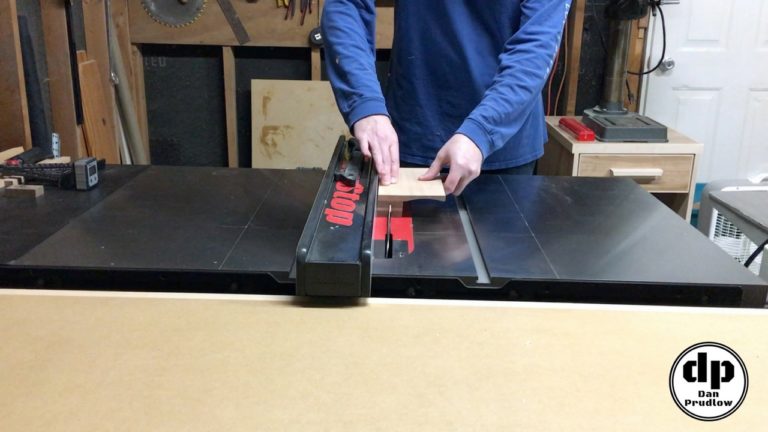
To complete the cut in the walnut I adjusted the blade height to match the height of the cut and then used my miter gauge to push the board through to complete the cut.
Cutting Coves at the Table Saw
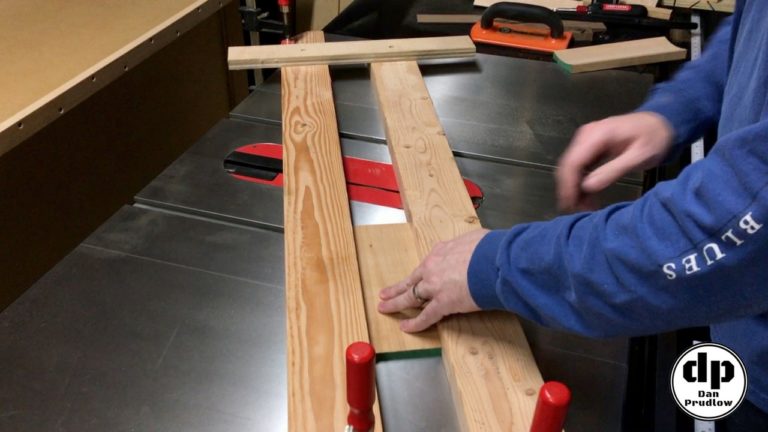
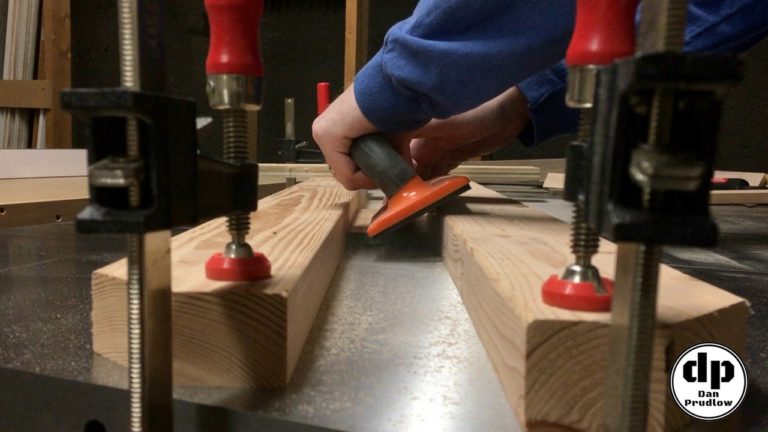
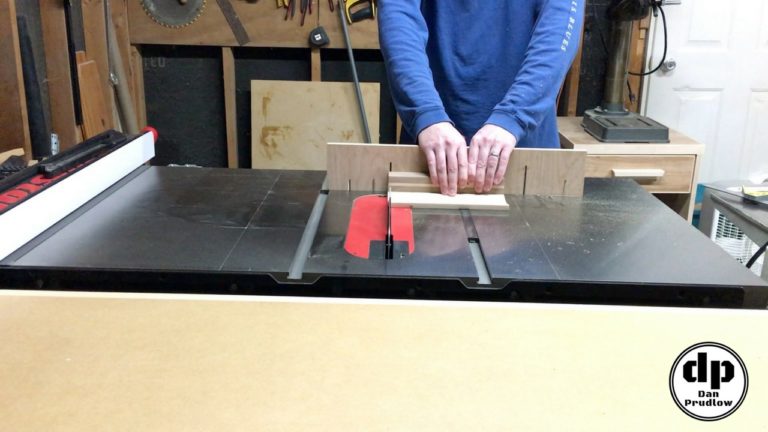
For the pen/pencil tray portion of the magnetic organizer I wanted to create a cove profile. I started by grabbing a couple pieces of 2×4 lumber and used the jointer to get one flat face and one flat edge to serve as the guide fences for a cove cutting jig for the table saw. The idea here is to create a channel that the board can sit in and be pushed across the blade at a slight angle. The shape of the resulting cove will depend on the angle and the position over the blade. It is possible to create various different profiles this way.
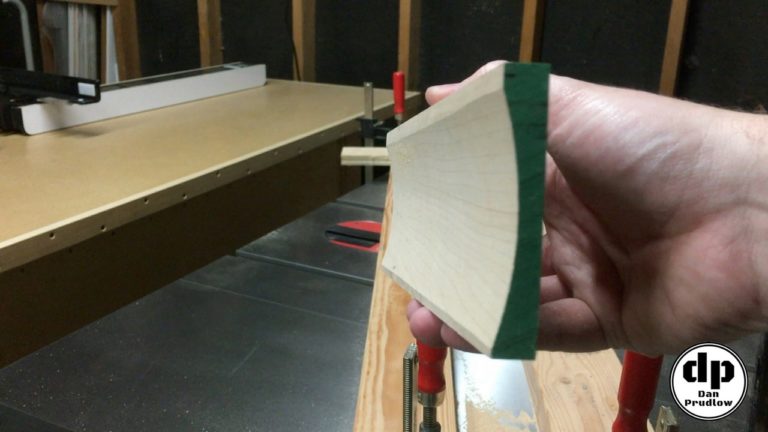
For this magnetic organizer I wanted a nice equal curve so I did a number of test cuts to get the profile correct. Next, I took several passes while raising the blade just a slight amount each time until I had the depth of the curve I wanted.
Creating the Base
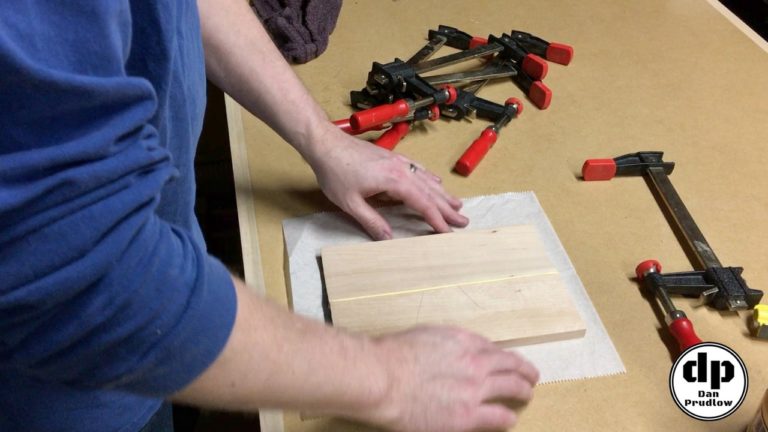
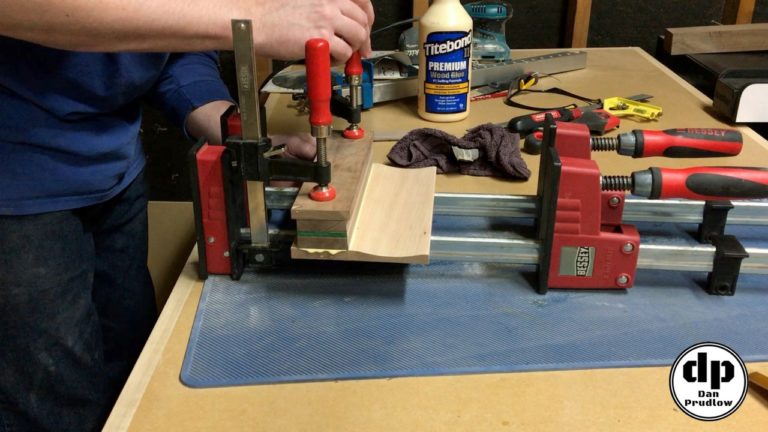
To complete the base of the magnetic organizer I glued this cove profile piece to another flat piece of the same stock and set it aside to dry. Be sure to keep the pieces even with each other along the seam so that you don’t have to remove a bunch of material to get them even with each other later. If you have to take off a lot of material you could end up messing up the cove profile piece and have to start over.
With the base dry I took it over to the table saw and trimmed it down to final width. Be sure to pay attention to your cut here…you don’t want to cut your cove side off! This piece can now be set aside while we work on the block that will hold the metal plate.
Re-sawing at the Table Saw
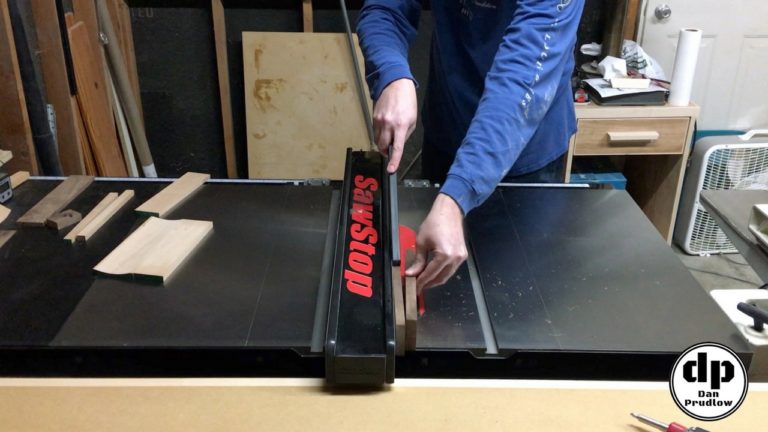
To get started on the block that will go on top of the base and hold the metal plate I first split the walnut piece in half. To make sure both pieces were the same thickness I took time to get the table saw fence set up so the cut would go perfectly down the middle. As with other re-saw operations a bandsaw would be a better option but at the time of this build I did not have one in my shop.
Creating the Vertical Block
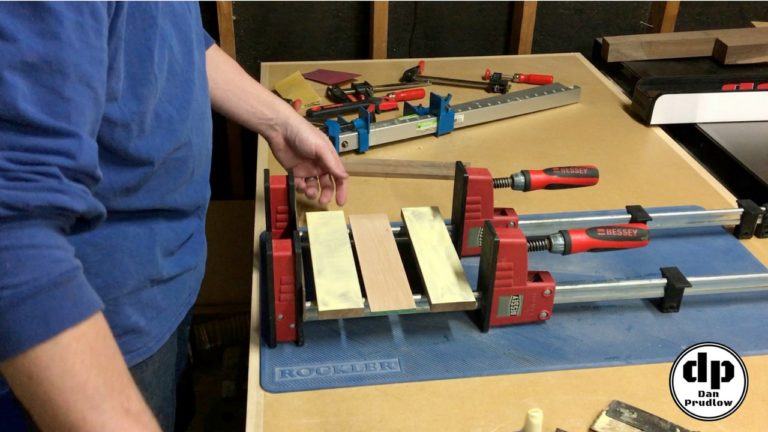
After stacking the walnut with the lighter wood the block looked just a little too tall on the base so I ran the parts through the planer a couple times to take off some of the thickness. With everything planed down I laminated the three pieces together and left them to dry overnight.
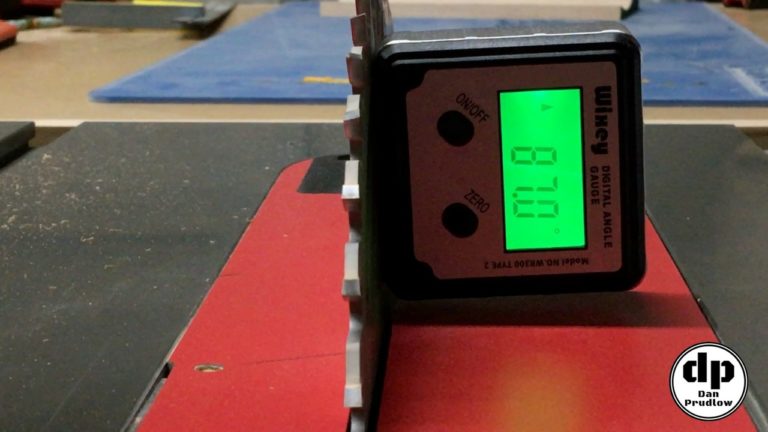
Once dry I removed the clamps and passed one face over the jointer a couple times to take off the glue squeeze out and bring the parts flush. I then went to the table saw to flush the other side and then I set my blade to 87 degrees and cut a 3 degree bevel on the front face of the piece. I though this might make it look a little less plain in the final product.
Joining the Parts Together
With the piece shaped to my liking I went ahead and glued it to the base being sure to keep the front edge equally spaced off the front of the base. You can always trim the back side a little…you can’t fix the front once it’s glued on. A little pro tip on glue squeeze out in a tight corner where you don’t want it to smear all over the surfaces. Use a straw and sort of push it into the corner and then slide across the joint. The glue will usually push up inside the straw instead of getting all over the faces of your parts. At the very least you can just take a little glue at a time and use a rag to clean the straw off before going back for more.
Sheet Metal Work
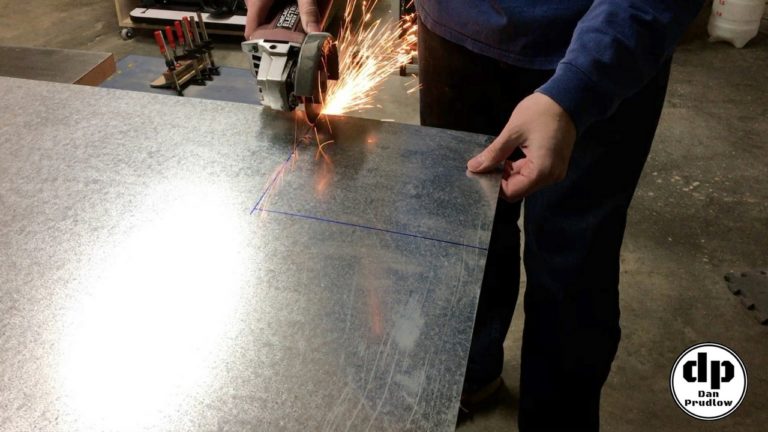
While the base parts of the magnetic organizer dry I moved on to the metal plate. I marked out a square on the sheet, I think it was around 9 inches square. I cut the piece out using an angle grinder with a thin cutoff wheel.
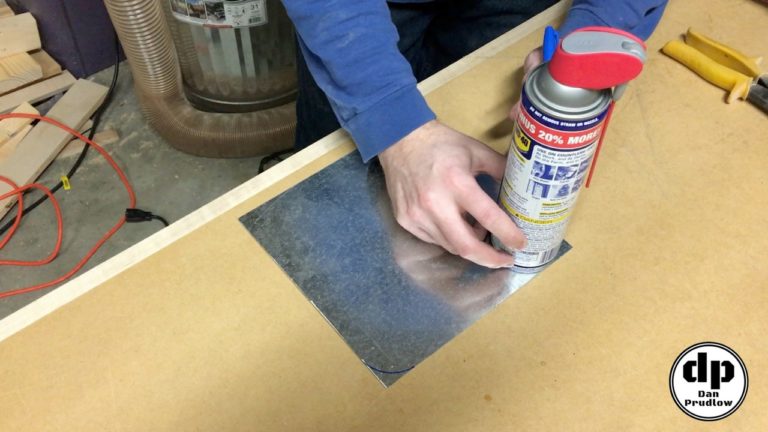
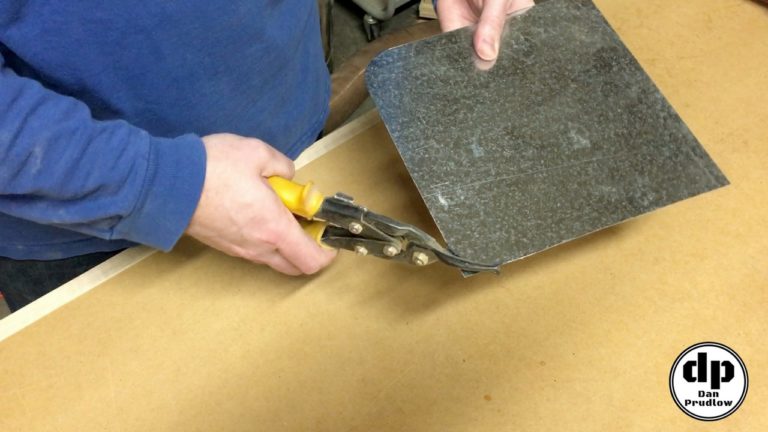
After getting the square cut I used the base of a can of WD-40 to mark round edges for the top of the piece and then used a pair of snips to cut the radius on each side. I also nipped the sharp corners off the bottom while I had the snips out.
Swirl Effect
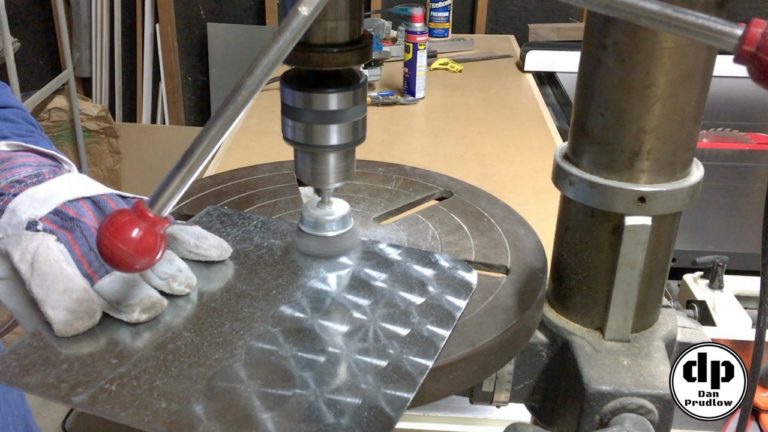
The next step is to remove any burs from the cut edges and I did this at the drill press with a wire wheel. I’m sure there are better ways but this is all I had on hand that would get the job done. I then chucked up a wire cup brush in the drill press and made overlapping swirl marks in the face of the metal. This gives a more interesting and eye catching look than just the plain metal and it’s really easy to do…just light pressure with the drill press for a second or two leaves a nice swirl mark.
Trimming to Final Dimensions
With the metal plate done and the base glue up dry I took the base over to the table saw and trimmed the sides square. I then titled the blade back to 87 degrees again and cut about and inch deep kerf line through the block. This is where the metal plate will sit. Cutting at a slight angle allows the metal to lean back just a little when it sits in the slot.
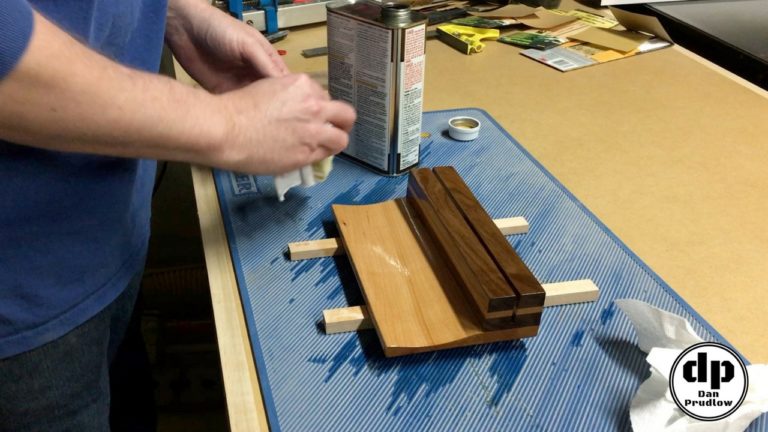
The only thing left was some final sanding and then applying finish. For this project I used danish oil. I applied a heavy coat and let it sit for a bit to absorb into the wood and then cleaned up the excess with a clean rag. The walnut grain really pops when the finish goes on!
Ready for the Desk
That brings this magnetic organizer project to completion. This was a fun little project to get my feet wet working with hardwood lumber. I have it on my desk at work now and it’s pretty handy to just toss my pens in when I’m not using them.
If you have any questions or comments leave them in the comments section below. You can also find me on Twitter and Instagram or you can send me a message via the contact page. Also, please be sure to get subscribed to my YouTube channel so you don’t miss any future builds!
You can find links to many of the tools, accessories, and finish products I use in my shop over on my Tools & Resources page.
Thanks for stopping by!
Dan

