Keyboard Tray with Reclaimed Hardware – Easy Desk Upgrade
Enhancing an Old Desk
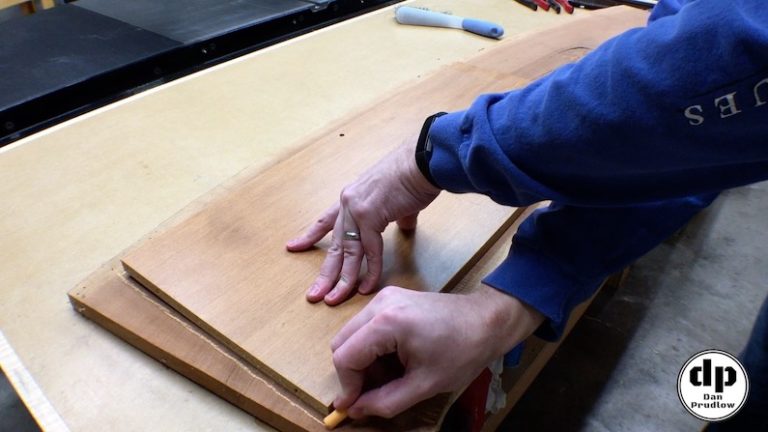
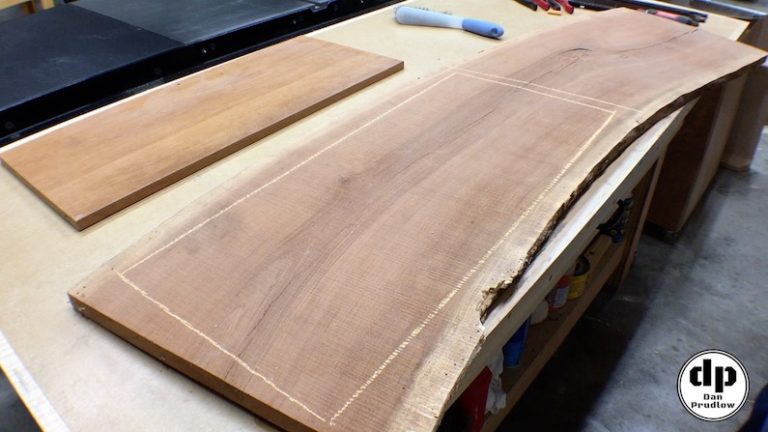
This project is a rather simple build. We bought a used desk for our home office but it did not have have a roll out tray for the keyboard and mouse. I’ve had this rather large and awkward piece of cherry sitting around for a while and figured this would be a good use for it. After busting the old crappy desk apart I snagged the keyboard tray hardware and then got to work. I used the old tray as a guide to mark out the rough dimensions.
Reclaiming the old Keyboard Tray Hardware
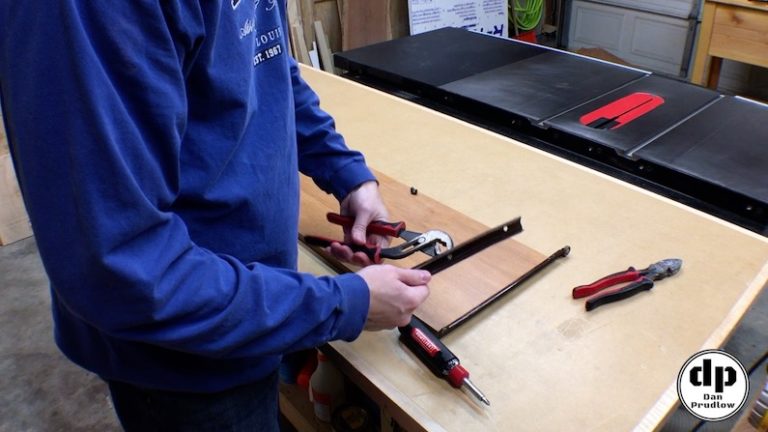
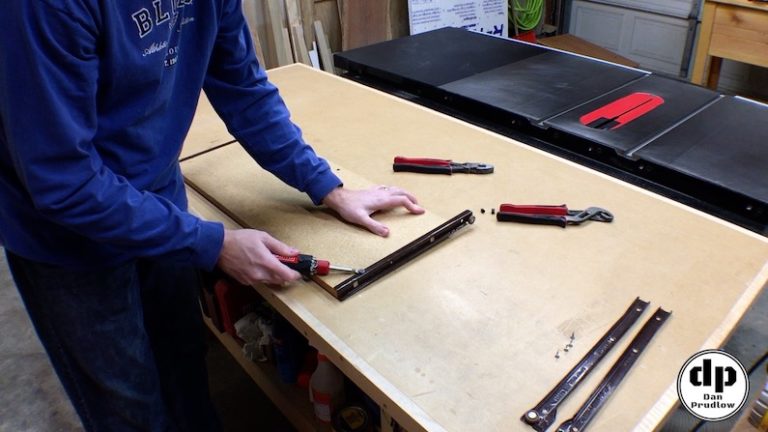
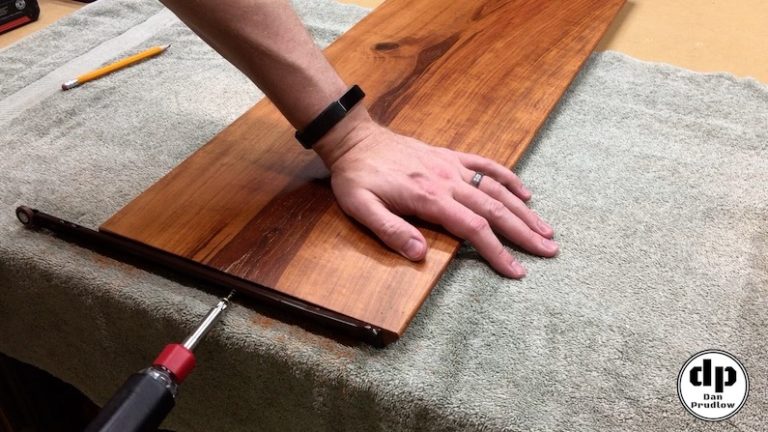
I didn’t really want to buy new hardware for this project. The old desk had a keyboard tray and was going to the garbage anyway so I removed the slides and set them aside before getting started with the build.
Breaking Down the Lumber
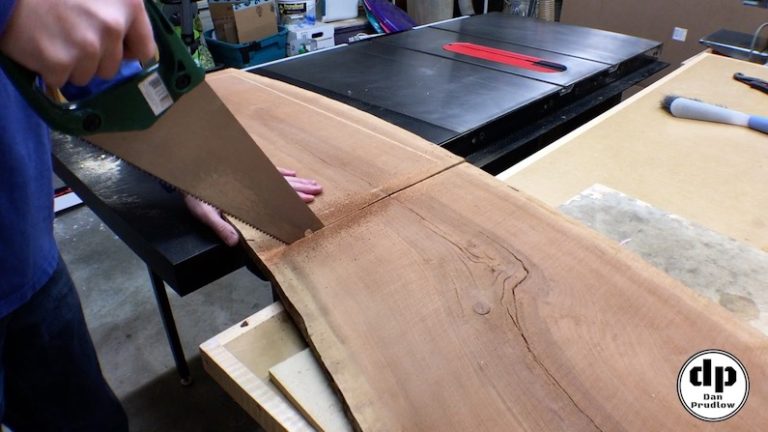
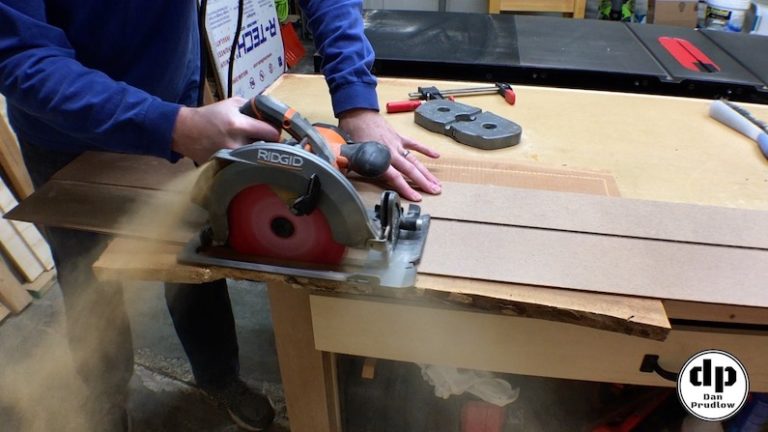
To get started I positioned the old keyboard tray on the piece of cherry in a spot that had the least amount of defects to work around. Next I marked the location with chalk and made the first rough cut using a hand saw. This board had a large curve shape and was quite wide so the hand saw was the quickest and probably safest way to make this first cut. After cutting the section free I used my circular saw guide to cut one straight edge.
Milling the Rough Lumber
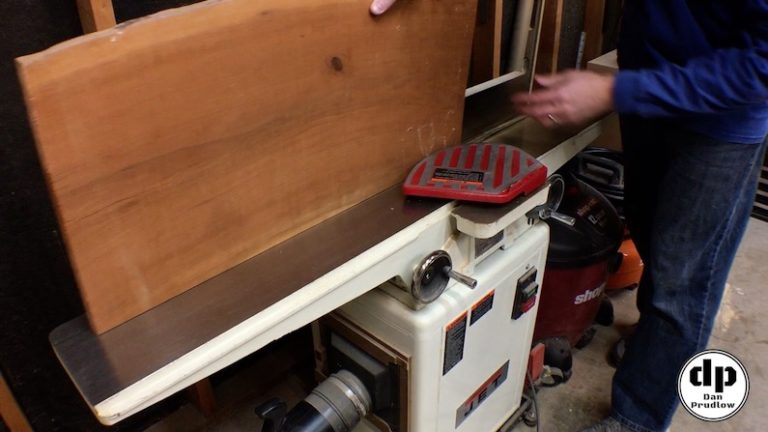
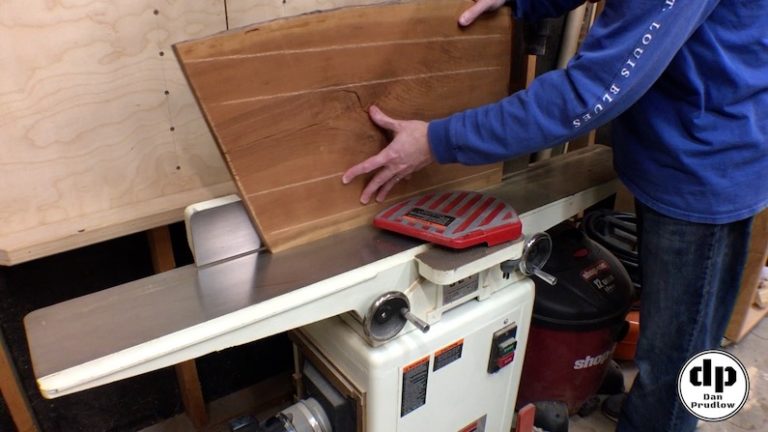
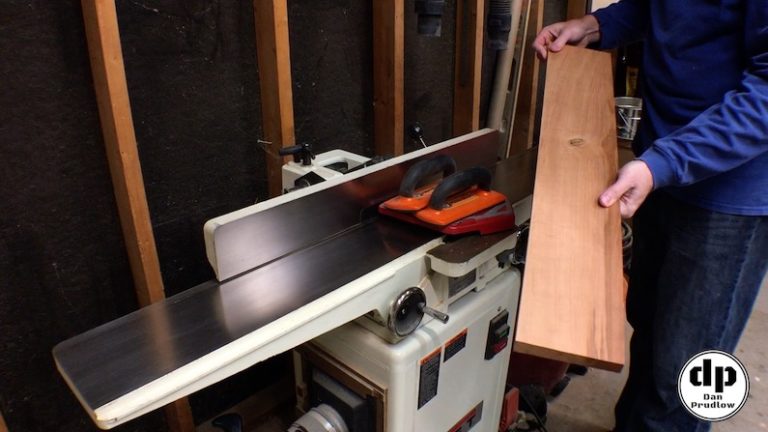
After making the initial cut to establish a straight edge I moved over to the jointer to make a few passes. This is primarily just to make sure the edge is nice and straight to reference against the table saw fence. In addition the the stock for the keyboard tray itself I also jointed once edge of the other section of the original cherry board. One section of this will be used to mount the keyboard tray later.
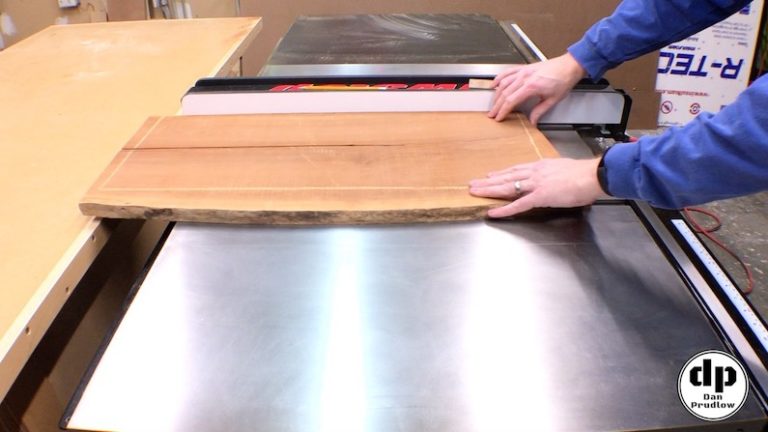
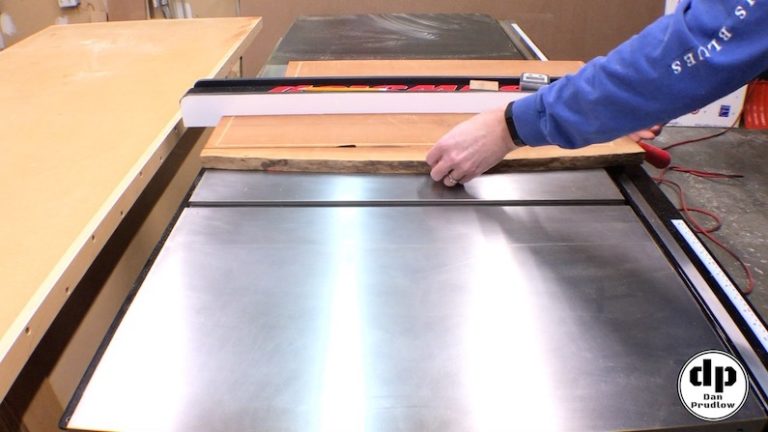
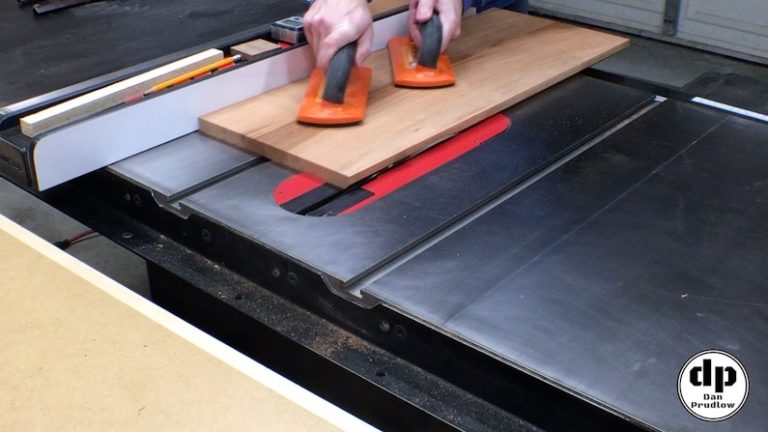
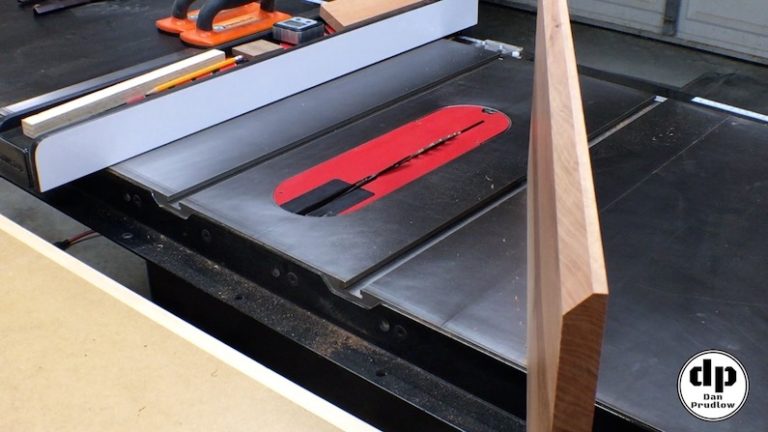
The next step was to break down the larger pieces. The stock for the top had a pretty significant crack down the middle so I cut this section out on the table saw. The other large piece had pretty big cracks as well so I cut away the two good sections of the board and tossed the rest in the scrap bin.
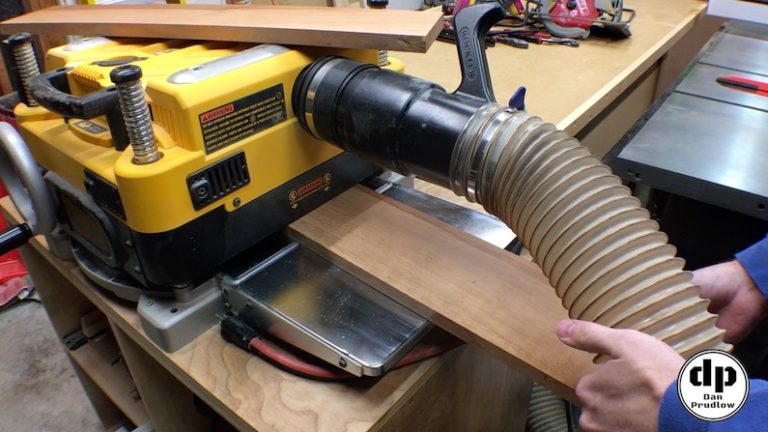
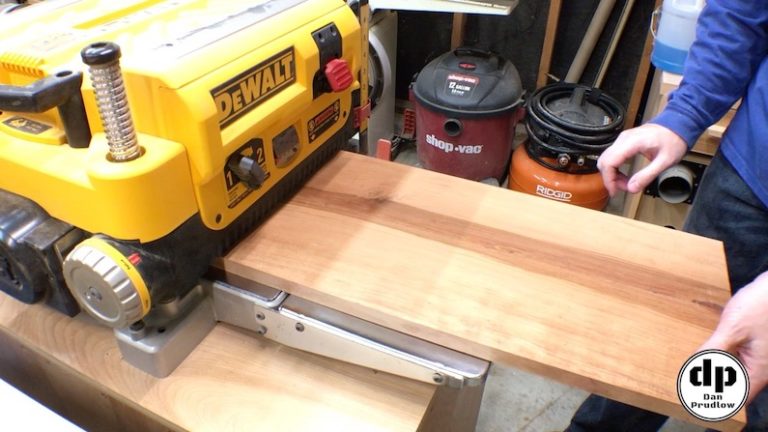
Finally, it was back to the jointer to make one face nice and flat and then over to the planer to square things up and clean up the final rough face. Working with rough lumber can be a bit of a chore but when you see the color and grain revealed by the milling process it makes it all worth it!
The Glue Up
With the parts milled square I let them sit for a couple days to make sure they were not going to twist or bow on me. This lumber was air dried for a long time before I acquired it and then it sat in my shot for another year or more. I figured it was plenty dry and not going to move but didn’t want to risk it.
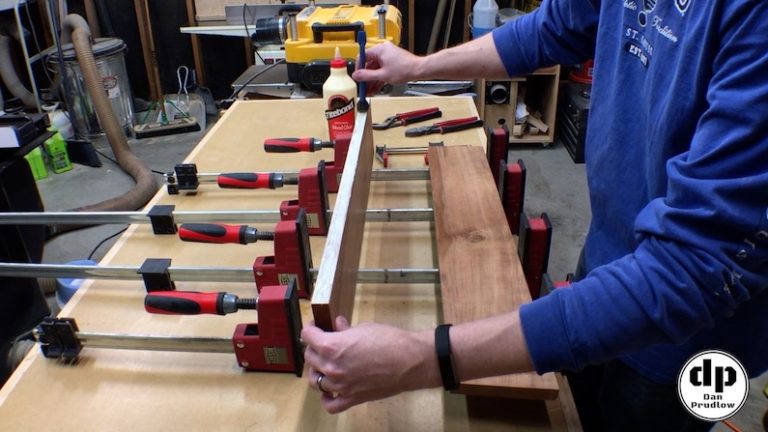
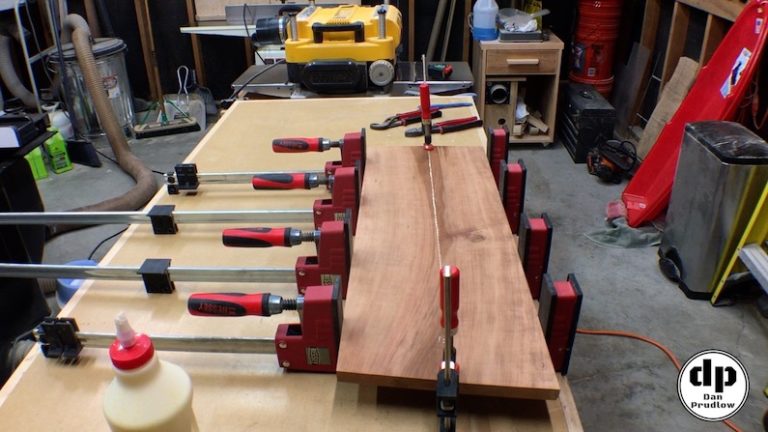
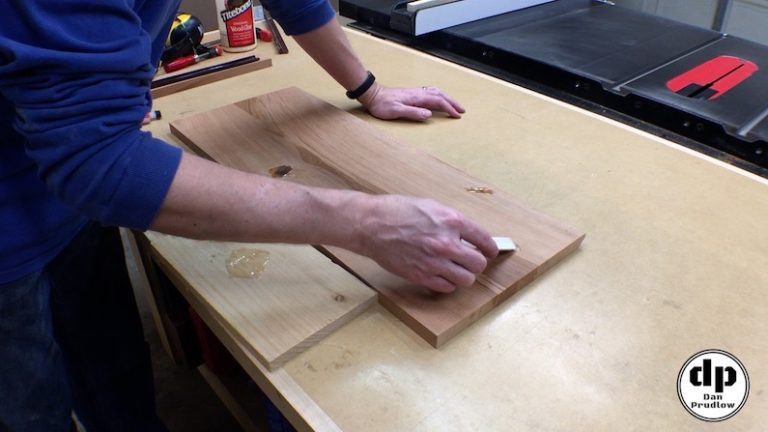
If you recall earlier I cut the tray stock into two pieces in order to remove a large crack so now it was time to glue the sections back together. I spread an even amount of glue and applied the clamps. I also put a clamp on each end of the seam to keep the two board aligned while the glue dried. With the glue dry I remove the clamps and sent it back through the planer to clean up the surfaces.
Keyboard Tray Final Dimensions
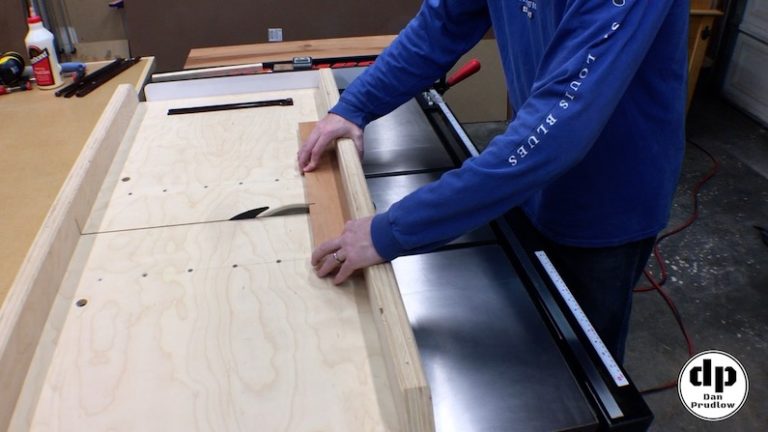
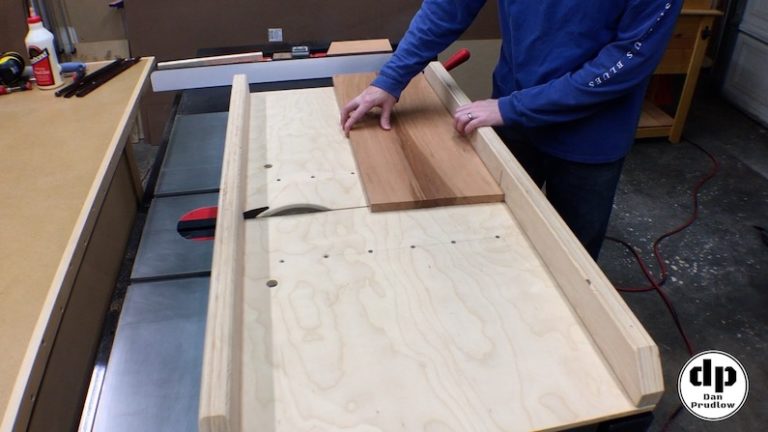
Back at the table saw I used my crosscut sled to cut the mounting piece and the keyboard tray itself down to final dimensions. The tray ended up at 27 1/4 by 11 inches. Next I added a pretty good size chamfer to the underside of the front edge to dress it up a bit. I also put a very small chamfer on the top of the front edge to remove the sharp corner.
Finish Prep and Finish
The keyboard tray was now ready for a little bit of finish prep. There were a number of small voids, a couple knots, and some small bug holes in the surface. I mixed up a little bit of five minute epoxy and filled in these defects. I gave the epoxy overnight to fully harden before sanding it smooth. With everything sanded it was time for finish!
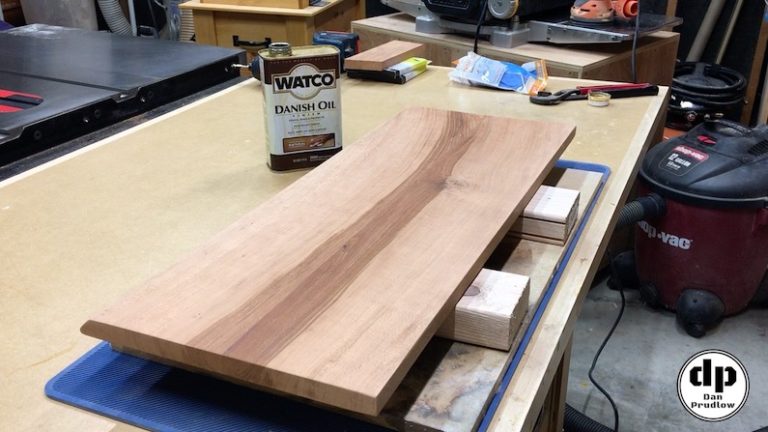
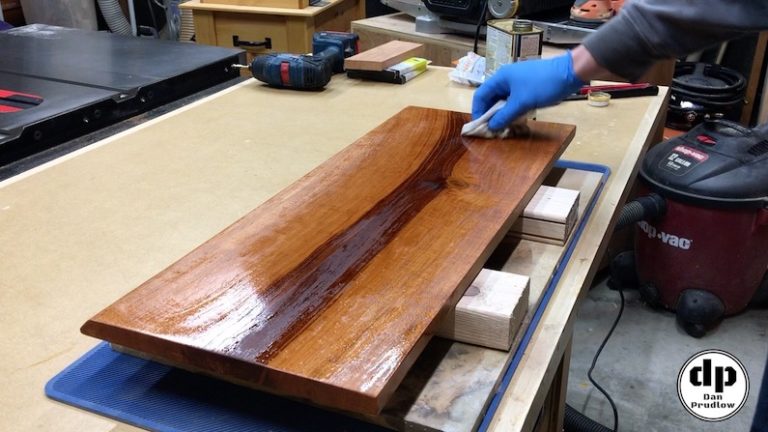
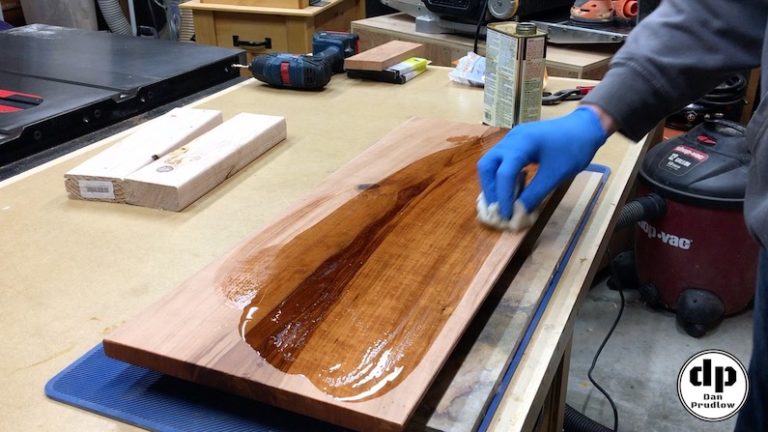
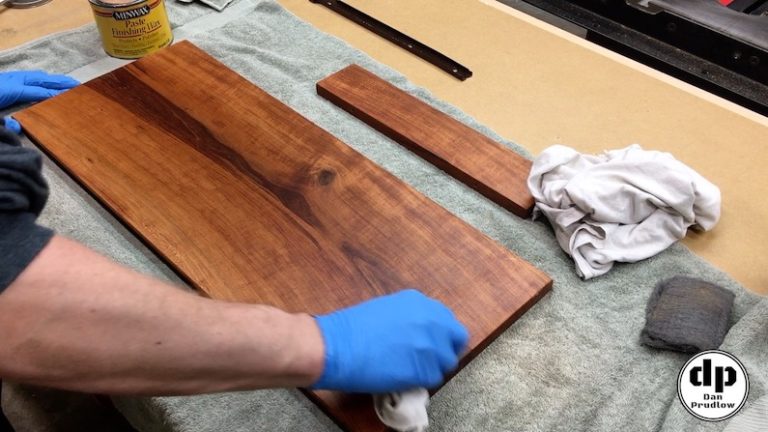
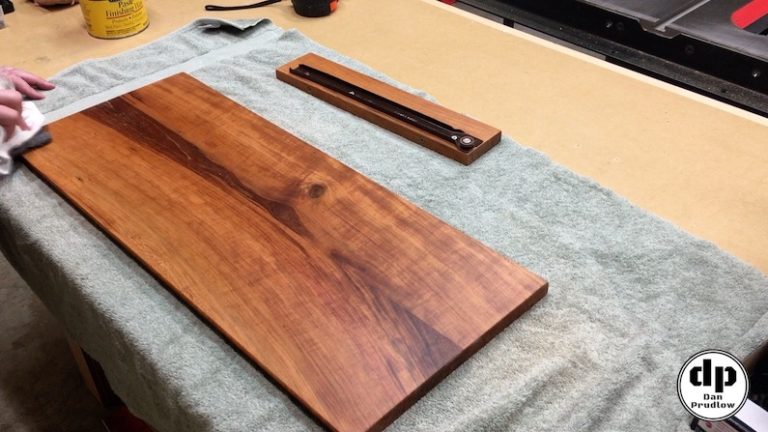
The finish is pretty simple as I just went with a couple coats of danish oil. The oil really makes the color and grain pop and should provide plenty of protection for this piece. As a final step I added a coat of paste wax and then buffed the surface with 0000 steal wool. The resulting finish is very even and super smooth to the touch.
Attaching the Keyboard Tray Hardware
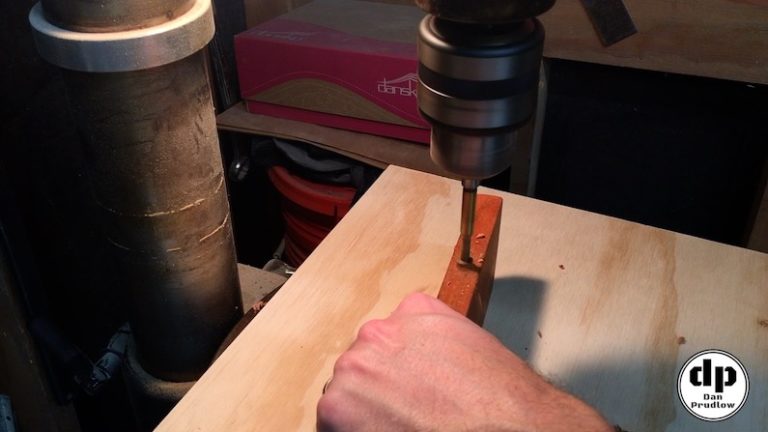
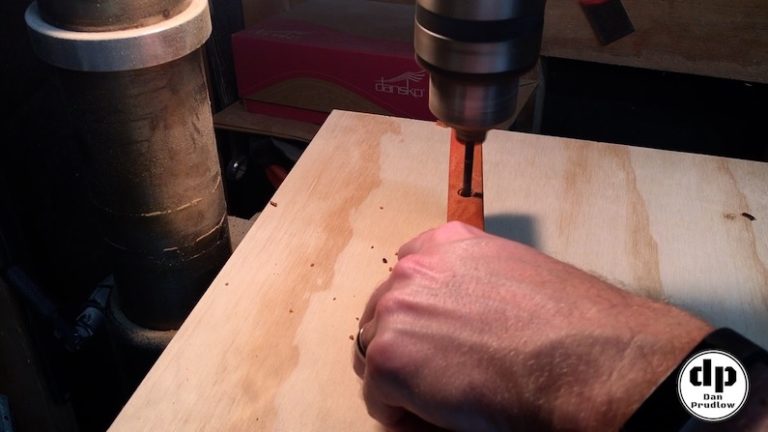
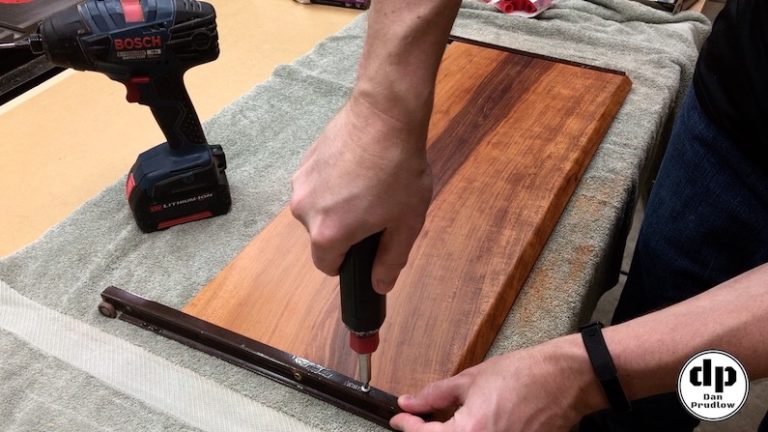
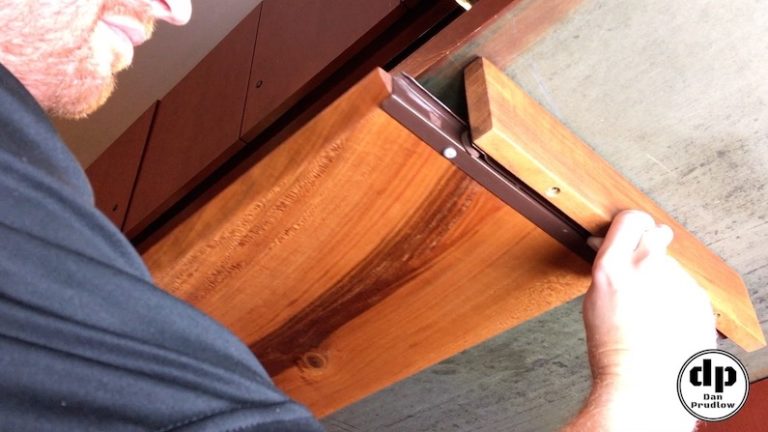
I gave the finished piece a few days for the finish to fully cure before attaching the hardware. The left side of the keyboard tray is mounted to the existing desk. The right side needed the additional board attached to the underside of the desktop in order to mount the slide. I was using 3 inch screws and my desktop is about 1 1/4 inches thick. I used a forstener bit to drill a pretty deep counterbore that would allow the end of the screw to sink about an inch or so into the desktop. Next I used a regular drill bit to finish pre=drilling the hold all the way through.
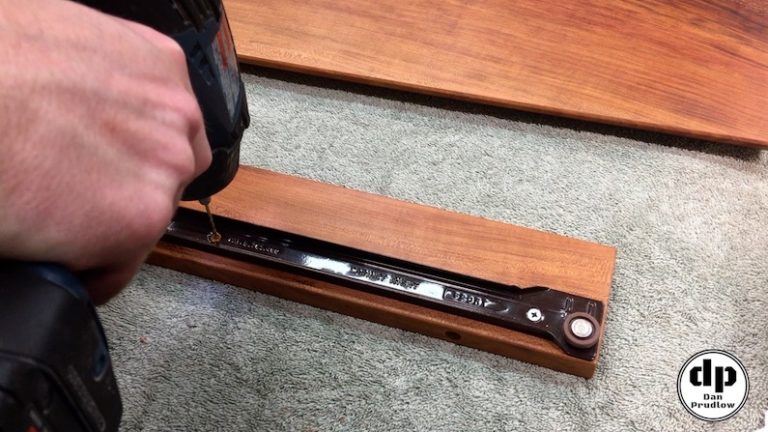
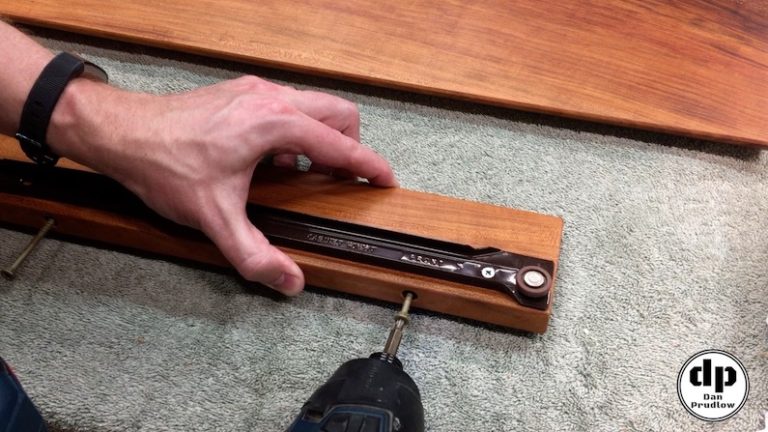
After drilling the mounting holes I moved on to attaching the slides. This was pretty straightforward. I attached each section of the slide to the appropriate side of the keyboard tray and then mounted the matching section of the right side slide to the mounting block that I just pre-drilled mounting hole for. With all of the hardware attached it was just a matter of lining up the mounting block under the desk, pre-drilling, and driving the screws in. To mark the holes I let the tips of the screws protrude out slightly, lined the block up, then gave it a tap to create indent marks where the screws would go.
Project Wrap Up
That wraps up the keyboard tray project. This project was not overly complicated but it was definitely worth the time and effort. I’m very please with how it turned out and since I already had the lumber on hand it didn’t really cost me anything to make.
If you have any questions or comments leave them in the comments section below. You can also find me on Twitter and Instagram or you can send me a message via the contact page. Also, please be sure to get subscribed to my YouTube channel so you don’t miss any future builds!
You can find links to many of the tools, accessories, and finish products I use in my shop over on my Tools & Resources page.
Thanks for stopping by!
Dan


