Crosscut Sled – How to Build a Simple Crosscut Sled
Why You Should Build a Crosscut Sled
The table saw is the centerpiece of most woodworking shops but they can do way more than just rip wide boards into skinny boards. A good table saw is a very versatile machine that can do a large variety of tasks with simple shop made jigs. One of the first jigs you should build is a crosscut sled. In this video/article we will go through the steps on how to build a simple crosscut sled.
A crosscut sled makes it possible to make accurate and repeatable cuts and make those cuts safely. Once you have the fence dialed in to a perfect 90 degrees to the blade you can square off the ends of boards, make repeat cuts of the same length using a simple stop block clamped to the fence. With additional accessories you can make all sorts of miter cuts at various angles. It really is a workhorse of a jig.
Don’t Over Complicate Your First Crosscut Sled
For my crosscut sled I wanted to keep it simple so that anyone new to woodworking could build it with minimal tools. I can always go back and build a more complex crosscut sled with more features later but for now I just need one that will get me those perfect 90 degree cuts. This sled is made from a 2×4 foot piece of 1/2 inch plywood and the fence and rear rail are both two laminated strips of 3/4 inch plywood that were cut from a 2×4 foot panel. The runners are made from an inexpensive poly cutting board.
Let’s Get Started
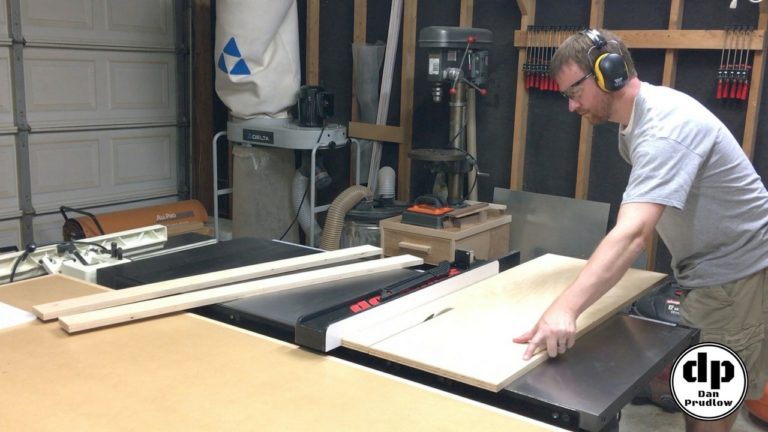
I started by trimming one edge of the 3/4 plywood to clean up the factory edge a little. Next, I cut my 4 strips at 3.5 inches wide. In hindsight I should have made these wider to accommodate the saw blade at max height. As they are now I cannot raise the blade all the way up without cutting completely through the fence. Many crosscut sleds I’ve seen have extra height added just for the center section of the fence. Either method would work…I just didn’t think things through before choosing the height of my fence rails. Lesson learned!
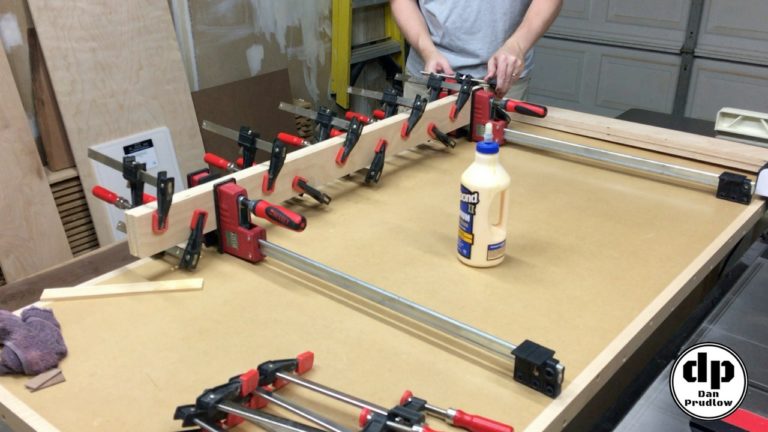
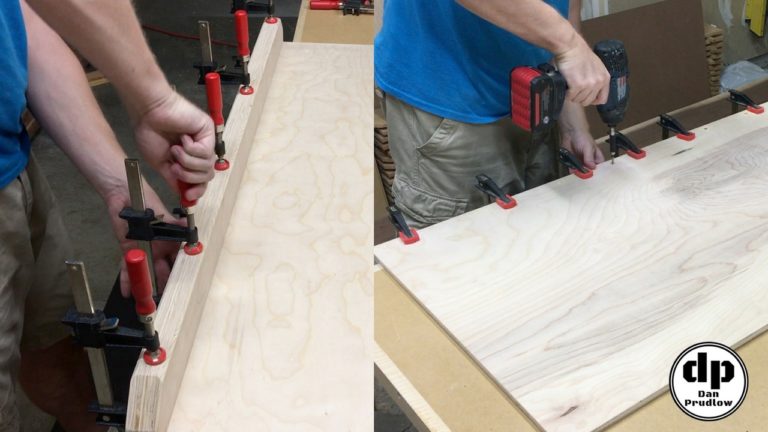
After cutting the strips for the rear rail and fence it was time to laminate the pairs together. I loaded them up with glue and a lot of clamps. One tip to note here which I picked up from a video from Matt Cremona is to offset the two pieces by 1/16th of an inch or so. This will give you a nice reference edge to run against the table saw fence when you trim these down after the glue dries.
Inexpensive Miter Slot Runners
While the glue was drying on those pieces I turned my attention to the runners. The runners are the pieces that will ride in the miter slots of the saw to keep the crosscut sled properly aligned with the blade. It’s important to note that you should make sure you miter slots are perfectly parallel with the blade and make sure the fence is perfectly parallel to the miter slots before proceeding any further. It wont do much good to make a sled that is not running perfectly parallel to the blade.
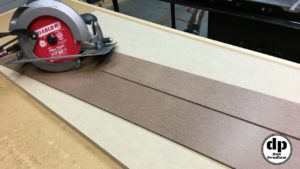
To make the runners I used an inexpensive poly cutting board. The advantage of this plastic material is that it won’t expand and contract with changes in temperature/humidity. Once you have them dialed in to fit the miter slot you don’t need to worry about them suddenly having a lot of slop or not being able to move at all!
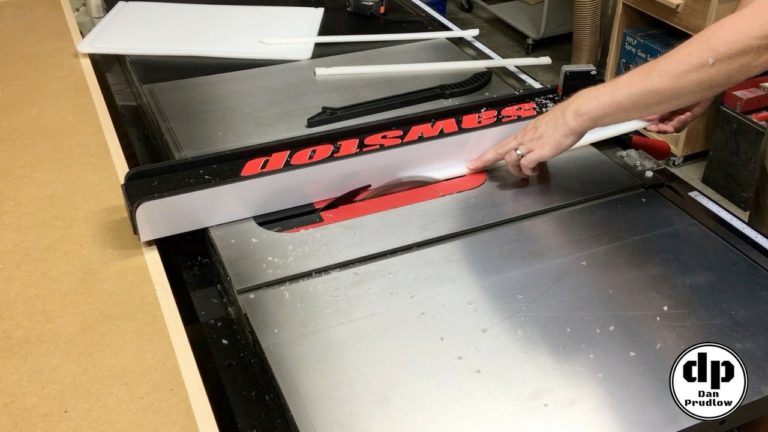
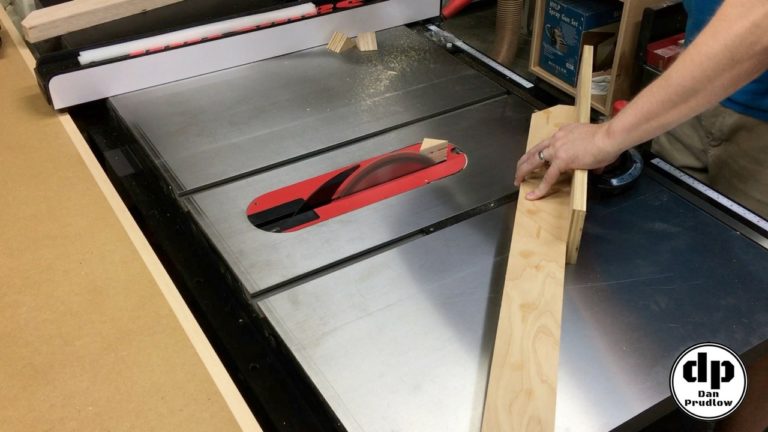
I first cut a piece that I knew was a little wider than the miter slot and then slowly bumped the fence over and made test cuts at the very end of the runner until it fit perfectly in the miter slot. Once I had the fit right I trimmed the rest of that runner and cut a few more just to have some extras. Make sure you have a sharp and clean blade for this operation to avoid rough edges and/or melted plastic from heat build-up.
Finishing Up the Fences
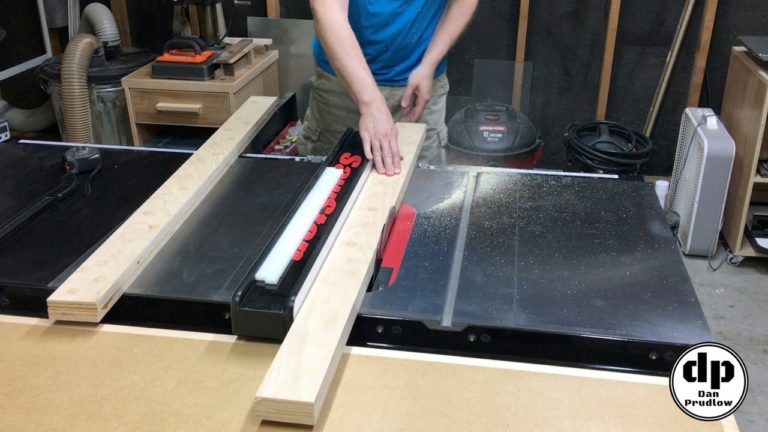
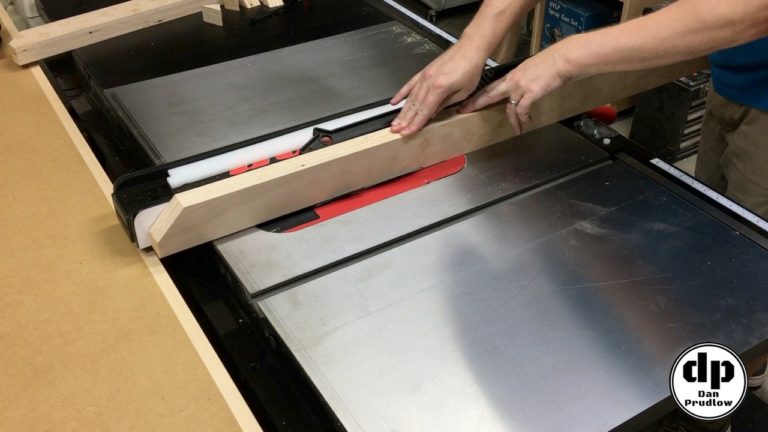
With the rear rail and fence parts dry I ran them through the table saw to clean up the edges. This is where that 1/16th offset I mentioned above comes in handy.
After cleaning up the edges I used my miter gauge set at 45 degrees and cut the top corners off each piece. This is completely optional and provides no benefit other than having four less sharp corners to bang into.
I also cut a small chamfer on the top edges of both the rear rail and fence. This is another optional step. You could also round them over with a router bit or sander…or even leave them as is if you prefer.
For the fence you will also want to add a small chamfer to the front edge that will sit down on the sled itself. The reason for this small relief cut is to provide a place for sawdust to go rather than building up against the fence and causing your subsequent cuts to be out of square due to the board resting against the sawdust instead of the fence. You only need to cut this chamfer on the front side of the fence that will face the blade.
Adding the Rear Rail
Now that we have the rear rail and fence ready we can attach the rear rail. This doesn’t need to be perfectly square to the blade unless you plan to use it for making cuts. If you do then please refer to the section below about squaring the fence. For my sled I just attached it with glue and screws. I clamped it in place, flipped the sled over and drove in screws from the bottom. Be sure to countersink your screws below the surface of the plywood so they don’t drag across the saw table. Also be sure that no screws will be in line with the blade!
Attaching the Runners
Now that the rear rail is in place we can attach the first runner. Only attach one to start just in case things move a little when attaching them. The runners should be slightly thinner than the depth of the miter slot to make them slide easier when attached to the sled but in order to attach them you will need to shim them up so they are level with the table top.
An easy way to accomplish this is to lay a bunch of nickels in the miter slot before placing the runner in. Before adding glue I locked my rip fence down such that placing the base of the sled against it would align it exactly where I wanted it. I added a nice line of CA glue (super glue) and then laid the sled down on the table in the position I wanted it.
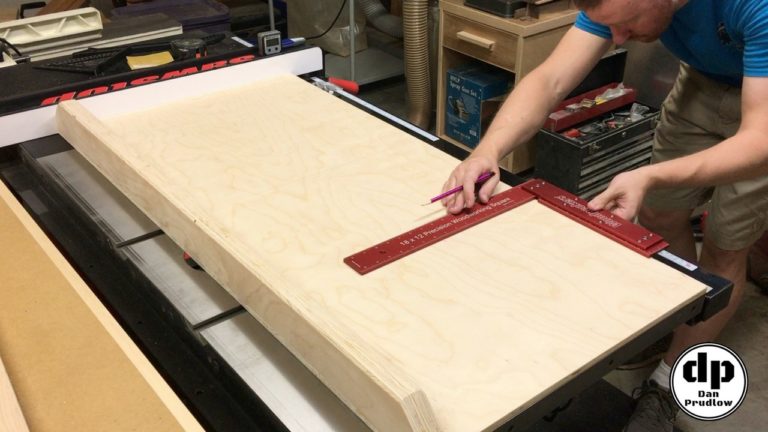
After letting the CA glue set up I used a framing square to mark a line on top of the sled that matched up with the center of the runner.
Adding Screws for Additional Strength
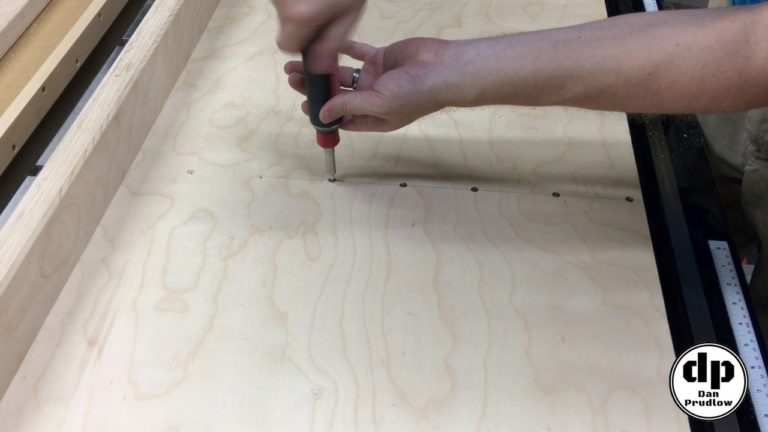
With the line marked I pre-drilled and countersunk holes for screws. I used 1 inch screws that came off door hinges. This wasn’t really planned I just had a whole bunch of them in my can of random fasteners. While I really have no idea where mine came from I think you can order them online…surely Amazon has them! In order to add the screws I drilled the holes all the way through the runners and made them just slightly smaller than the screw threads.
In an earlier test before starting this step of the sled I found that the screw threads had a hard time cutting into the poly material and would push the runner away from the board to the point of breaking the glue. The same test session also revealed that driving screws from the bottom would distort the runner and it would no longer glide in the miter slot. For this reason I put the screws in through the top.
To assist with holding the screws in I went back after the runners were both installed and filled the holes from the bottom with CA glue. I have no concerns about the screws coming loose but I figured it couldn’t hurt. It’s a good idea to drive the screws by hand as to not strip out the threads in the poly material.
Making the First Cut
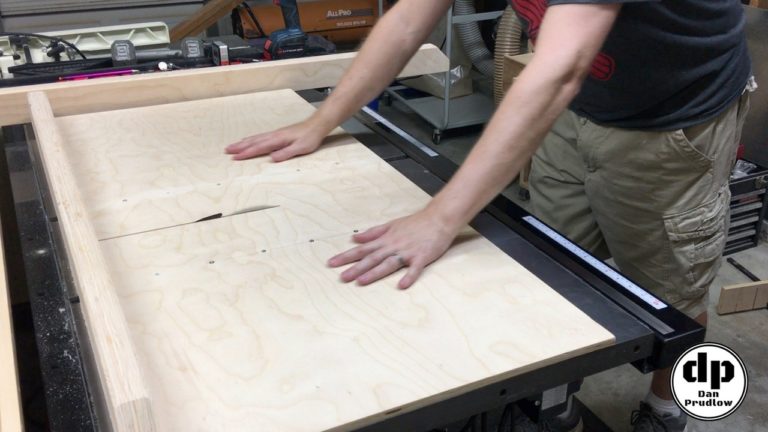
Now it’s time to cut the kerf. Raise the blade up just enough to cut through the 1/2 inch plywood and start pushing the sled across the saw. Don’t cut all the way through though. We’re just trying to get things ready to attach and align the fence.
Attaching the Front Fence
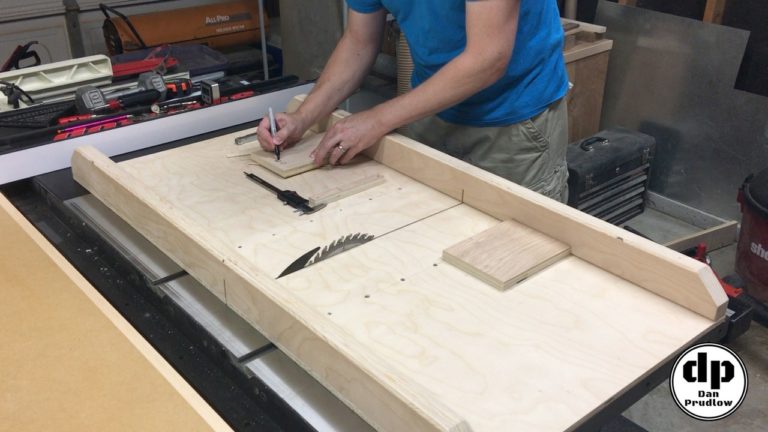
We can now start the process of attaching and aligning the fence. The first step is to attach the fence at one end of the sled. Pre-drill and add a screw in from the bottom at the far end of the fence. I attached the fence on the right hand side of the blade but you can do whatever works best for you. Now you will want to grab a square of some sort and get the fence as close to 90 degrees to the blade as you can. Once you have that lined up you will want to add a screw to the opposite side of the fence that you attached previously. Don’t put the screw all the way at the end though…just somewhere to hold it temporarily.
Aligning the Fence 90 Degrees to the Blade
We’ll now use the 5 cut method to further dial in the alignment of the fence. There is a link in the video description on YouTube to a great tutorial on how to do the 5 cut method so I won’t repeat it all here.
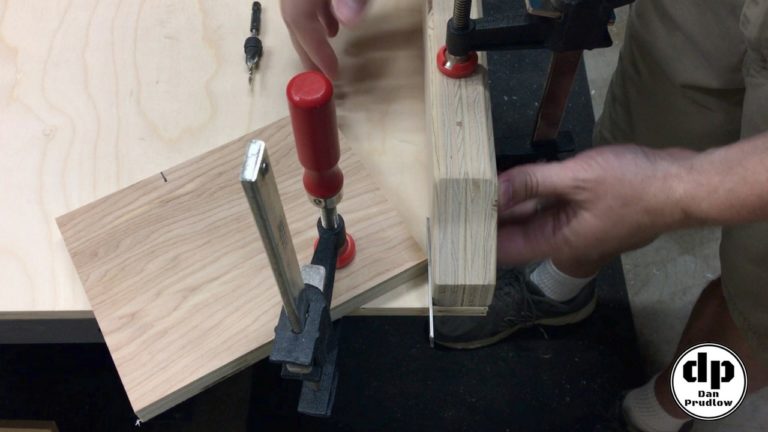
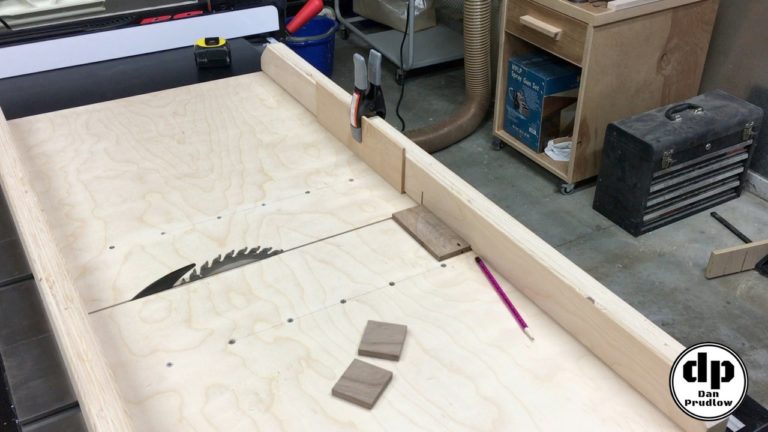
The process basically involves making a series of cuts and then measuring the error. We can then use that resulting error calculation to pivot the fence forward or back by the calculated amount to get it to a nearly perfect 90 degrees. In my case after doing the process twice I was within 6 thousandths of an inch over the 46.5 inch long fence. Close enough for me! After getting the alignment set I added a few more screws along the length of the fence to keep everything in place. I then set up a small stop block and cut a few small pieces of walnut to test it out.
Project Wrap Up
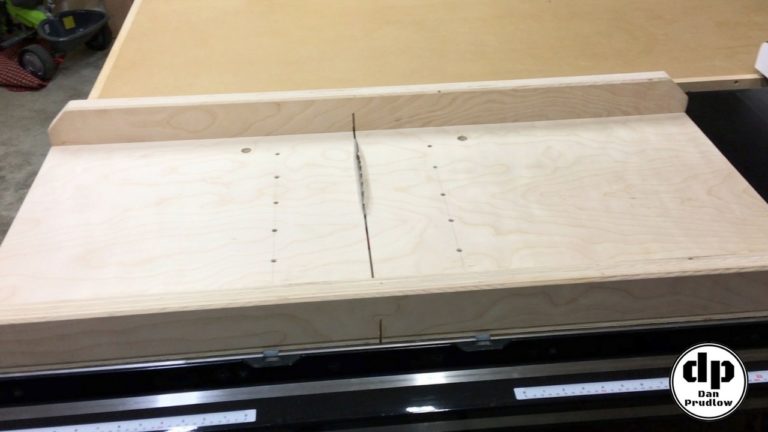
The sled is now complete. You could add some paste wax to the bottom to help it slide better if you wanted, that’s up to you. This sled will see a lot of use in my shop and is a definite must for any serious woodworker. You can buy a nice sled but they are not cheap. Building your own can save a lot of money that you can put towards other tools or shop upgrades. I hope you enjoyed this project, I know I enjoyed building it.
If you have any questions or comments leave them in the comments section below. You can also find me on Twitter and Instagram or you can send me a message via the contact page. Also, please be sure to get subscribed to my YouTube channel so you don’t miss any future builds!
You can find links to many of the tools, accessories, and finish products I use in my shop over on my Tools & Resources page.
Thanks for stopping by!
Dan

