Storage Drawers – Building Big Drawers for Storage
Storage Drawers…a Long Overdue Project
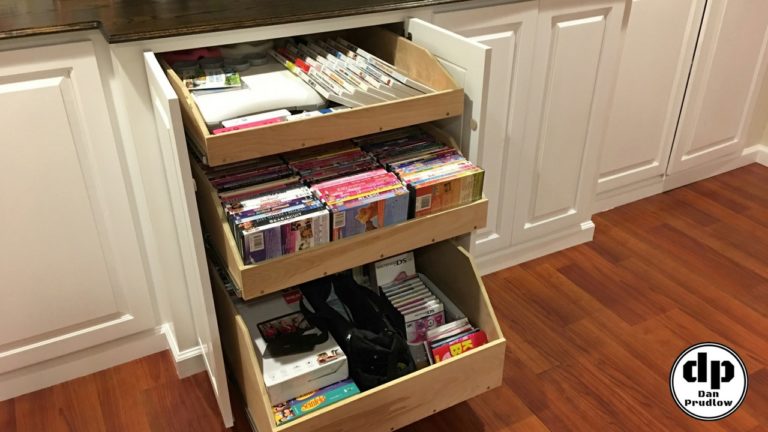
A few years ago, before I started YouTube and this website I built a large entertainment center in our basement. Because of the location of the water shut off valve to the house I had to make the cabinets really deep in order to hide the shut off access panel. I had always had intentions to build full extension storage drawers for the center cabinets but it was one of those projects that just never got done. Well, I finally got around to buying all the materials and drawer slides and this video and article covers the steps I took to get these things built and installed…FINALLY!
Material Selection
I used Purebond plywood for this storage drawers project and bought a full sheet of 3/4 inch and a full sheet of 1/2 inch. To make things easier to transport I had the home center rip each sheet in half. The down side to doing this is that the cut edge of the plywood is usually pretty torn up because they don’t have the greatest blades on their panel saws.
Breaking Down Sheet Goods
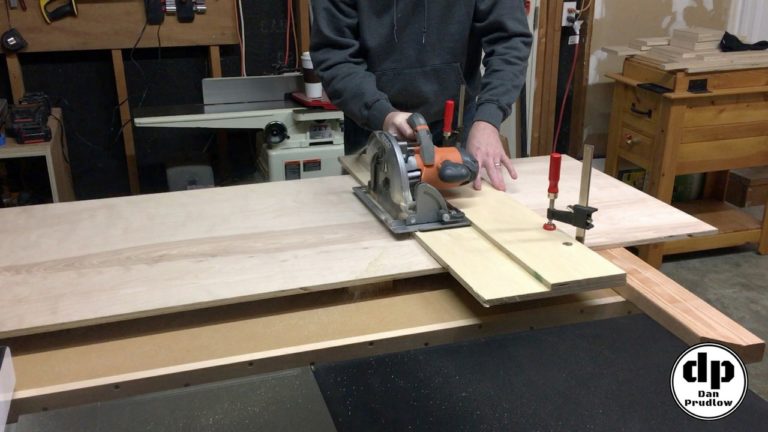
At any rate, I started the project by breaking down the half sheets further using a circular saw with an home made saw guide. This saw also had an older blade so I cut everything a little big to start.
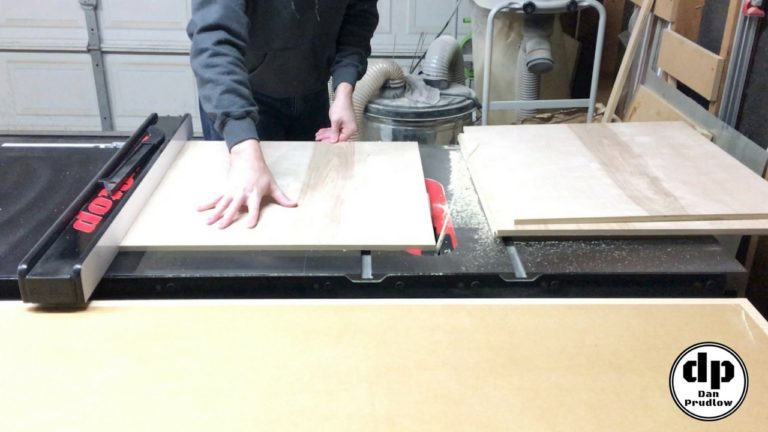
Next I took all of the pieces over to the table saw and trimmed off the rough edges to get rid of all of the tear out left by the circular saw and the panel saw at the home center. I did this by simply trimming a little bit of material off any side that had tear out showing.
Final Dimensions
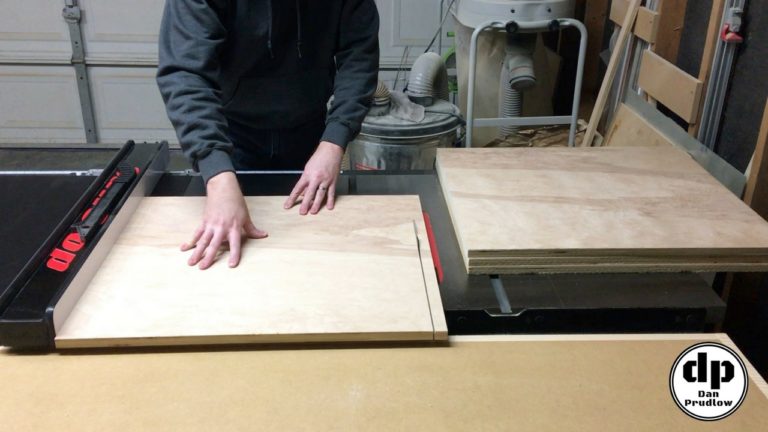
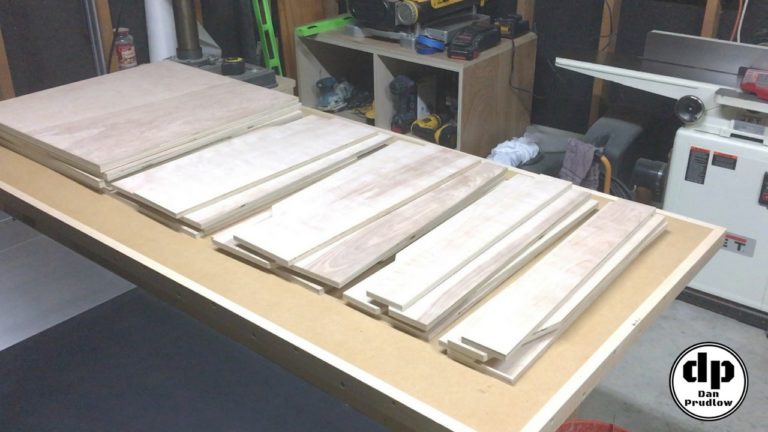
With all of the tear out taken care of I moved on to breaking everything down into final dimensions for the storage drawer sides and bottoms. The bottoms will be 3/4 inch plywood and the sides will be 1/2 inch plywood. I chose 3/4 for the bottoms because these drawers are nearly 2 foot square and will be holding a lot of stuff. I wanted to make sure the bottoms were not going to sag over time.
Freehand Cuts on the Table Saw?
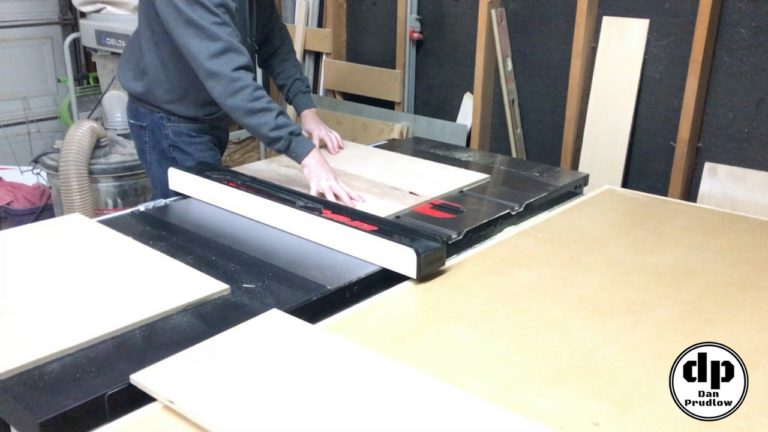
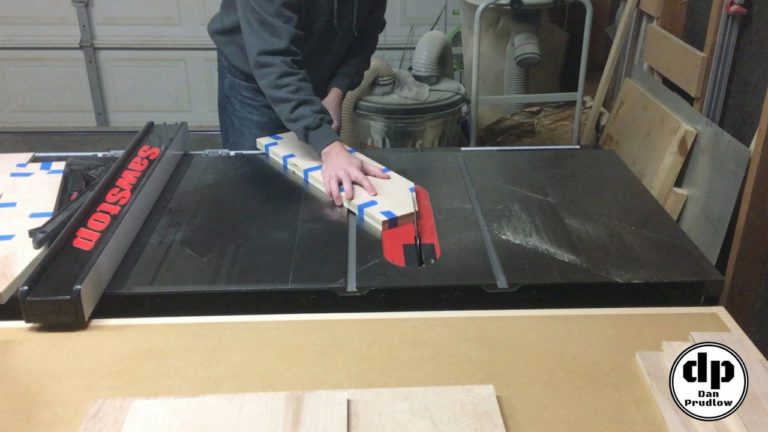
I wanted the fronts of the drawers to be a little shorter so that they would be easier to pull out from the cabinet and also easier to see some of the front contents. To accomplish this I needed to cut a slight angle on each of the side pieces. I did this by taping the pieces together and then using the table saw.
This method of making these cuts is NOT recommended and I should have rigged up some sort of jig instead. I did make the cuts in the safest way I could figure and that was to take multiple passes to remove the material until I could just skim the last little bit off down to the line. These didn’t have to be perfect cuts so even if I got off my line a little it wasn’t a big deal. But again, I don’t recommend making freehand cuts like this on the table saw.
With the angled cuts completed I now had all the material ready to start assembly of the storage drawers.
Simple Drawer Assembly
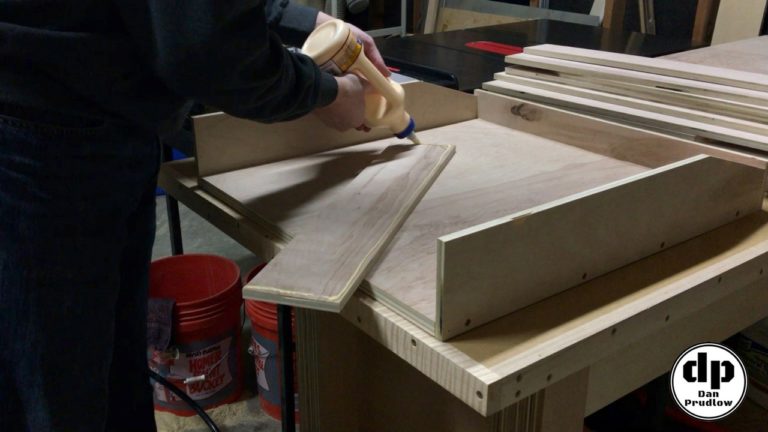
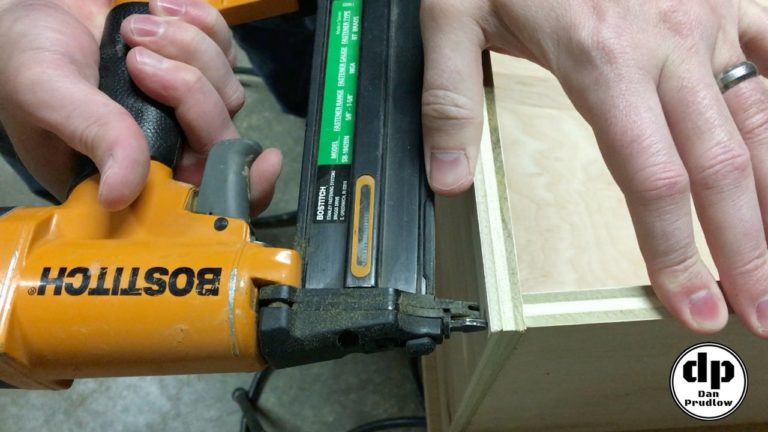
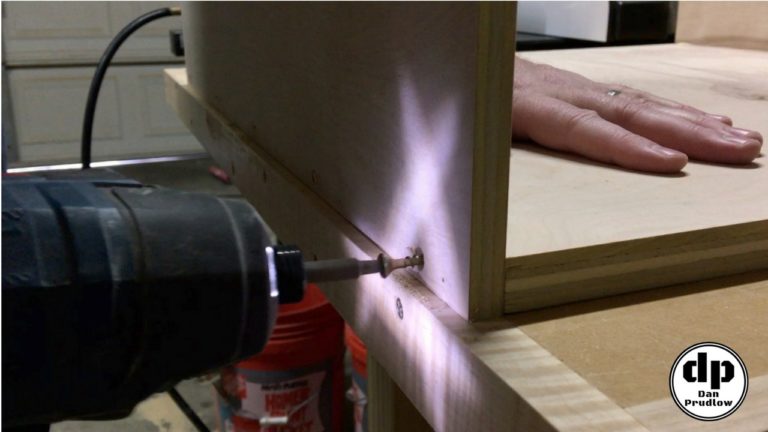
The construction of these storage drawers is very simple. I put a bead of glue along the joint and then tacked them together along the bottom and sides with 1 1/4 inch brad nails. Next, I came back and pre-drilled and counter sunk 1 1/4 inch screws around the bottom of the drawer. The screws were added for a couple of reasons. The first reason is that they act as clamps and since these drawers are just for storage I wasn’t worried about the screws being visible. Second they add strength to the joint. As I stated above these storage drawers are really big and will potentially hold a lot of weight so I wanted to make sure they would hold up over time.
Adding the Drawer Slides
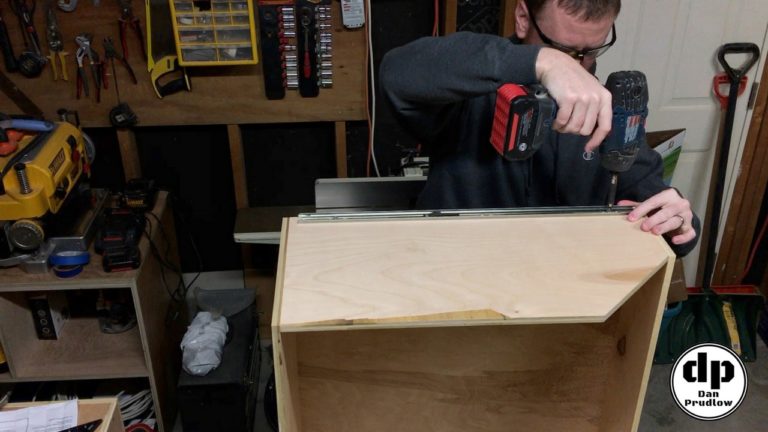
With the drawers all assembled it was time to add the full extension drawer slides. For the part of the slide that attaches to the drawer itself I simply aligned them with the bottom of the drawer and placed the slide even with the front of the drawer face. This made installation of these pieces very quick and simple.
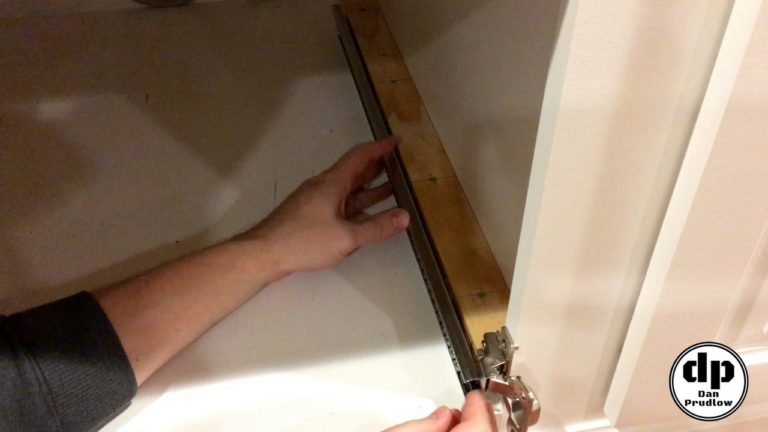
The install of the other part of the slides in the cabinet was a little more challenging. Because of the face frame on the cabinets I needed the drawer slides to sit about 1 1/2 inches off the inside of the cabinet. To accomplish this I cut a series of blocks from regular construction lumber I had on hand. I first screwed these blocks to the cabinet and then attached the drawer slides to these blocks.
The drawers just barely cleared the hinges but it worked out perfectly. With the drawers installed you really can’t even see the blocks that I added so I didn’t bother painting them or anything like that.
Mission Accomplished!
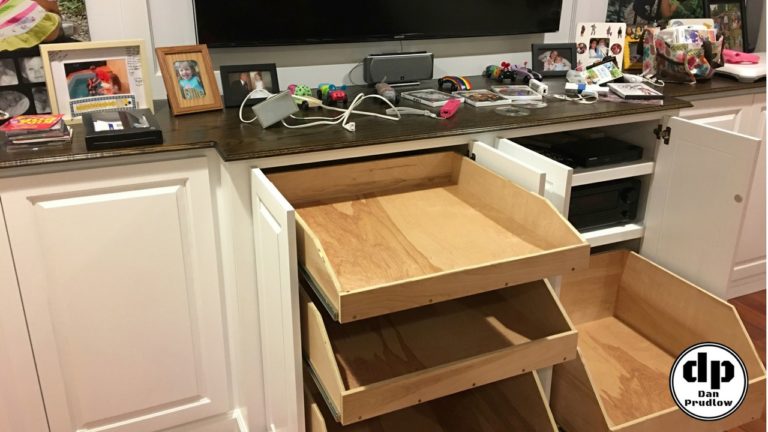
That’s a wrap! I did add a couple coats of water based polyurethane to the storage drawers to prior to installing them. This will keep them looking nice for years to come. These drawers hold so much I was able to nearly clear out all of the stuff in both the side cabinet areas! Now we have more room to store other stuff such as board games, photo albums, toys, etc.
If you have any questions or comments leave them in the comments section below. You can also find me on Twitter and Instagram or you can send me a message via the contact page. Also, please be sure to get subscribed to my YouTube channel so you don’t miss any future builds!
You can find links to many of the tools, accessories, and finish products I use in my shop over on my Tools & Resources page.
Thanks for stopping by!
Dan

